Manual Oil Press Assembly, Review and Peanut Oil Test
Disclaimer: I received this item for free in exchange for my honest review. All opinions are my own.
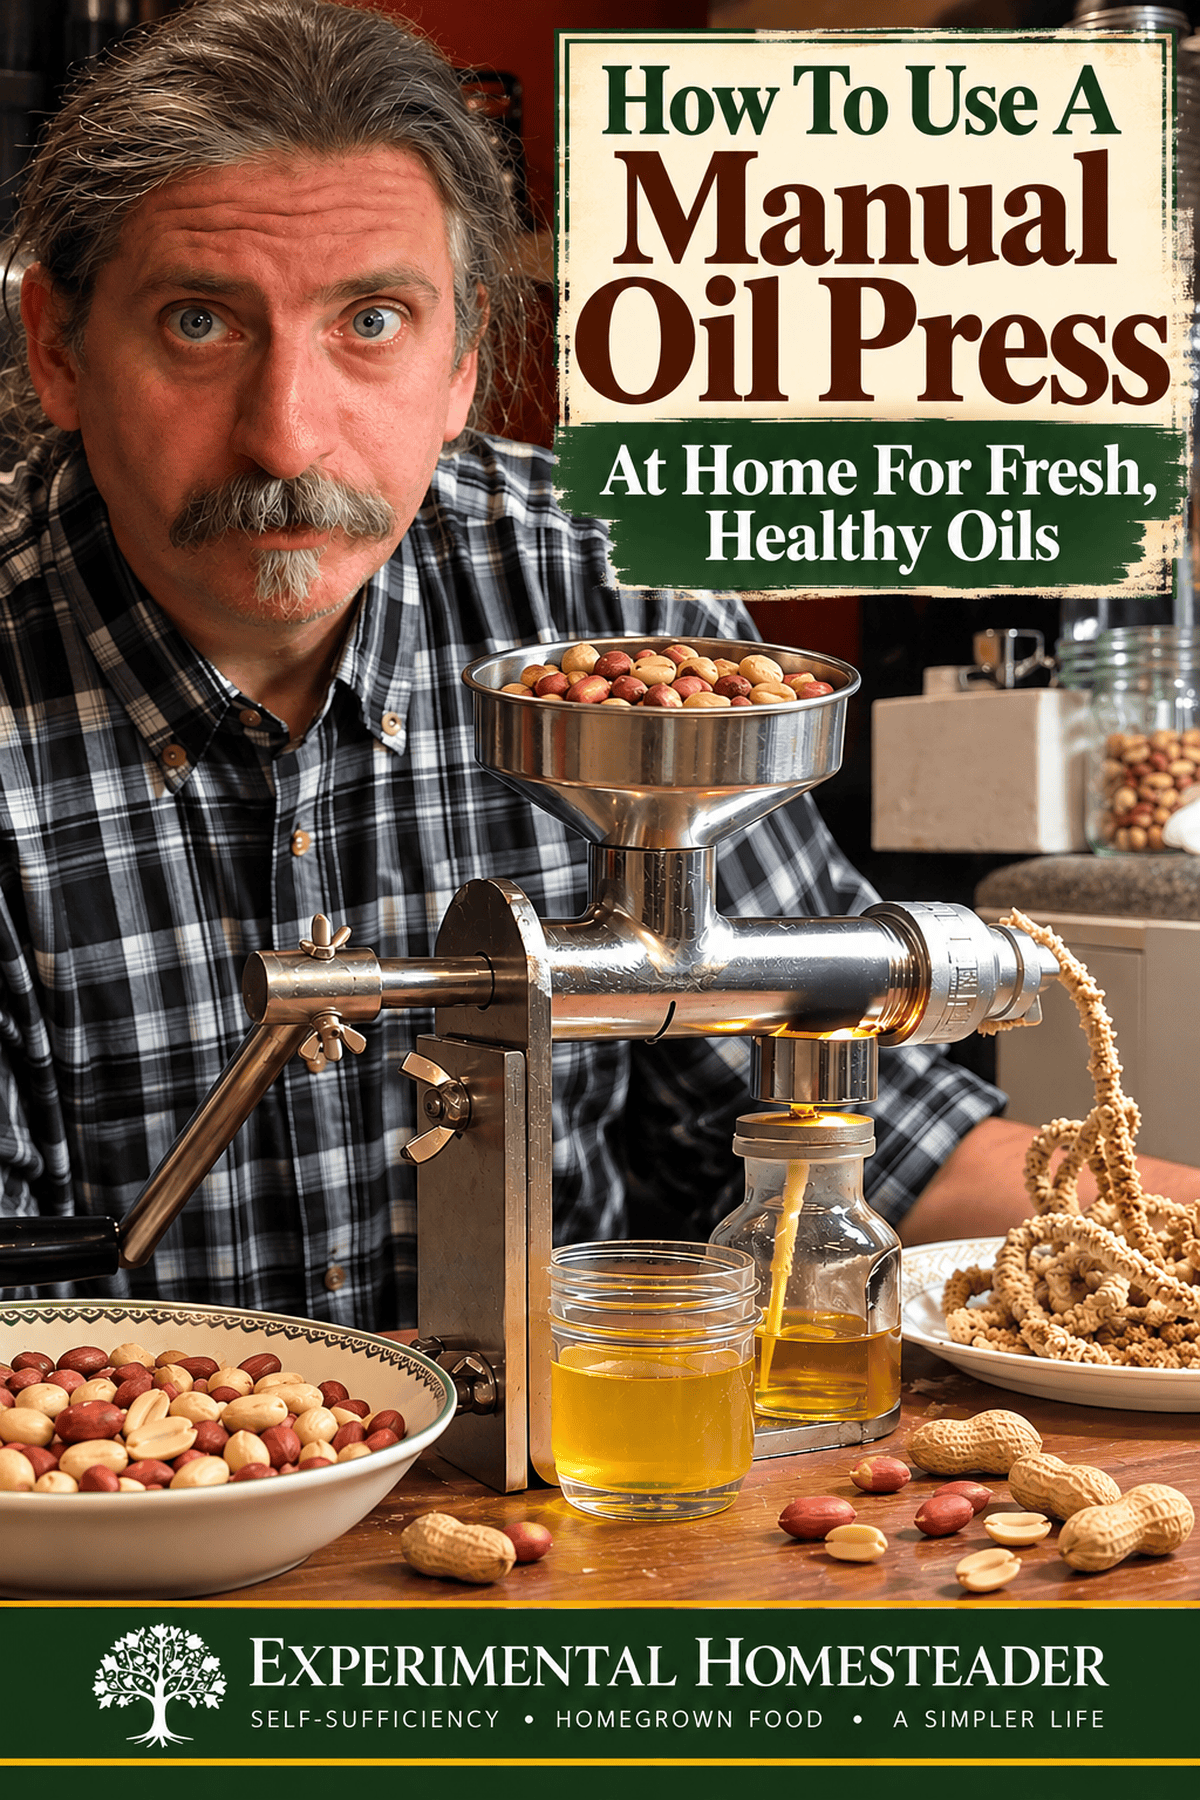
Making our own cooking oil was something Jeffrey and I wanted to try as part of becoming more self-sufficient on our homestead. We wanted to see whether a hand-crank oil press could turn raw peanuts into fresh cooking oil without an electric motor. We assembled the press, filled its hopper with raw Spanish peanuts and started turning the crank to see what would happen.
Our first experiment used raw Spanish peanuts. The process involved assembling the machine, warming the peanuts inside the pressing chamber with its small burner, and turning the crank while the press separated oil from the remaining solids. We used unscented paraffin lamp oil in our burner, although the original manufacturer's instructions specify kerosene or alcohol. Fuel formulations and burners vary, so anyone using a similar press should verify the fuel approved for their particular equipment.
Our original model is no longer available through Amazon, but the experience taught us what to look for in a manual oil press and which practical questions matter before buying one. Below, I'll walk through our assembly and peanut oil test, explain what the original instructions say, and discuss the limitations, cleanup, and alternative presses worth considering.
In This Article
Watch Our Manual Oil Press Assembly and Review Videos
Jeffrey and I filmed two separate videos so you can see both the assembly process and what happened when we actually tried making oil. Start with the assembly demonstration if your machine has arrived in pieces, then watch the review to see our first test with raw Spanish peanuts. The videos show our original press, which is no longer sold, so always follow the instructions for the specific model you own.
Manual Oil Press Assembly Video
Manual Oil Press Review and Peanut Oil Demonstration
What We Love About This Manual Oil Press
This manual oil press was everything I was expecting - and more because it was easier to use than I thought it might be!
I own a lot of hand crank appliances and they can be hard to turn, but this one was pretty easy to crank.
It is adjustable so if it is too hard you can adjust it to make it easier.
Since we are not used to using a hand crank appliance it did take some time to press a large quantity of peanut oil because we had to rest, but once we are used to using it, this is going to be a piece of cake!
Peanut Oil Was Our First Success With The Manual Oil Press
For our first try, we chose raw Spanish peanuts that we bought at the grocery store.
We started with a quart jar full and only used about ¼ of the jar - if that.
We did not measure but the peanuts did fill up the hopper on the manual oil press.
The end result was just under 4 ounces of peanut oil.
The residue was so minimal it isn't even worth mentioning.
The peanut cake that came out the other end of the machine was pretty dry but our poultry sure did enjoy it.
As for the quality of the oil, I have never tasted such fresh, light peanut oil in my life and I look forward to pressing oil from our walnuts, olives and sunflower seeds.
The downside of this manual oil press is you cannot use this for hardcore nuts.
A hardcore nut is anything that has a hard seed core.
If you really want to use a hardcore nut, you must remove the pit first.
Our manufacturer's instructions pictured olives, but did not explain preparation. Removing an olive pit alone does not establish that this press can extract olive oil successfully; we never tested olives in it.

A Manual Oil Press Is Ideal For Home Use
This manual oil press is ideal for home use - not too large - and makes being a little more self-sufficient possible.
I love that I can now know how my oil seeds and nuts are grown.
We found the manual oil press easy to assemble and the instructions easy to follow.
Now I admit I did my research so I had a pretty good idea of how this machine would work before it even arrived.
I was pleased with our original press, although the model is no longer available and my experience does not establish how well other presses will perform.
If you prefer not to turn a crank, a purpose-built electric oil press is another option. Electric models still vary in seed compatibility, temperature control, cleaning requirements and safety features, so compare specifications carefully.
Other Manual Oil Presses To Consider
While my manual oil press still works great, it is no longer available online.
Since I feel that having a manual oil press is such an important item for anyone wanting to be truly self-sufficient, I wanted to share some other options with you.
I would not recommend choosing a press based on a familiar brand name alone. Some listings are for electric machines, not the hand-crank equipment demonstrated here.
For a hand-crank alternative, research the VEVOR Manual Oil Press, formerly listed under the VBENLEM name. Confirm that the current listing is actually for a manual model, that the clamp suits your work surface and that replacement parts and instructions are available.
Generic listings described only as a "household manual oil press" can be difficult to identify later. Check the exact manufacturer and model before ordering rather than relying on a generic product title.
Table clamps are great because you can use them indoors or outdoors.
As long as you have something to clamp the oil press to, you are good to go.
The Piteba Oil Press is another established name worth researching. I have not personally tested it, so compare its own instructions, supported crops and mounting requirements rather than assuming it performs exactly like our original press.
I have not tried any of the manual oil presses above, but have heard about them in various homesteading or prepping groups I am in.
As always, make the decision on which one to buy based on the features you are after.
How To Get The Most Oil From A Manual Oil Press
If you are making oil at home using a manual oil press, you of course need to know how to use it correctly so you get the maximum amount of oil.
Every oil press is different, so of course you first want to know what types of items you can press in your particular model.
Then the next step is to make sure you have the correct setting of the adjustment bolt on your manual oil press.
This bolt controls the pressure and is the key to getting the highest oil yield possible from your press.
This bolt needs adjusted every time you use a different type of seed.
Without the bolt you will not get oil and the cake stone will be hard.
Of course, there are other considerations for getting the maximum amount of oil from the seeds you press.
The moisture content of the seed matters.
Seeds that are too moist will not give oil and the seed meal will be gummy.
This is because the moisture in the seed ties up the oil and does not allow it to separate.
Ideally the seed moisture should be between 6% and 8% depending on what the seed is.
The seed quality is also important.
Seeds that are not harvested at the right time can give the oil a chemical taste or unwanted flavor.
Seeds that were harvested during a wet period or were stored with too much moisture can contain mold.
These seeds may contain toxins that will end up in the pressed oil and most likely will have a noticeable odor.
So for the best results, use seeds that contain the correct amount of moisture, were harvested and stored correctly and pay attention to the adjustment bolt on your oil press.

What a Manual Oil Press Actually Does
A manual oil press is a small mechanical expeller. Turning the handle drives a screw that squeezes suitable oil-bearing seeds or nuts inside a chamber. Liquid oil escapes through the outlet while the compressed solids leave as a separate cake or meal. That separation is the whole point of the machine: you are extracting oil from an ingredient rather than buying a bottle that has already been processed, packaged and shipped.
A hand-operated press is not a universal nut grinder, juicer or flour mill. The material has to be compatible with the press, and the seeds must be prepared correctly. A model that handles peanuts and sunflower seeds may not handle every nut, and anything with a hard shell, stone or pit can damage the mechanism. Check the instructions for your exact model before experimenting.
Before Assembly: Choose a Safe Work Area
Start with a stable, level work surface that can support the press and resist the force of turning the handle. Some presses clamp to a sturdy counter or table; others have a mounting arrangement that requires a different setup. The handle needs enough clearance to make a complete turn without striking cabinets, jars or your hands.
Lay out the parts and compare them with the manufacturer's diagram before tightening anything. Identify the feed hopper, pressing screw, barrel, oil outlet, cake outlet, adjustment mechanism and any heating attachment. The exact names and sequence vary by manufacturer, so the diagram for your machine takes priority over a general online tutorial. Make sure everything that touches food is clean and suitable for food contact.
Position separate clean containers for the oil and the spent meal before you start. Keep loose clothing, long hair, children and pets away from the moving handle and feed opening. Never reach into the hopper or outlet while the press is operating. If your model uses a burner or another heat source, follow its ventilation and fire-safety instructions, and keep flammable materials away.
How to Assemble and Set Up a Hand-Crank Oil Press
The first step is to secure the press to its intended support. A loose press can rock or twist when the screw meets resistance, making operation difficult and potentially unsafe. Once the base is secure, fit the pressing screw and barrel according to the manufacturer's directions, install the handle, and check that it rotates without binding before adding food.
Next, position the hopper over the feed opening and make sure the oil collection route and cake outlet are unobstructed. Set the outlet or pressure adjustment to the manufacturer's recommended starting position for the ingredient you plan to press. That adjustment matters because too little resistance can reduce extraction, while too much can stall the press or overload its parts.
Some manual presses require the pressing chamber to be warmed before use. Others have different procedures or operating temperatures. Do not assume that every manual press needs the same heating method or that a warm chamber makes the finished oil qualify as cold-pressed. Use the temperature and preheating instructions supplied with your particular model.
What Our First Peanut-Oil Test Tells You
Our first test used raw Spanish peanuts purchased at the grocery store. We began with a quart jar of peanuts but used approximately one-quarter of it, possibly less. We did not weigh the peanuts or measure the starting quantity precisely, although the amount we added filled the hopper. We collected just under four fluid ounces of peanut oil.
That was an exciting result, especially because the oil tasted remarkably fresh and light to me. It is not, however, a scientifically measured extraction rate. Without the starting weight, oil content of the peanuts, temperature and weight of the leftover cake, there is no honest way to calculate a percentage yield or promise that another reader will get the same amount.
The press was easier for us to crank than some other hand-operated appliances we own, but pressing still took time and we needed breaks. If you are deciding whether a manual press fits your homestead, think about the physical work involved as well as the oil itself. A successful small batch does not mean producing all your household cooking oil will be quick or effortless.
Choosing Peanuts, Sunflower Seeds and Other Oil Crops
Peanuts and sunflower seeds are natural starting points for a homesteader interested in growing some of the ingredients used to make cooking oil. But the crop has to be mature, clean, properly stored and compatible with your machine. Shells, stones, dirt and other foreign material can interfere with the screw or contaminate the product. Use food-grade material intended for human consumption when you plan to eat the oil.
For sunflower seeds, follow the manufacturer's guidance on whether your press accepts the variety and whether the seeds should be hulled. For peanuts, confirm whether skins may remain and whether the press requires a particular moisture range. Do not assume that a press capable of handling peanuts can handle hard-shelled walnuts or whole olives. Olives contain pits, and the process for extracting olive oil differs from pressing relatively dry oilseeds.
If you grow your own oil crop, drying and storage deserve as much attention as the pressing itself. Damp or moldy nuts and seeds should never be used for food oil. Some molds can produce toxins that are not reliably detected by smell or taste, and pressing is not a method for making contaminated seed safe.
Why Oil Yield Changes From One Batch to Another
The amount of oil you collect depends on the crop, variety, growing conditions, maturity, storage history, moisture level, particle condition, press design, operating temperature and adjustment of the cake outlet. Two batches of the same seed can behave differently. That is why a fixed promise such as 'one cup of seed makes a certain amount of oil' can be misleading.
If the press is difficult to turn or little oil appears, stop and check the manual rather than forcing the handle. A blocked outlet, an incorrect adjustment, unsuitable material or a problem with preheating can all affect the process. Keep notes on the ingredient, approximate quantity, machine setting, time and amount collected. A kitchen scale and measuring jug make those notes far more useful for your next attempt.
Freshly pressed oil may contain suspended fine particles. Allowing it to settle and carefully decanting or filtering it through food-safe material can improve clarity, but filtering does not make unsafe ingredients safe or guarantee a long shelf life.
Food Safety, Allergens and Storing Freshly Pressed Oil
Use only clean, food-grade seeds or nuts and sanitized, thoroughly dry collection containers. Peanut oil is especially important to label clearly because peanuts are a major allergen. Homemade peanut oil should not be assumed safe for anyone with a peanut allergy. Keep separate equipment or follow a validated allergen-cleaning procedure if your household handles multiple ingredients.
Freshly pressed oil does not have the standardized processing or shelf-life testing of commercial products. Exposure to air, heat and light speeds deterioration, and residual moisture or particles can make storage less predictable. For small home batches, use clean airtight containers, label the ingredient and pressing date, protect the oil from light and heat, and refrigerate when appropriate. Make small quantities you can use promptly rather than assuming an unrefrigerated jar will last for months.
Discard oil that develops an unusual odor, off flavor or signs of contamination. Do not use an unpleasant smell as your only test for safety: harmful contamination is not always detectable by the senses. If you intend to sell oil, additional food-processing, labeling and regulatory requirements may apply.
What to Do With the Press Cake
The compacted solids that leave the end of the press are often called press cake or seed meal. In our peanut test, the cake was relatively dry and our poultry enjoyed it. That does not mean every kind of pressed meal is appropriate for every animal. Feed suitability depends on the source crop, residual oil, processing conditions and species, and some meals require special treatment or should not be fed at all.
If you want to reuse press cake in cooking or animal feed, identify exactly what it contains and consult reliable food or livestock-feed guidance first. Treat meal from questionable or moldy seed as waste rather than trying to salvage it. The same caution applies to claims that any leftover cake can automatically be turned into flour or fermented food.
Is a Manual Oil Press Worth Buying?
A manual oil press makes the most sense for someone who wants hands-on control over a small amount of oil, enjoys experimenting with homegrown crops, or values a machine that can operate without an electric motor. It may also be useful for teaching how oil extraction works. The tradeoffs are physical effort, slower output, cleanup, seed preparation and the need to understand the machine's limitations.
Before buying, compare supported crops, replacement-part availability, mounting requirements, cleaning access, whether heating is required, and whether the manufacturer supplies clear instructions. Do not rely on an old product listing or assume that every press sold under a similar name has identical parts. I have hands-on experience with the model reviewed here; the alternatives mentioned in this article are options to research, not machines I personally tested.
Manual Oil Press Frequently Asked Questions
Since getting this manual oil press, I have been asked a lot of questions! Of course, being new to using one, I have had to learn and so it has taken a little time to figure everything out. Here are some of the questions I have been asked - along with the answers.
Are there uses for the residual fiber a.k.a. cake or seed meal?
We gave the peanut press cake from our test to our chickens. Other uses depend on the exact seed, the condition of the meal and the animal species. Do not assume every press cake is safe for people or livestock, and never use meal from toxic or moldy seeds. Food uses require food-grade ingredients and an appropriate, safe recipe.
Is it really necessary to heat up the press itself?
Our press used a small burner to warm its pressing chamber, but the correct temperature and warm-up time depend on the model and material. Follow your machine's manufacturer instructions rather than assuming that every oil press must reach 120 degrees Fahrenheit. It can take a little time after cranking begins for oil and meal to emerge.
Is this cold press only?
We did not measure the oil temperature during our test, so we cannot verify a specific cold-pressed temperature claim. Expeller pressing describes the mechanical extraction method; whether oil is marketed as cold-pressed depends on the process and applicable definitions. The lamp and friction can affect the temperature.
How Often Does The Manual Oil Press Need Cleaned?
Clean the press after every use following its manufacturer instructions. Allow hot parts to cool safely, remove seed meal from the screw and outlets, and use the recommended brush or cloth. Dry the parts thoroughly. Follow the manual's instructions for any protective coating during storage rather than leaving food residue inside the machine.