Making a self sufficient homestead plan is the first step to accomplishing your goal of living on a self sufficient homestead.
How To Start Your Self Sufficient Homestead Plan
The first step to accomplishing any plan is to set goals.
When you look at the overall picture of what you want to accomplish, it is easy to feel overwhelmed.
However when you break each part of the plan down into goals, suddenly things are much more manageable.
So, let's take a look at what this might look like for a family of six.
Self Sufficient Homestead Plan Step One
The first step is kind to set up some type of irrigation for the plants and an easy to access source of water for the animals.
Make this the priority before you move on to anything else.
Without a reliable source of water, your plants and animals won't thrive.
One way to do this if you do not have easy access to water in the areas you are setting aside to grow food or raise animals is to utilize food grade barrels for water storage.
However, if you choose to utilize food grade barrels for water storage, be sure to have a plan in mind on how to refill them when they run dry.
Moving large barrels full of water is not an easy task nor is hauling water a few buckets at a time to refill larger barrels.
Hoses spring leaks and break, so if your plan is to buy a lot of hose and fill the barrels that way, be sure to take care of those hoses when not in use and have several repair kits on hand in case you need to fix them.
Self Sufficient Homestead Plan Step Two
The next easiest step is to plan your vegetable and herb garden.
If it seems overwhelming to you to plan both, start with the vegetable garden.
Start your own plants from seed indoors in early spring, approximately ten to twelve weeks before the date of the last frost in your area.
It is important to understand what your USDA Hardiness Zone is.
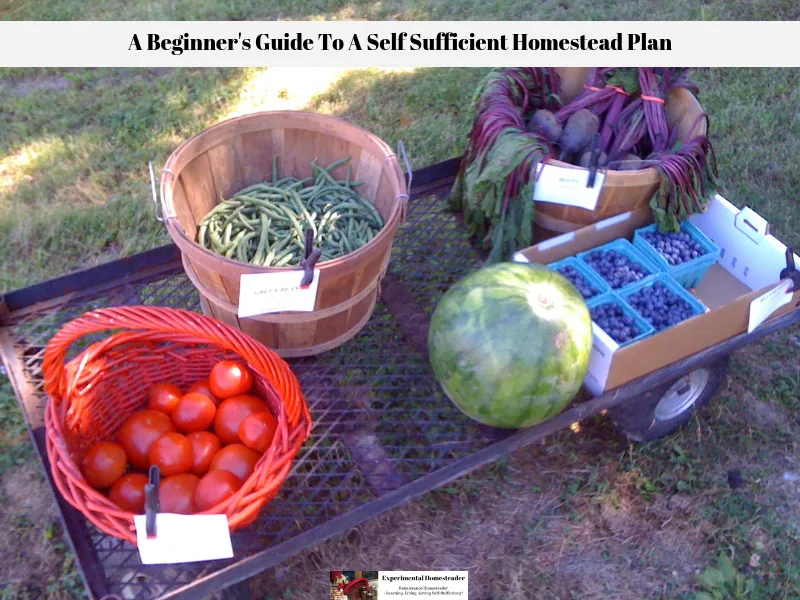
In the event you've never grown a garden, or are just not ready to dive in and plant a lot of food all at once, start with tomatoes, then once it is safe to plant outdoors, plant seeds of corn and green beans.
These three crops will give you plenty of food to eat, can and you might even have some leftover to share with others or sell.
Other crops that are plentiful include peppers, lettuce, peas, cucumbers and squash.
In the beginning it is best to avoid crops like carrots, potatoes and other root vegetables that produce one time per planting unless you plan to succession plant as you harvest the crop.
Consider planting dwarf fruit trees that first season too.
Fruit trees take approximately five years to establish and start producing well.
That does not mean you won't get fruit before then, because it can happen.
However the longer you wait to plant fruit trees, the longer it is going to take to get a decent harvest from them.
Lastly, come up with a plan of what to do with the excess food your grow.
Some people choose to share it with people they know, donate it to local soup kitchens or food pantries or even sell it.
In the event you choose to sell your excess, don't set your prices according to the grocery store prices.
You cannot compete with larger farms and you will go broke, especially if your plan includes using the extra money you make to help finance the rest of your self sufficient homestead plan!
Self Sufficient Homestead Plan Step Three
Once you feel you have the garden going well and are ready to move on to the next step, start planning for chickens.
Fence off your garden area or plan to keep the chickens confined.
They love fresh vegetables!
They also love to eat bugs, so using a chicken tractor, electric fencing or simply allowing them to free range is recommended.
Make sure to have your homestead chicken coop set up before you bring any chickens home.
Predators are a real issue with chickens, so making sure they are safe is a priority!
Buying baby chicks or hatching eggs in the spring is the way we got started.
It is possible to buy older chickens, however sometimes they are not healthy, have quit laying or have other issues, so starting with chicks is best.
Buying chicks can be costly plus they won't produce until fall of that year, so my advice is to buy a few at a time over the course of several weeks.
Chicks are also messy.
Keeping their pens warm and clean requires work.
Newspaper works great as bedding those first few weeks, plus you can usually get excess newspapers for free.
The end goal is to have at least sixty layer hens, however if you don't get them all that first spring, that is ok.
Let the older hens start laying and hatch some chicks of their own.
That lessens your workload because the mama hens will take care of them!
The reason you want at least sixty layer hens is so you have eggs for your own family plus eggs to sell.
Plan to freeze some eggs as well so you have some to use during the winter when the chickens are not laying.
The money from the eggs you sell can be used to replace the broilers you butcher to eat plus pay the feed bill for the other animals including the broilers.
Feed the layer hens primary on pasture, but do offer them some layer mix, diatomaceous earth as well as kelp to keep them healthy and parasite free.
Also plan on raising broiler chickens, which are chickens you intend to butcher.
Raise them in batches of fifty at a time and butcher them every six to eight weeks.
There is no reason to try to keep them longer, because unlike other chickens, broilers are not meant to live a long life.
One of the most popular breeds of broilers are Cornish Cross and it is the one I recommend.
Besides selling eggs other ways to make money from raising chickens is to sell baby chicks, sell whole chickens, either butchered if your health department allows that or as a live animal and by selling any compost you don't use in the garden.
Yes, people do buy chicken feathers and compost!
Once you get the chickens set up and producing well enough to bring in an income and put food on your table, move on to the next step.
Self Sufficient Homestead Plan Step Four
By the time you are ready to move on to step four you should be comfortable growing a garden and raising chickens.
You should also be seeing a small profit in addition to putting food on the table for your family.
The next three animals to introduce to your homestead are guineas, geese and quail.
These can live with the chickens as long as there is plenty of room in your chicken coop.
If not, house them elsewhere.
Do not overcrowd your poultry because it can cause problems.
Poultry also crowd together if they get cold.
If there are too many birds in one area, they can suffocate one another.
Start with seven or eight guineas for eggs and meat.
Then add three geese for eggs and goslings to sell. If you have neighbors close by, I recommend Sebastopol Geese because they are less likely to fly because of their curled feathers.
Finally introduce fifteen quail for eggs and meat.
Keep in mind that all of these birds produce additional compost that you can use in your garden or sell, but be sure it is well composted before you use it.
Poultry manure is hot and can burn plants.
Self Sufficient Homestead Plan Step Five
Once you are comfortable with the poultry you are raising, it is time to add goats.
Goats are a lot smaller than a cow, produce plenty of milk, provide meat and of course cute kids that you can sell.
Start with five dairy does and add a buck that fall so you can breed your own goats the following year.
It is ok to purchase older goats already in milk and that is honestly easier for a beginner.
We started with goats that were a year old and had already given birth.
They were used to being on the milk stand and were not hard for us to learn to milk.
They also were already in milk so we had the advantage of being able to get milk right away instead of waiting for them to breed and give birth.
Learn how to make goat milk soap, ice cream, butter and other dairy items from the excess milk.
Be sure to freeze any milk you don't use right away for winter use.
We did have to learn how to trim their hooves and care for them ourselves when something went wrong because most vets are just not as familiar with goats as they are other types of animals.
Finally if you have the room and the finances to do so, add some fiber goats for meat and fiber.
You can sell the fiber, spin into yarn then sell the yarn as it is, make clothing or other items you need or even sell the items you make.
Fiber goats do require shearing or combing once a year and I do recommend using electric shears.
They also need their horns as that is the way they regulate the temperature in their bodies.
I do recommend starting with dairy goats and only moving on to fiber goats once you are ready to deal with their specific needs.
Self Sufficient Homestead Plan Step Six
Rabbits are a fairy easy animal to raise and they do not require a lot of room.
They produce an abundance of bunnies to sell, but make sure there is a market in your area or you will be stuck with a lot of rabbits!
Rabbits are often butchered for their meat and in many places the meat is easy to sell.
Angora Rabbits are raised for their fiber and of course babies, but be aware they take a lot of care because they need brushed everyday to keep them looking nice.
Rabbits also produce a lot of compost for the garden.
Self Sufficient Homestead Plan Step Seven
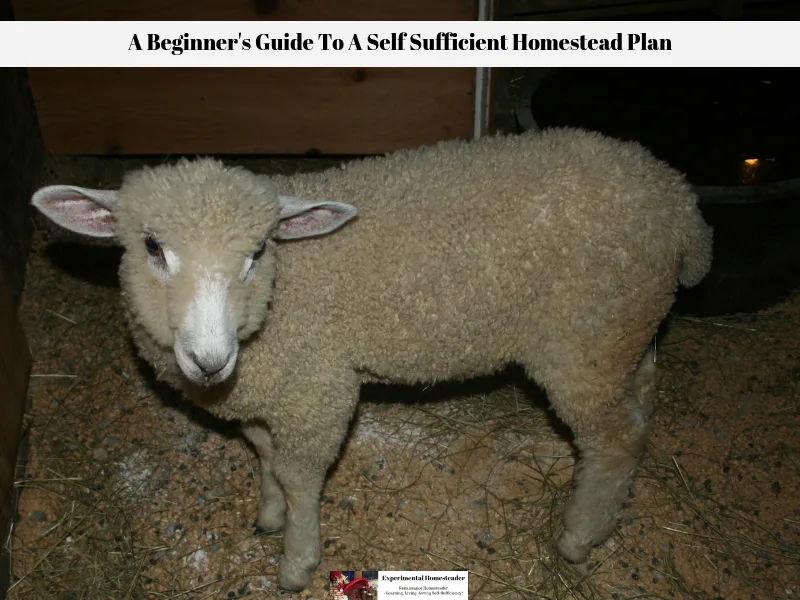
Sheep and goats are a lot alike and can be raised together, but be prepared for possible turf wars especially if you are raising two male animals in the same area.
Start with five sheep and of course, one ram.
Sheep can be milked, just like goats and the milk is used in the same ways.
They are also sheared once a year in the spring and again, I do recommend electric shears.
It is best to learn how to do this yourself because it will save you a lot of money in the long run.
Another way to make money is to sell the babies in the spring.
Sheep are very docile compared to other types of animals, but make no mistake about it, they will stand their ground and rams especially will charge if they feel threatened.
Self Sufficient Homestead Plan Step Eight
One of the last really productive animals to add are pigs.
Pigs are great for using to till the land.
Simply fence off an area for the pigs making sure they cannot plow underneath the fence and let them work their magic.
Start with five pigs and work your way up from there.
Butcher any pigs that you are not breeding in November and put that meat in your freezer or sell some of it, if regulations in your area allow that.
Be sure to save a few of the piglets in the spring to replace the ones you butchered the previous season, then sell the rest.
Things To Do During Each Step Of The Self Sufficient Homestead Plan
Here are a few last tips of things to during each step of your plan to help you make it to the next step.
- Learn to process your own meat because this saves money.
- Put any profit back into expanding what you have going.
- Get rid of any animal that is not profitable.
- Take care of your family first, then sell the excess.
- All of the animals have cages that need cleaned. Compost that!
- Replenish your animals sometimes by saving babies and sometimes by bringing in new ones, but be sure the animals you introduce are healthy.
Final Thoughts About This Self Sufficient Homestead Plan
Choose which of the steps above fit into your goals, then follow them.
Remember becoming self sufficient is not a race.
Everyone moves at their own pace and doing things too fast causes problems.
It takes time and money to raise animals the right way.
It also takes time to learn all the skills you need to become self sufficient.
I'd love to hear your thoughts on this as well as where you are on your journey to self sufficiency.
If you have questions, leave them below.
I am happy to try to help you learn how to achieve your self sufficiency goals.
Self-Sufficient Living
Explore the ultimate guide to self-sufficient living with our curated list of related blog posts. From food preservation to DIY projects and homesteading inspiration, find everything you need to thrive on your self-sufficiency journey. Perfect for beginners and seasoned homesteaders alike!
The Essential Guide To A Completely Self Sufficient Homestead
Learn how to start living on a completely self sufficient homestead today with this essential guide plus sign up for our FREE eCourse!
How To Be Self-Sufficient In An Apartment
Learn how to be self-sufficient in an apartment. Even if you live in a big city you can learn skills you will use one day on your homestead.
Thriving Through Self-Sufficiency: A Journey to a Balanced Life
Learn how to thrive through self-sufficiency: slow down, live intentionally, and find balance for a healthier and more sustainable lifestyle.
Top 5 Tips for Balancing the Self-Sufficient Lifestyle: Stay Organized, Motivated, and Successful
Discover how to balance the self-sufficient lifestyle with actionable tips for organization, motivation, and sustainable success.
Step-by-Step Guide to Self-Sufficient Living: One Small Step at a Time
Start small with this step-by-step guide to self-sufficient living. Simple, achievable tips to ease into a sustainable lifestyle.
7 Ways To Start On The Path To A Self Sustaining Homestead
A self sustaining homestead is a lot of work but you do get a lot of satisfaction knowing you are living the self sufficient life you've dreamed of.
Seasonal Foraging Guide for Homesteaders: Year-Round Wild Edibles
Enhance your homesteading skills with our comprehensive seasonal foraging guide. Learn how to find and enjoy nature's delicious offerings.
Living The Homestead Lifestyle
Embarking on the homestead lifestyle is not easy. This is why I love Homegrown and Handmade by Deborah Niemann. The homestead tips are great!
Weapons To Include In Your Homesteading Self Sufficiency Survival Kit
Learn what weapons - both lethal and non-lethal - to include in your homesteading self sufficiency survival kit. Also learn why you need to include them.
Mockmill Flour Grinding Mill Makes It Easy To Grind Your Own Grain
The Mockmill flour grinding mill quickly and easily turns wheat berries into flour that is perfect for making freshly baked bread.
Homesteading Today In The USA
Although the Homestead Act of 1862 is no longer in effect, free land is still available for those wanting to try their hand at homesteading today.
How Much Land For A Homestead
When it comes down to the reality of how much land for a homestead you really need, it's much more than just a number. Learn what you need to consider.
What Homestead Living Is Really Like
Learn what homesteading living is really like. It's not always picturesque or romantic. In fact, sometimes it is difficult.
Food Security Preparedness - What To Do Before Disaster Strikes
Learn what food security preparedness skills you need to survive any natural or man-made disaster, and why you should grow your own food.
Learn To Be Self-Sufficient
Learn to be self-sufficient from Sheri Ann Richerson, a modern day self-sufficient woman with these eBooks and printables!
Self Sustainable Living Ideas Using Animals
Animals are a great way to help you acheive your self sustainable living ideas. Learn what animals are best for your self sufficiency plan.
Preserving Herbs For Winter Use eCourse
Do you love fresh herbs but wonder if there is an easy way to preserve them for the winter?
Do you seek other ways to use herbs other than just as a seasoning on food?
There are so many ways to preserve herbs for winter use – from various methods of drying them to freezing them, but it doesn’t end there.
Some of the best ways to preserve herbs in right in the foods you would normally incorporate herbs into – pre-made seasonings, teas, butter or oil.
Then this is the course for you!
What You Will Learn In This Course:
Hang herbs to dry
Use a hanging herb dryer
Dry herbs on a window screen dryer
Dry herbs in a dehydrator
Dry herbs in an oven
Dry herbs in a microwave
Freeze herbs whole
Make herb ice cubes
Add fresh herbs to freezer meals
Add herbs to canned sauces
Preserve herbs in vinegar
Preserve herbs in oil
Preserve herbs in butter
Preserve herbs in salt or sugar
Make pre-made seasonings
Make herbal tea
Make herb jelly (plus tips on how to use these)


