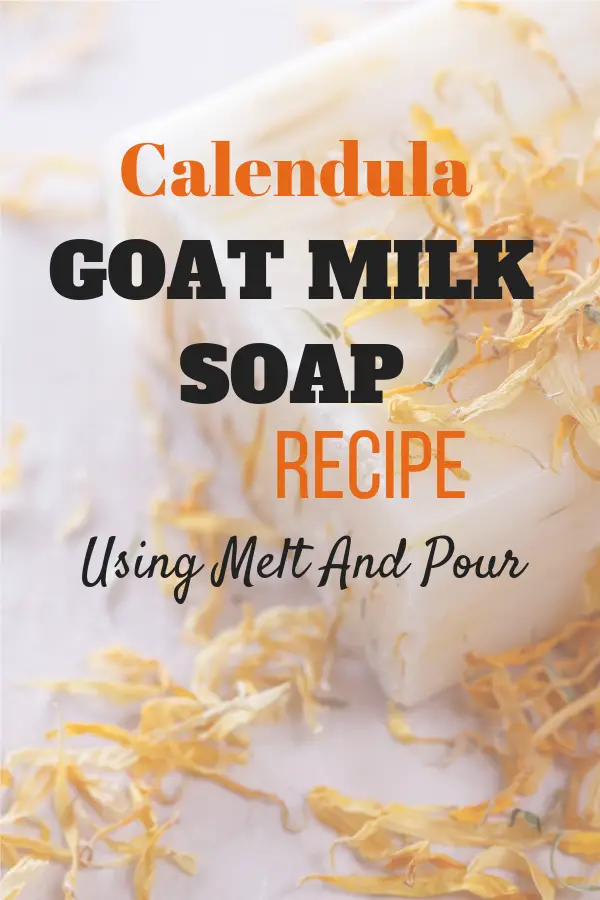
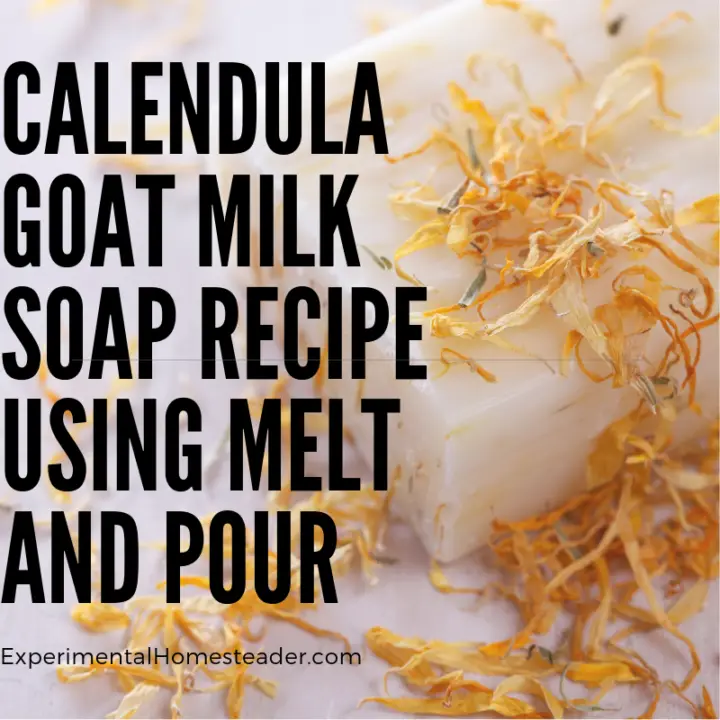
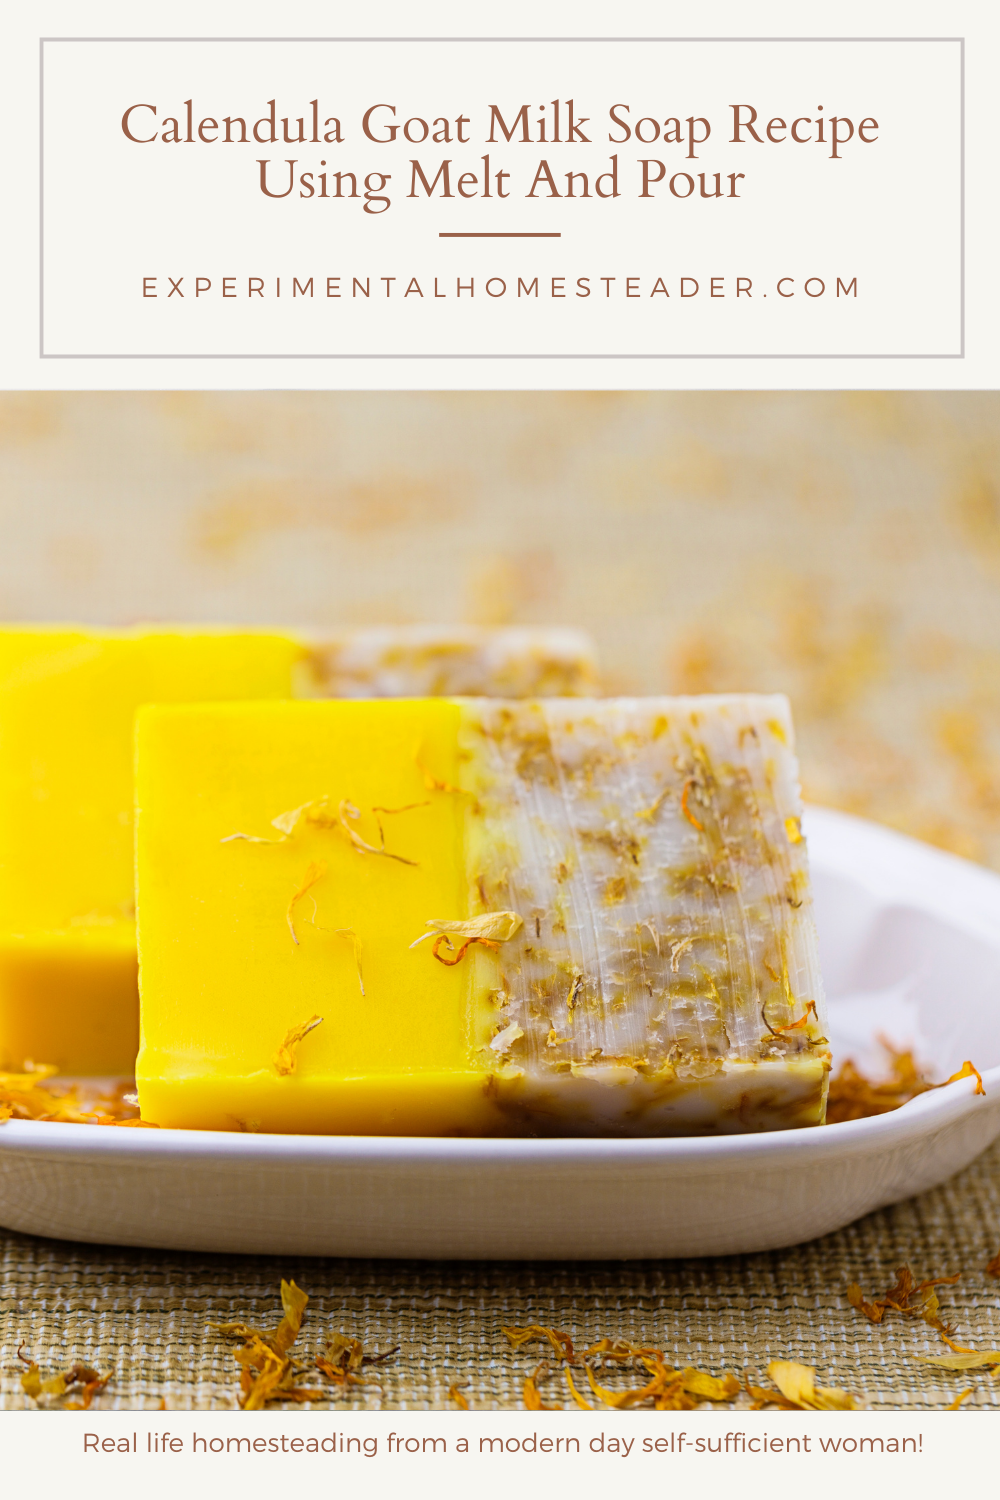
Calendula Goat Milk Soap Recipe Using Melt And Pour
This calendula goat milk soap recipe using melt and pour base is so easy to make.

Besides all the benefits you get when you use goat milk soap, you also get the added benefits of both Calendula oil and Calendula flowers.
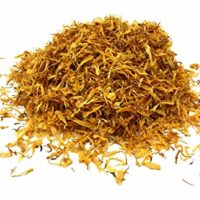
Instead of using dye to color the soap, simply add a pop of color to this plain white goat milk soap using dried Calendula flower petals.
Calendula Goat Milk Soap
Pairing Calendula with goat milk soap is a win win situation.
Goat milk soap is good for dry or sensitive skin.
Goat milk soap also helps with conditions such as eczema and psoriasis.
Goat milk contains a wide array of vitamins, minerals and fatty acids which means when it is used for goat milk soap, those same properties end up in the soap.
Goat milk also contains alpha hydroxy acids which help to exfoliate the skin.
Another advantage of goat milk is it contains antibacterial properties which makes goat milk soap a perfect choice for acne-prone skin.
When you make Calendula goat milk soap you get all the benefits of the goat milk, plus all the benefits of Calendula.
Calendula Soap Benefits For Skin
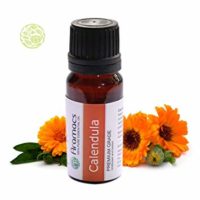
Calendula oil contains anti-fungal, anti-inflammatory and anti-bacterial properties which makes it a great addition to goat milk soap.
Calendula petals are naturally antiseptic, anti-inflammatory and immune simulating.
Soaps that contain calendula are good for dry skin.
It is also a known fact that the use of calendula can help with rashes, heal wounds, soothe eczema, psoriasis, chapped skin, insect bites and relieve diaper rash.
So, if you are looking for a soap that is gentle on the skin and can also help with a wide array of skin conditions, then be sure to give this calendula goat milk soap recipe a try!

How To Make Calendula Soap At Home
One of the easiest ways to make soap at home, especially for a beginning soap maker, is to use a melt and pour soap base.
The reason for this is because the melt and pour soap bases have already gone through the saponification process, thus you do not have to work with lye or worry about your soap recipe failing.
For those who want an organic based goat milk soap, it is possible to get one, but be sure to read the label because not all melt and pour soap bases are organic.
Also, if you want only organic ingredients in your soap, be sure the other ingredients you choose for your calendula goat milk soap recipe are organic as well.
Calendula Goat Milk Soap Recipe Using Melt And Pour
Materials
Tools
Soap Making Tools
Instructions
- Crush one teaspoon of the calendula petals so you have small pieces or even a powder-like substance.
- Cut the goat milk soap melt and pour base on the score lines.
- Place the soap cubes into a double boiler or soap melting pot, if you have one.
- Heat the melt and pour base just long enough for it to melt. A soap melting pot will automatically switch from the melt to the warm position once the soap is melted, however if you are using a double boiler, you will need to manually remove the soap from the heat source once it is melted.
- Place some of the melted soap into a glass measuring cup.
- Add in the crushed calendula petals and stir to incorporate.
- Add the calendula oil, the almond oil and the vitamin E oil to the same measuring cup and stir to combine the oils with the melted soap.
- Now add the contents of the measuring cup back to the melted soap base in the soap melting pot or double boiler.
- Stir to make sure all the soap is melted and well combined.
- Return the soap to the heat source if necessary, but only long enough to make sure all the soap is liquid.
- Combine the essential oils in a glass measuring cup.
- Now pour the melted soap into the rectangle mold.
- Allow the soap to cool slightly and then add the essential oils to the soap in the mold making sure to stir it well to evenly distribute the essential oils in the soap. Be careful not to add the oils too soon or the scent will disperse.
- Spray the top of the soap with the rubbing alcohol to remove any bubbles.
- Sprinkle the remaining calendula petals on top of the soap.
- Set the soap aside and allow it to cool overnight.
- Once the soap is cool, remove it from the mold.
- Cut the soap into bars.
- Set the bars of soap on a paper towel lined cooling rack.
- Allow the soap to cure at least overnight. I prefer to wait six weeks before using my soap or wrapping it.
- Once you are happy with how long the soap has cured, wrap it in plastic wrap and store it in an airtight containers such as a plastic shoe box with a lid in a cool, dark place until you are ready to use it.
Recommended Products
Sheri Ann Richerson is a participant in the Amazon Services LLC Associates Program, an affiliate advertising program designed to provide a means for sites to earn advertising fees by advertising and linking to Amazon.com.
-
 Life of the Party White Glycerin Soap Base, 2 lb, 52007
 -
Calendula Petals – Pure Dried Marigold Flower Petals – Vegan | Gluten Free | Non-GMO | No Sugar Added - Net weight: 0.35oz / 10g - Calendula officinalis
-
Calendula Oil - Pure and Natural Therapeutic Grade 10 ML
-
Now Solutions Lemongrass Essential Oil, 4-Ounce
-
Now Solutions, Sweet Almond Oil, 16 oz
-
Trader Joe's Vitamin Oil E, 4 Ounce
-
NOW Eucalyptus Oil, 4-Ounces
-
Tea Tree Essential Oil
-
Swan M314 Isopropyl Alcohol, 99%, 16 oz.
-
ESA Supplies Wooden Soap Loaf Cutter Mold and Soap Cutter Set + 1 pc Rectangle Silicone Mold with Wood Box + 1 pc Straight Cutter + 1 pc Wavy Cutter
-
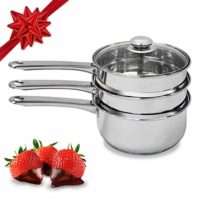
Double Boiler & Steam Pots for Melting Chocolate, Candle Making and more - Stainless Steel Steamer with Tempered Glass Lid for Clear View while Cooking, Dishwasher & Oven Safe - 3 Qts & 4 Pieces
-
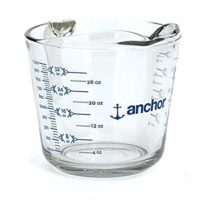
Anchor Hocking 4 Cup Measuring Cup w/ Blueberry Infusion,32 oz
-
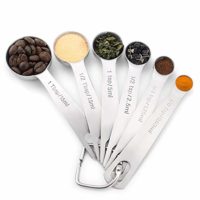
1Easylife 18/8 Stainless Steel Measuring Spoons, Set of 6 for Measuring Dry and Liquid Ingredients
-
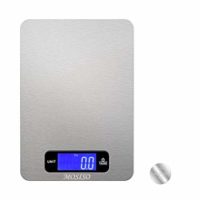
MOSISO Digital Kitchen Scale in Refined Stainless Steel Multifunction with Fingerprint Resistant Coating (11 lbs Edition)
-
Juvale 20-Pack Fine Mist Mini Plastic 2.7-Ounce Spray Bottles with Atomizer Pumps for Essential Oils, Aromatherapy, and Travel, Empty, Clear, Refillable and Reusable
-
Wilton Excelle Elite 3-Tier Cooling Rack for Cookies, Cakes and More
-
Seventh Generation Paper Towels Regular Roll, 140 Sheets, White, 1 Pack

Calendula Oil Recipe
If you've ever wondered how to make calendula oil on the stove, but have either been afraid to try or figured buying store bought calendula oil was easier, now might be the time to learn.
When you make calendula oil yourself you have more control over the ingredients.
For example, you could choose to press your own olive oil using a manual oil press and use it in place of the sweet almond oil.
You could also grow your own calendula flowers organically, dry the flower petals and use those in place of ones you bought.
Anyway, whether you buy your ingredients or grow them yourself, to make calendula oil fast, use a double boiler on a stove top.
Begin by placing the calendula flowers into a heat proof glass jar such as a mason jar.
Press as many dried flower petals as possible into the jar, then cover them with whatever oil you are using in the recipe above.
Place the jar of oil covered flowers in a double boiler and heat on low for four to six hours.
Strain the oil to remove the flower petals, then use the oil for making soap, salves and more.
While this method is not preferred, it is faster than placing the jar in a sunny window and waiting for 4 to 6 weeks.
Dried Calendula Flowers For Soap Making
Using dried calendula flowers for soap making simply makes sense.
Dried flowers typically do not mold like fresh ones would.
Calendula flowers that have been dried tend to keep their color even when added to soap.
Plus the flower petals can be freely used in soap making - scatter them on the top of your soap for decorations you can also add them to the soap while you are making it.
However you use dried calendula flowers in your goat milk soap recipe, you are sure to be pleased with the end result.
Melt And Pour Soapmaking Tips For Beginners
- Spritz the inside of your mold with rubbing alcohol right before pouring the melted soap into the mold.
- Dilute powered colorant in a tiny amount of rubbing alcohol to help dissolve it so you don't get lumps in your soap. I recommend two parts rubbing alcohol to one part powedered colorant.
- If you do end up with lumps of undissolved colored powder in your soap, remelt it and strain it through a fine-mesh sieve.
- Soap that is too dark in color or too strong in fragrance is easy to fix. Just chop it into small pieces, add more melt and pour base and allow them to melt together, then repour the soap into the mold.
- Rubbing alcohol helps to remove fingerprints from soap - just spritz and wipe with a paper towel.
- The ideal temperature to pour melt and pour soap is 135 degrees Fahrenheit.
- Remember to stir the soap base as little as possible. The more you stir it, the more likely it is that you will have air bubbles in your soap.
- Gently bounce the soap mold on the countertop - similar to what you do with cake batter - to help release air bubbles that might be trapped in the hot soap. Then spray a very small amount of rubbing alcohol on top of the soap to help pop the air bubbles that have come to the surface.
- Do not get in a rush to cut into your soap. I like to let mine harden just like I would with soap made from scratch as I have found it lasts longer when it has adequate time to harden.
Melt And Pour Soap Making Recipes
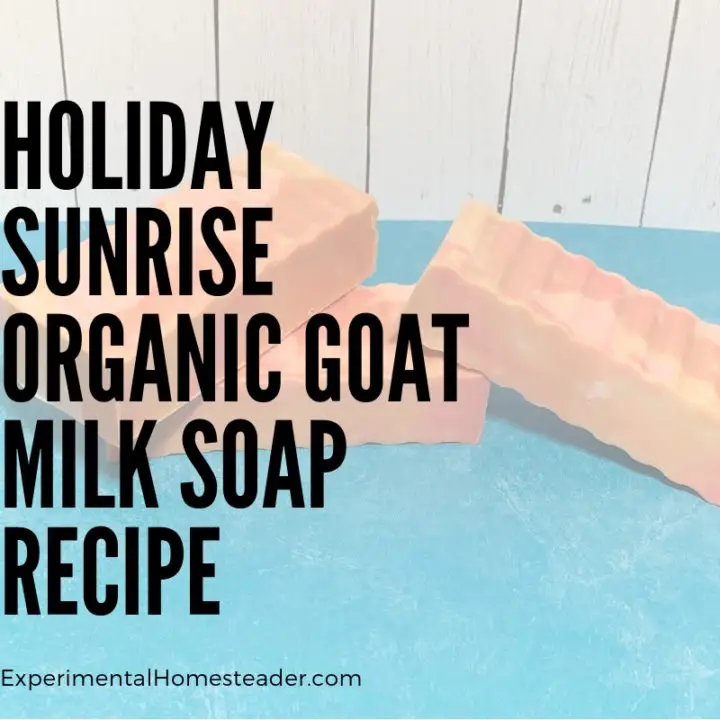
Holiday Sunrise Organic Goat Milk Soap Recipe
This organic goat milk soap recipe was easy to make using a combination of a melt and pour soap base, essential oils, honey and mica powders!
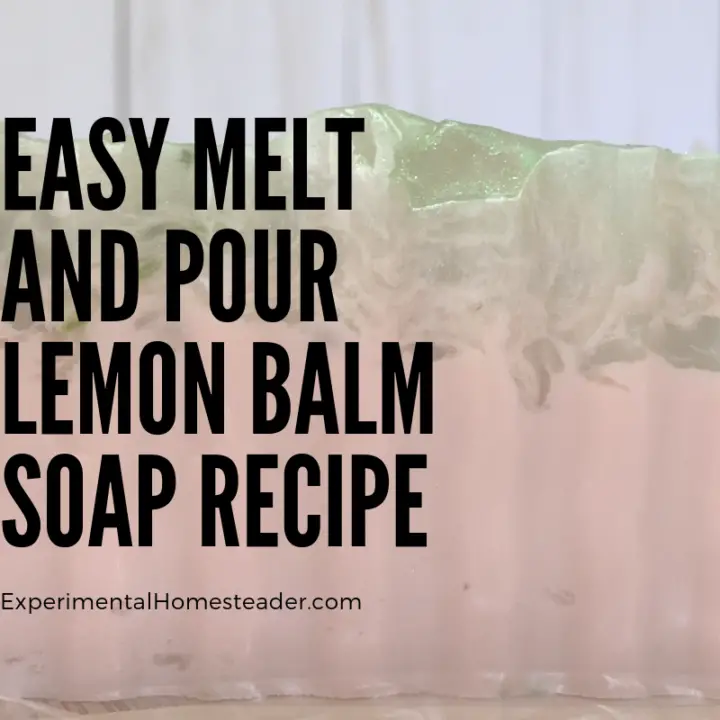
Easy Melt And Pour Lemon Balm Soap Recipe
This easy melt and pour lemon balm soap recipe is a great way to use up some of that lemon balm you are growing. It's also an easy recipe for beginners.
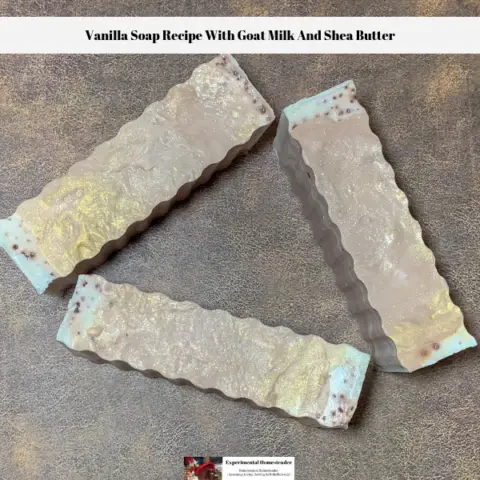
Vanilla Soap Recipe With Goat Milk And Shea Butter
This melt and pour vanilla soap recipe contains goat milk and shea butter. It lathers well, it's ideal for dry senstitive skin and is easy to make!

Melt And Pour Goat Milk Soap Recipe
This melt and pour goat milk soap recipe is easy enough for a beginner to create, but can also be made using a homemade soap base if you prefer.