Cherries are in season here in Indiana and what better way to enjoy them than to make a homemade cherry pie recipe?
Making a cherry pie isn't difficult.
The hardest part is pitting the cherries.
It is a time consuming job to say the very least.
But once the cherries are ready to use, the delicious taste of this homemade cherry pie recipe will make you glad you took the time to pit them.

Tips For Pitting Cherries For This Cherry Pie Recipe
Pitting cherries is a pretty messy job too, so I suggest you do it in a sink.
I prefer to let the cherries float in cold water while I pit them.
This makes it easy to wash them off and keep my hands free of cherry juice.
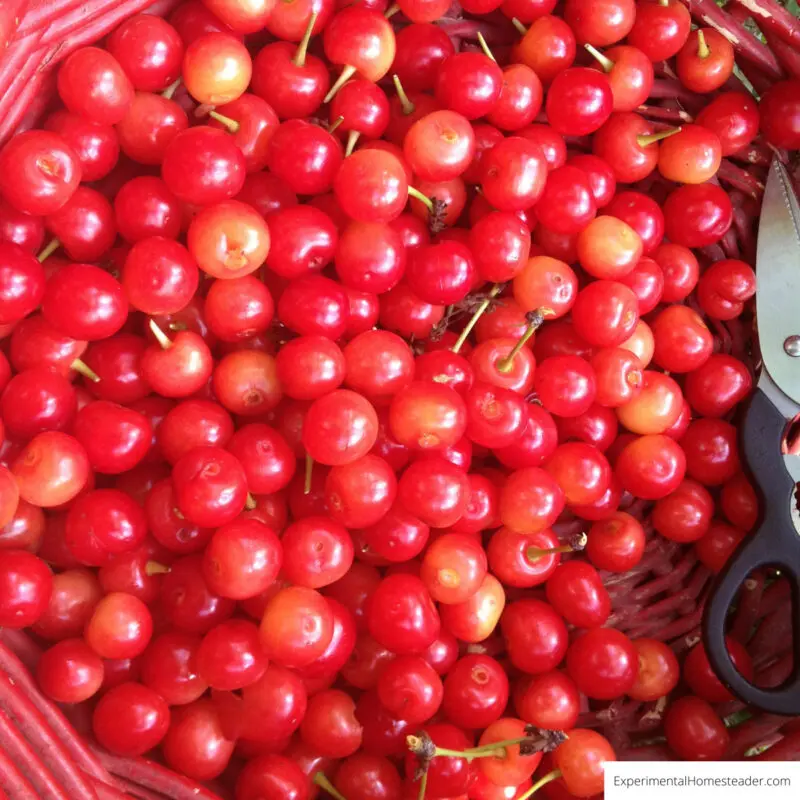
To pit a cherry, simply give the sides a slight squeeze and put the pit out through the hole where the stem was.
Tear the cherry in half so you can look inside just in case a worm is hiding in there.
If you see a worm, discard that part of the cherry along with the worm.
I also discard cherries if the color inside is brown instead of yellow.
You Can Use A Cherry Pitter To Pit Cherries For This Cherry Pie Recipe
Another way to pit a cherry is to use a cherry pitter.
You can buy these in the kitchen sections of most stores.
I have several but I don't use them.
Once the cherries are cleaned, pitted and sorted, the next step is to make the filling.
Here is how I make my filling.
Print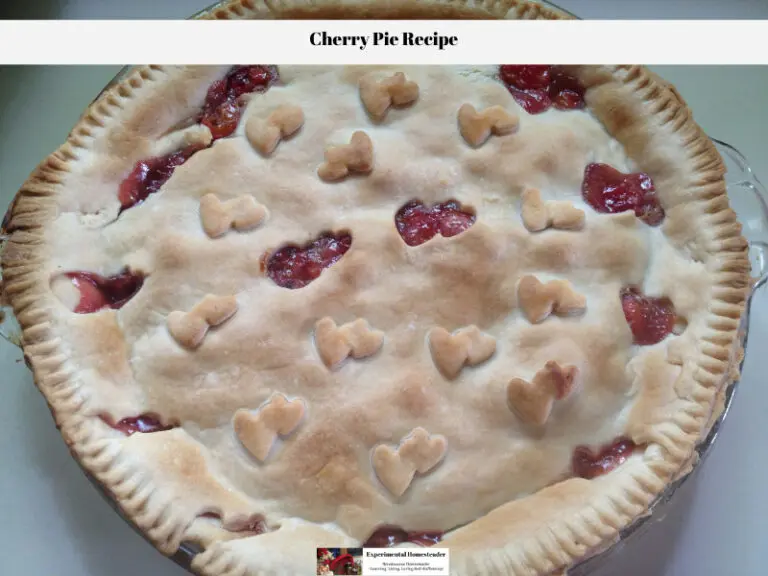
Cherry Pie Recipe
This delicious homemade cherry pie recipe is made with fresh picked cherries and a few simple ingredients.
- Total Time: 1 hour 30 minutes
- Yield: 1 pie
Ingredients
- 1 ½ pints of pitted tart cherries
- ¾ cup cane sugar
- ⅛ cup flour
- ⅛ cup cornstarch
- Ground cinnamon
- Nutmeg
- Pinch of sea salt
Instructions
- Place the cherries, sugar, flour and cornstarch in a saucepan.
- Add in a pinch (quite literally) of ground sea salt.
- Top that off with fresh ground cinnamon and nutmeg (to taste, so go lightly at first). I generally start with about a Tablespoon of cinnamon and make four turns on the nutmeg grinder, which I estimate would be about ⅛ of a teaspoon.
- Sit the pan on medium heat. You need to keep an eye on the cherry mixture making sure to stir it on a regular basis so it doesn't burn.
- Once it starts to bubble, remove it from the heat.
- Place the first pie crust in the bottom of the pie pan.
- Press the edges to the top of the pan. If you are using a pie crust that is pre-formed, you can skip this step.
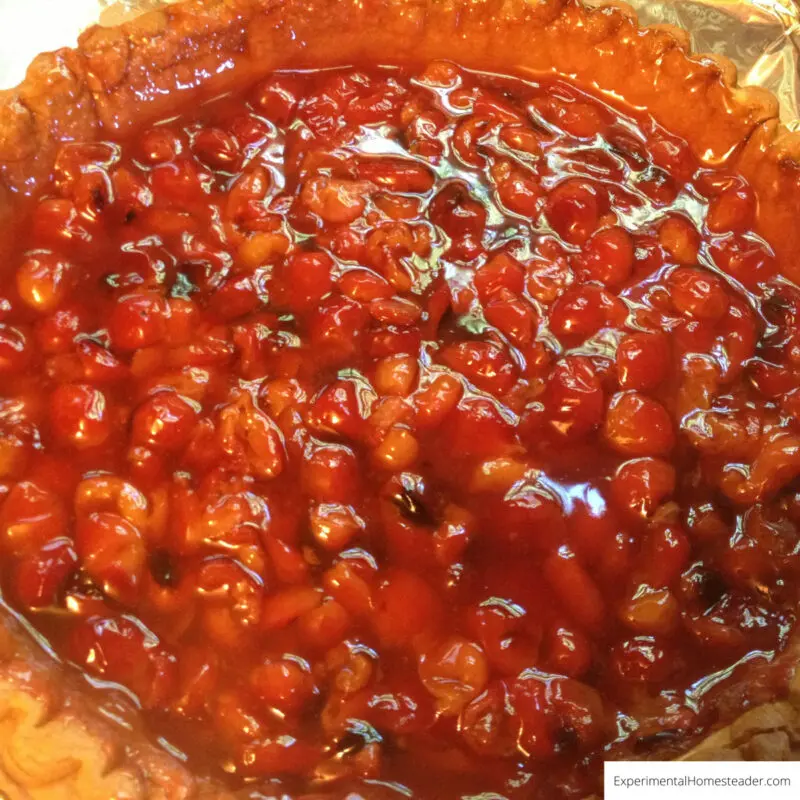
- Pour the filling on top of the pie crust.
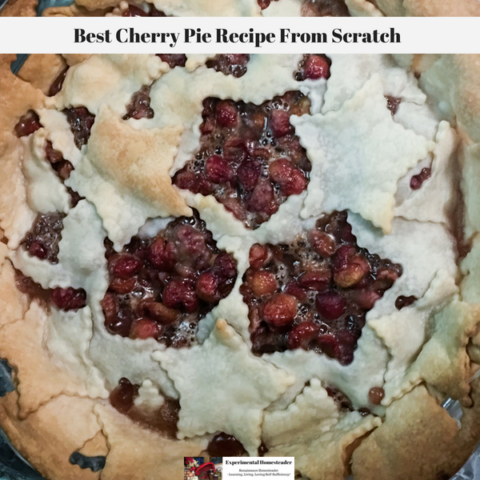
- You can add a second crust to the top, add lattice or bake it just like it is. That is your choice.
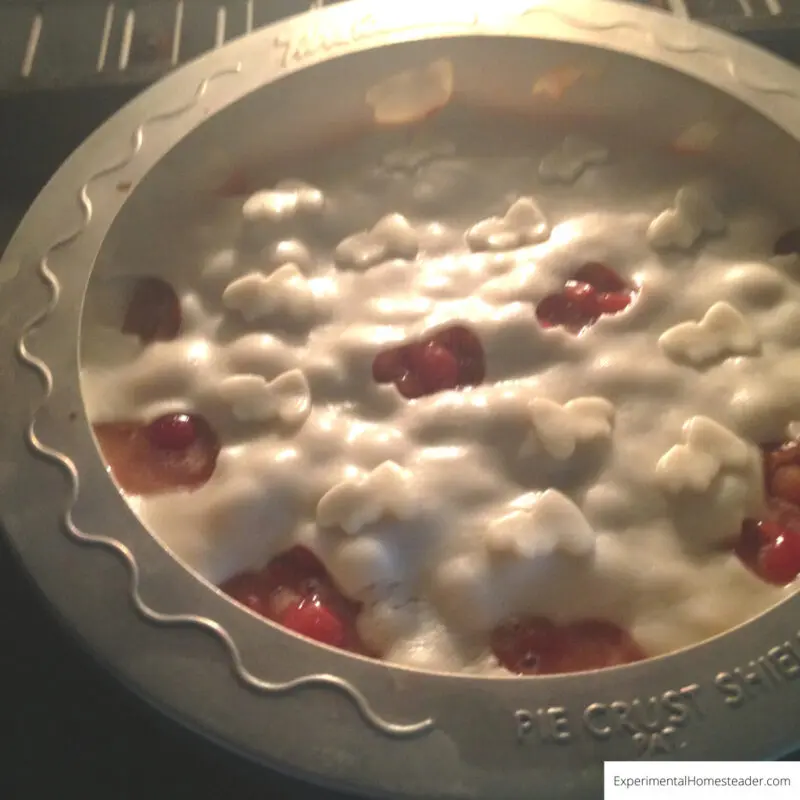
- Cover the edges of the pie crust with a pie crust cover or foil so it doesn't burn while the rest of the cherry pie is baking.
- Place the cherry pie in the oven and bake it. I bake my cherry pie at 400 degrees for 30 minutes. The amount of time can vary depending on where you live and your oven.
- Allow the pie to cool for 10 minutes once you remove it from the oven.
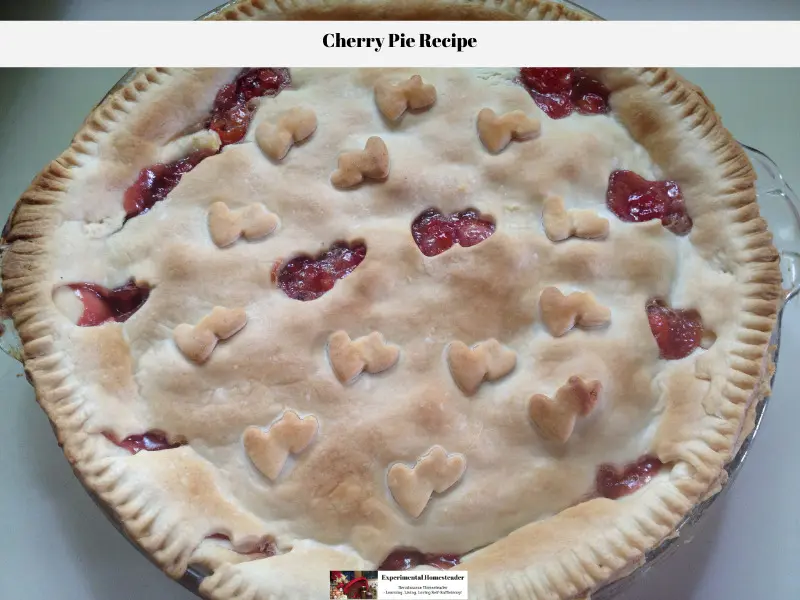
- Enjoy your homemade cherry pie recipe.
- Prep Time: 1 hour
- Cook Time: 30 minutes
- Category: Desserts
Dessert Recipes
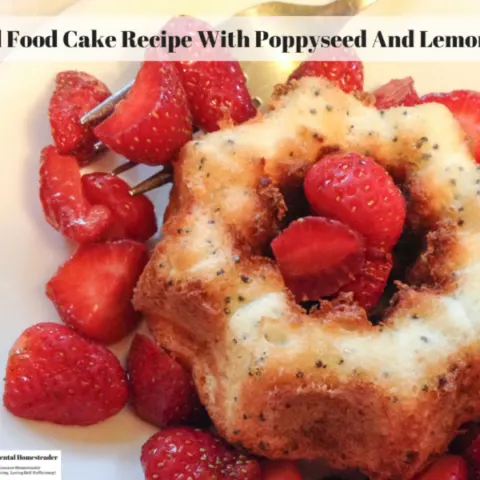
Angel Food Cake Recipe With Poppyseed And Lemon Zest
When it comes to angel cake desserts, this angel food cake recipe with lemon zest and poppy seeds tops them all! It is easy to make too!
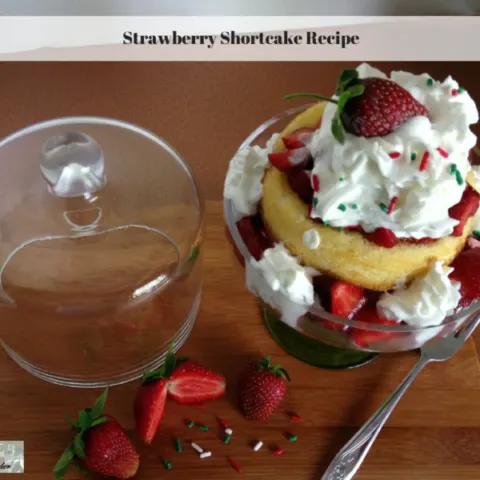
Strawberry Shortcake Recipe
Summer means strawberry shortcake! Fresh strawberries right off the vine make the best real strawberry shortcake. Whipped cream and sprinkles add pizzazz.
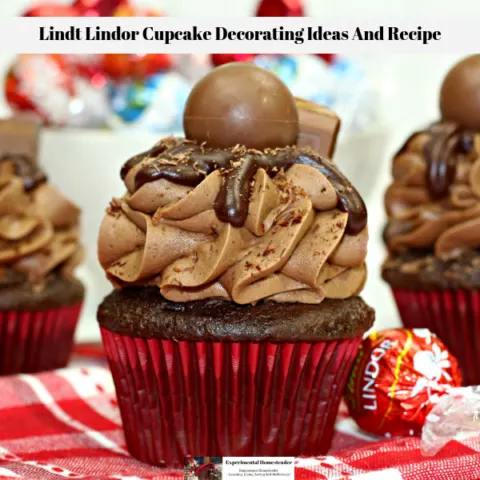
Lindt Lindor Cupcake Decorating Ideas And Recipe
This Lindt Lindor Cupcake Recipe gives some cool cupcake decorating ideas plus inspiration for other easy to create cupcake decorations!
How To Make Red Velvet Cupcakes From Scratch
Learn how to make red velvet cupcakes from scratch and learn how to easily decorate them using techniques anyone can do even if they have no experience.
Eggless Homemade Chocolate Cake Recipe
This eggless homemade chocolate cake recipe is moist and delicious. It uses just a few ingredients and is best baked in a bread pan.
How To Make Handmade Chocolate Covered Strawberries
These handmade chocolate covered strawberries are easy to make at home and are a healthy option depending on the type of chocolate used.
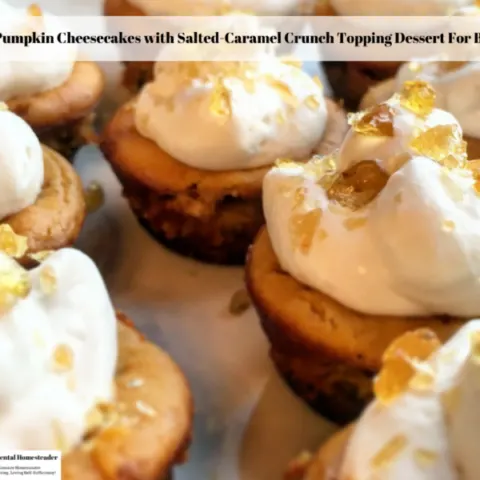
Mini-Pumpkin Cheesecakes with Salted-Caramel Crunch Topping Dessert For Brunch
Are you looking for an elegant dessert for brunch? These mini-pumpkin cheesecakes with salted-caramel crunch topping are sure to delight your guests!
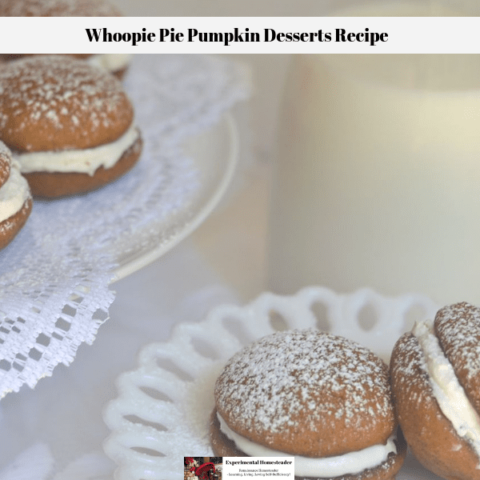
Whoopie Pie Pumpkin Desserts Recipe
This Whoopie Pie Pumpkin Desserts recipe is a perfect fall dessert! Best of all, it's made with real pumpkin and filled with a creamy pumpkin spice filling.
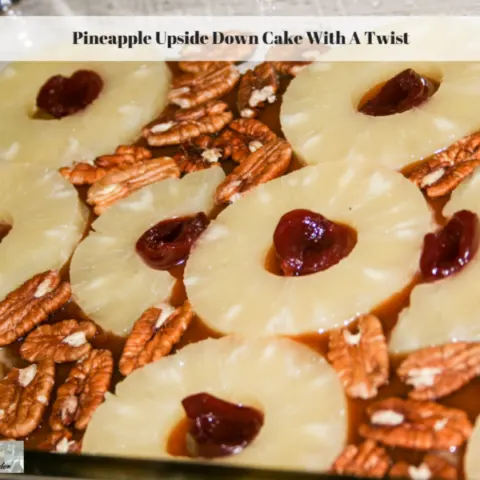
Pineapple Upside Down Cake With A Twist
Are you looking for pineapple cake ideas? Pineapple upside down cake is delicious and easy to make! This recipe is a new twist on an old favorite.
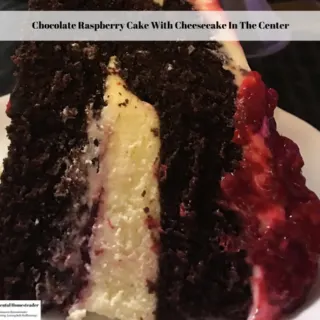
Chocolate Raspberry Cake With Cheesecake In The Center
This delicious baked raspberry cheesecake recipe is a chocolate cake with cheesecake in the center, cream cheese icing and raspberry sauce on top!
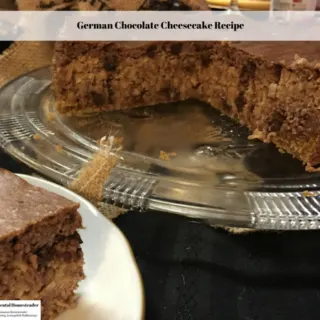
German Chocolate Cheesecake Recipe
When it comes to a delicious homemade baked cheesecake recipe large enough for a crowd, this German Chocolate Cheesecake Recipe is sure to please!
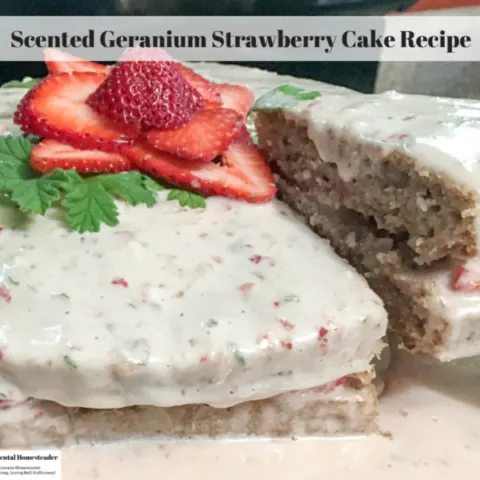
Scented Geranium Strawberry Cake Recipe
This delicious strawberry cake recipe combined with one of my favorite scented geranium recipes is perfect for afternoon tea.
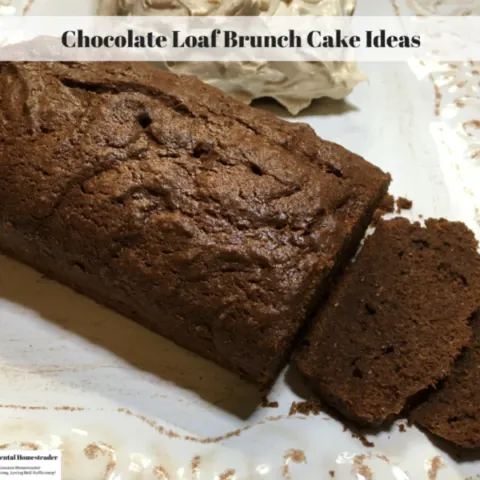
Chocolate Loaf Brunch Cake Ideas
Check out these chocolate loaf brunch cake ideas - complete with a recipe for chocolate brunch cakes. This cake goes very well with fresh fruit!
Chocolate Peanut Butter Homemade Brownies
Chocolate and peanut butter are delicious together and these easy to make homemade brownies showcase that perfect pairing.
Quick, Easy To Make Fudge Brownie Recipe
This rich, chewy fudge brownie recipe is a homestead favorite—simple, satisfying, and perfect for sharing with loved ones.
Raspberry-Chocolate Sundae Topper
This delicious, easy-to-make raspberry-chocolate sundae topper is an ideal canning recipe making it easy to serve to guests or give as gifts!
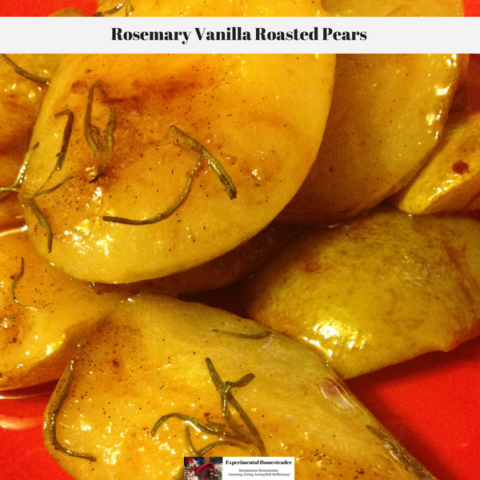
Rosemary Vanilla Roasted Pears
Made in the oven, these rosemary vanilla roasted pears simply melt in your mouth. Loaded with flavor this recipe is quick and easy to make!
Apple Pie For Diabetics
Everyone should be able to enjoy a simple homemade apple pie. This apple pie for diabetics recipe tastes good and you won't miss the sugar!
How To Make Holiday Cookies
In this eCourse you will learn how to make four different types of popular holiday cookies.
You also get tips on how to make the cookies turn out their best.
The four types of cookies covered in this eCourse includes:
Sugar Cutout Cookies
Snickerdoodles
Molasses Crinkles
Holiday Gumdrop Cookies
There is also a downloadable PDF that includes all of the recipes plus a bonus recipe for the run sugar glaze popular for icing sugar cookies.


