Chocolate Peppermint Brownies with Swerve Frosting and Snowmen
Disclaimer: The reviewer has received the product/service at a reduced price or for free. I am being compensated to participate in #Switch2Swerve challenge through the Bookieboo Influencer Network . I will switch out my regular sweetener to Swerve Sweetener from November 18, 2013 through December 20, 2013. All opinions are my own and are my honest opinions based on my own experience with the product.
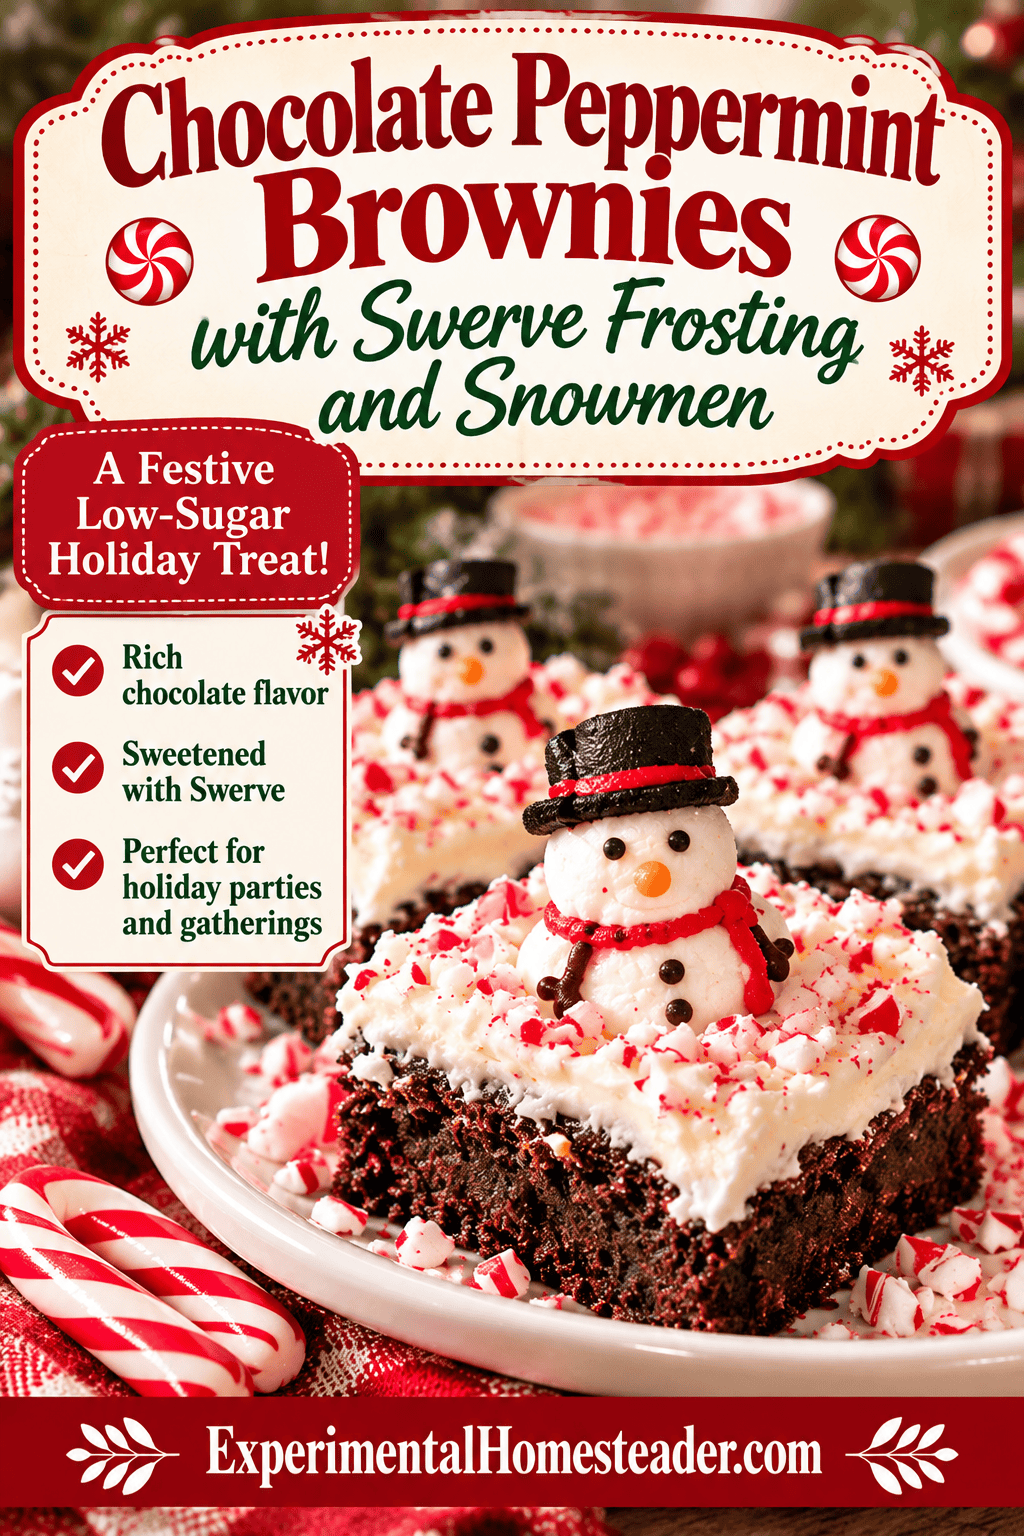
There is something about chocolate and peppermint together that makes me want to head straight for the kitchen, especially when the holidays roll around. These chocolate peppermint brownies came about because I had a handful of mini candy canes that were surprisingly chewy instead of crunchy, and I wasn't about to let them go to waste. Then I spotted the cutest little edible snowmen holding peppermint mints at the craft store. Well, that settled it. I was going to make brownies from scratch, pile on a fluffy frosting, and give those snowmen a place to stand.
I love taking something I already have in the pantry and finding a way to make it feel special. Those soft little candy canes worked their way right into the chocolate batter, adding peppermint without making me buy another bottle of flavoring. And the snowmen? They made me smile, but please don't think you have to find the exact same decorations. A little crushed peppermint on top is pretty, too, and the brownies taste wonderful without any fancy finishing touches.
What I especially like is the contrast between the dark chocolate brownie and that pale, creamy frosting. The peppermint gives you a little holiday flavor without taking over the chocolate. These would be fun on a Christmas dessert tray, but I wouldn't wait for a party to make them. Sometimes a pan of homemade brownies is reason enough to celebrate.
In This Article
Before You Start: Ingredients and Equipment
Before I start melting chocolate, I like to get everything out where I can see it. This recipe uses butter twice, once in the brownies and again in the frosting, so I divide it before I begin. That little bit of preparation keeps me from using all the butter in the first step and discovering my mistake when it's time to frost. Along with the butter, gather the dark chocolate chips, granulated Swerve, vanilla, eggs, cake flour, salt, candy canes, confectioners-style Swerve, and heavy cream. The edible snowmen are just for fun, so don't let the decorations stop you from baking.
An 8-inch square pan works nicely, although I've also used a rectangular pan made for brownies. Line your pan with foil, set out a saucepan and a mixing spoon, and make sure you have a cooling rack handy. You'll want an electric mixer for the frosting. I also crack each egg into a small dish before it goes into the batter. It only takes a moment, and it's much easier to catch a stray bit of shell there than in a saucepan full of chocolate. If you use a different-sized pan, remember that a thinner layer of batter may bake faster.
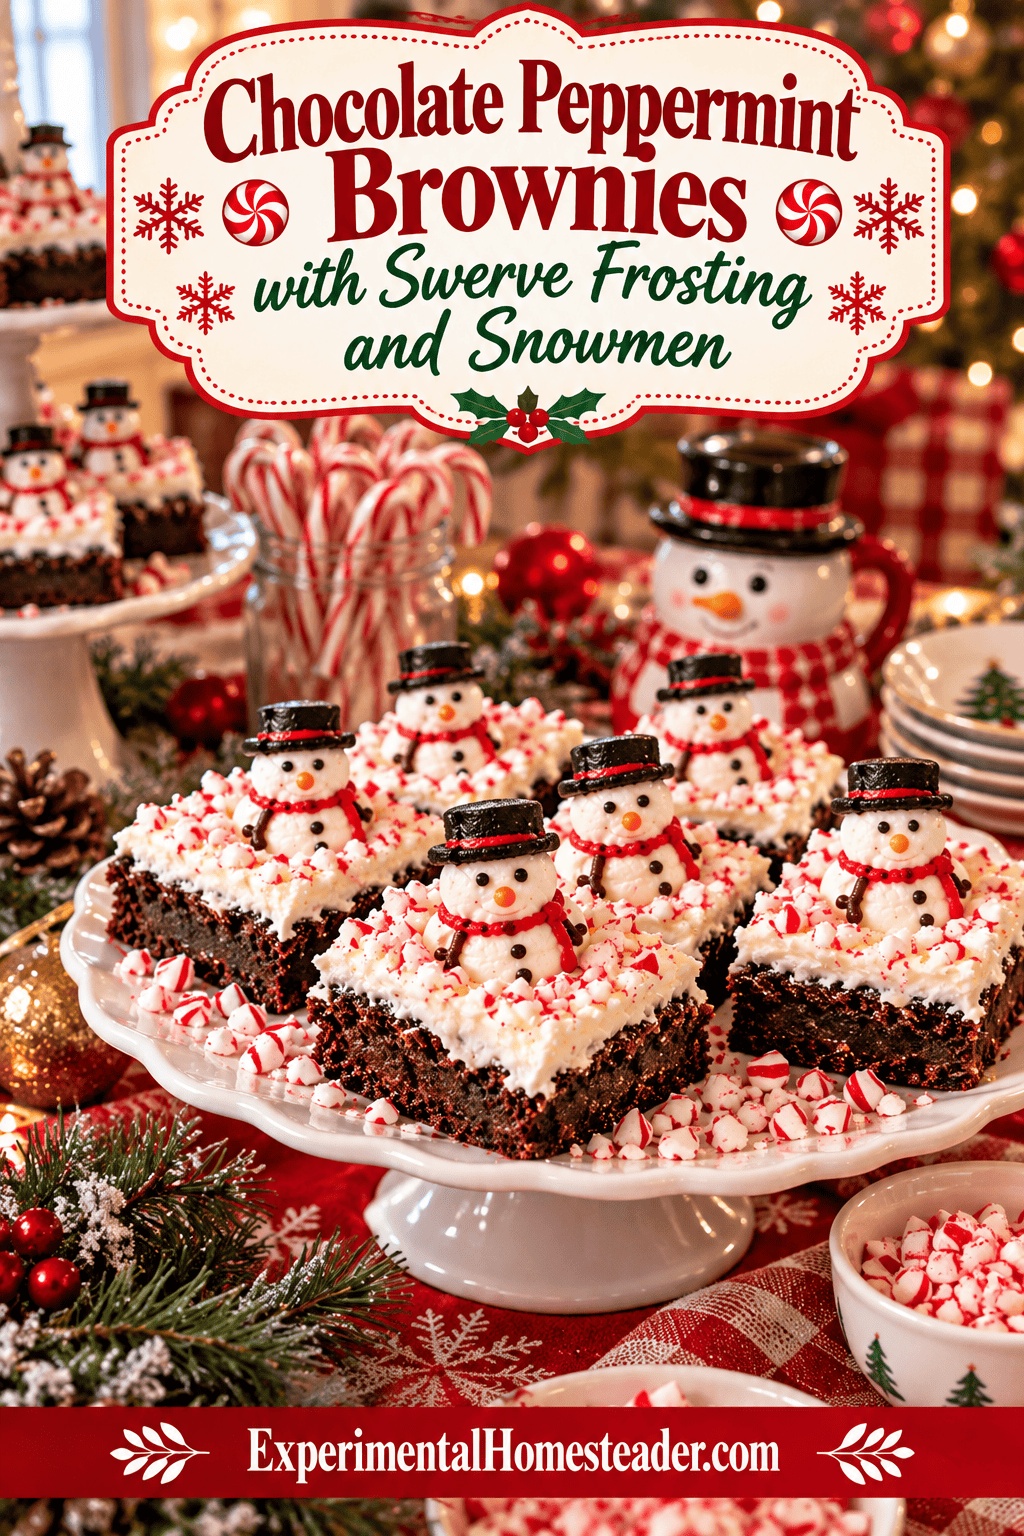
Baking and Decorating Chocolate Peppermint Brownies
I start by heating the oven to 350 degrees F and lining my brownie pan with foil. Then I put the first cup of butter into a saucepan over low heat. As soon as there's a little melted butter in the bottom, I add the chocolate chips and stir gently while everything melts together. Resist the temptation to crank up the heat. Burnt chocolate has a way of ruining the whole batch, and a few extra minutes of stirring are worth it. Once the mixture is smooth, I take the pan off the heat and let it cool a little before moving on.
Next comes the granulated Swerve and vanilla, followed by the eggs, one at a time. Give that chocolate mixture a chance to cool first. Nobody wants little bits of scrambled egg in their brownies! Once the eggs are mixed in, I add the salt and work in the cake flour a little at a time. There's no need to beat it endlessly; just get the flour mixed in. Pour the batter into the lined pan, sprinkle the chopped candy canes across the top, and use a knife or spatula to swirl some of the peppermint into the chocolate. I leave a few pieces showing because I like the way they look.
Now comes the hardest part: waiting while the kitchen starts smelling like chocolate and peppermint. These usually take about 25 to 30 minutes at 350 degrees F, but I start keeping an eye on them around the 25-minute mark. If you're using a shallower pan, they may be ready sooner. I look for a set top and check the middle with a toothpick. A few moist crumbs are fine, but wet batter means they need a little longer. Once they're done, set the pan on a cooling rack and leave the frosting for later. I know it's tempting to spread it on while they're still warm, but you'll end up with melting frosting instead of that pretty, snowy topping.
How to Make the Swerve Frosting
While the brownies are cooling, I turn my attention to the frosting. Put the remaining softened butter in the mixer and start beating it on low. Add the confectioners-style Swerve a cup at a time, letting each addition mix in before adding more. Trust me, starting the mixer on high with powdered sweetener in the bowl is a good way to dust your whole kitchen! Once it's mixed in, add the rest of the vanilla and the heavy cream, then beat until the frosting turns light and fluffy. My KitchenAid makes quick work of this, but any electric mixer will do.
One thing I don't want you to miss is the type of Swerve. I use the confectioners-style sweetener for the frosting because regular granulated sweetener can leave it gritty. If your frosting is a little stiff, give the butter time to soften instead of immediately pouring in more liquid. If it gets too soft, the butter may have warmed up too much. And here's a little trick I use: dip the frosting knife in hot water, wipe it dry, and then smooth the frosting over the brownies. It makes the top look so much nicer.
Once the brownies are completely cool, spread on that fluffy frosting and give it a little time to settle. I like to cut the brownies into squares before placing the snowmen so each little fellow ends up on his own brownie instead of getting sliced in half. Wipe the knife between cuts if you want nice, clean edges. A touch of edible glitter makes them look festive, but a scattering of crushed peppermint works just as well. The decorating is supposed to be fun, not another holiday chore.
Troubleshooting Chocolate Peppermint Brownies
Even when you've made brownies plenty of times, a batch can surprise you. If the chocolate starts smelling burnt while you're melting it, don't try to cover that flavor with frosting. It's better to start the chocolate mixture again. Brownies that come out dry may have spent a few minutes too long in the oven, especially if you used a larger pan and the batter was spread thin. If the center is still wet when you check it, let them bake a little longer. Your oven and pan make a difference, so pay attention to what the brownies are telling you instead of watching the clock alone.
Those candy canes can also melt into little sticky spots, especially if you leave the pieces too large. I chop them small and spread them around rather than piling them in one place. And if peppermint isn't your favorite flavor, don't add extra candy on top just because it's Christmas. The brownies already have peppermint mixed in. The snowmen are cute, but they're not part of what makes the brownies bake properly, so feel free to leave them off.
Making Ahead and Storing the Brownies
If you're making these for company, you don't have to do everything at the last minute. Bake the brownies ahead, let them cool, and frost them when you're ready. Once they're decorated, I would keep them in a single layer so those little snowmen don't get squashed under another brownie. Since the frosting contains butter and cream, I refrigerate the finished brownies for storage. Keep the container covered so they don't dry out, and let them sit out briefly before serving if you like your frosting a little softer.
Want to get some of your holiday baking done early? I'd freeze the brownies without frosting or decorations. Once they're completely cool, wrap them well and tuck them into the freezer. Then you can thaw, frost, and decorate them closer to the day you need them. The candy decorations can get sticky after freezing and thawing, and I'd hate to see you spend time making them pretty only to have the finish ruined.
Print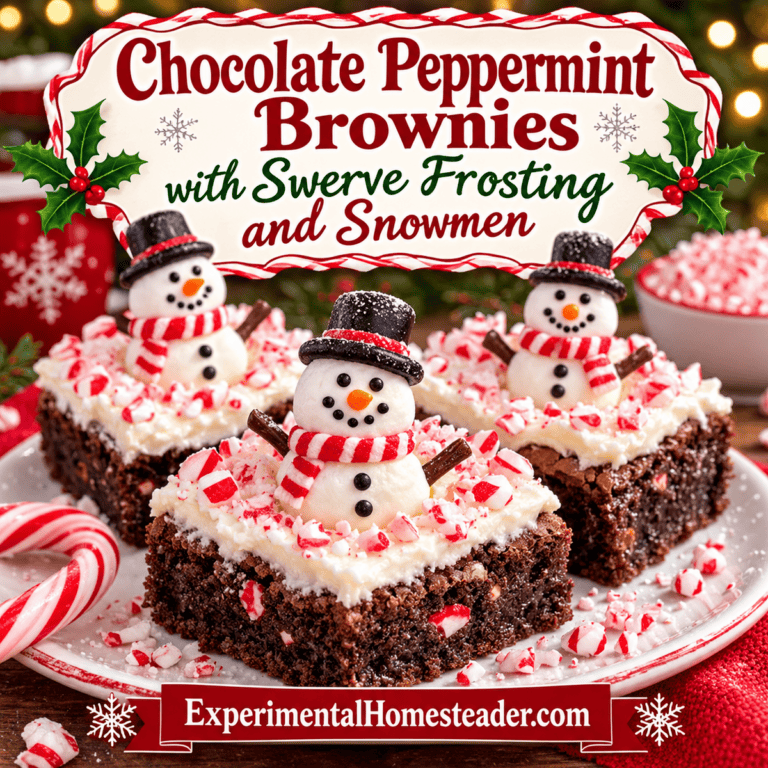
Chocolate Peppermint Brownies with Swerve Frosting and Snowmen
Ingredients
- 2 cups real butter, softened to room temperature
- 1 ½ cups dark chocolate chips
- 1 cup Swerve Sweetener
- 1 ½ teaspoons vanilla extract
- 4 large eggs
- 1 cup cake flour
- ¼ teaspoon Fleur de Sel salt
- 6 mini candy canes, chopped into ⅛-inch pieces
- 3 cups Swerve Confectioners Sugar
- 2 Tablespoons heavy whipping cream
- Wilton Snowman Decorations
- Wilton Edible Glitter in silver
- Wilton Pearl Dust in white
Instructions
- Preheat the oven to 350 degrees F.
- Line your brownie pan with foil. A good size is an 8" square pan, but I have a rectangular pan made specifically made for brownies and you may too. If so, use it.
- Melt 1 cup of butter in a pan on low heat.
- As the butter begins to melt and the bottom of the pan is covered with ¼ inch to ½ inch of butter, add in the chocolate chips.
- Continue melting the butter and chocolate chips on low heat, stirring as needed to keep them from burning.
- Once the butter and chocolate chips are completely melted, stir them well so they combine and remove the pan from the heat source.
- Allow the mixture to cool slightly.
- Add in the Swerve Sweetener and stir it into the butter and chocolate
- Add 1 teaspoon vanilla extract and stir again.
- Stir in the eggs, one at a time. It is best to break each egg in a dish and then add it to your mixture.
- Add the salt and stir.
- Add the flour, a little at a time stirring the batter as you go.
- Pour the batter into the foil lined pan.
- Sprinkle the candy cane pieces on top and use a knife or spatula to swirl them into the batter. It is ok for some pieces to remain on top.
- Bake the brownies for 25 to 30 minutes. When they are done, a toothpick inserted into the center of the pan will come out clean.
- Cool the brownies on a cooling rack. My pan came with one. If your pan did not, you can use regular cake cooling racks.
- While the brownies are baking or cooling (your choice) put the remaining 1 cup of softened butter in a bowl and begin whipping it on low speed with an electric mixer. I have a KitchenAid mixer and used the "Stir" setting.
- Turn the mixer off and add the first cup of confectioner sugar to the butter.
- Turn the mixer back on low speed. Again, I used the "Stir" setting.
- Repeat steps 18 and 19 twice more until all the confectioner sugar is added.
- Turn the speed of the mixer up. I turned mine to a "2."
- Add in ½ teaspoon vanilla extract.
- Add in the 2 Tablespoons heavy whipping cream.
- Continue mixing until the icing is light and fluffy. This takes 2 to 3 minutes on a medium-high speed.
- Once the brownies are cool, frost them. Here's a tip: put your frosting knife in a cup of hot tap water. It will melt the excess icing off and make it easy for you to smooth out the icing on the brownies.
- Cut the brownies into squares. My pan came with a pre-fit cutter, but you can use a knife.
- Sprinkle the pearl dust over the top of the icing.
- Sprinkle the edible glitter stars over the top of the icing.
- Press the decorated snowmen into the center of each square. I chose to use just one package of snowmen, so some of my squares are not decorated with snowmen and this is ok. The choice is yours.
- Serve the brownies and enjoy!
Notes
Nutrition note: The Nutrifox nutrition information does not include the optional Wilton edible snowman-and-mint decorations. According to the package used for this recipe, each 7 g decoration adds 25 calories, 6 g carbohydrates, and 6 g sugar. These decorations contain sugar and corn syrup, so adding them means the finished brownies are not sugar-free. The package states that they are made in a facility that also processes egg and soy products. Check current packaging for updated ingredients, allergen information, and nutrition values.

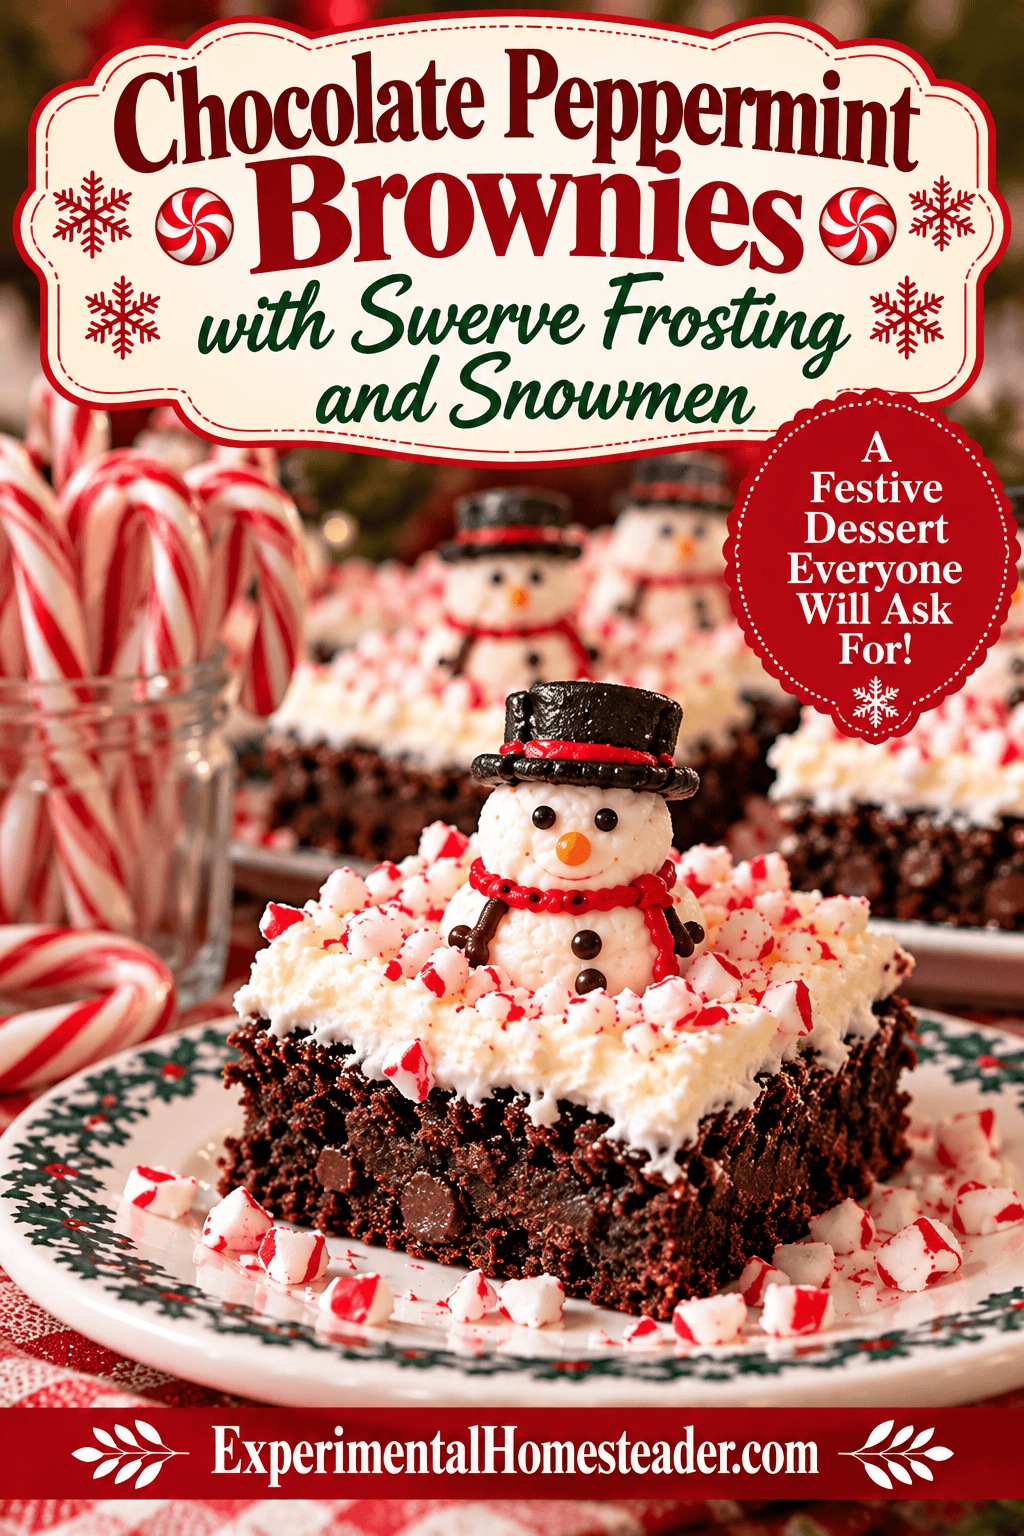
A Note About the Edible Snowman Decorations and Nutrition
The Nutrifox nutrition information for this brownie recipe does not include the optional edible snowman decorations. The Wilton Snowman with Stripe Mint decorations I used were packaged with 12 pieces, and the label lists one snowman-and-mint decoration (7 grams) as a serving with 25 calories, 6 grams of carbohydrates, and 6 grams of sugar. If you add one decoration to each brownie, those amounts are additional to the nutrition information shown for the brownie itself. Check the package you purchase because ingredients and nutrition information can change.
These decorations contain sugar and corn syrup, so the decorated brownies are not sugar-free just because Swerve is used in the batter and frosting. The package also states that the decorations are made in a facility that processes egg and soy products. If you are serving someone with food allergies or specific dietary needs, check the current label on every ingredient and decoration.
I originally made these brownies during a sponsored Swerve baking challenge, which is why you'll see my disclosure at the beginning of the post. The old promotional links are gone, but the recipe and the fun I had putting those little snowmen on top are still worth sharing.
More Homemade Desserts to Try
If you enjoy playing around with flavors instead of baking the same old cookies every holiday season, take a look at my coconut, cinnamon, and rose cookies. They are another example of using Swerve in a homemade treat, with floral and spice flavors instead of chocolate and peppermint. For a more traditional chocolate dessert, see my fudge brownies like Grandma used to make.
One last thing about Swerve: make sure you grab the right kind for each part of this recipe. The granulated sweetener goes in the brownies, while the confectioners-style version is what you want for that smooth frosting. And if you make these, tell me how you decorated yours. Did you find little snowmen, use crushed candy canes, or just spread on the frosting and call it delicious?