If you're looking for a really cool project to chase away the winter blues or even lessen your reliance on electricity, then you will want to read on to learn how to make a solar oven!
A solar oven made out of a cardboard box is an easy project that you can make, possibly with materials you already have on hand.
Once you have it made, all you need to do is wait for a really sunny day, set your new solar oven outside and start learning how to cook with it.
How To Make A Solar Oven
Making a solar oven is not hard.
There is a learning curve when it comes to cooking with them, but even that is not as hard as it sounds.
The one thing to keep in mind is the top edge of the cardboard box must be perfectly straight, otherwise the hot air will escape and your solar oven will not hold it's temperature very well.
How To Make A Solar Oven
Materials
- Two large cardboard boxes that can nest in one another
- Aluminum foil
- Black paint
- Perlite
- Duct tape
- Clear packing tape
- An oven thermometer
- An old window
Tools
Instructions
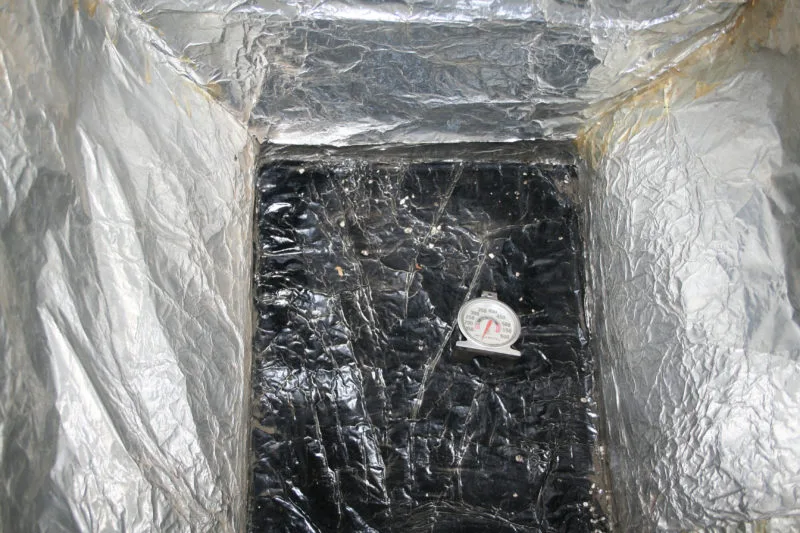
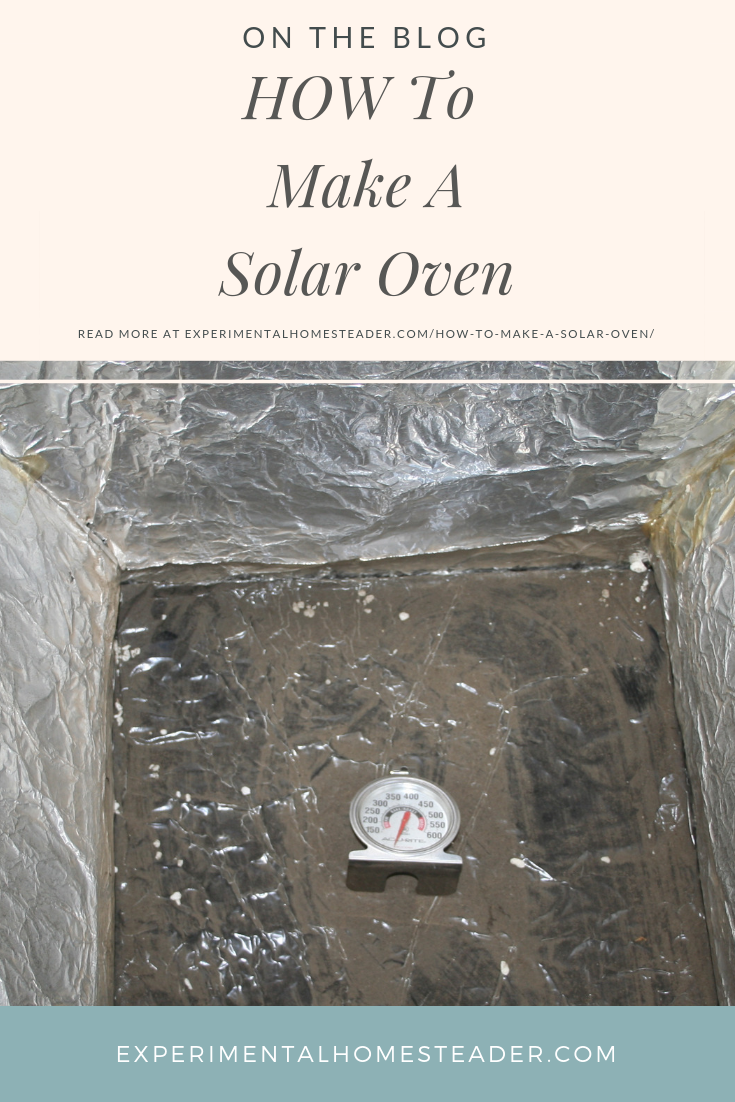
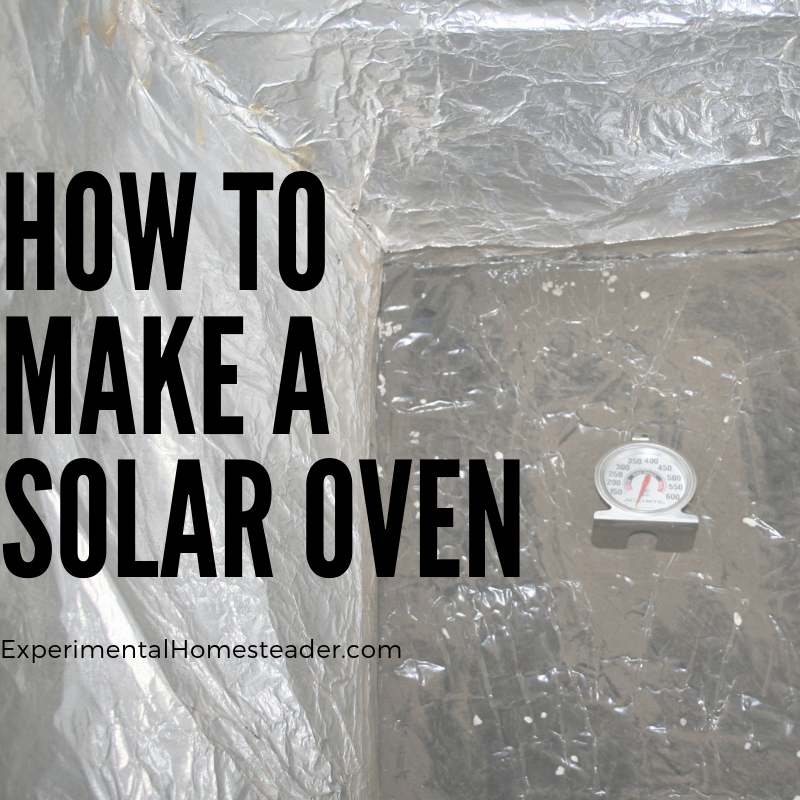
- Begin by taping the aluminum foil to the inside of both boxes. We used clear packing tape to do this so we did not cover any of the aluminum foil with dark tape because that could interfere with the solar cooker working well. As you can see from the photo, over time, the clear tape begins to yellow.
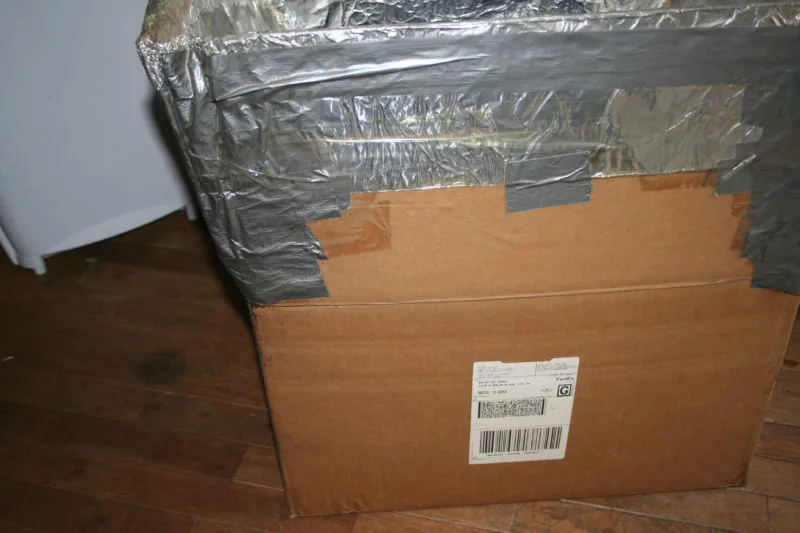
- We chose to use duck tape on the outside of the box because we thought it would hold better than the clear tape.
- Then cut enough one inch strips of cardboard to put every couple of inches inside the bottom of the larger box.
- Bend these strips so they zigzag, then lay them on their skinny sides in the bottom of the box. What you are doing is creating air space.
- Pour in the bag of perilite. You want about an inch of this in the bottom of the box. You might need more than one bag if you are making a larger solar oven.
- Sit the smaller box into the bigger one and fill the space on the sides between the two boxes equally with more perlite.
- Tape the two box flaps together and trim off the excess making sure the tops are perfectly even with one another.
- You now have your oven assembled.
- The next step is to cut a large piece of cardboard the size of the bottom of the smaller box.
- Cover it with aluminum foil, then paint it black.
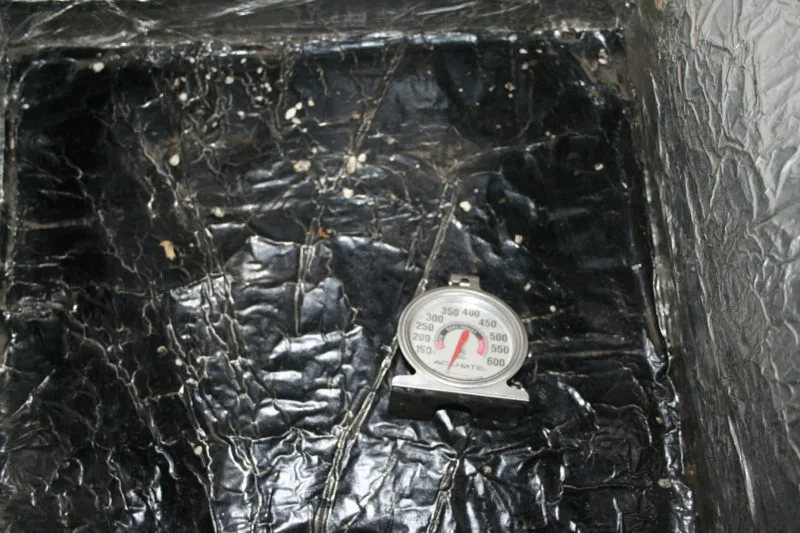
- The black side will face up when it is set in the bottom of the oven. The pans as well as the oven thermometer sit on top of it.
- The old window goes on top of the box to seal it. You can use plexiglass if you prefer. It is important to double check to make sure the window or plexiglass is sitting flat on the top of the solar oven and that there are no air leaks before you start to cook.
Recommended Products
Sheri Ann Richerson is a participant in the Amazon Services LLC Associates Program, an affiliate advertising program designed to provide a means for sites to earn advertising fees by advertising and linking to Amazon.com.
-
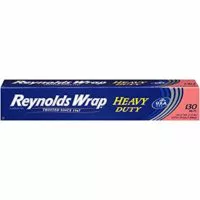 Reynolds Wrap Heavy Duty Aluminum Foil - 130 Square Feet
 -
 Fast Dry, Low Odor, Low VOC - Acrylic Spray Paint Pintyplus Evolution - Pack of 2 (Gloss Jet Black)
 -
 Espoma PR8 8-Quart Organic Perlite
 -
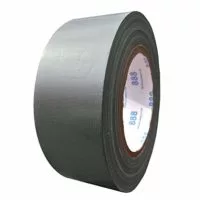 MG888 Silver Gray Colored Duct Tape Roll 1.88 Inches x 60 Yards for Repairs, Crafts, DIY, Multi Use
 -
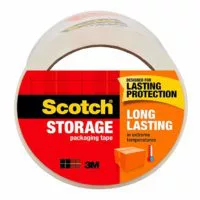 Scotch Long Lasting Storage Packaging Tape, 1.88 in. x 54.6 yd, 1 Roll/Pack
 -
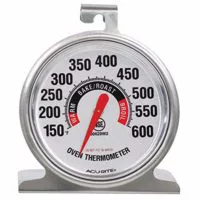 AcuRite 00620A2 Stainless Steel Oven Thermometer, 1
 -
 Roberts Carpet Tools Professional Utility Knife 10-920-6
 -
 Fiskars 01-004761J Softgrip Scissors Straight Stainless Steel, 8 Inch
Now That You Know How To Make A Solar Oven, Give It A Try
Your solar oven is now ready to try out as soon as you have a sunny day.
To use your new solar oven, choose a fairly simple recipe such as homemade lasagna.
Then make sure the pan you want to use fits into your solar oven, if not, find a smaller pan.
A darker colored pan is best because it helps hold heat.
Once you have decided what you are going to make, place the solar oven in the sun with the piece of glass on top and the oven thermometer inside.
As soon as your solar oven is up to temperature - and this would be whatever temperature your food would cook at in an oven, go ahead and prepare the recipe.
For example, for lasagna, simply assemble the noodles - you can use oven cook noodles if you like, but I prefer to boil them first - cheese and sauce in your pan.
Place the pan inside the preheated solar oven and put the glass back on top.
Now watch the temperature gauge on the oven thermometer because the temperature will have dropped some due to the glass being removed.
Once the temperature inside the solar oven is back where it should be, start your timer.
Recipes should take about the same amount of time in a solar oven as they do in a regular oven.
The one thing to be aware of however is if your oven gets shaded, the temperature inside the oven will drop.
Always be sure to check your food using a food thermometer to make sure it is at the correct internal temperature before you serve it.
That's it!
I hope you have enjoyed this tutorial and try to make your own solar oven.
Be sure to leave your experience, questions or comments below.
Cooking From Scratch
Tips For Cooking On A Wood Stove
Cooking on a wood stove was the reality for everyone not so long ago, but today it is less common because there are more convenient ways to cook.
How To Cook In Cast Iron Pans
Learning how to cook in cast iron is not hard, but you do need an understanding of cast iron pan and iron skillet care before you begin.
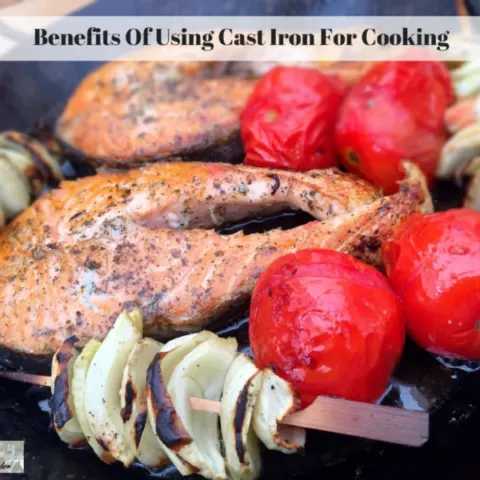
Benefits Of Using Cast Iron For Cooking
Cast iron cooking is a healthier alternative. Learn why using cast iron for cooking is better for you and why cast iron cookware is so versatile.
Leftover Pot Roast Recipes: Breathe New Life Into Your Leftovers
Delight in leftovers! Unlock nutritious, flavorful meals with pot roast recipes that bring creativity & variety to your table.
Easy Cast Iron Dutch Oven London Broil Recipe
This cast iron Dutch Oven London Broil recipe is a one pot meal that requires very little preparation and does not require any work during the actual cooking time.
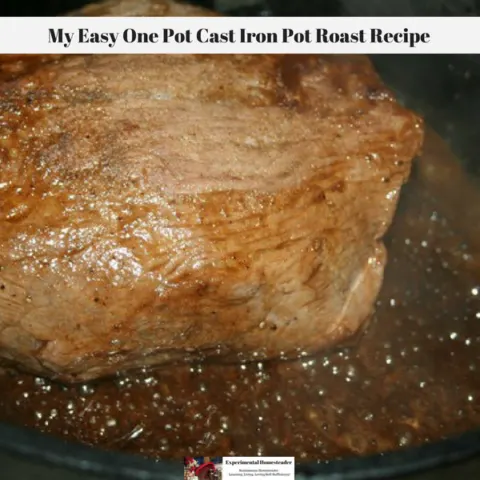
My Easy One Pot Cast Iron Pot Roast Recipe
Do you feel like you are too busy to cook a real meal such as this pot roast recipe for your family? This pot roast is so easy to make, even if you have a really busy schedule and it is delicious too!
Raspberry Pork Chops
Fresh raspberries from the garden make the best raspberry pork chops, but if you don't have fresh, frozen or canned raspberries also work.
Delicious Ribeye Steak Recipe Plus Campfire Meal Ideas
This delicious ribeye steak recipe cooked over an open fire is sheer perfection! Learn how to make it and then pair it with these other campfire meal ideas!
The Ultimate Collection Of Best Ever Chicken Recipes
Are you looking for the ultimate collection of best ever chicken recipes? Look no further! Here is my collection of ultimate chicken recipes!
Five 30 Minute Or Less Dinner Ideas For Tonight
Check out these five dinner ideas for tonight that are ready in 30 minutes or less.
Delicious Dinner Ideas Your Family Is Sure To Love
These delicious dinner ideas are ones your family are sure to love. From meat recipes to side dishes and even one pot recipes, you'll find inspiration here!
Easy Veggie Dinner Ideas
These easy veggie dinner ideas make getting your daily serving of vegetables easy! Your entire family is sure to love these delicious vegetable recipes.
Vegetarian Dinner Ideas
These vegetarian dinner ideas are sure to please your family or guests who come to your home for dinner that are vegetarian. Vegetarian Dinner Ideas For Guests Or Your Own Family There are some great ideas here for the holidays as well.
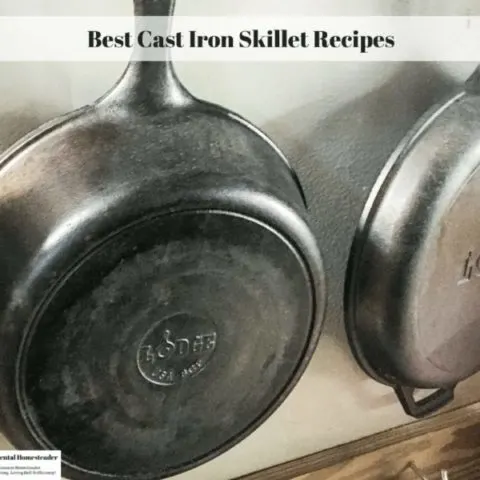
Best Cast Iron Skillet Recipes
The best cast iron skillet recipes include one pot cast iron skillet meals, meats, vegetables and desserts that are easy to make. Cast iron skillet recipes also need to taste great. Be sure to check out our easy and delicious iron skillet recipes!
Delicious Cast Iron Pot Recipes Your Family Will Love
Your family will love these delicious cast iron pot recipes! Plus these easy recipes are sure to convince you to use your cast iron pots on a regular basis.
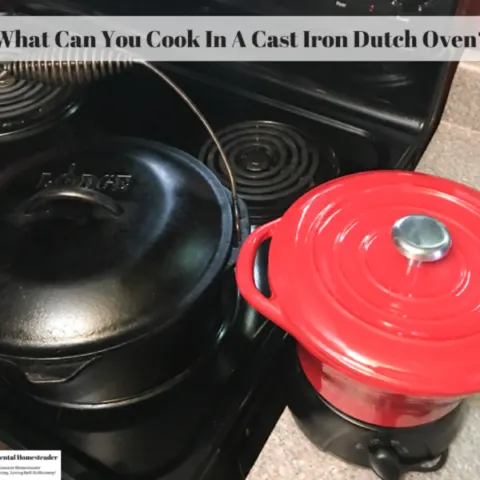
What Can You Cook In A Cast Iron Dutch Oven?
Have you ever wondered what can you cook in a cast iron dutch oven? Or maybe why a cast iron dutch oven is a better option? Get recipes and answers here!
Instant Pot Recipes
Here is a collection of instant pot recipes from this site. Instant pots are all the rage these days because they cook food so much faster, are easy to use and easy to clean up when you are done.
Easy Wood Stove Recipe For A Grilled Cheese Sandwich
This easy wood stove recipe for a grilled cheese sandwich paired with tomato soup is the perfect comfort food for a cold winter day.
How To Make Homemade Tomato Soup In A Dutch Oven
It is so easy to make homemade tomato soup in a dutch oven using fresh tomatoes, or if tomatoes are out of season, using tomatoes you froze or canned and the taste is unbelievably delicious!
Cast Iron Dutch Oven Garlicky Chicken Noodle Soup Recipe
Seasons change and with them come new recipes for my cast iron dutch oven chicken noodle soup.
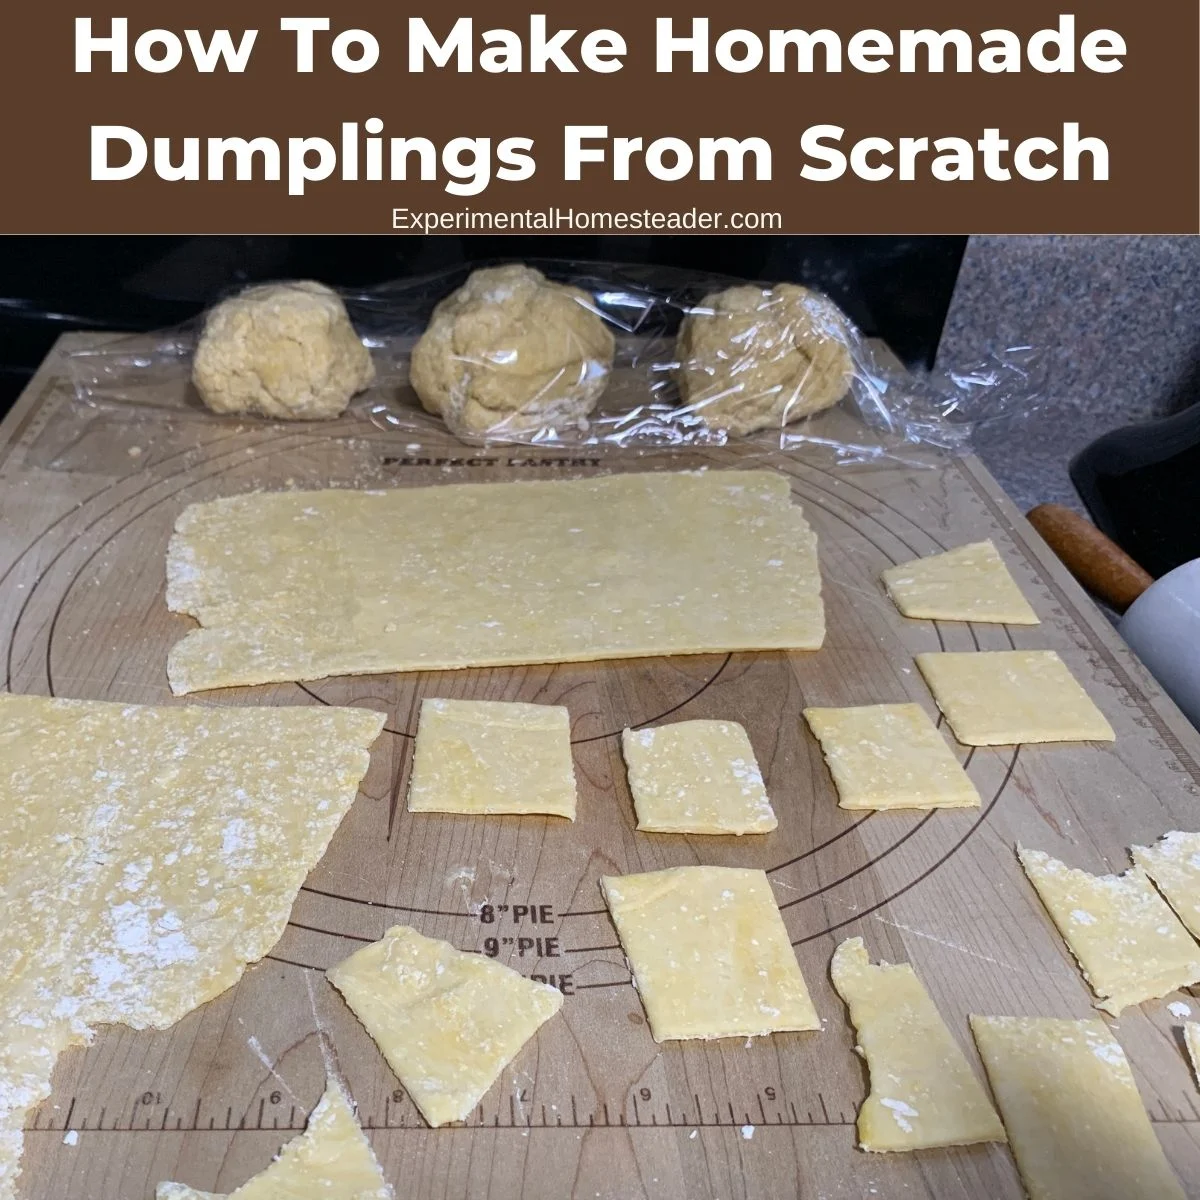
How To Make Homemade Dumplings From Scratch
Learn how to make Homemade Dumplings From Scratch with simple pantry staples for tender, flavorful comfort food every time.
Sauteed Pea Recipe With Basil, Parmesan And Sesame
This sauteed pea recipe seasoned with basil, parmesan and sesame is perfert for special occassions or as an extra special side dish through the week!
Bow Tie Pasta In A Creamy Sage Recipe Sauce
This creamy sage recipe sauce is the perfect simple pasta sauce recipe for bow tie pasta. It is quick and easy to make plus it is a great side dish!
Cast Iron Potatoes Au Gratin
This cast iron potatoes au gratin recipe is designed to be made ahead of time using dehydrated ingredients so when it comes time to make it, all you need is water.
How To Make Bird Shaped Bread Tutorial
Learn how to mkae bird shaped bread with this tutorial plus get my honey wheat bread recipe that is easy to make at home with or without a bread machine.
Homemade Dinner Rolls Recipe Baked In A Wood Stove
This delicious homemade dinner rolls recipe is easy to bake in a wood stove or over an open campfire. Get the printable recipe and give it a try!
Gluten-Free Brownie Wood Stove Recipe
This Gluten-Free Brownie wood stove recipe is ideal for those times when the electricity goes down or when you want something sweet but don’t want to fire up the electric or gas oven. It is also great for people who live off-grid or cook with their wood burning cook stove all the time.
Goat Milk Butter Recipe
This goat milk butter recipe is super easy to make regardless if you use a blender or butter churn.
How To Make Your Own Seasoning
Homemade seasoning blends made with ingredients out of your garden simply do not compare to their store bought counterparts. They smell better, taste better and frankly are far fresher than anything you can buy off your grocers shelf.
Make Your Own C-Spice Seasoning Blend
This C-Spice seasoning blend is delicious on beef. Learn how to make it from scratch right in your own kitchen.
Honey Marinade For All Kinds Of Meat
Making a honey marinade for chicken, turkey or pork is super easy and makes your meat juicer after it is cooked.
How To Make Homemade Vanilla Extract
Did you know most store bought vanilla extract is made with imitation vanilla flavoring? Learn how to make real vanilla extract at home! You'll be amazed how easy it really is!
How To Make Stevia Extract At Home
If you grow stevia in your garden, it is super easy to make your own stevia extract. What Is Stevia? Stevia is known for its super sweet leaves which can be used in place of sugar.
How To Make Holiday Cookies
In this eCourse you will learn how to make four different types of popular holiday cookies.
You also get tips on how to make the cookies turn out their best.
The four types of cookies covered in this eCourse includes:
Sugar Cutout Cookies
Snickerdoodles
Molasses Crinkles
Holiday Gumdrop Cookies
There is also a downloadable PDF that includes all of the recipes plus a bonus recipe for the run sugar glaze popular for icing sugar cookies.


