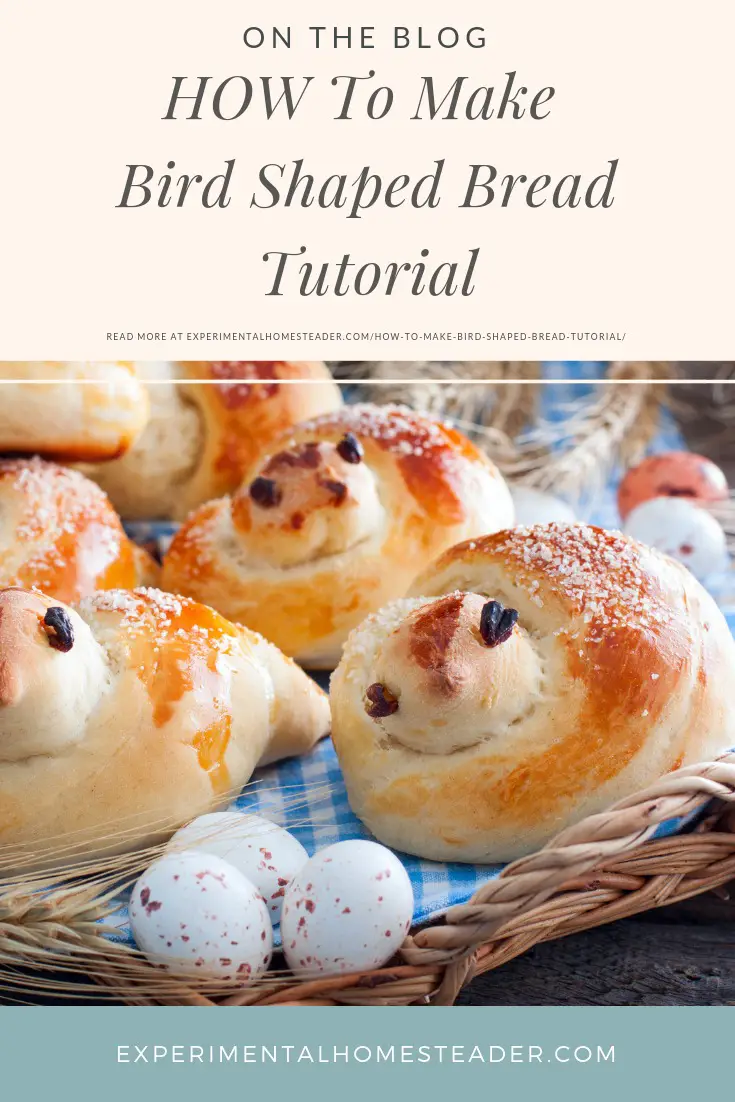
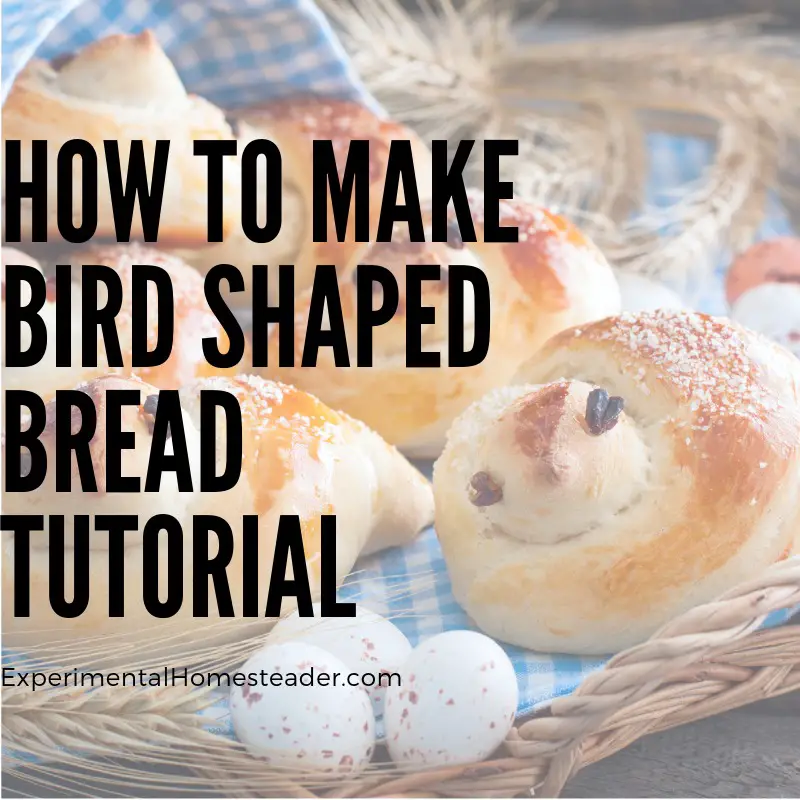
How To Make Bird Shaped Bread Tutorial
Learn how to make bird shaped bread with this tutorial.

It's fun to create bread or dinner rolls in usual shapes and this bird shaped bread is no exception.
Think of it like working with play dough.
If you can imagine it, you can create it.
The difference is, bread rises and continues to rise during the baking process so - like my bird, it may look great when it goes into the oven, but come out looking different.
How To Make Bird Shaped Bread Look Good
One way to make your bird shaped bread look great is to insert candy or other edible items that do not degrade if they are baked.
Colored bread dough is one option, simply insert it where you want the eyes or other noticeable features to be before you bake your bread.
To help it adhere to the bread you shaped to look like a bird, use a little water to dampen the existing dough as well as the colored dough.
Adding herbs to the bread dough - or decorating the dough with flax seed, poppy seed or other grans before you bake it is also another great way to add texture, dimension and features such as eyes, beaks and wings.
There is also the option of painting features on after the bread is baked and cooled.
Use food coloring straight or dilute it in water or vodka.
This would be a fun project for kids and parents to do together, not to mention a great way to have your kids or grandkids help out in the kitchen.
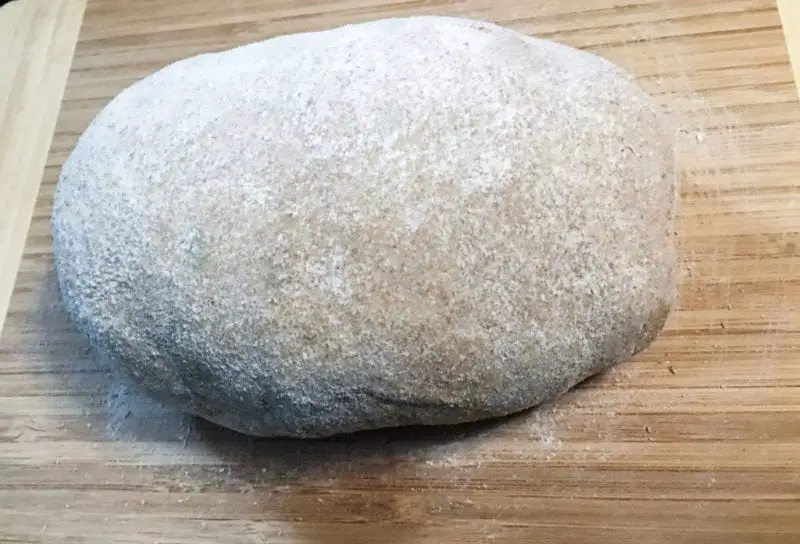
How To Make Bird Shaped Bread
The first step is to think about how large I wanted the bird shaped bread to be when they were done cooking.
I knew they would be double the size - and maybe even end up slighter larger - so I started out by making them half the size I eventually wanted them to be.
It is important to grease your hands and work surface well before doing this or the dough will stick.
I chose to grease my hands with a bit of vegetable oil instead of flour, although flour is an option.
I tore off two small pieces of dough from a batch of bread dough.
I rolled one piece into a log shape for the body and the other, smaller piece into a circle for the head.
Once the pieces of dough were rolled into shape and proportionate to one another, dampen both pieces of dough with a little water.
Then set the head on top of the body and lightly pinched the two pieces of dough together to form the bird shape.
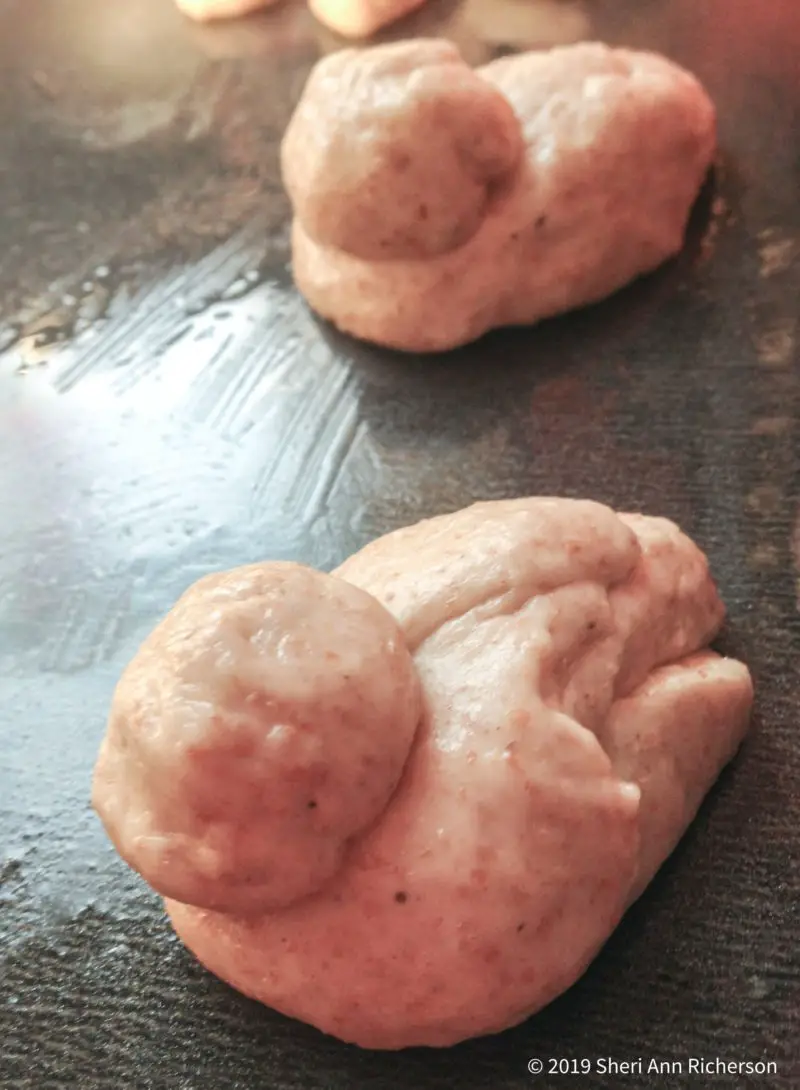
Use a little water to smooth out the dough.
Then began to sculpt the bird using a bamboo skewer and your hands.
I wanted my bird to have a pointed tail so I gently pulled the back of the bird body into a pointed shape and pinched and pressed the dough into the shape I wanted.
Then use the bamboo skewer to press the shape of the birds wings into the body.
Press deeply to make sure when the bird was baked you could still see the outline of the wings.
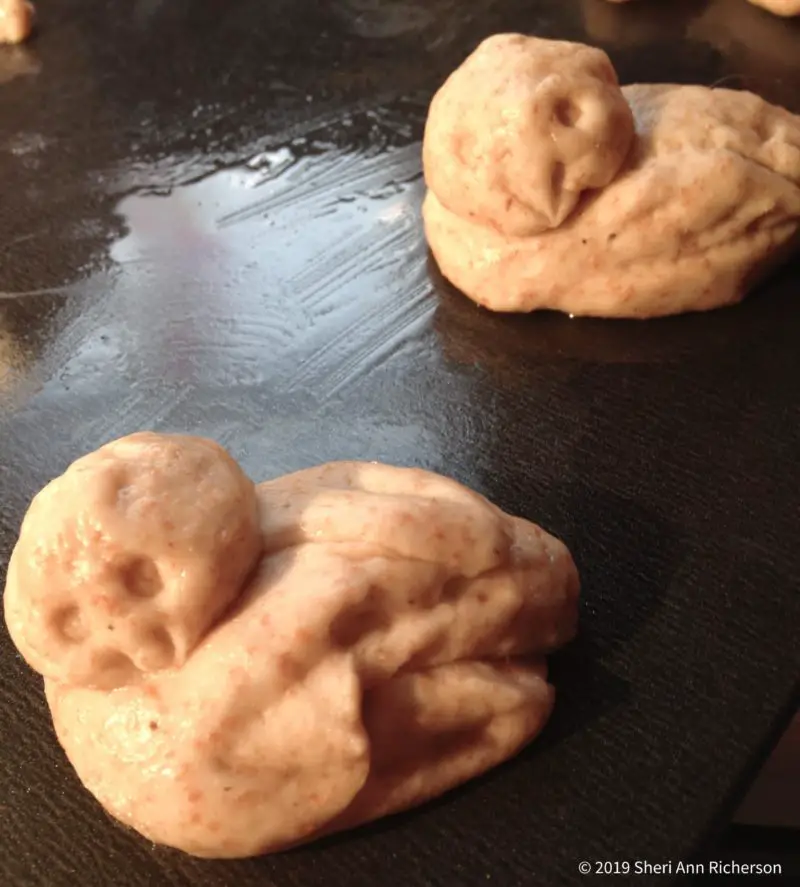
The last step is to use the bamboo skewer to create the wings, birds eyes and beak.
My Favorite Honey Wheat Bread Recipe
Here is one of my favorite bread recipes:
Print
Honey Wheat Bread Recipe
- Total Time: 3 hours 5 minutes
- Yield: 1 ½ pound loaf 1x
Ingredients
- 1 cup plus 1 tablespoon water
- 1 ½ teaspoons Kosher salt
- ¼ cup honey
- 3 cups hard white wheat
- 1 Tablespoon plus 1 ½ teaspoons Extra Virgin Olive Oil
- 1 Tablespoon dry milk
- 1 teaspoon yeast
Instructions
- Make sure the water you use is warm, but not hot, then stir the yeast into the water and set it aside.
- Combine the salt, the flour and the dry milk.
- Mix well.
- Add the honey, Extra Virgin Olive Oil and the yeast mixture.
- Stir until the the dough is moistened and all the ingredients combined.
- Sprinkle a light coating of flour on your hands and onto the area you intend to knead the dough on.
- Place the dough onto the floured area. The dough should be sticky.
- Knead the dough for 10 to 12 minutes. The dough should feel soft like a baby's bottom and easily form into a ball shape.

- Sit the dough aside to rise for about an hour - or until it is double in size.
- Punch the dough down in the center and then shape it into whatever shape you want.
- Allow the shaped dough to rise for another hour - or until double in size.
- Bake at 400 degrees Fahrenheit for 20 to 25 minutes.
- Slather butter on top to soften the crust, remove from the pan and allow to cool slightly before serving.
Notes
Bread Machine Users - combine all ingredients and follow the instructions on your bread machine.
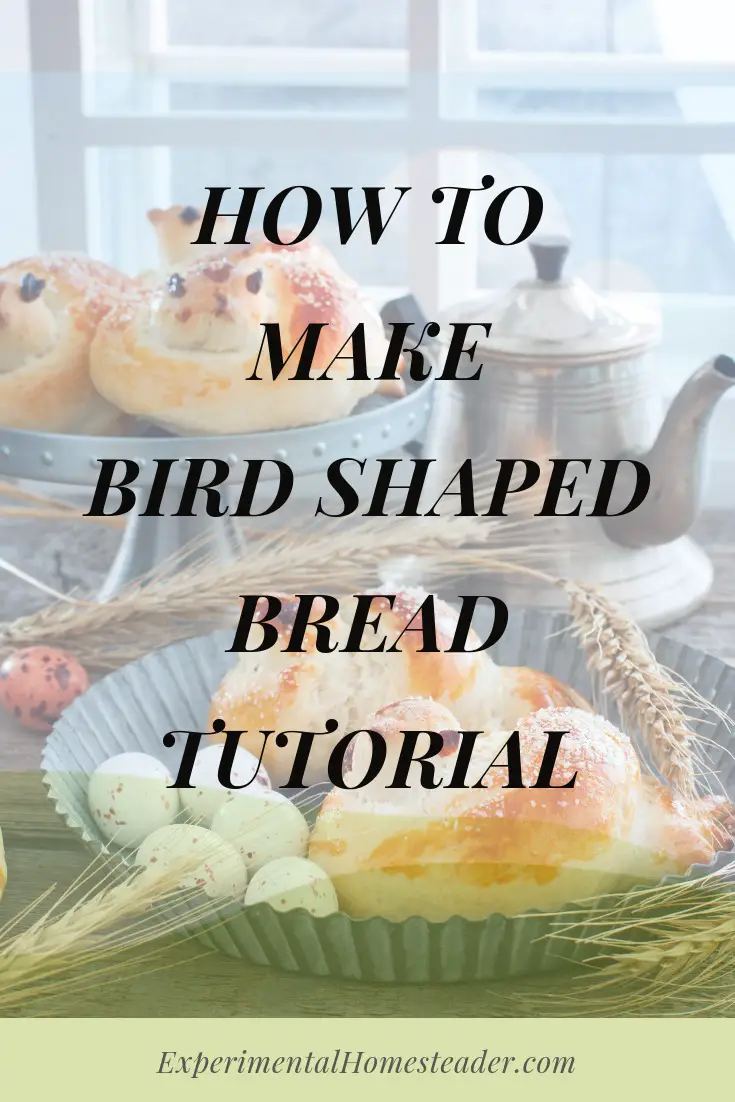
Final Thoughts On How To Make Bird Shaped Bread
This is a really fun project!
I'd love for you to share some photos of the bird shaped bread you make if you decide to do this project.
You can use any bread recipe you like, but the one I shared here works great.
Give it a try and let me know how it turns out.
Cooking From Scratch
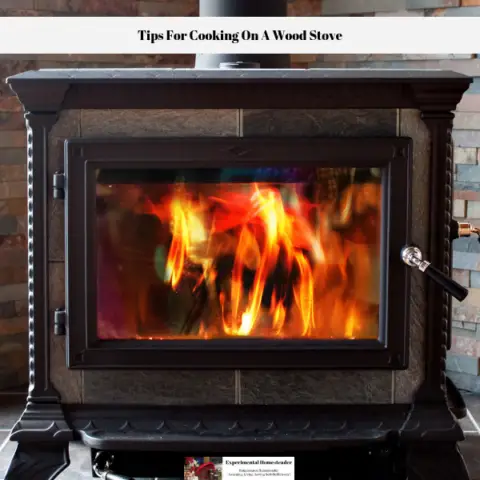
Tips For Cooking On A Wood Stove
Cooking on a wood stove was the reality for everyone not so long ago, but today it is less common because there are more convenient ways to cook.
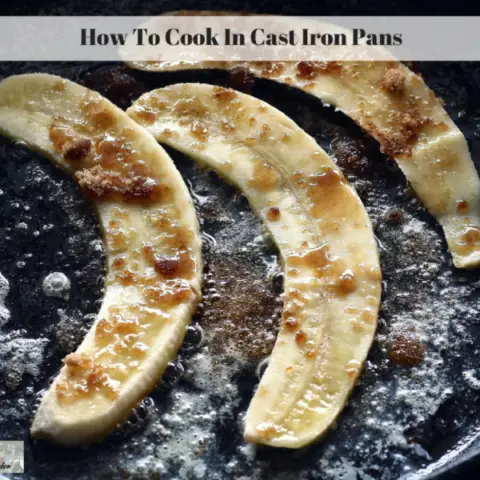
How To Cook In Cast Iron Pans
Learning how to cook in cast iron is not hard, but you do need an understanding of cast iron pan and iron skillet care before you begin.
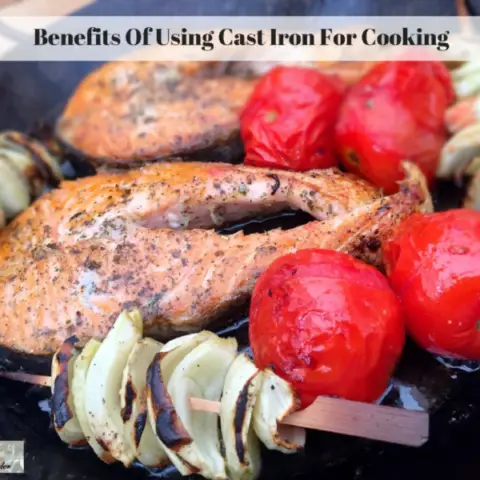
Benefits Of Using Cast Iron For Cooking
Cast iron cooking is a healthier alternative. Learn why using cast iron for cooking is better for you and why cast iron cookware is so versatile.

Leftover Pot Roast Recipes: Breathe New Life Into Your Leftovers
Delight in leftovers! Unlock nutritious, flavorful meals with pot roast recipes that bring creativity & variety to your table.
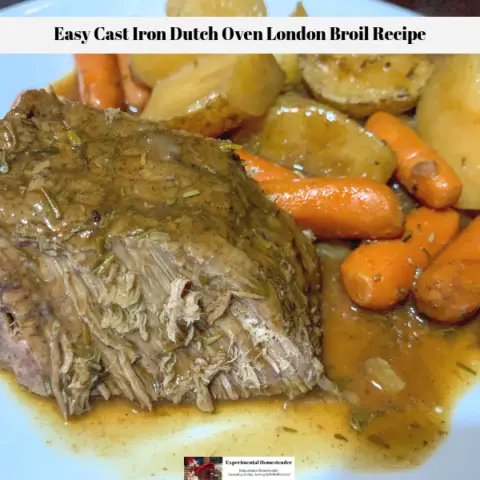
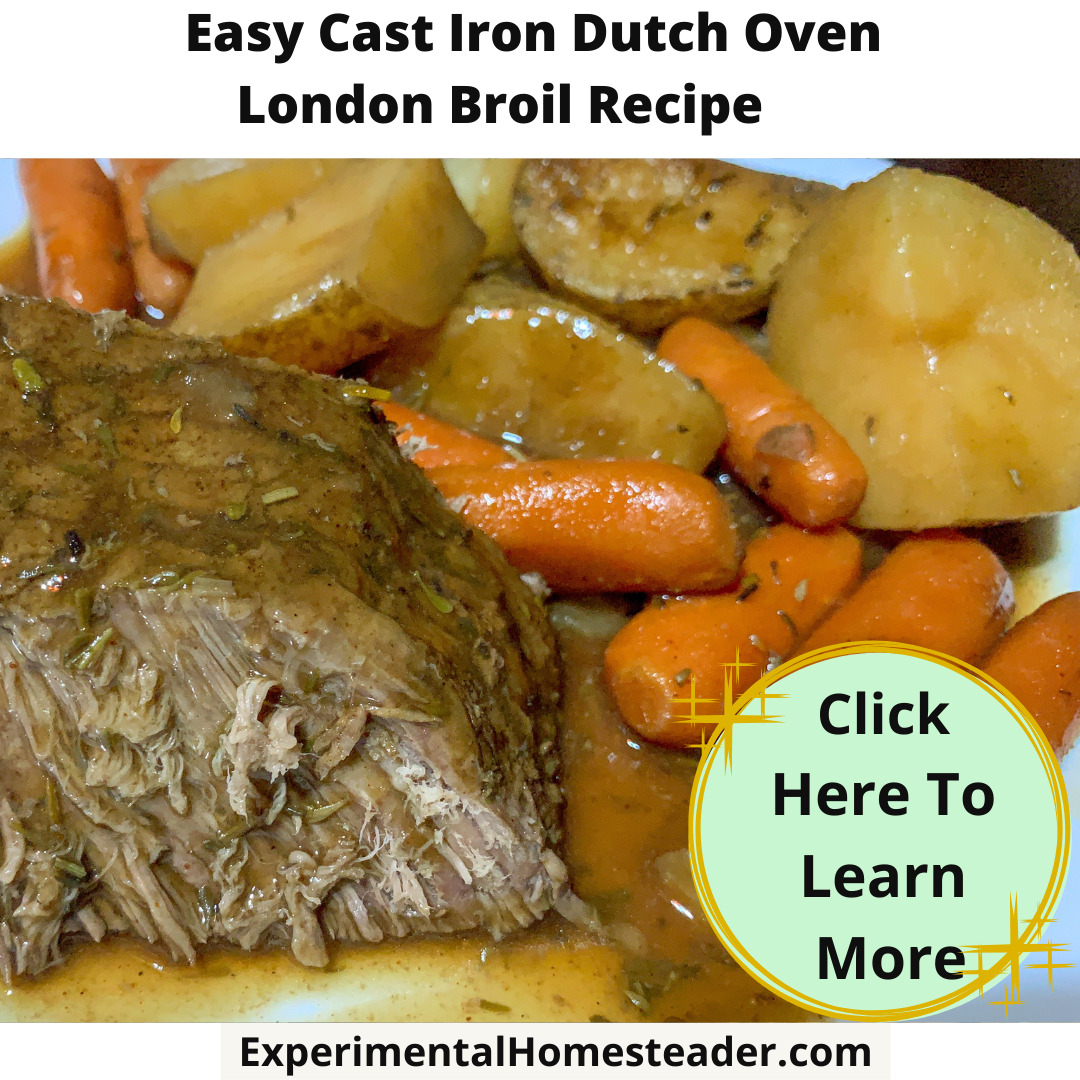
Easy Cast Iron Dutch Oven London Broil Recipe
This cast iron Dutch Oven London Broil recipe is a one pot meal that requires very little preparation and does not require any work during the actual cooking time.
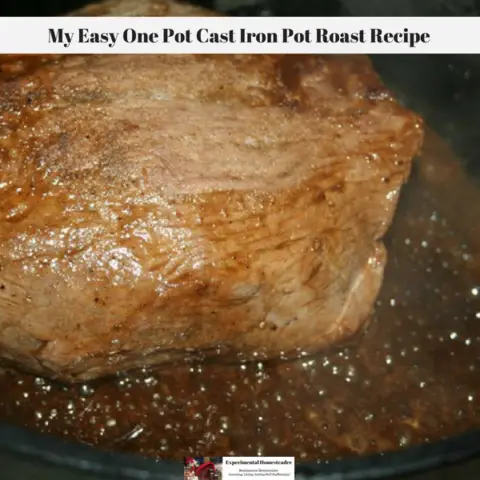
My Easy One Pot Cast Iron Pot Roast Recipe
Do you feel like you are too busy to cook a real meal such as this pot roast recipe for your family? This pot roast is so easy to make, even if you have a really busy schedule and it is delicious too!

Raspberry Pork Chops
Fresh raspberries from the garden make the best raspberry pork chops, but if you don't have fresh, frozen or canned raspberries also work.
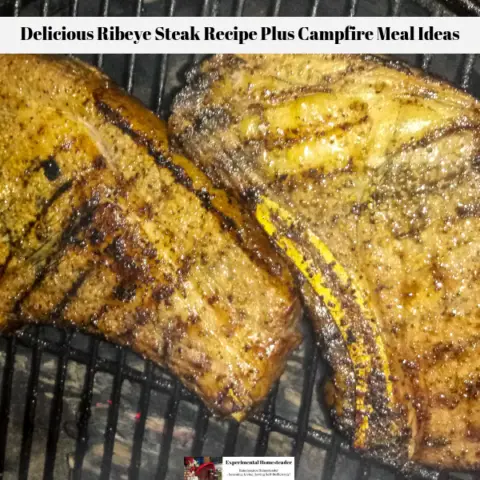
Delicious Ribeye Steak Recipe Plus Campfire Meal Ideas
This delicious ribeye steak recipe cooked over an open fire is sheer perfection! Learn how to make it and then pair it with these other campfire meal ideas!
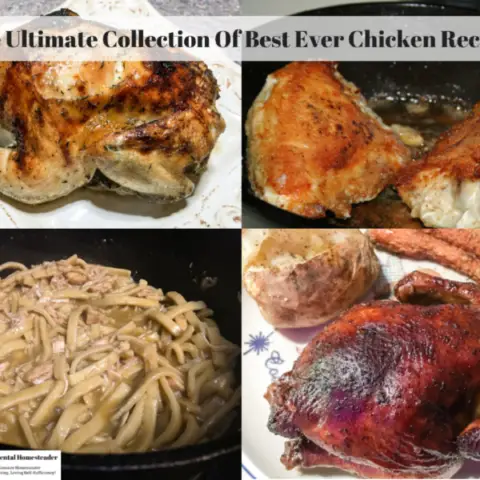
The Ultimate Collection Of Best Ever Chicken Recipes
Are you looking for the ultimate collection of best ever chicken recipes? Look no further! Here is my collection of ultimate chicken recipes!
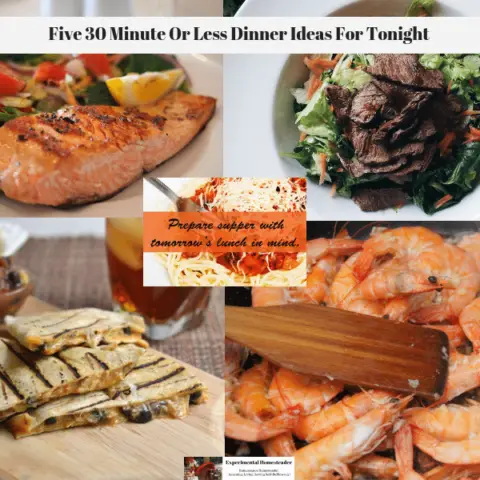
Five 30 Minute Or Less Dinner Ideas For Tonight
Check out these five dinner ideas for tonight that are ready in 30 minutes or less.
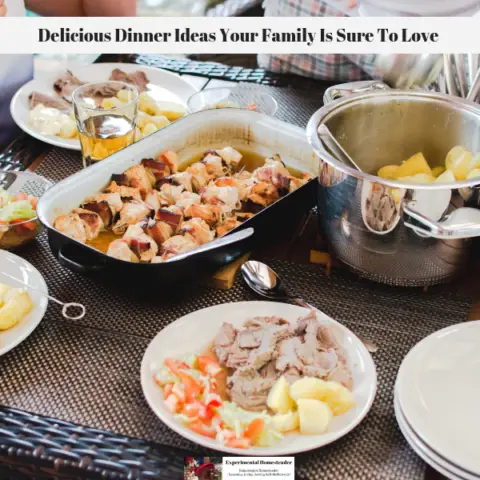
Delicious Dinner Ideas Your Family Is Sure To Love
These delicious dinner ideas are ones your family are sure to love. From meat recipes to side dishes and even one pot recipes, you'll find inspiration here!

Easy Veggie Dinner Ideas
These easy veggie dinner ideas make getting your daily serving of vegetables easy! Your entire family is sure to love these delicious vegetable recipes.
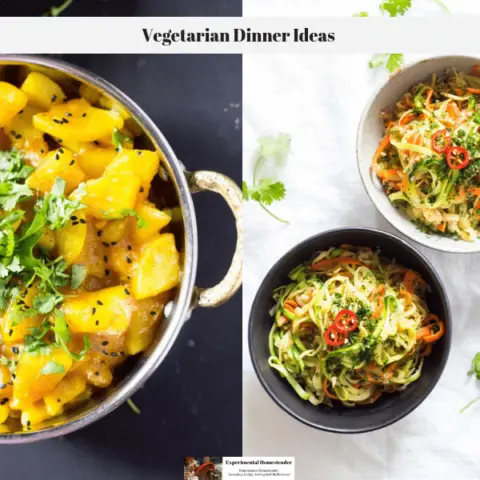
Vegetarian Dinner Ideas
These vegetarian dinner ideas are sure to please your family or guests who come to your home for dinner that are vegetarian. Vegetarian Dinner Ideas For Guests Or Your Own Family There are some great ideas here for the holidays as well.
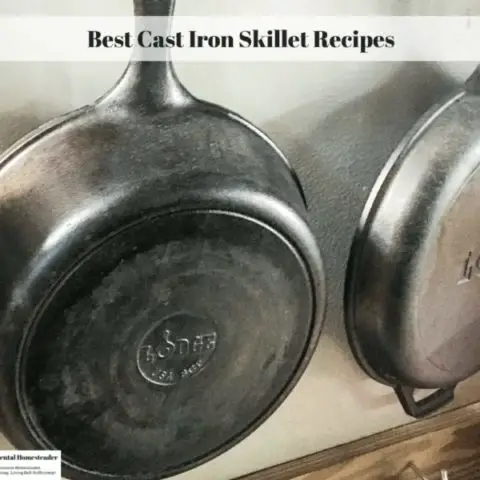
Best Cast Iron Skillet Recipes
The best cast iron skillet recipes include one pot cast iron skillet meals, meats, vegetables and desserts that are easy to make. Cast iron skillet recipes also need to taste great. Be sure to check out our easy and delicious iron skillet recipes!
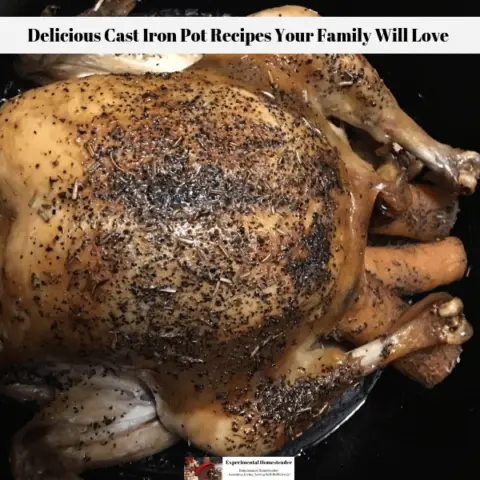
Delicious Cast Iron Pot Recipes Your Family Will Love
Your family will love these delicious cast iron pot recipes! Plus these easy recipes are sure to convince you to use your cast iron pots on a regular basis.
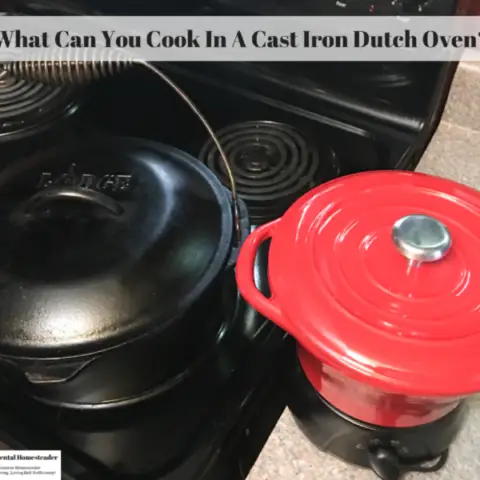
What Can You Cook In A Cast Iron Dutch Oven?
Have you ever wondered what can you cook in a cast iron dutch oven? Or maybe why a cast iron dutch oven is a better option? Get recipes and answers here!
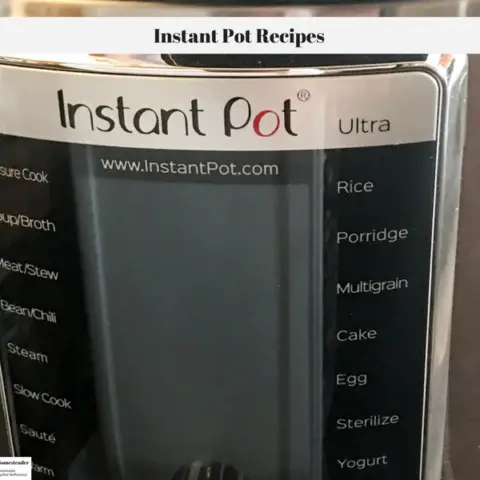
Instant Pot Recipes
Here is a collection of instant pot recipes from this site. Instant pots are all the rage these days because they cook food so much faster, are easy to use and easy to clean up when you are done.
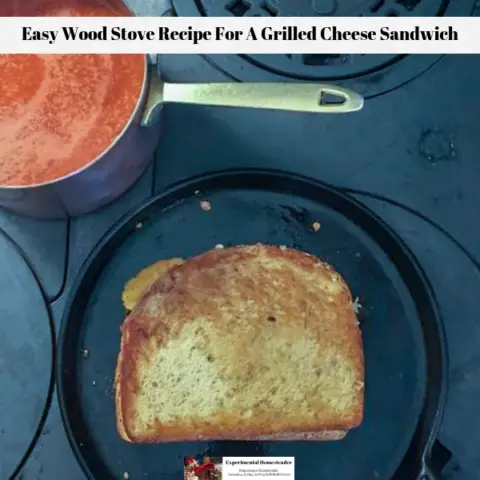
Easy Wood Stove Recipe For A Grilled Cheese Sandwich
This easy wood stove recipe for a grilled cheese sandwich paired with tomato soup is the perfect comfort food for a cold winter day.
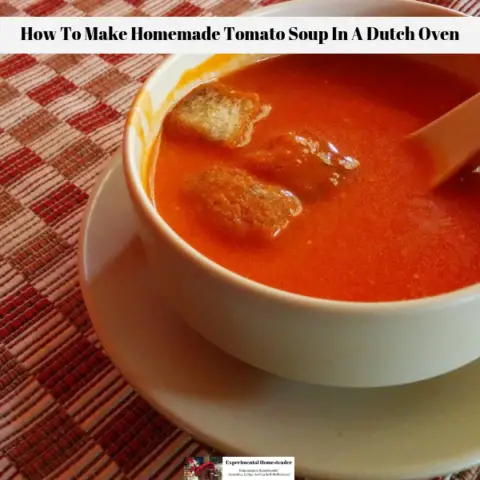
How To Make Homemade Tomato Soup In A Dutch Oven
It is so easy to make homemade tomato soup in a dutch oven using fresh tomatoes, or if tomatoes are out of season, using tomatoes you froze or canned and the taste is unbelievably delicious!
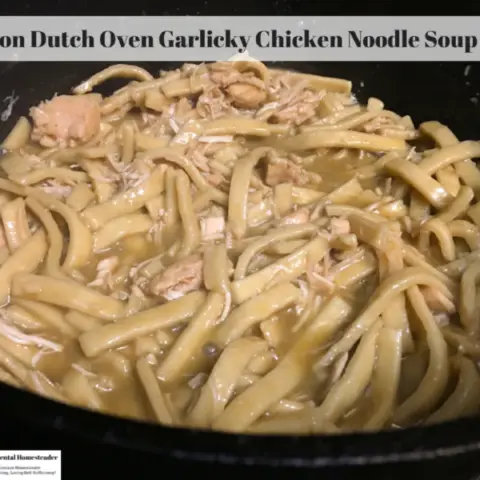
Cast Iron Dutch Oven Garlicky Chicken Noodle Soup Recipe
Seasons change and with them come new recipes for my cast iron dutch oven chicken noodle soup.
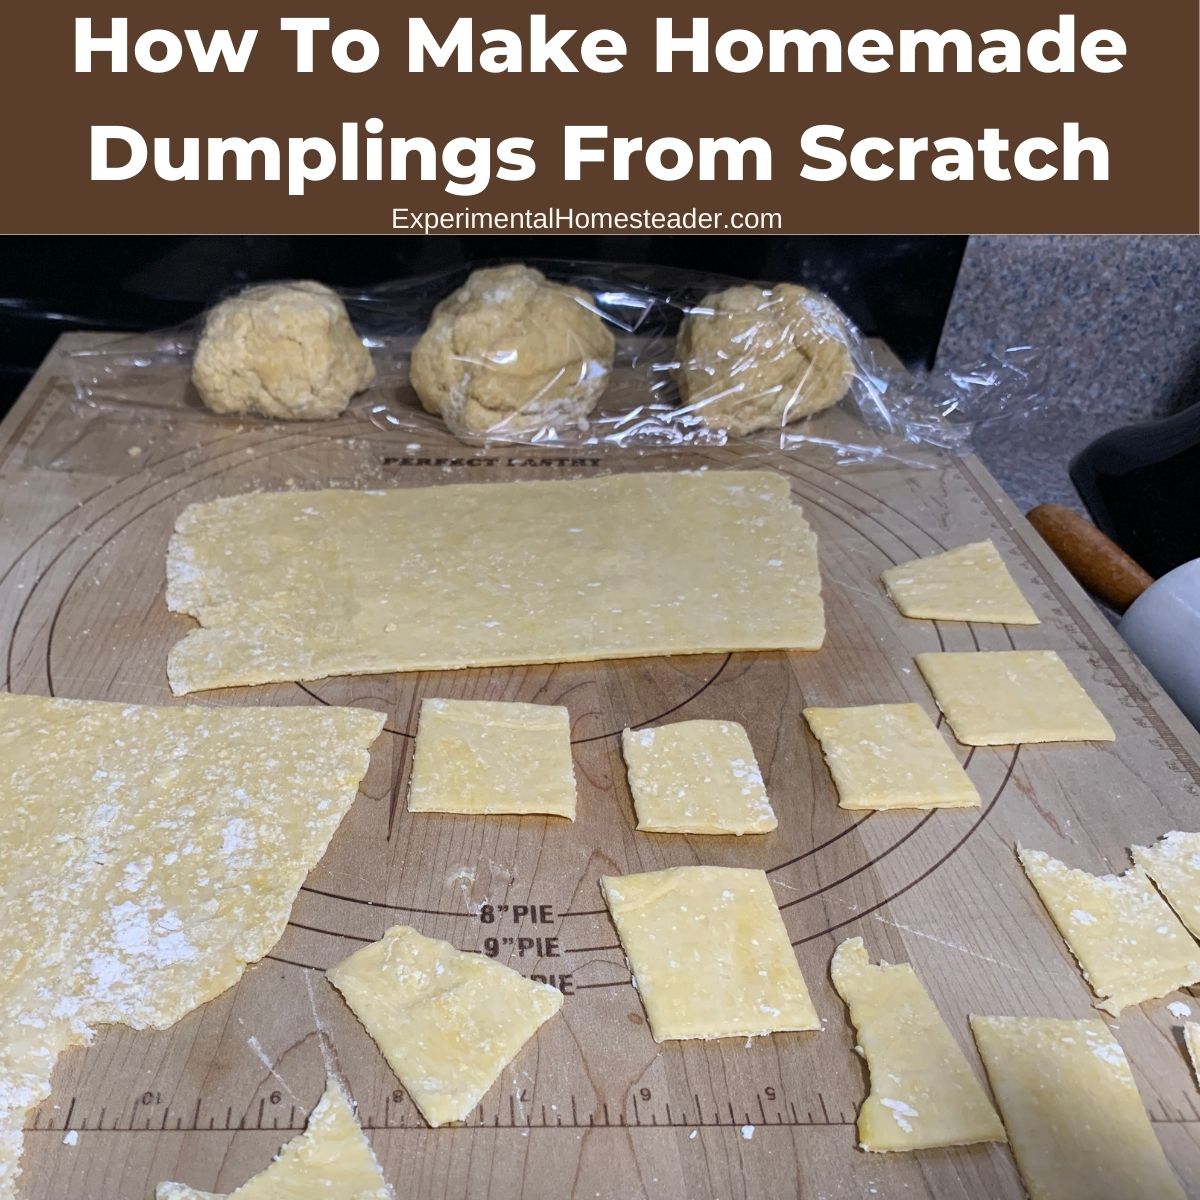
How To Make Homemade Dumplings From Scratch
Learn how to make Homemade Dumplings From Scratch with simple pantry staples for tender, flavorful comfort food every time.
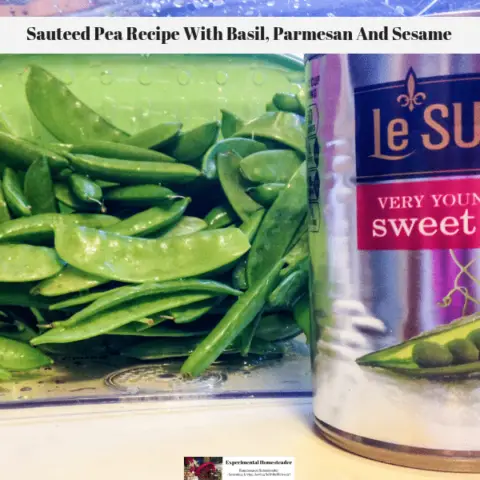
Sauteed Pea Recipe With Basil, Parmesan And Sesame
This sauteed pea recipe seasoned with basil, parmesan and sesame is perfert for special occassions or as an extra special side dish through the week!
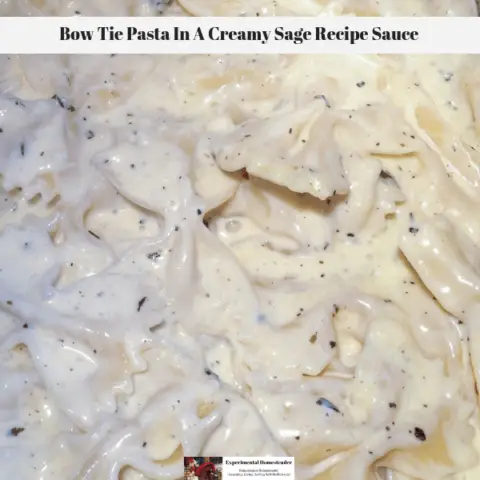
Bow Tie Pasta In A Creamy Sage Recipe Sauce
This creamy sage recipe sauce is the perfect simple pasta sauce recipe for bow tie pasta. It is quick and easy to make plus it is a great side dish!
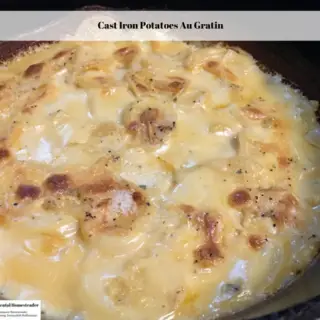
Cast Iron Potatoes Au Gratin
This cast iron potatoes au gratin recipe is designed to be made ahead of time using dehydrated ingredients so when it comes time to make it, all you need is water.
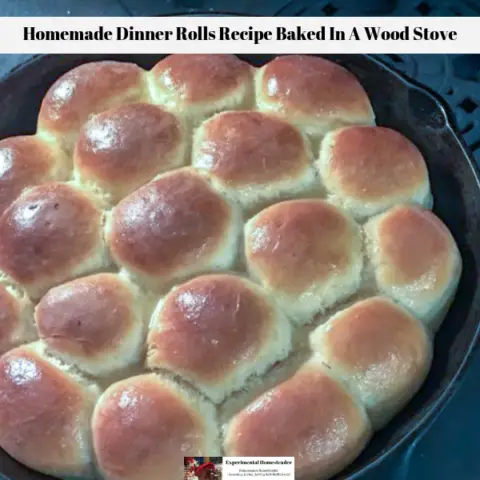
Homemade Dinner Rolls Recipe Baked In A Wood Stove
This delicious homemade dinner rolls recipe is easy to bake in a wood stove or over an open campfire. Get the printable recipe and give it a try!
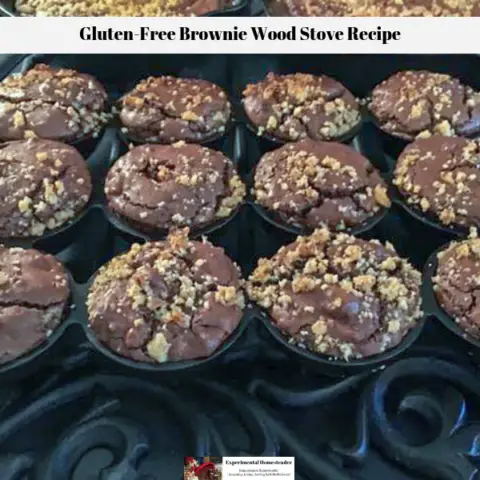
Gluten-Free Brownie Wood Stove Recipe
This Gluten-Free Brownie wood stove recipe is ideal for those times when the electricity goes down or when you want something sweet but don’t want to fire up the electric or gas oven. It is also great for people who live off-grid or cook with their wood burning cook stove all the time.
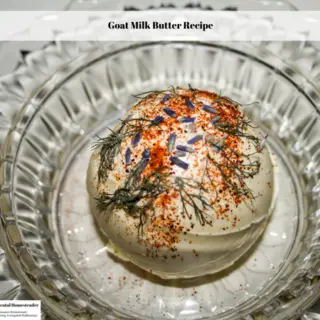
Goat Milk Butter Recipe
This goat milk butter recipe is super easy to make regardless if you use a blender or butter churn.
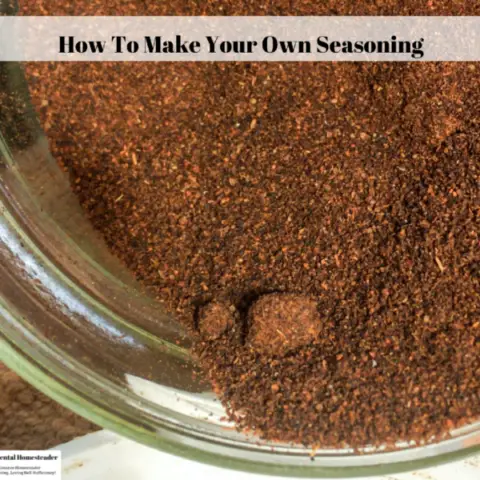
How To Make Your Own Seasoning
Homemade seasoning blends made with ingredients out of your garden simply do not compare to their store bought counterparts. They smell better, taste better and frankly are far fresher than anything you can buy off your grocers shelf.
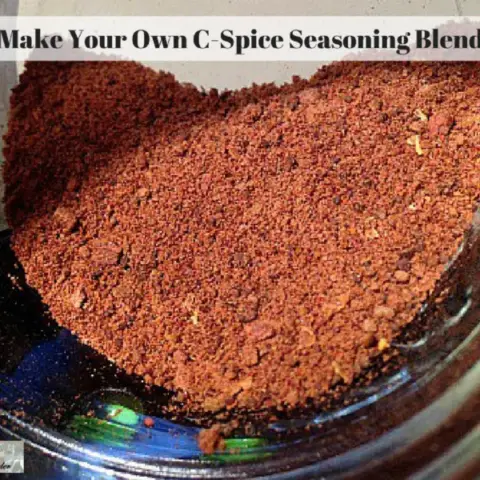
Make Your Own C-Spice Seasoning Blend
This C-Spice seasoning blend is delicious on beef. Learn how to make it from scratch right in your own kitchen.
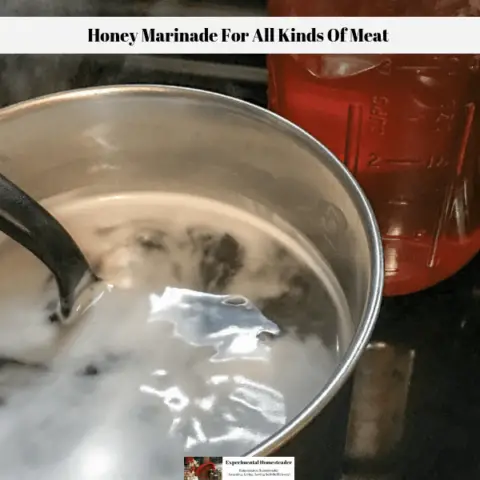
Honey Marinade For All Kinds Of Meat
Making a honey marinade for chicken, turkey or pork is super easy and makes your meat juicer after it is cooked.
How To Make Homemade Vanilla Extract
Did you know most store bought vanilla extract is made with imitation vanilla flavoring? Learn how to make real vanilla extract at home! You'll be amazed how easy it really is!
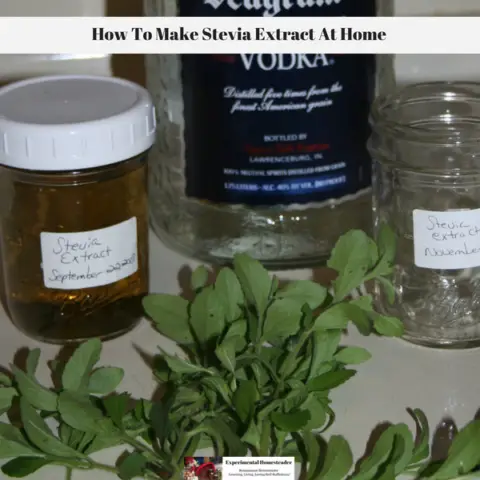
How To Make Stevia Extract At Home
If you grow stevia in your garden, it is super easy to make your own stevia extract. What Is Stevia? Stevia is known for its super sweet leaves which can be used in place of sugar.
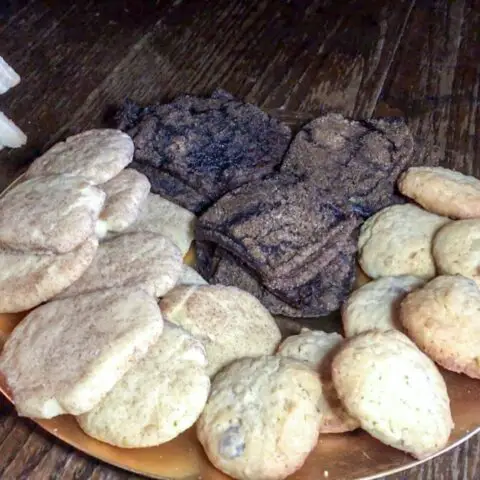
How To Make Holiday Cookies
In this eCourse you will learn how to make four different types of popular holiday cookies.
You also get tips on how to make the cookies turn out their best.
The four types of cookies covered in this eCourse includes:
Sugar Cutout Cookies
Snickerdoodles
Molasses Crinkles
Holiday Gumdrop Cookies
There is also a downloadable PDF that includes all of the recipes plus a bonus recipe for the run sugar glaze popular for icing sugar cookies.