Home Food Preservation Methods: Canning, Freezing, Dehydrating and More
Have you ever looked at a basket of freshly picked tomatoes, a pile of green beans, or more fruit than your family can eat and wondered how to save it? If canning feels intimidating or you aren't sure whether to freeze or dehydrate your harvest, you're in the right place. You don't have to master every preservation method or buy a kitchen full of equipment before you begin. Start with one food, one manageable batch, and a method that fits your life.
A basket of green beans might become jars for the pantry, apples can be dried for snacks or made into sauce, and a small harvest of tomatoes can go into the freezer until I have enough for a larger batch. That is why I believe learning your home food preservation options is one of the most practical skills you can develop. I have spent years putting food by, and the lesson I return to is simple: choose the preservation method that fits the food, your available time, and how you actually plan to cook with it. A well-stocked pantry is not about filling shelves with things nobody eats. It is about making today's harvest useful months from now.
Let's face it, I don't know what all those preservatives are in the foods I buy are, do you? I'm not even sure after talking to my local grocer if I can trust any of the signs they put up stating the food is local grown. This is why home food preservation and growing my own food is so important to me - and it should be important to you too.
In This Article
Video: Food Preservation Methods
This video introduces different ways to preserve food, including methods discussed in the guide below. Use the written sections for the details, limitations and practical steps for each approach.
Why I Care Where My Food Comes From
One conversation with a grocery store produce manager changed how I think about signs advertising locally grown food.
I once asked the produce manager at our grocery store what its locally grown sign actually meant. I had assumed it referred to farms nearby, but the answer was broader than I expected. That conversation reminded me why I like knowing where our food comes from, especially when I plan to preserve it for the months ahead.
A local label can refer to produce grown elsewhere in the state, rather than just down the road. The route food takes varies by supplier and store, so I ask questions instead of assuming that every item under a local sign came straight from a nearby farm.
Knowing the source matters to me because I can ask how produce was handled and select it at the stage I want for preserving. The sooner I can prepare good-quality food after harvest, the more control I have over its final texture and flavor.
Produce quality depends on the crop, harvest maturity, handling and storage. Time matters, but I do not assume every item has lost its nutritional value simply because it traveled. What I value most is being able to choose fresh produce and preserve it while it is in good condition.
When buying produce to preserve, I look for sound fruit and vegetables without bruises, mold or soft spots. Preservation does not repair spoiled ingredients, so I start with the best-quality harvest I can reasonably find. As far as I'm concerned, I'd rather buy straight from a local farmer or better yet, grow my own vegetables, fruits and herbs.
Buying Produce to Preserve from Farmers Markets
I enjoy buying directly from growers, but I also ask questions at farmers markets. Some vendors grow what they sell, while others may source part of their inventory elsewhere. Neither arrangement should be assumed without asking.
Produce auctions and wholesale suppliers can be part of a market vendor's business. When I am buying a large quantity for preserving, I ask where it was grown, when it was harvested and whether the seller can help me find a good price on a full box or bushel. Now, I'm not saying all vendors do this or that all markets allow it, I'm just advising that you ask where the produce you buy comes from and if possible, support a real local farmer! It could mean the difference between their continued survival and the loss of their farm.
If you are ready to move from reading about preservation methods to building a workable system at home, my Food Preservation for Self-Sufficient Living mini-class walks through canning, dehydrating, root cellaring, freezer storage and pantry rotation. If herbs are your main harvest right now, Preserving Herbs for Winter Use goes deeper into drying, freezing, herb butters, oils, vinegars, teas and seasonings.
Start with the Harvest You Have
Growing my own food gives me a wonderful supply to preserve, but you can learn these skills just as well with a small farmers market purchase or a grocery store special. You do not need acreage to begin preserving food. A few herbs grown in containers, produce from a farmers market, or a sale on seasonal fruit can be enough for a useful batch. I cover the growing side in more detail on Exotic Gardening's container gardening guide; here I want to focus on what to do with the harvest.
Tomatoes are a good example because even a modest harvest offers choices. You can freeze washed, prepared tomatoes for later cooking, dehydrate slices for suitable recipes, or follow a tested canning recipe for tomato products. If you want growing instructions, see my tomato-growing guide.
Successful indoor growing requires sufficient light, appropriate temperatures, nutrients and pollination, so I treat that as a separate gardening subject rather than a prerequisite for preserving food. Even when a crop grows well indoors, I plan preservation around the amount I actually harvest rather than promising year-round production. Tomato flowers are self-fertile, but indoor plants may still benefit from airflow or gentle vibration to move pollen.
For food preservation, the important point is that a small harvest is worth saving. You can work with whatever produce is available to you without growing every ingredient yourself. So don't let lack of space hold you back - get growing - and preserving your own food.
Choosing the Right Home Food Preservation Method
I choose a method by considering the food, the storage space available, the time I have that day and how I plan to cook with it later. Canning produces convenient pantry ingredients when a current tested recipe is available. Freezing is useful for small harvests and prepared ingredients, but depends on electricity. Dehydrating saves space, especially for herbs and fruit. Freeze drying requires a larger investment and careful moisture-proof packaging. Cool storage works for certain properly cured crops, but each needs suitable temperature and humidity.
There is no single best method for every harvest. A few tomatoes can wait in the freezer for sauce day, while green beans can become pressure-canned jars using tested directions. I like having options because a practical pantry is built around meals, not just how many containers fit on a shelf.
Once you have all those fresh vegetables, the next step is learning how home food preservation works. Dehydrating, freezing, canning, freeze drying, preserving in oil or salt are popular home food preservation methods. Most people end up using a combination of these methods to preserve a wide variety of herbs, meats, vegetables and herbs. After all, the more food you put up, the more money you will save on your grocery bill.
Dehydrating Fruit, Herbs and Vegetables
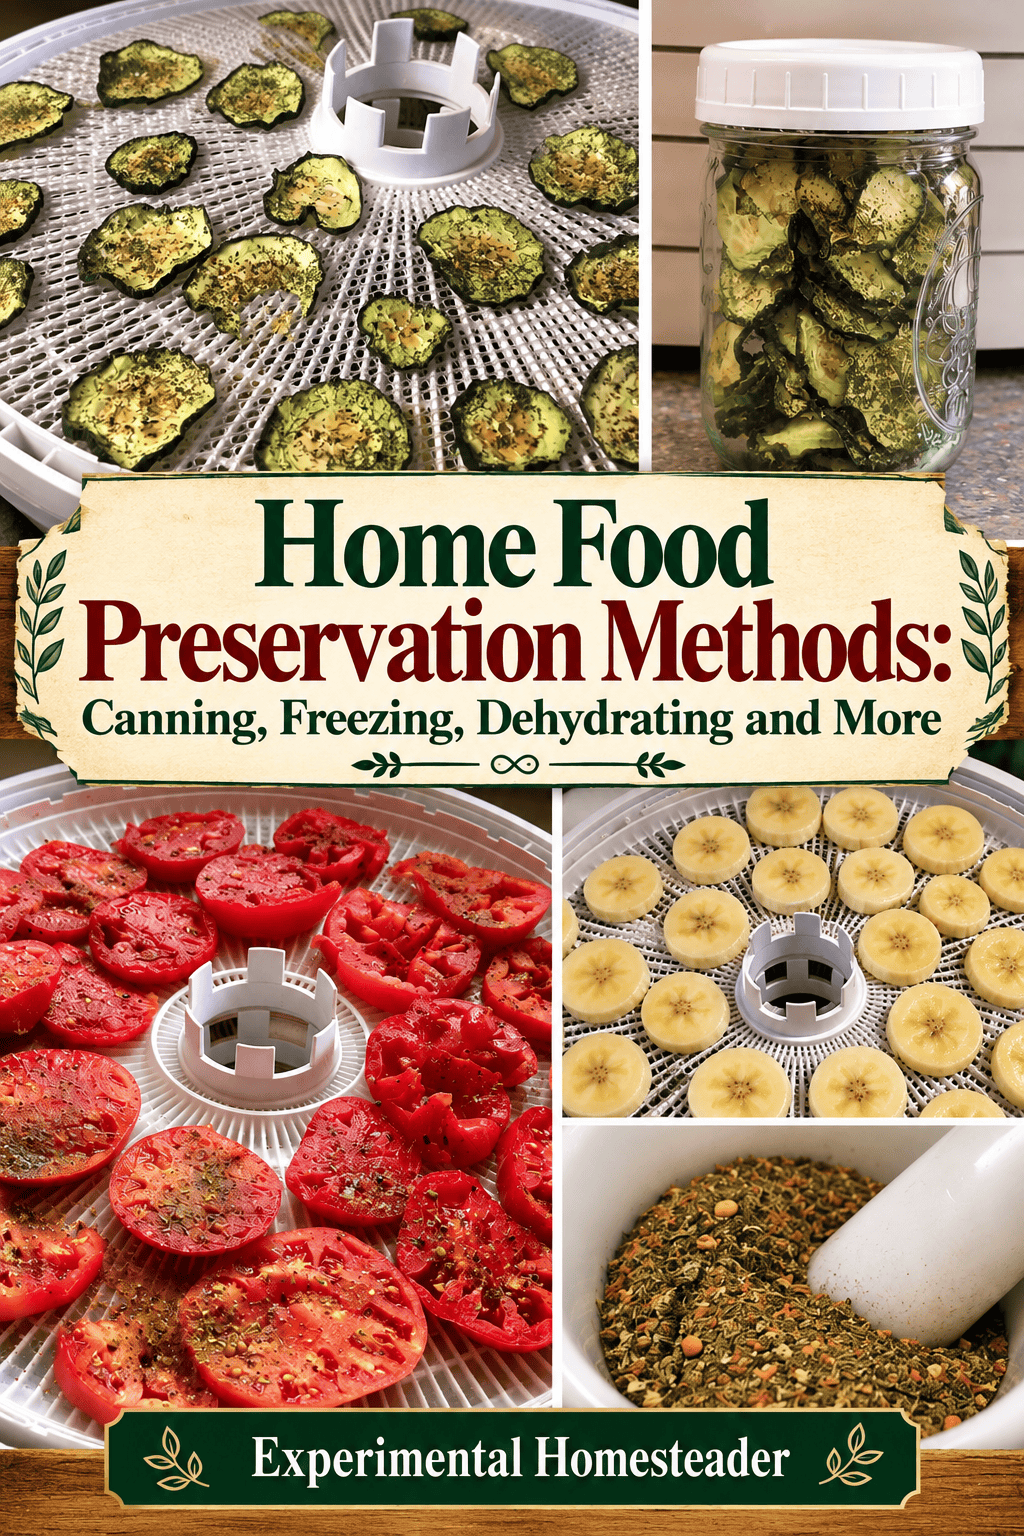
For dried foods I plan to eat without cooking, such as fruit slices, I pay attention to texture as well as dryness. Foods that need rehydration go into dishes where they have time to absorb liquid. After drying fruit, conditioning it when recommended helps distribute remaining moisture before storage; any condensation in a sealed container is a warning that the food needs to be dried further or discarded if spoilage has developed.
Dehydrating is one of my favorite ways to turn a bulky harvest into ingredients that take up much less shelf space. I slice produce evenly, follow food-specific drying guidance and make sure it is dry enough before packing it away. This means you can store more food in less space and the packages are very lightweight.
Not every dried food needs rehydrating. Dried apples and bananas make convenient snacks, while vegetables can be added to soups or soaked before cooking, depending on the recipe. Rehydration time varies with the food, thickness and intended use. I plan for that when deciding whether to dry an ingredient or freeze it instead.
Dehydrated food has a long storage life and either this, or freeze dried food, is the type of food often sold in survival kits. I dehydrate fruits such as bananas, pears, apples, cherries, cranberries, blueberries and these make great snacks that you don't need to rehydrate.
I also use my dehydrator for herbs, garlic as well as garlic scapes, peppers, tomatoes and edible flowers. Completely dried peppers and tomatoes can be ground into powders for seasoning. I grind small quantities as needed, keep the powder dry and label the container so I know exactly what is in each blend.
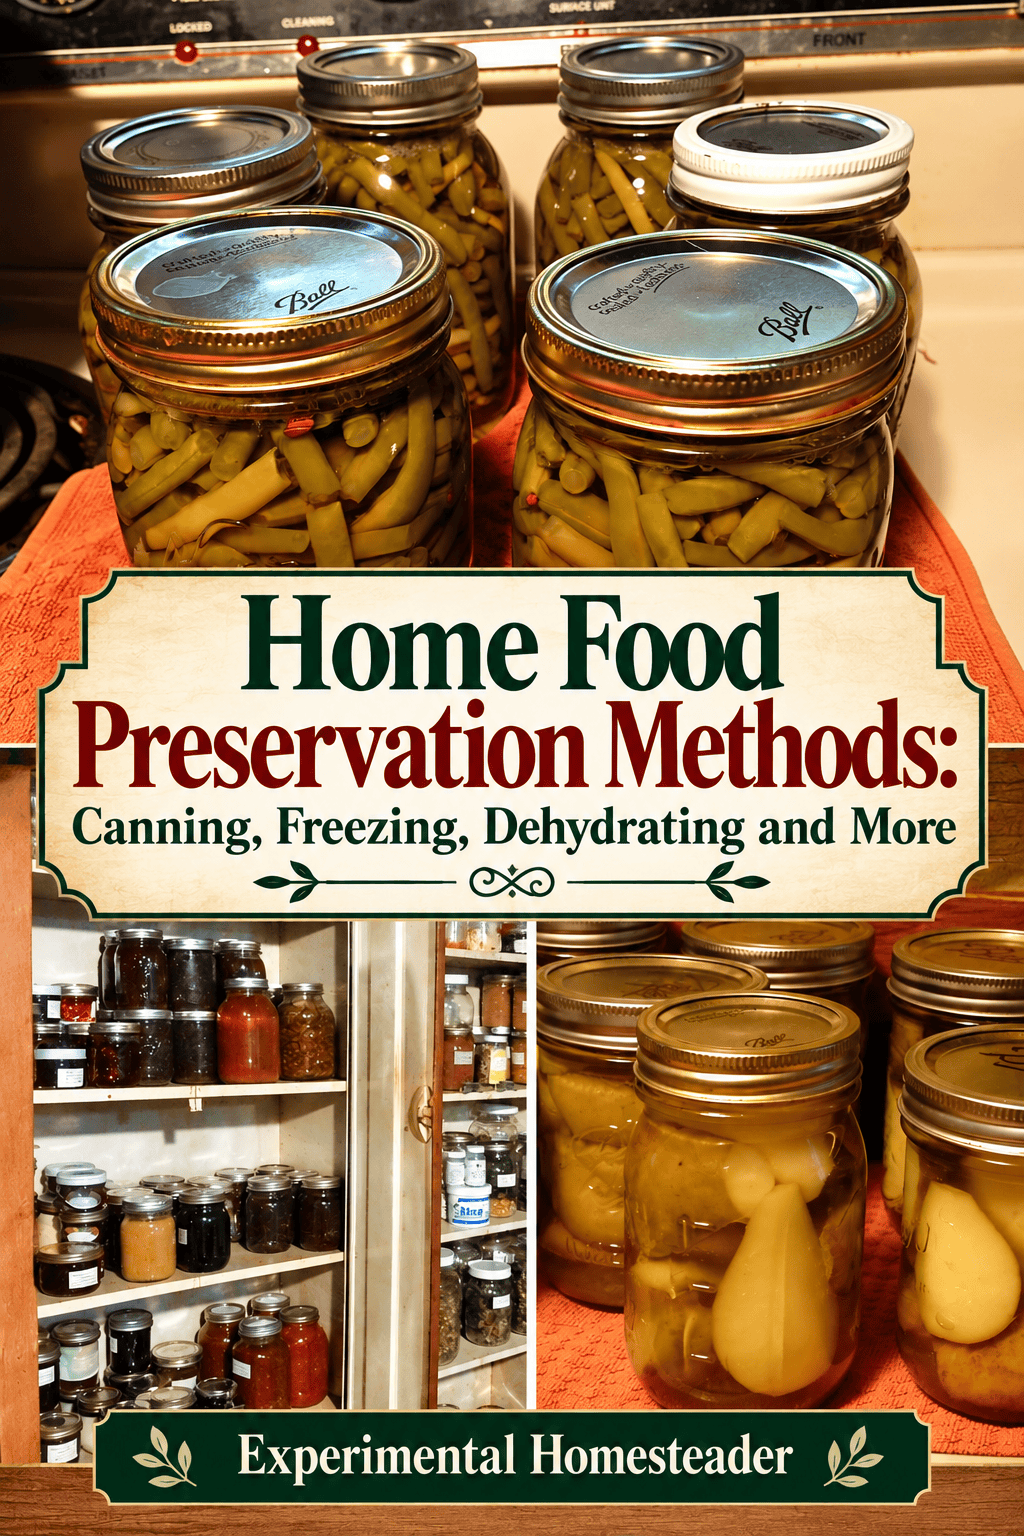
Canning Food Safely for a Convenient Pantry
I always read the complete tested recipe before getting out the jars. Acidic fruits and properly acidified recipes may be processed in boiling water when the instructions say so, but low-acid foods such as plain green beans require pressure canning. The specified jar size, headspace, processing time and altitude adjustments are part of the safety process, not optional details.
Canning is my favorite method of food preservation and many others agree. It takes a while to prepare the food, prepare the jars and do the actual canning, but when I'm ready to eat what I have preserved, all I have to do is open the jar. For me, the payoff is convenience with ingredients I chose myself. A jar of properly canned food can make winter cooking much easier, especially when I am short on time.
Where a tested recipe allows adjustments, I can tailor the finished food to our preferences. I do not change critical proportions or processing instructions just to reduce sugar or salt. Sugar and salt are not universally required for safe canning. Their roles depend on the tested recipe. Safe processing depends on acidity, the correct canning method, jar size, processing time and altitude adjustments. I follow research-tested directions rather than changing ingredients or processing times by guesswork.
Clean equipment matters, but cleanliness alone does not make canned food safe. Plain green beans and other low-acid vegetables need pressure canning under current tested directions, not boiling-water processing. Check the lids 24 hours after processing and periodically throughout the storage process to make sure they are still sealed. If a jar does not seal, refrigerate or freeze it promptly. Reprocessing within 24 hours is appropriate only if the original tested recipe and processing method were correct; use a new lid and repeat the complete tested process. Never simply tighten a lid and return the jar to the pantry. If the lid comes loose while it is in storage, throw that food away. Don't chance getting sick!
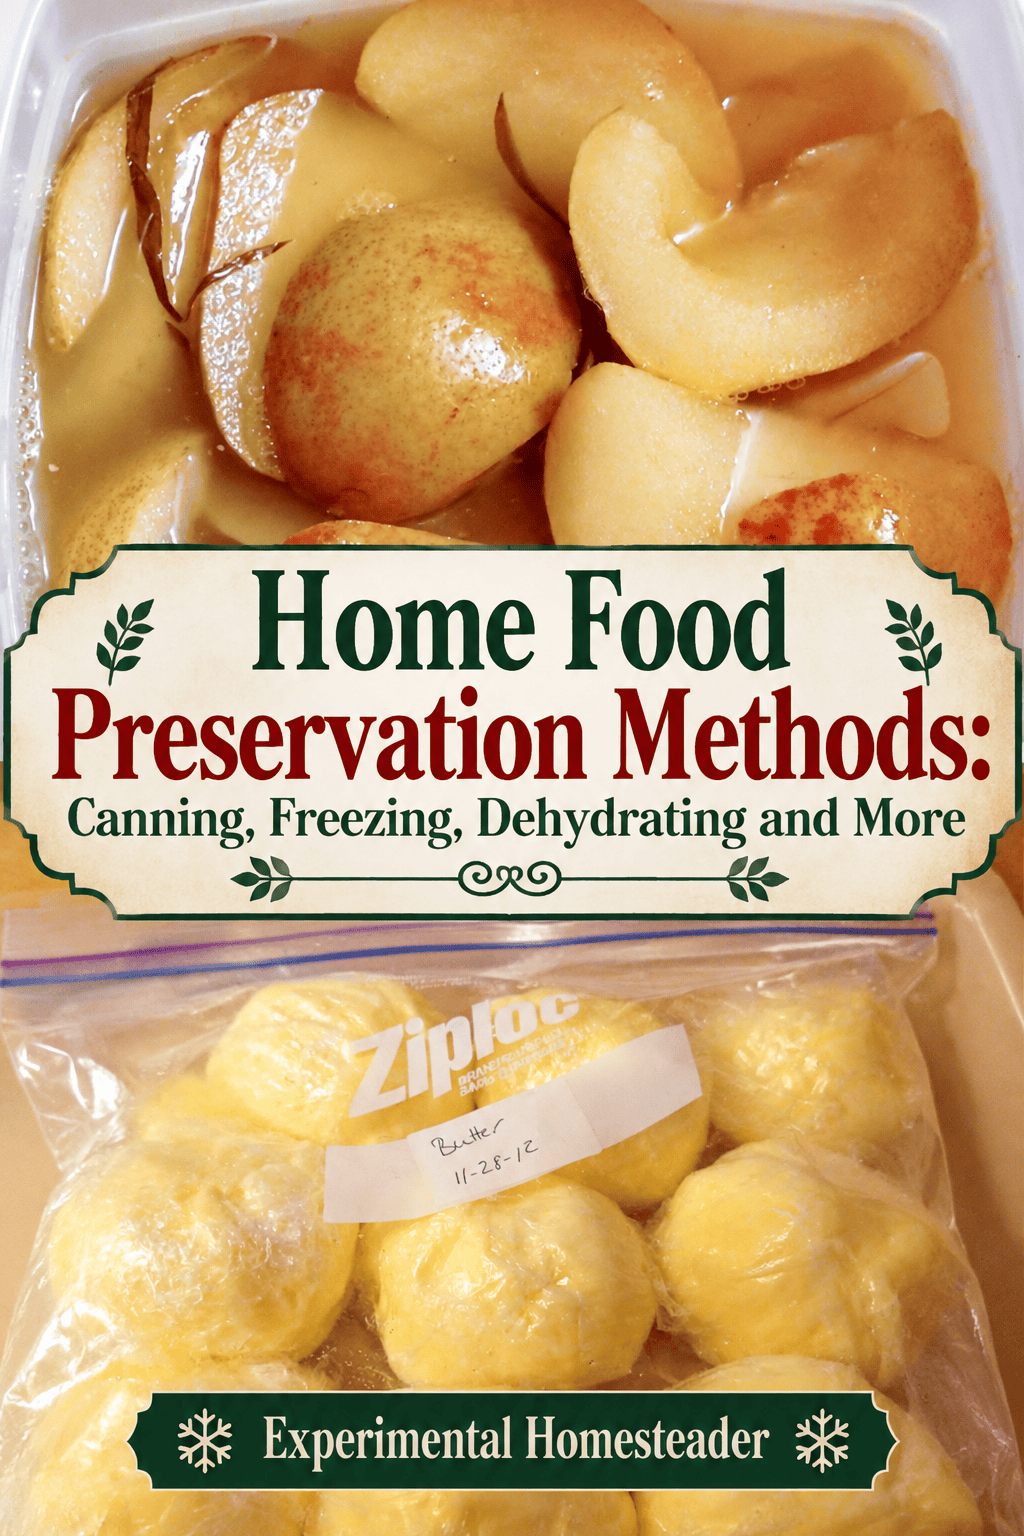
Freezing Food in Manageable Batches
Some vegetables, including green beans, benefit from blanching before freezing to preserve quality. I follow the appropriate blanching time, cool the vegetables quickly, drain them and pack them in freezer-safe containers. Meat and other perishable foods should be thawed safely in the refrigerator, cold water or microwave rather than on the counter. Freezing is especially helpful when the garden gives me a little at a time. Rather than leaving a small harvest on the counter while I wait for more, I can prepare and package it promptly.
For best quality I cool prepared food before packing, use containers intended for freezing, remove excess air where appropriate, and mark every package with the contents and date. Some foods such as meat or fruit will need thawed, other foods such as vegetables are ok to cook in their frozen state. Sometimes I wash and quarter tomatoes or other foods that I have a tiny amount of and freeze them.
Once I have enough, I remove them and can them. This is a great way to save time during the summer too. Food kept continuously frozen at 0°F remains safe, although quality can decline with storage time. I use a freezer inventory and plan meals around older packages rather than letting them disappear behind newer harvests.
Other Ways to Preserve and Store a Harvest
Cool storage is worth considering for suitable crops such as properly cured winter squash, potatoes and onions. Each has different temperature, humidity and ventilation requirements, so I do not store them all under identical conditions. I inspect them periodically and remove anything damaged or spoiled.
Fermentation and vinegar pickling can also be useful, but they are not interchangeable. Fermentation requires suitable salt levels and controlled conditions, and fermented food is not automatically shelf stable. Vinegar-based shelf-stable pickles require tested proportions and processing instructions. Garlic or herbs in oil deserve particular caution because low-acid ingredients in an oxygen-poor environment can create a botulism hazard.
Preserving foods in oil or salt requires food-specific, tested instructions. I do not recommend treating a homemade herb oil, garlic oil or salt-packed vegetable as shelf-stable without validated processing and storage guidance. Some preparations must be refrigerated or frozen.
I preserve garlic scapes in salt and keep the jar refrigerated. In my own kitchen I have kept refrigerated batches for as long as a year, but that describes my experience rather than a scientifically validated one-year shelf life. Salt concentration, moisture and refrigerator temperature matter, so I do not recommend this as a shelf-stable method. For a tested preservation approach, freezing chopped garlic scapes is a practical alternative.
I put a thin layer of salt in the bottom of the canning jar, cut the scapes into thin pieces, put a small layer of them on top of the salt and cover them with more salt. I then alternate salt, garlic scapes, salt until I run out or reach the top of the jar. The top layer needs to be salt by the way. You can use the garlic scapes just like you use garlic and use the salt like you would garlic salt.
Freeze Drying for Long-Term Food Storage
Freeze drying is another method I use, including for projects involving goat milk. Unlike conventional dehydration, freeze drying freezes food and removes ice under vacuum. It can preserve the texture of many foods surprisingly well after rehydration, but the equipment is expensive and the finished food must be thoroughly dry before packaging. I use packaging suited to protecting freeze-dried foods from moisture and oxygen, and I label the contents and date so the food is easy to rotate.
A Harvest Right Freeze Dryer is not a cheap investment, but freeze dried food lasts for years as long as it is stored correctly in mylar bags.
Your First Food Preservation Project: Start Small and Succeed
When someone tells me they want to learn to preserve food but don't know where to begin, I don't suggest buying a pressure canner and filling every shelf in the pantry. I suggest looking at what is already in the kitchen. Maybe you have three ripe bananas, a handful of herbs, or a few extra tomatoes. That's enough to practice. The first goal isn't to put up a year's worth of food. It's to learn one process, see what the finished food looks and tastes like, and feel comfortable doing it again.
Before you choose a method, ask yourself three questions: What food do I have? How do I want to use it later? Where can I store it safely? If you want tomatoes for winter soup, freezing them might be easier than canning. If you want a snack to tuck into a lunch, dehydrated fruit may make more sense. If you want shelf-stable green beans, you need a pressure canner and a current tested recipe. The same vegetable can have several possible destinations, but they don't all require the same equipment or effort.
Easy first project: Freeze a few tomatoes
For a simple introduction, choose sound, ripe tomatoes and wash them under running water. Remove the stems and any damaged portions, then dry the tomatoes. You can freeze them whole or cut them into pieces for future cooked dishes. Spread pieces on a tray to freeze separately if you want to take out small portions, then transfer them to freezer-safe bags or containers. Remove excess air, label the package with the date, and freeze promptly at 0°F or below. The texture softens after thawing, so plan to use them in sauces, soups or stews rather than fresh salads. If you freeze them whole, the skins are often easier to slip off as they thaw.
That's a real preservation project, even if you only freeze enough for one pot of soup. You've practiced selecting, preparing, packaging and labeling food, and you know exactly how you plan to use it. Next time, you can prepare a larger batch or try another vegetable with its recommended pretreatment.
Easy first project: Dry a small batch of herbs
If you have fresh herbs, remove damaged leaves, wash them when needed and dry off surface moisture. Arrange them loosely in a food dehydrator and follow the herb-specific temperature guidance for your machine. The herbs should be thoroughly dry and crumble readily before you package them. Let them cool, then store them in clean, dry, airtight containers away from heat, moisture and direct sunlight. Label each jar with the herb and the date. For my own cooking, I like having small jars of dried herbs ready when the garden is dormant.
Don't assume every herb dries or stores the same way, and don't pack anything that still feels damp. Moisture trapped in a container can lead to spoilage. For more ways to use an herb harvest, see my Preserving Herbs for Winter Use course.
How to Choose Between Canning, Freezing and Dehydrating
Freezing: This is often my first recommendation for a nervous beginner because you can start with a small amount and equipment you probably already own. You'll need freezer-safe packaging, labels, and enough freezer space. Some vegetables require blanching to maintain good quality, so look up directions for the particular crop rather than treating every vegetable alike. Frozen food must remain frozen; it isn't shelf-stable.
Dehydrating: This works especially well for certain fruits, herbs and vegetables when you want lightweight food that takes up less room. You'll need reliable drying guidance, even slices for consistent results, and moisture-resistant storage. Drying times vary with food, thickness, humidity and equipment, so check for the recommended finished texture instead of relying only on a timer. For fruit, follow the recommended conditioning step before long-term storage.
Water-bath canning: This can be a satisfying next step if you want pantry-ready fruit products, jams or properly acidified pickles. But the recipe must be tested for boiling-water canning, including the correct acidity, jar size, headspace, processing time and altitude adjustment. A sealed lid alone does not prove a jar was processed safely. Don't improvise ingredients or processing times in a canning recipe.
Pressure canning: Low-acid foods such as plain green beans and most vegetables need a pressure canner, not a boiling-water bath or an electric multi-cooker pressure-cooking cycle. Use tested instructions for the exact food and jar size, and learn how your canner's gauge or weighted regulator works. I love the convenience of opening a jar of home-canned green beans in winter, but this is a method worth learning carefully rather than rushing through.
Freeze drying: This can be useful for longer-term storage and for foods that rehydrate well, but a home freeze dryer is a substantial investment. Proper packaging and checking for complete dryness are essential. You absolutely do not need a freeze dryer to begin preserving food.
Beginner Food Preservation Equipment: What You Actually Need
Don't let a long shopping list stop you before you've started. For freezing, a cutting board, clean knife, freezer bags or containers, permanent marker and a working freezer may be all you need for a first batch of tomatoes. A tray is helpful if you want to freeze pieces individually. For drying, a dehydrator with temperature controls is convenient, but you can start by learning how to dry suitable herbs safely with the equipment available to you. For canning, wait until you've chosen a tested recipe before buying jars, lids, a rack, jar lifter and the appropriate canner. That way, you're buying equipment for a project you actually plan to make.
I keep labels simple: name of the food, date preserved, and any preparation detail I might forget later. For example, "Tomatoes - chopped - October 2026" tells me far more than an unlabeled freezer bag buried behind everything else. It also helps me use older food first instead of finding mystery packages months later.
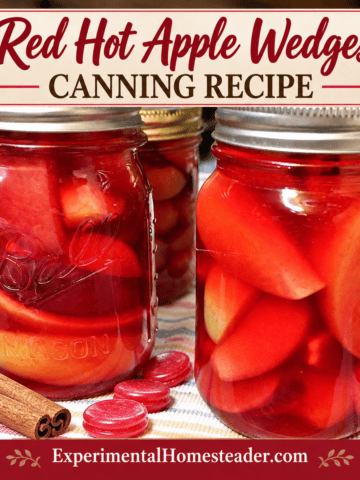
For more specific projects, explore my guide to freezing apples, red hot apple wedges canning recipe, and orange-cranberry vinegar and marinade. Each project has its own preparation and storage requirements, so use the directions appropriate to the food you are preserving.
Food Preservation Safety Basics That Matter Most
Preservation is not a way to rescue spoiled produce. Start with sound, good-quality ingredients and clean equipment. Wash produce under running water, follow food-specific directions, and refrigerate or freeze perishables promptly. When canning, rely on up-to-date, research-tested directions from sources such as the National Center for Home Food Preservation or USDA, rather than an attractive recipe that happens to be circulating online. Acidity, heat penetration and processing time matter, even when a jar looks perfectly normal.
For freezing, keep the freezer at 0°F or colder and use packaging designed to protect food from freezer burn. For dried foods, check that they are fully dried, cool before sealing, and watch for condensation or mold. If mold appears, discard the affected food rather than trying to dry it again. For jars, don't taste questionable preserved food to see whether it's safe. If a jar is leaking, bulging, spurting, moldy or otherwise suspicious, follow established disposal guidance.
One important distinction: a jar filled with vegetables and capped with a lid is not necessarily a safely canned jar. Refrigerator pickles, fermented foods and foods preserved in oil have different safety and storage rules. Garlic or herbs submerged in oil can create a botulism risk if handled incorrectly, and a homemade salt mixture is not automatically safe at room temperature. Follow a validated recipe and its refrigeration or freezing directions for these products.
Make Your First Month of Preserving Manageable
Here's how I'd approach the first few weeks if I were starting from scratch. In the first week, freeze a small amount of fruit or tomatoes and label it. The following week, try drying an herb or fruit using a reliable guide. Then use some of what you preserved in a familiar recipe, because there's no point filling containers if you don't like the results. When you're ready, read a tested canning recipe from beginning to end, check that you have the correct equipment, and schedule a day when you won't be rushed.
You don't have to preserve everything you grow or buy. Some harvests are best eaten fresh, shared with a neighbor or cooked for dinner. I consider that part of a successful homestead kitchen, too. What matters is learning to recognize when you have more food than you can use right away and knowing a few safe, practical ways to save it. One bag in the freezer, one jar of properly dried herbs, or one successful canning batch is a beginning worth celebrating.
Frequently Asked Questions About Home Food Preservation
Which method is easiest for beginners?
Freezing produce in labeled, freezer-safe packages is a practical first step. Many vegetables benefit from blanching before freezing. Drying herbs is another manageable project if you can dry and store them thoroughly.
Do green beans need pressure canning?
Yes. Plain green beans are low-acid foods and need a current tested pressure-canning process for shelf-stable storage. A boiling-water bath is not sufficient.
Can I preserve a small harvest?
Yes. I freeze tomatoes in small batches until I have enough for a larger cooking project. Always check whether a tested canning recipe permits previously frozen ingredients.
How long will home-preserved food last?
There is no single answer. Food type, tested process, packaging and storage conditions all matter. Follow current preservation guidance, label each batch and discard suspicious containers without tasting.
Is freeze drying different from dehydrating?
Yes. Dehydration uses controlled warm air, while freeze drying removes frozen moisture under vacuum. Equipment cost, food texture and storage packaging differ.
Can I preserve food without a freezer?
Depending on the harvest, tested canning, dehydration, freeze drying or appropriate cool storage may be suitable. Match the method to the specific food rather than assuming one method works for everything.
Every season I learn something about how much we actually eat and what I should preserve next time. A useful pantry is built around familiar meals, not just full shelves.
As always, I welcome questions and comments.