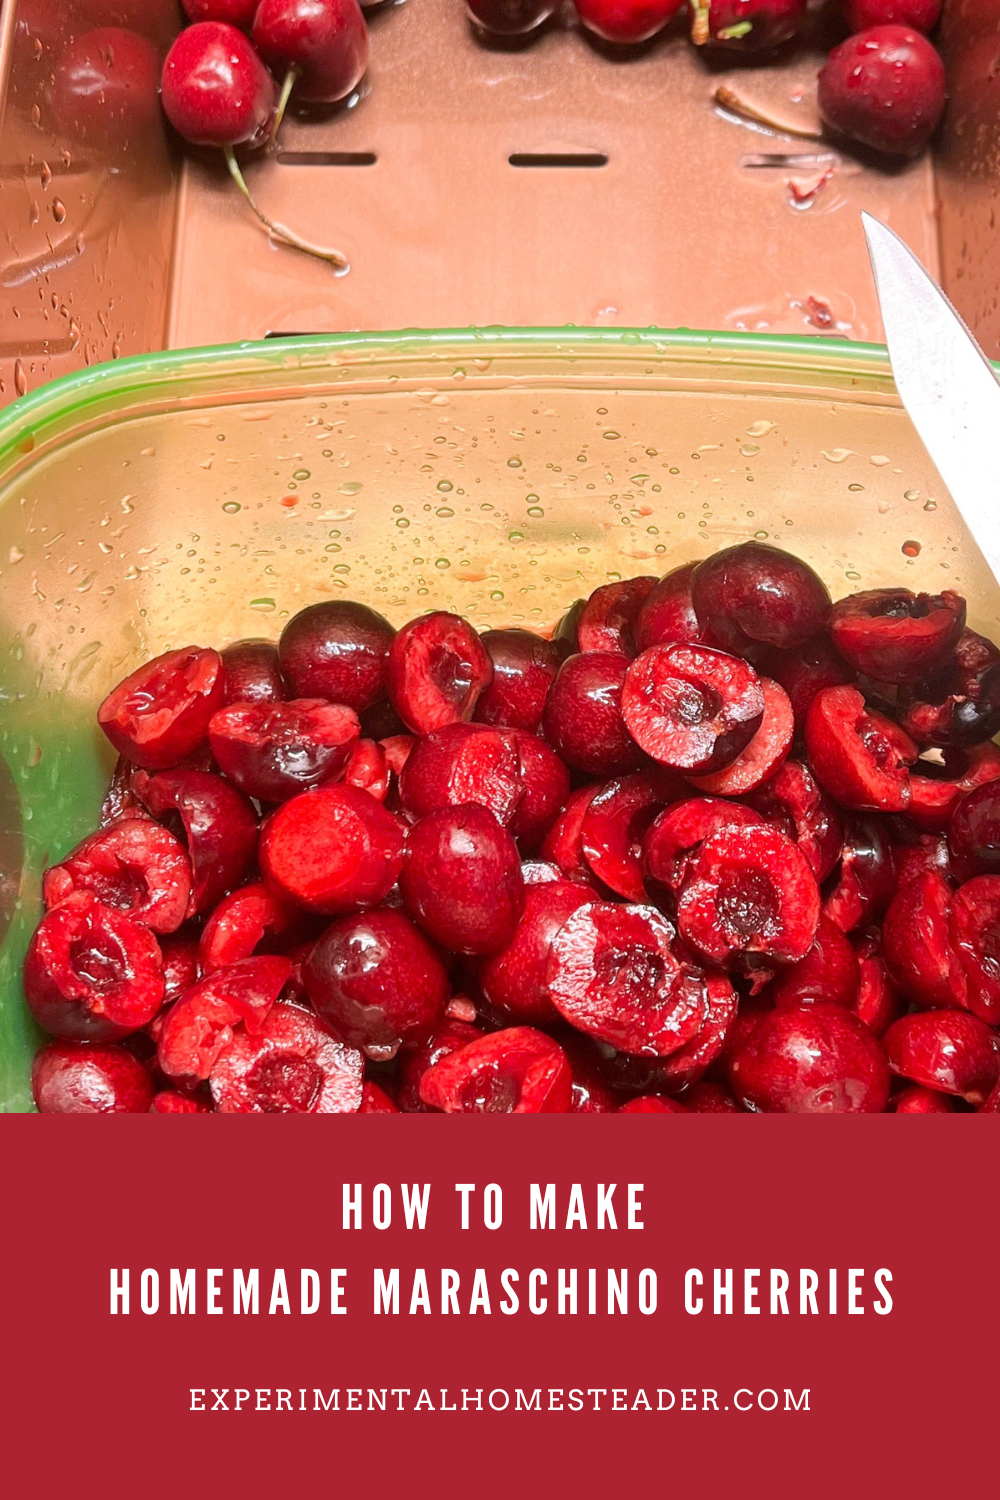
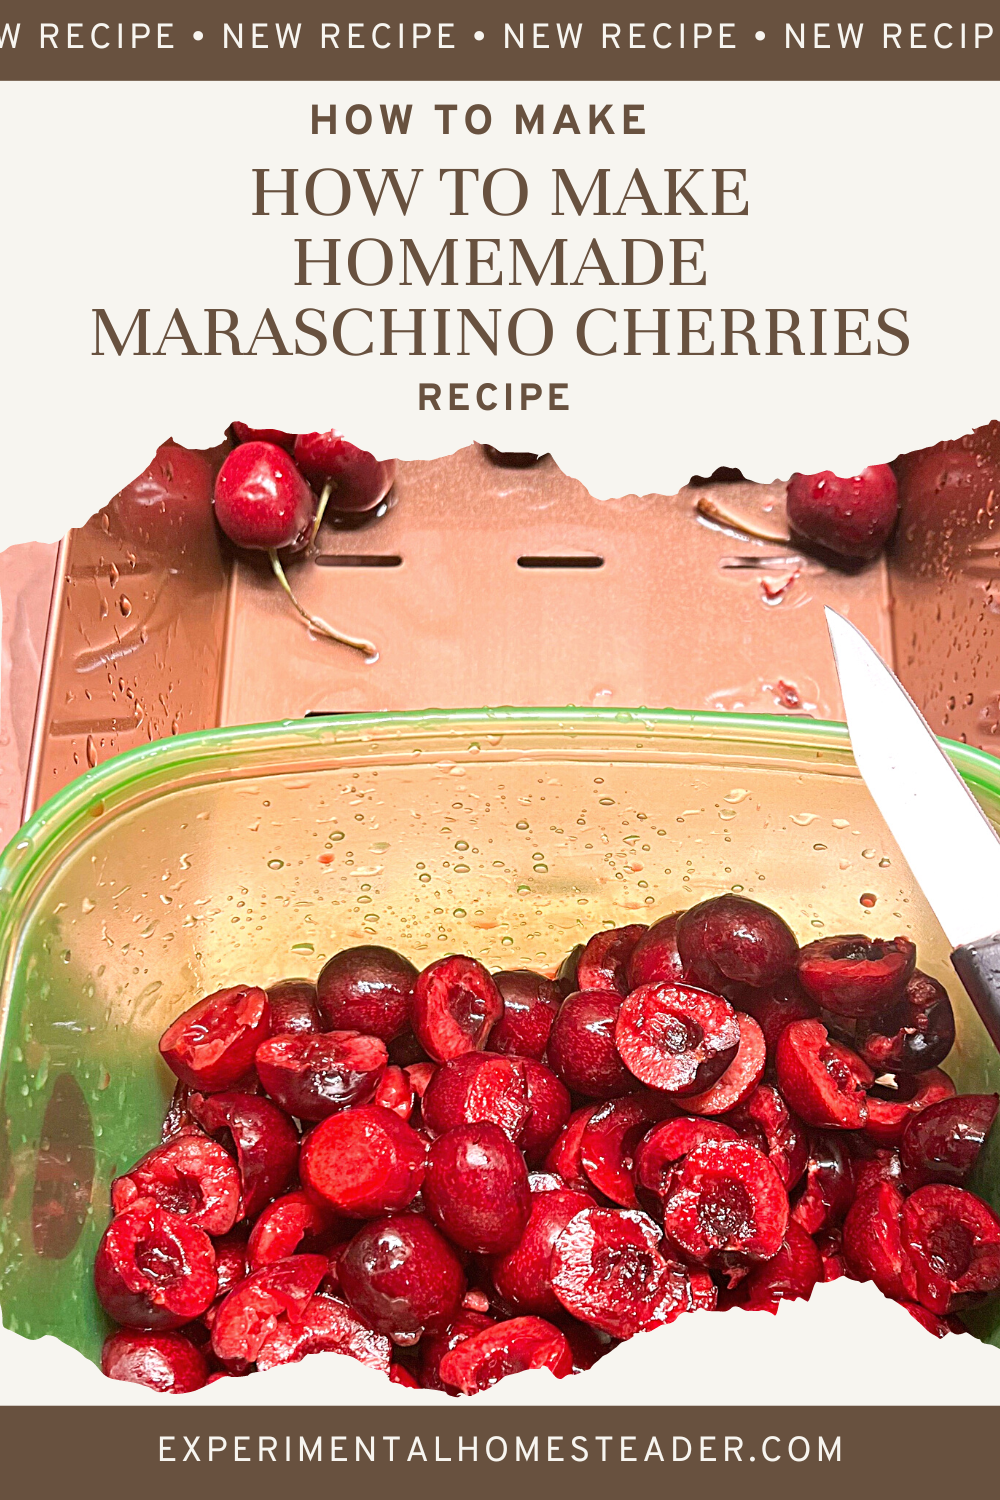
How To Make Homemade Maraschino Cherries
These homemade maraschino cherries are delicious and easy to make.

It does take three days to make them but most of that time is spent allowing them to soak.
Why You'll Love These Homemade Maraschino Cherries
Homemade maraschino cherries taste so much better than the store bought ones.
The flavor is richer and not quite as tangy.
Of course, these do not have the stems left intact, nor are they whole, so if the look - and not the taste - is what you are after, than making these might not be the right choice for you.
However, if you want the best tasting maraschino cherries you've ever had, then definitely take the time to make these.
I do let mine sit in the canned jars for two to three months after canning them just because that is my preference and I want all the flavors to mix really well.
Here is how I make these delicious homemade maraschino cherries.
The Process Of Making Homemade Maraschino Cherries
On the first day you brine them, and on day two you put them in the sugary syrup that turns the sweet cherries into the maraschino cherries.
Day three is spent doing the actual canning of the cherries.
This recipe takes a total of seven different ingredients - sweet cherries, pickling salt, water, sugar, lemon juice, vanilla extract and almond extract.
This recipe calls for 1 pound of sweet cherries.
You can buy sweet cherries at the store if you do not grow them or know of someone who does grow them.
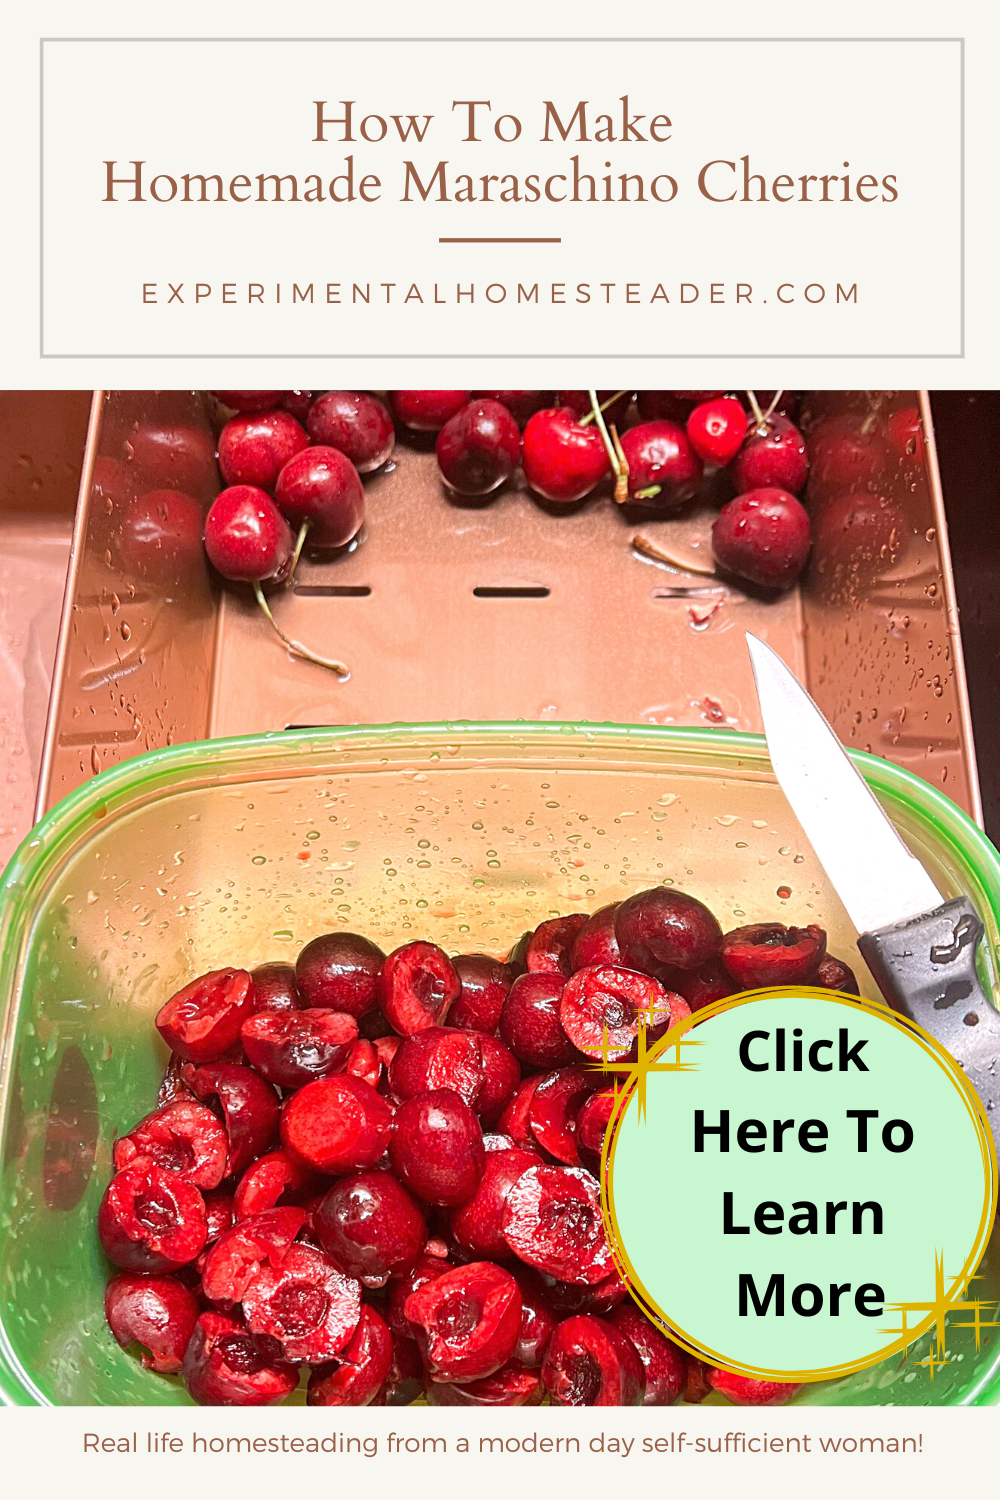
Be sure to wash the cherries well and pit the cherries before you begin.
This is the one step that takes the longest in my opinion.
I always pit my cherries by hand so I can check for worms or other issues with the cherries that I might not see if I used a cherry pitter.
Homemade Maraschino Cherries Recipe
Below are tips for sterilizing and packing canning jars plus my maraschino cherry recipe.
After making these for the first time I decided that the homemade ones taste much better than the store bought ones - and since then I have made my own using this recipe instead of buying them.
Print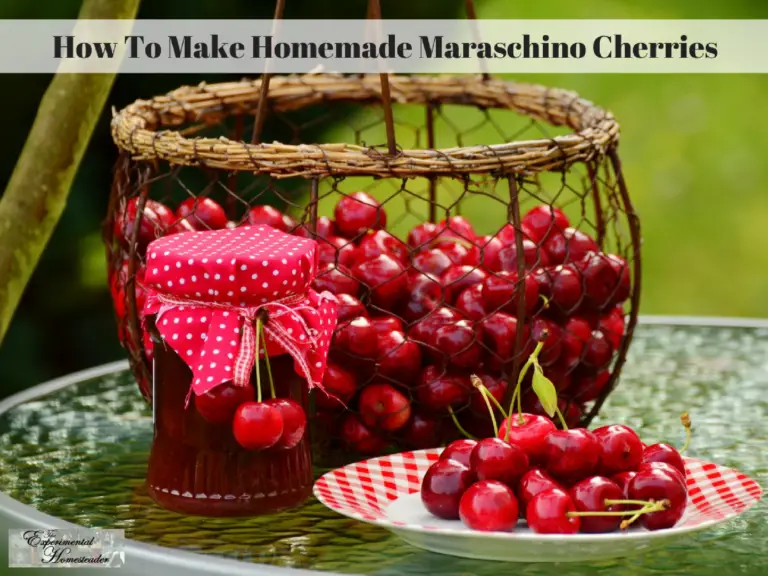
How To Make Homemade Maraschino Cherries
- Total Time: 72 hours 20 minutes
Ingredients
Day 1
- 1 pound sweet cherries
- 1 pint water
- ¼ tbsp pickling salt
Day 2
- 1 pound sugar
- ¾ cup water
- ¼ t lemon juice
Day 3
- ⅛ oz almond extract
- ⅛ oz vanilla extract
Instructions
Day 1
- Pit one pound of sweet cherries.
- Make a brine out of 1 pint water and ¼ tablespoon pickling salt. Bring this to a boil so salt will dissolve.
- Allow to cool for ten minutes, then pour over the cherries.
- Cover the bowl and let it sit overnight.
Day 2
- Drain and rinse the cherries.
- Combine 1 pound of sugar, ¾ cup water and ¼ teaspoon lemon juice. Bring this to a boil and continue boiling until the sugar dissolves.
- Pour it over the drained cherries and let stand for 24 hours covered.
Day 3
- Drain the cherries taking care to save the juice.
- Pack the cherries into 4 ounce or half pint canning jars.
- Bring the juice to a boil, then remove from heat.
- Add ⅛ ounce almond extract and ⅛ ounce homemade vanilla extract to the juice then stir well to combine.
- Pour the juice over the cherries.
- Wipe jar rims, put lids and bands on making sure they are fingertip tight.
- Process for twenty minutes in a cold pack canner, remove and tighten lids.
- Set them on a secure surface. I lay an old towel on top of my table and set the canning jars on it.
- Remember these jars are hot so use hot pads and jar lifters.
- Tighten the bands as tight as possible.
- Allow the jars to cool overnight.
- When the jars are completely cool, remove the bands and check the lids to make sure they are sealed.To check the lids, simply try to lift them up with your fingers. If they come off, set the food in the refrigerator and eat it within a week. If they do not come off, the cans are sealed. Replace the band and store in a cool, dark place.
- Be sure to label the jars with the name of the food in them and the date.
- Prep Time: 3 days
- Cook Time: 20 minutes
- Category: Desserts
- Method: Stovetop
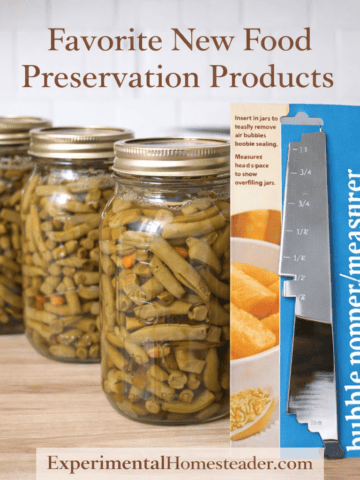
How To Sterilize And Pack Canning Jars
For those who are new to canning - or simply need a refresher on what to do, I wanted to share this video I made on how to sterilize and pack canning jars.
I used green beans for the tutorial, but the method works for any product you are canning.
Be sure to double check how much head space to leave above whatever you are canning as it does vary.
Packing the jars as tightly as possible is super important as is making sure the air bubbles trapped between the food in the jar and the liquid are released.
Cleanliness is important as you do not want bacteria or non-food stuff to end up in your jars as it could cause spoilage.
Canning Food At Home

Packing And Sterilizing Canning Jars
The most important part of canning is packing and sterilizing the canning jars properly. Learn how to do this important step the right way.
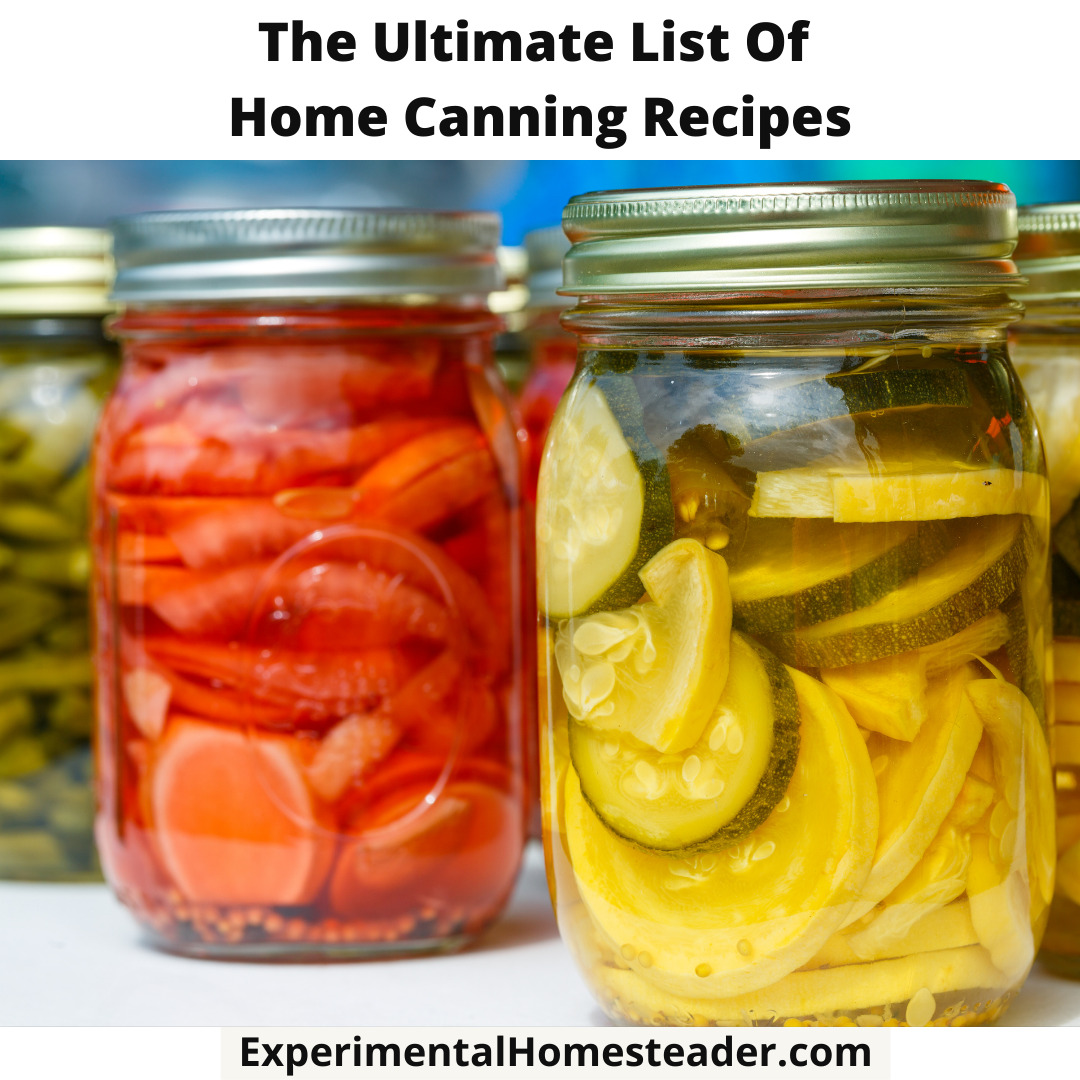
The Ultimate List Of Home Canning Recipes
This ultimate list of home canning recipes are all tested and proven to work. Learn how to preserve the fruits and vegetables you grow in your garden!
Canning Broccoli Is No Longer Safe But You Can Still Preserve It
Although canning broccoli was once considered safe, times have changed thus freezing, dehydrating or freee drying broccoli is recommended.
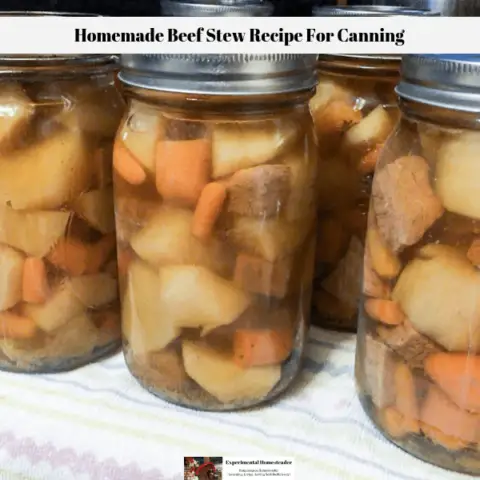
Homemade Beef Stew Recipe For Canning
When it comes to having quick home cooked meals that just need reheated, this beef stew recipe for canning can't be beat!
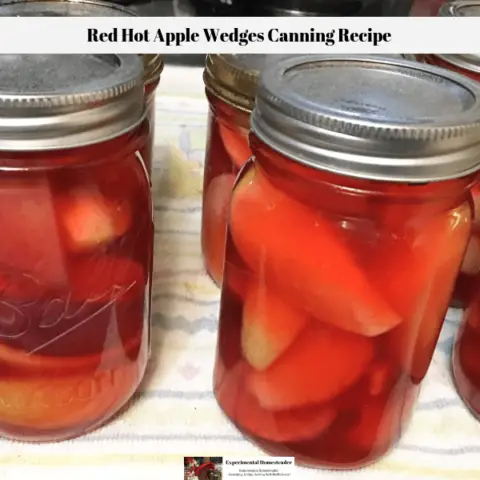
Red Hot Apple Wedges Canning Recipe
Preserving your own food means trying new recipes, such as this red hot apple wedges canning recipe. While it is true, it is a good idea to stick to recipes you know you and your family will eat, it never hurts to branch out a bit.
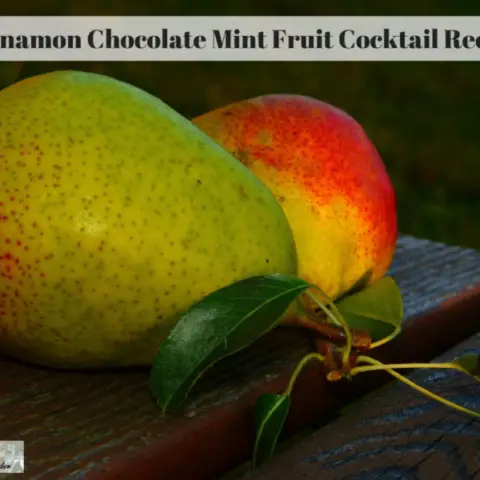
Cinnamon Chocolate Mint Fruit Cocktail Recipe
This Cinnamon Chocolate Mint Fruit Cocktail recipe is ideal to use up some of your extra summer fruit or to combine some of the fruit you have already preserved to come up with something a little different.
Five Spice Cherry Canning Recipe
This five spice cherry canning recipe is a unique take on typical recipes for canning cherries. I love the way the spices complimented the tart cherries!
How To Easily Start Canning Blueberries
Learn how to easily start canning blueberries in your own kitchen. Home canning is a great way to preserve fresh foods that you or someone you know grew.
Apple Canning Recipes
There are many recipes for canning apples and I think I have tried them all. However the best way is to can them in plain syrup.
How To Make Raspberry Vinegar
A great way to preserve raspberries is to make raspberry vinegar. Its delicious on pork chops! Best of all you can preserve it for winter use by canning it.
Orange-Cranberry Vinegar And Marinade Recipe
This orange-cranberry vinegar and marinade recipe is easy to make, easy to can and tastes great!

How To Make Homemade Ketchup
Learn how to make homemade ketchup right in your own kitchen using tomatoes you grew in your garden. This recipe works with fresh or frozen tomatoes!

Homemade BBQ Sauce Recipe
This homemade bbq sauce recipe uses fresh tomatoes and is perfect for canning. Use it as it is or as a base sauce to create different types of BBQ sauces.

How To Make Cajeta Goat Milk Caramel
Learn how easy it is to make cajeta goat milk caramel from fresh goat milk. Plus learn how to preserve it for winter use by canning it.

How To Make Homemade Honey
Learn how to make homemade honey right in your own kitchen using a mixture of water, sugar, red clover, white clover and fireweed!
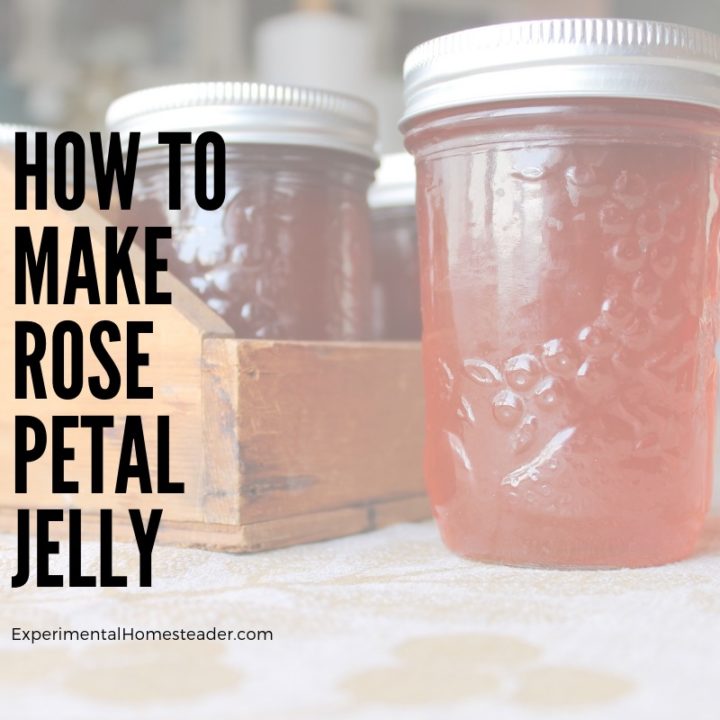
How To Make Rose Petal Jelly
Learn how to make rose petal jelly using fresh rose petals from your favorite organically grown roses. Try different roses for unique flavored jelly.

Delicious Raspberry-Chocolate Sundae Topper Recipe
This delicious, easy-to-make raspberry-chocolate sundae topper is an ideal canning recipe making it easy to serve to guests or give as gifts!
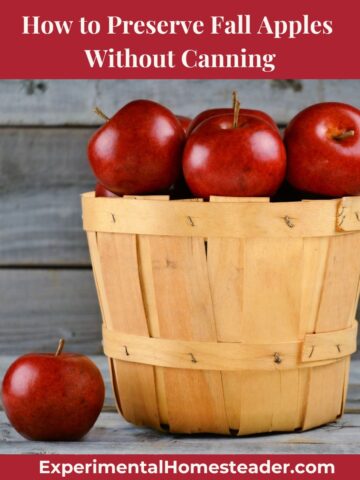
Try These Off Season Food Preservation Ideas
These off season food preservation ideas are perfect for the off season. There are lots of items you can fill your freezer with or even can year-round.
Importance Of Food Preservation Inventory
Do you understand the importance of food preservation inventory? From spices to food stored in the freezer and pantry, this list can help you save money.

Four Factors That Affect Food Storage
Understanding the four factors that affect food storage is essential for keeping your food safe, especially if you intend to store it long term.
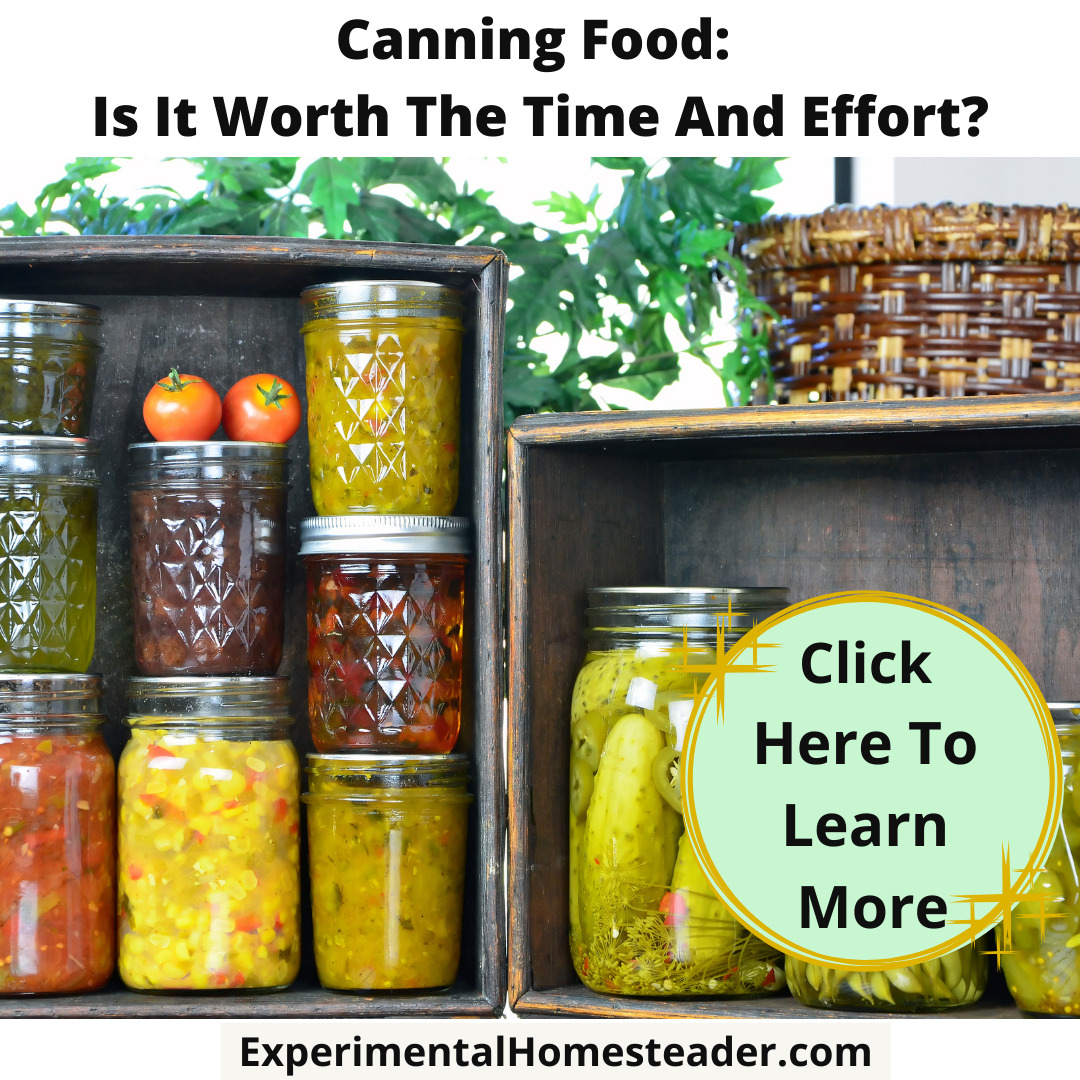
Canning Food: Is It Worth The Time And Effort?
Learn if canning food at home is really worth the time and effort involved as well as about some of the supplies you need to get started.
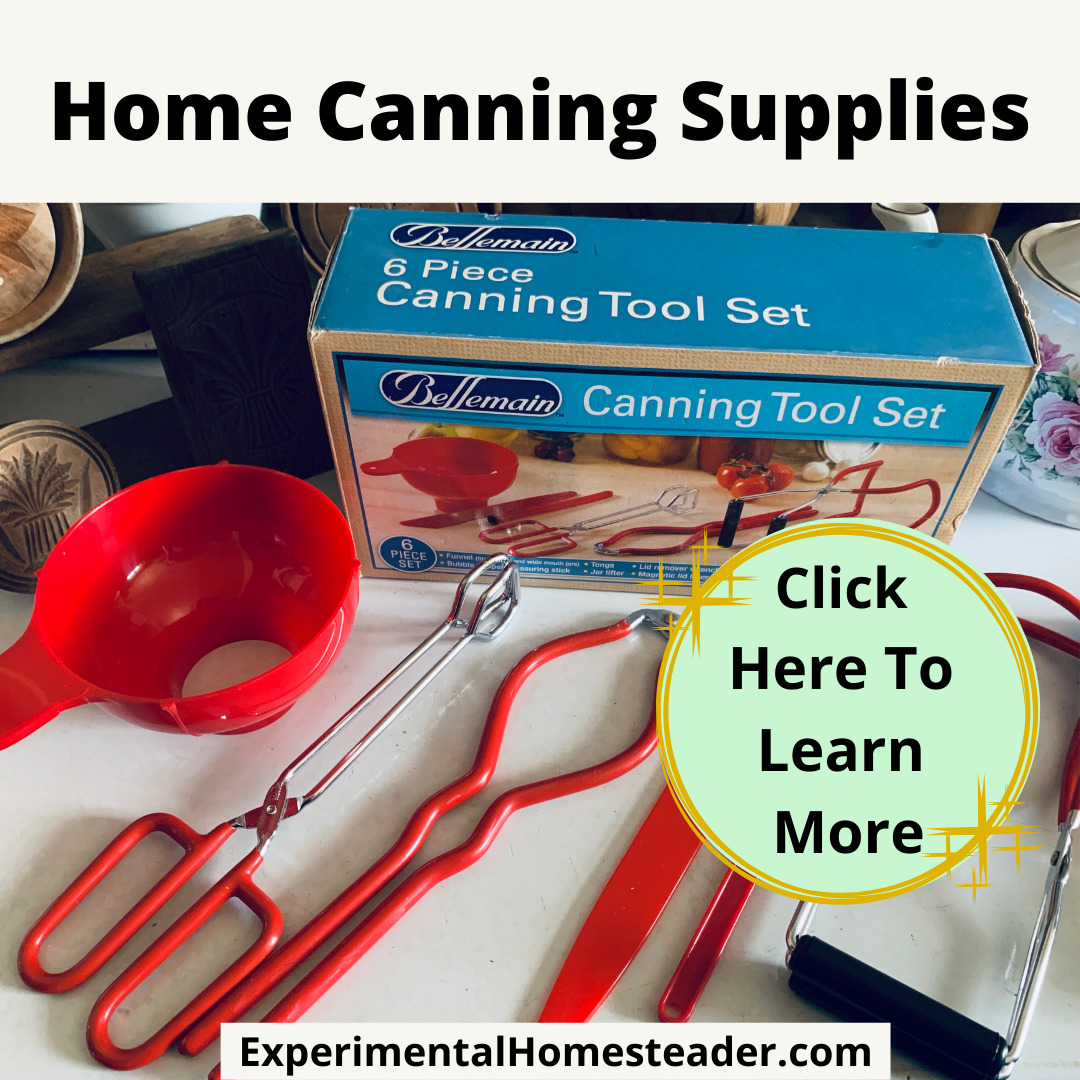
Home Canning Supplies
There are a number of home canning supplies you need to get started canning food at home, the Bellemain Kit contains 6 of them.
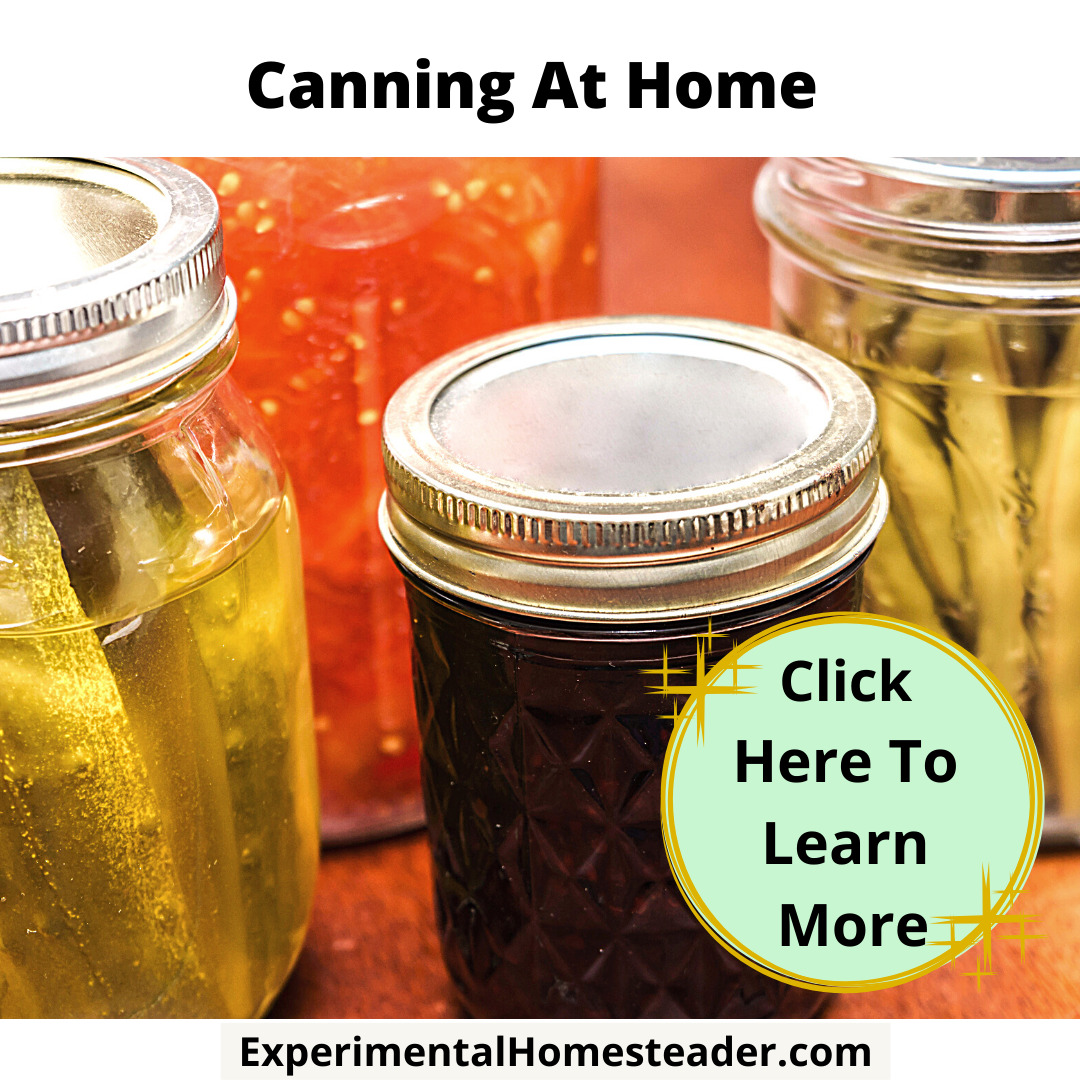
Canning At Home
When canning at home making sure everything is clean and in good condition is essential for food safety and your families health.

Fruit Juice Concentrate
Learn how to make your own fruit juice concentrate at home using fresh fruits from your garden or the farmers market.
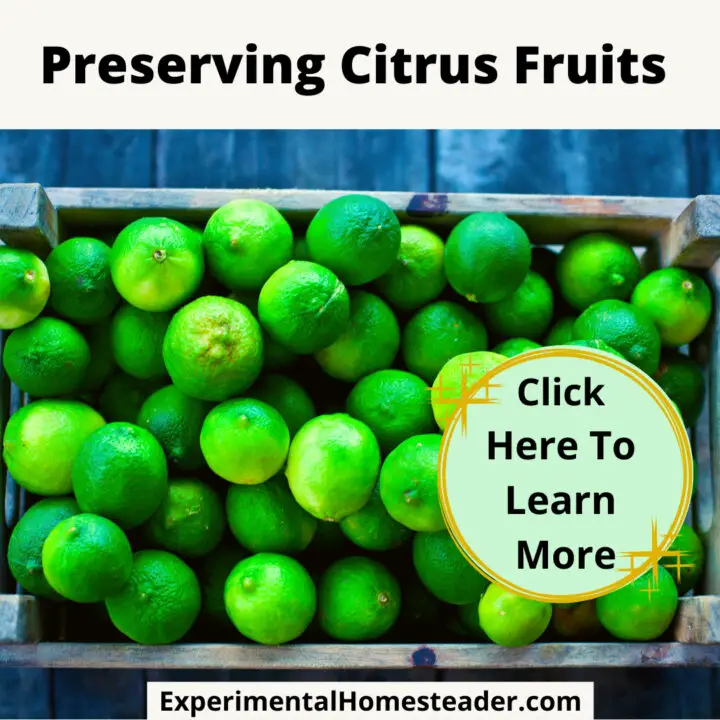
Preserving Citrus Fruits
Preserving citrus fruits is something you want to know how to do if you grow your own, buy in bulk or have citrus fruits given to you.

Preparing Fresh Green Beans
Get out of the grocery store and into home-canning fresh green beans. Experience the symbiotic relationship of land and food security.