How To Freeze Dry Goat Milk
If you've ever wondered how to freeze dry goat milk, or even why you might want to freeze dry goat milk - or any type of milk for that matter, than this is the article for you!

While there's still no medical marvel that can cause zombies (that I know of), it's still good to be prepared for the eventual zombie infestation, right?
Or at least for any weird power outages from storms or other actual problems.
That's why I love having freeze-dried milk in my food storage.
Freeze Drying Other Types Of Milk
Even if you don't have access to goat milk, it's the same process to make freeze-dried milk from any other type of animal.
Since there's not easy access to goats milk in my area, we stick to whole milk.
It's what my kids love, we drink it by the gallon, and it goes great with cookies.
How to Freeze Dry Goat Milk
Freeze drying milk is a relatively simple process - if you've got the right equipment.
If you don't have the right equipment, skip to the end of this article for what to do.
Meanwhile, if you do have the right equipment, let's make some freeze dried milk!
This will work with any kind of milk, too - goat, sheep, cow, and even breastmilk if you're wanting to store that for long term.
How To Set Up The Freeze Dryer
First, you'll need to make sure that your Harvest Right freeze dryer is set up for a new cycle.
Then, you've got two options.
- Option one is to load the milk directly into the tray - while it's in the freeze dryer. Seriously - just pull it out a bit and pour it in. If you try it any other way, you will spill and make a huge mess.
- Option two is to pre-freeze the milk in the freeze dryer trays or in ice cube trays.
Both methods work equally well - if I've got a tray of frozen fruit that I'm freeze drying at the same time, I'll pull out some frozen milk to add to a clean tray.
Or I can add fresh milk to a new tray.
Either way, it seems to take about the same amount of time: about 2-3 days depending on your humidity.
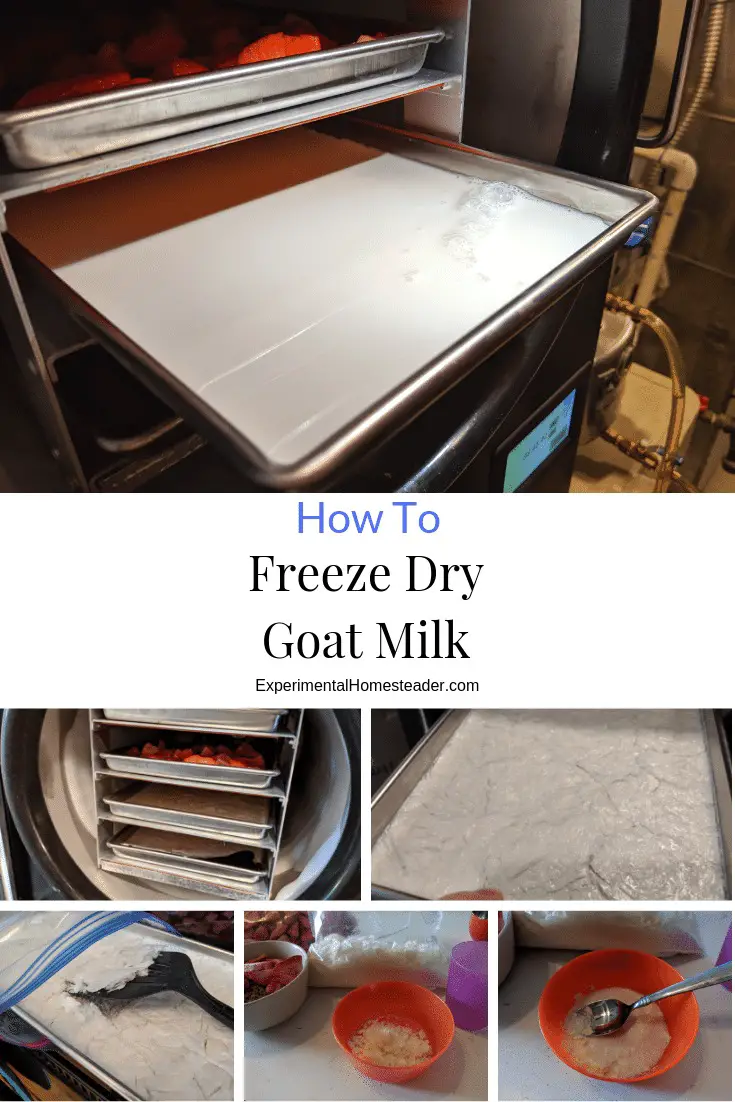
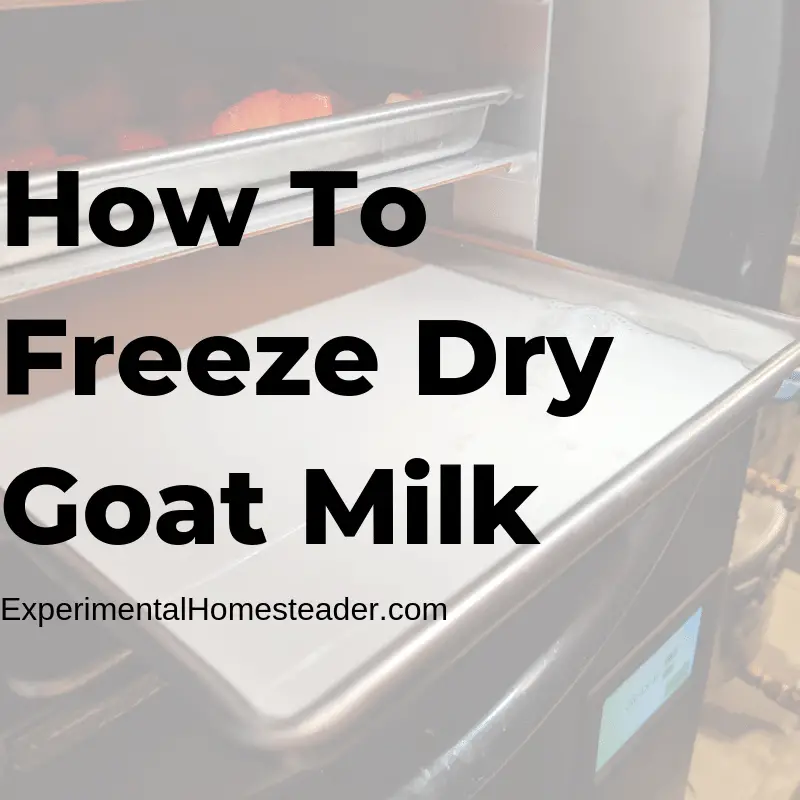
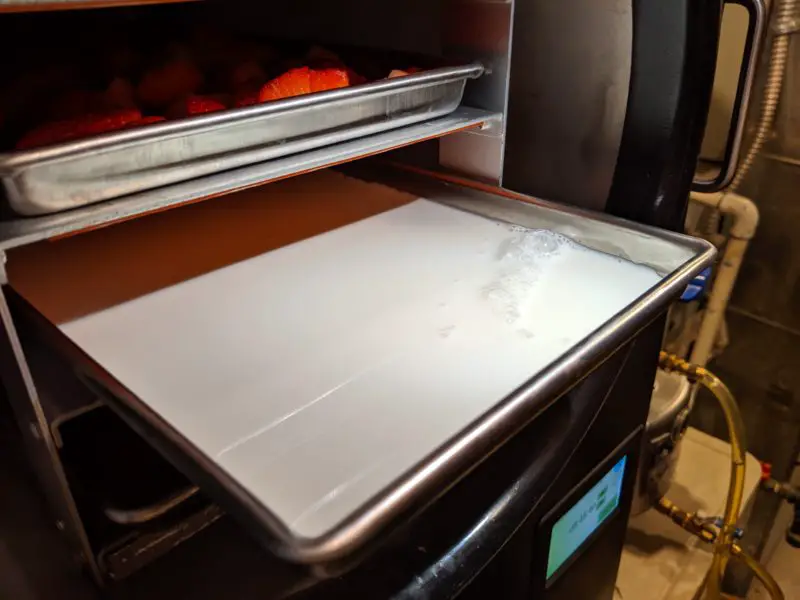
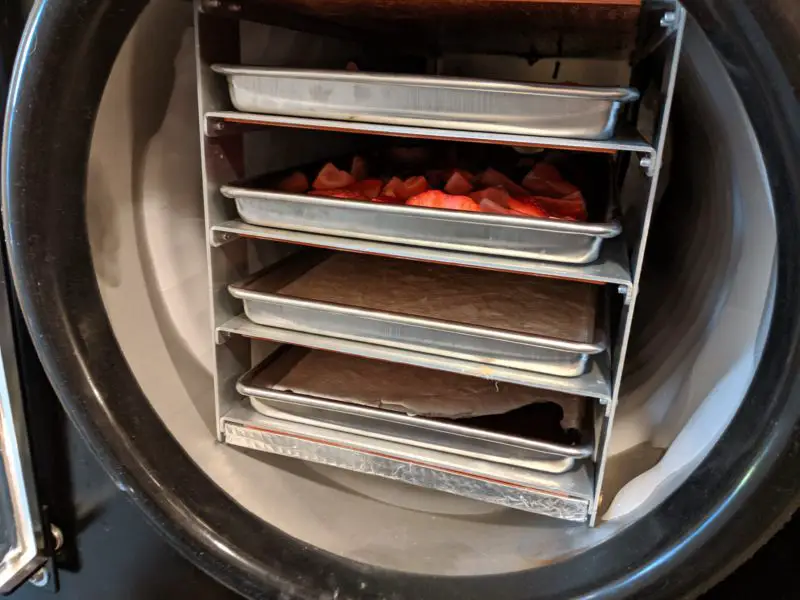
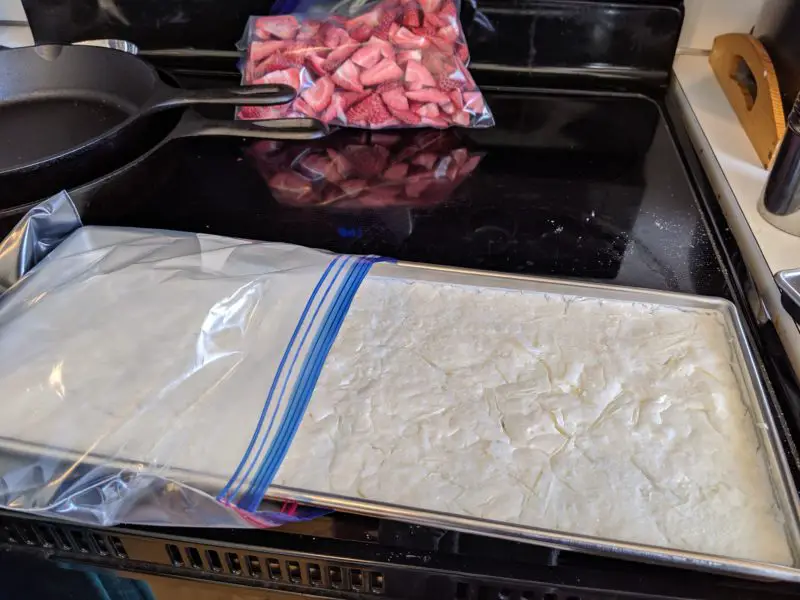
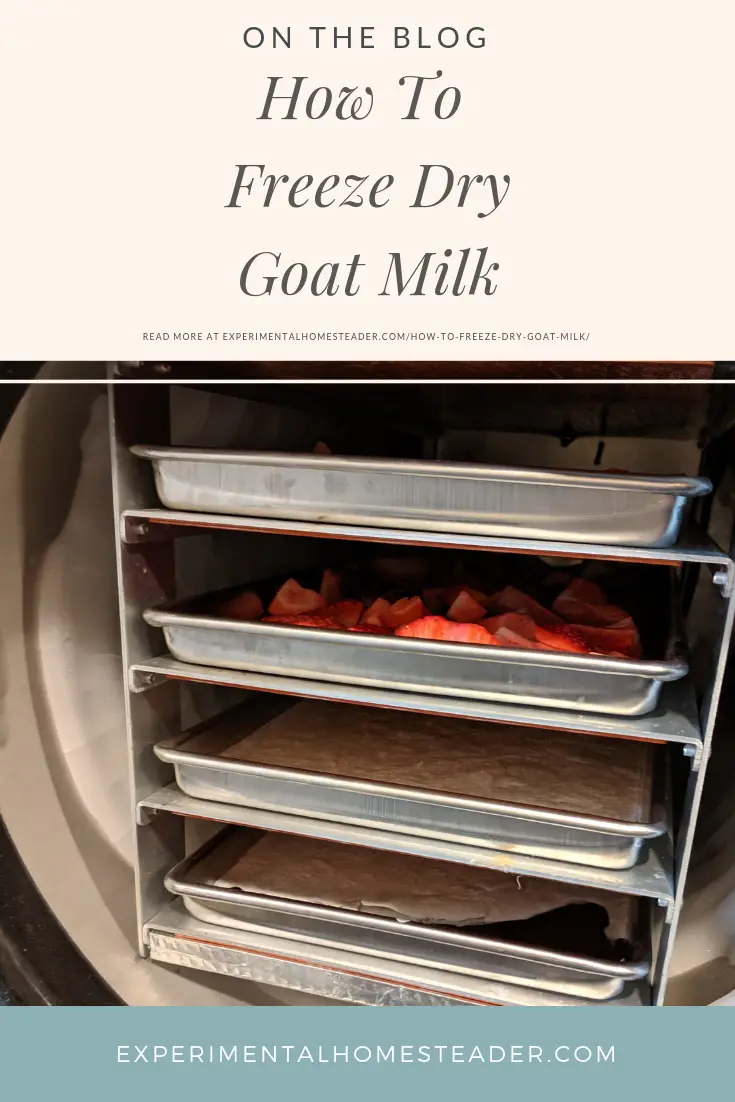
Here's my fresh, still liquid whole milk ready to get freeze-dried:
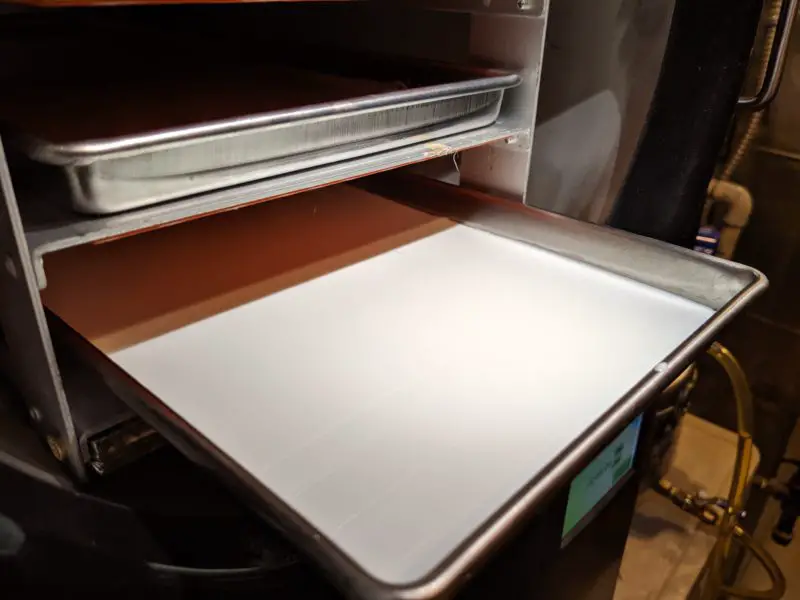
Here's another shot of it with the fresh, sliced strawberries that'll be accompanying it in the freeze dryer:
Just a quick warning, though: be careful which foods you freeze dry together, even if they are on separate trays.
For example, garlic and onions don't play well with any foods you don't want to permanently taste of garlic and onions.
That's why I did strawberries and milk, y'all.
Because if my milk ends up a bit strawberry-flavored, I'm okay with that.

Time to Freeze Dry That Milk!
Now that your Harvest Right freeze dryer is full of goodies, it's time to set it to on.
I recommend following what the manual says for each setting.
And if you've got multiple foods?
Go with whatever has the longest setting.
Trust me - it'll take that long due to all of the moisture.
Load it up and get ready to leave it alone!
Here's mine all loaded - and me trying to be silly taking a photo of it.
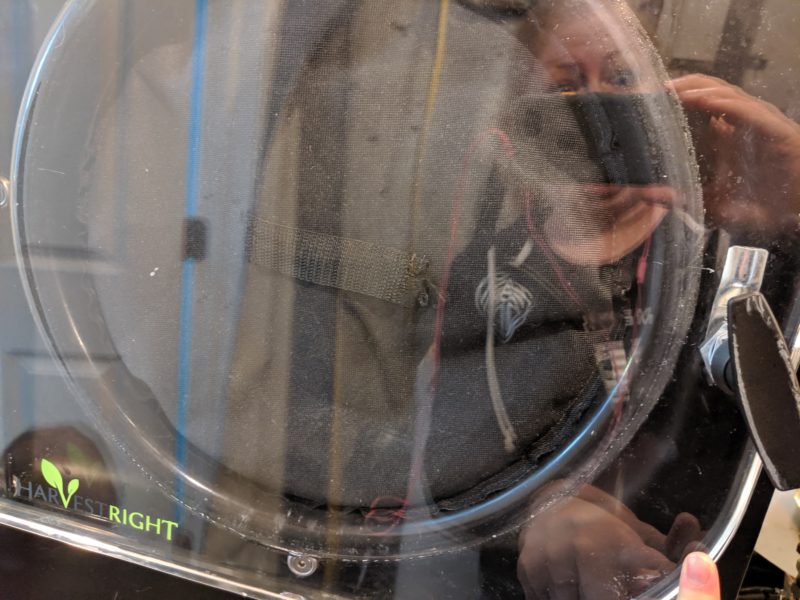
See you in a few days!
What Freeze Dried Milk Looks Like
Oh, phew.
Thank goodness this is a finished post so you don't have to come back, right?
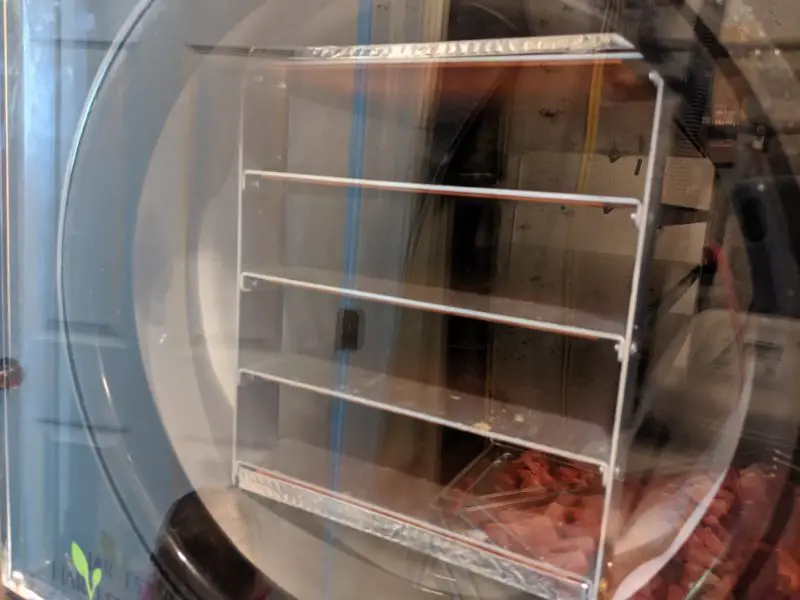
Instead, here's how it looked when I first opened my freeze dryer after its full cycle has finished.
Now, we've learned a trick: if you end the cycle on a warm phase, then there's less chance of condensation, which means your food is more likely to be properly freeze-dried and store well.
The other perk to ending on warm (rather than cold) is that you don't need oven mitts to protect your hands from the cold.
There's just all that ice built up to deal with - so don't touch it.
That's it.
Notice how the milk has shrunk back and it's all crispy?
That looks like a good freeze dry cycle.
But let's get closer to make sure.
Because if you're going to need to add more time to the cycle, now's the time to do it - not later when you realize all the food you prepared has gone bad.
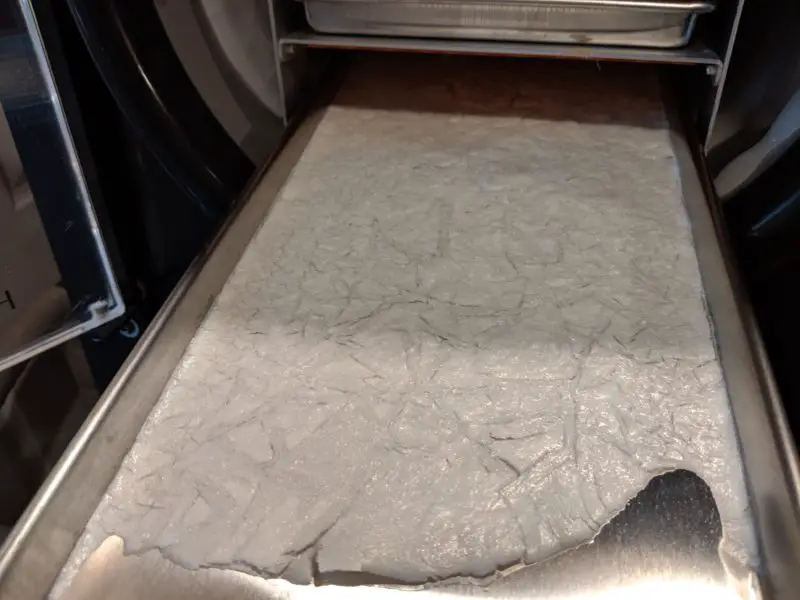
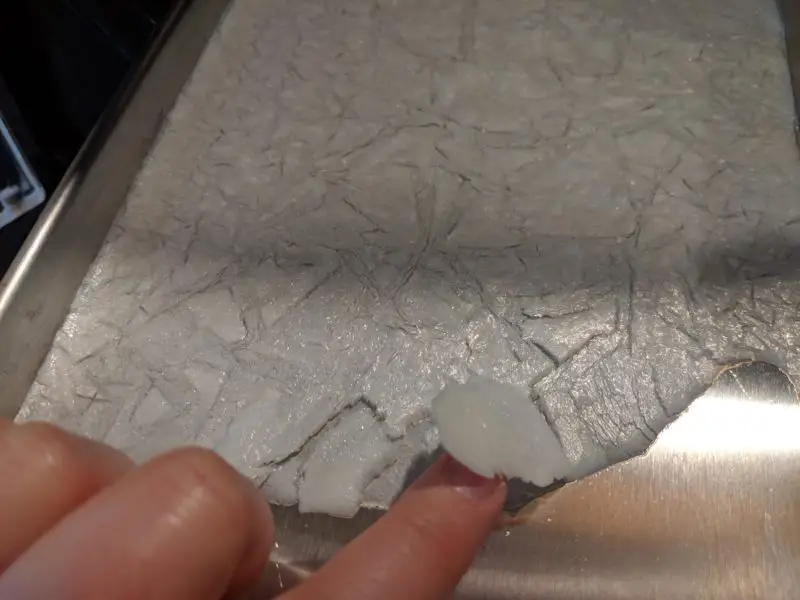
Oh yeah - see all of those cracks?
That's some solid freeze drying there.
And since I can't quite figure out how to photograph myself touching the powder to test it, trust me.
It's quite solid and the moisture is gone.

This was the best I could manage without dropping anything!
Now, you'll also want to test any other foods you've freeze-dried.
So let's test the strawberries, shall we?
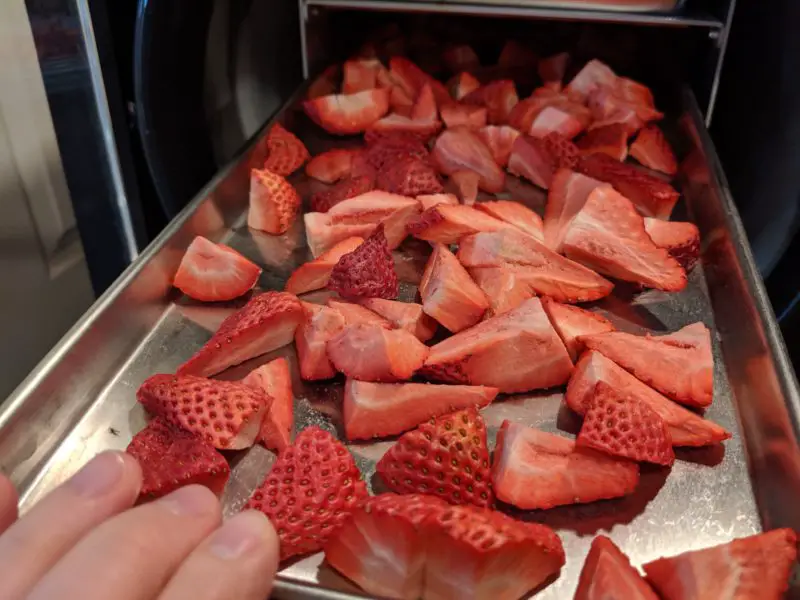
You should be able to snap anything you've freeze-dried right in half. It should have a nice snap to it, too.
Then I always eat one or two - in the name of testing it out, of course!
And here's one more look at the freeze-dried whole milk: it snaps off easily, too.
That's awesome.
Now to let the freeze dryer run its defrost cycle so that it'll be ready for my next batch.
See you again soon, dryer.
How to Test Freeze Dried Milk
Once it's been freeze-dried, you want to make sure that your milk isn't only partially done.
Because when you're first starting out, it's easy to think it's done - only to find out later (when it's far too late and gross) that it definitely wasn't done.
And the easiest way to do that is to make storing your freeze-dried milk a two-step process.
The first part is testing it - and I do that by storing it in a Ziploc bag for a couple of days.
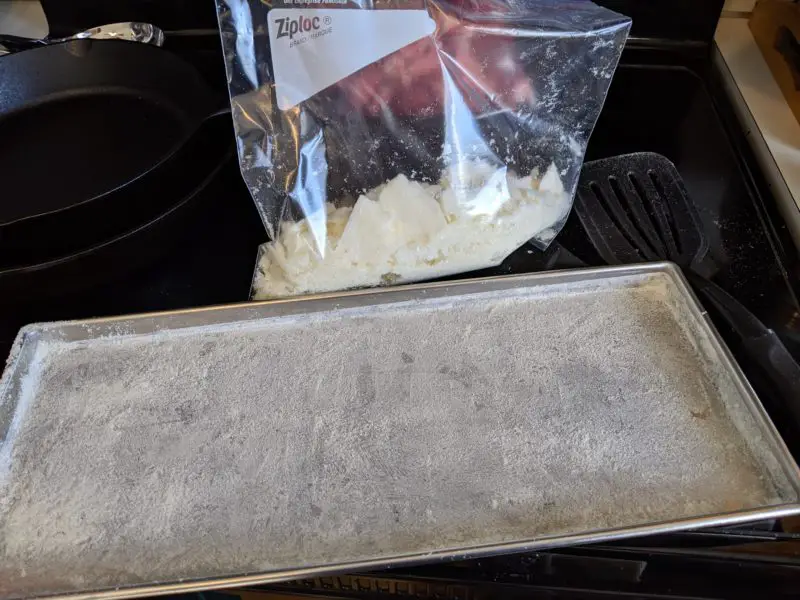
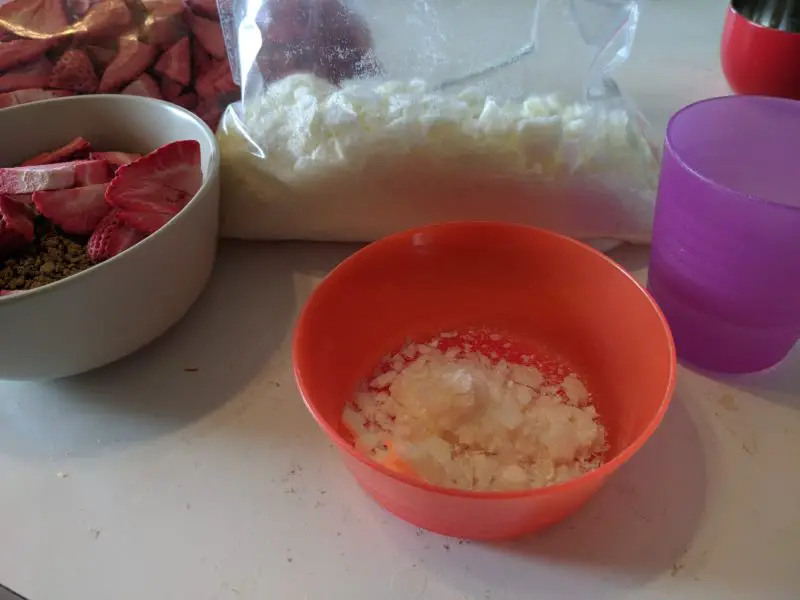
So let's scrape this powdered milk into the bag:
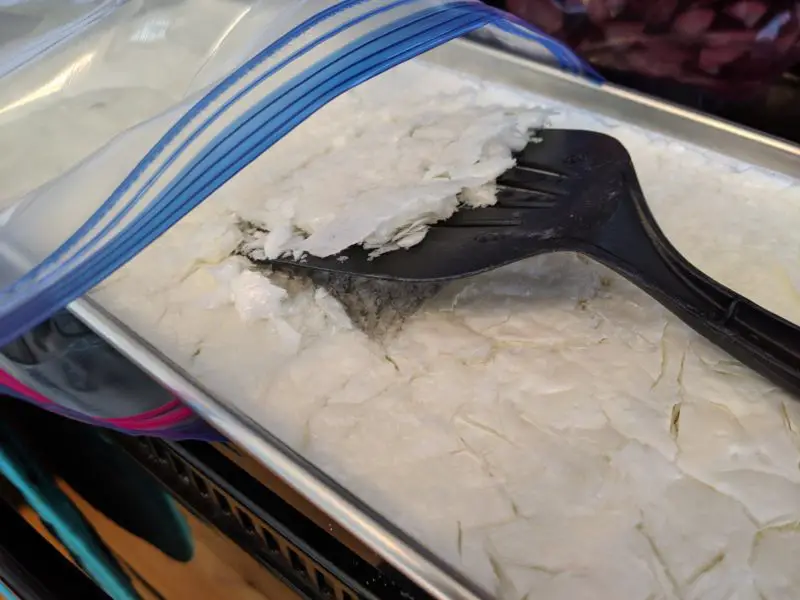
It's not as easy as it looks - it's adhered pretty well to the bottom of the pan.
But it's worse when I've tried using parchment or even silicone mats, so I stick with a trusty spatula.
PHEW.
That took a hot minute.
Now the milk is all in the bag.
And it's easier to powder once it's in here, too.
So go ahead and smash it a little bit - and then get as much air out as possible.
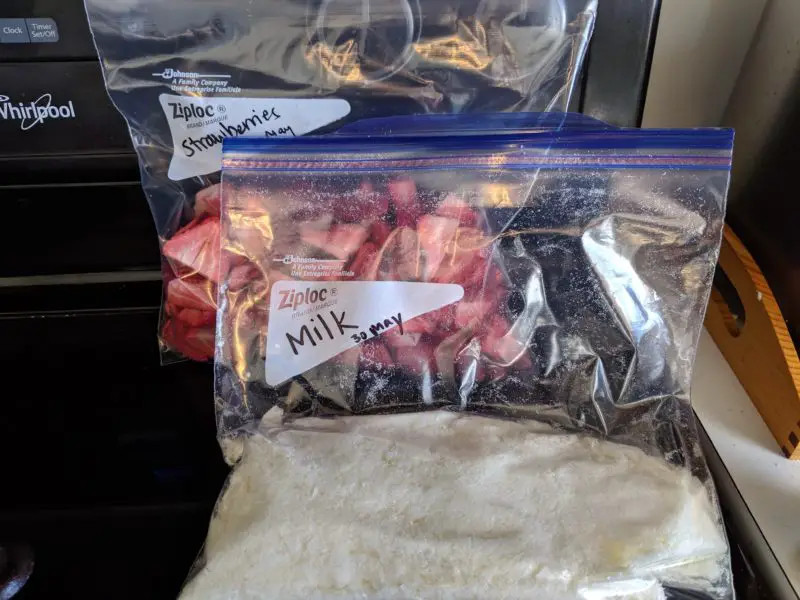
Oh, and let's not forget to bag up the strawberries.
I add dates on the bags because I have to write things down.
That way, I'll remember to do the second storage step in a few days.
What Freeze Dried Milk Looks Like A Few Days Later
Once a few days have passed (usually 2-3), it's time to test the food.
If there was any moisture left in the food, it will have caused molding to destroy all of your hard work.
But that's okay - because you find it now rather than in a few years when you desperately need some milk and strawberries - and you open an expensive mylar bag to find the spoiled food.
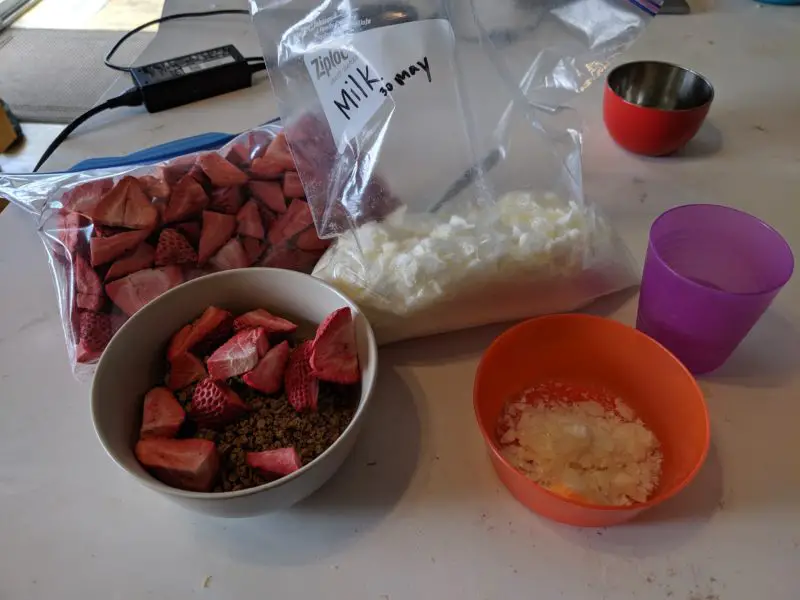
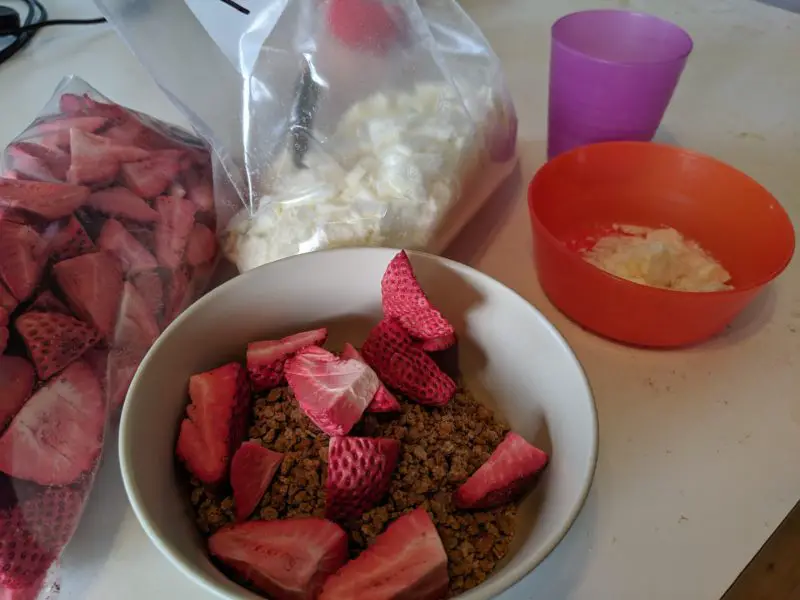
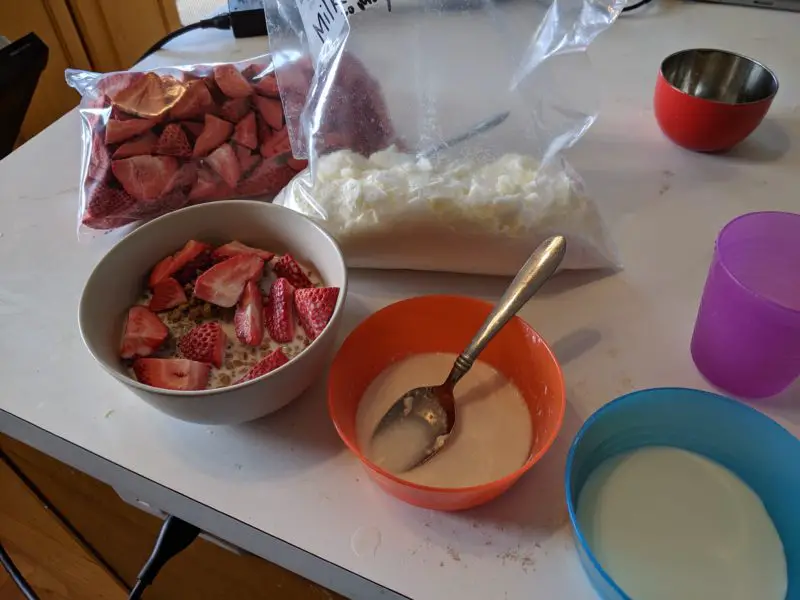
So let's test these goodies by having a bowl of cereal.
The milk I'll reconstitute by adding cold water - and the strawberries will get reconstituted by the milk.
That's how I like my Grape Nuts, anyway.
If you'd like to reconstitute your fruit separately, go for it.
Just add them to a small bowl of water.
Now, you can use some math to figure out how much water to add back in to get an exact ratio.
But I forgot to weigh my milk or figure out the volume at the start of this process.
So I'll just eyeball it this time.
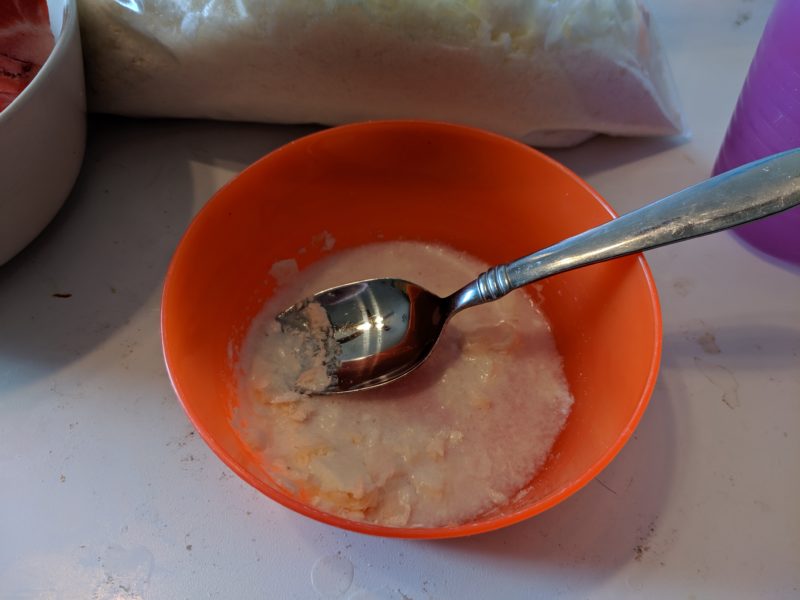
Here's a bowl of whole milk next to my freeze-dried and reconstituted whole milk, just for comparison.
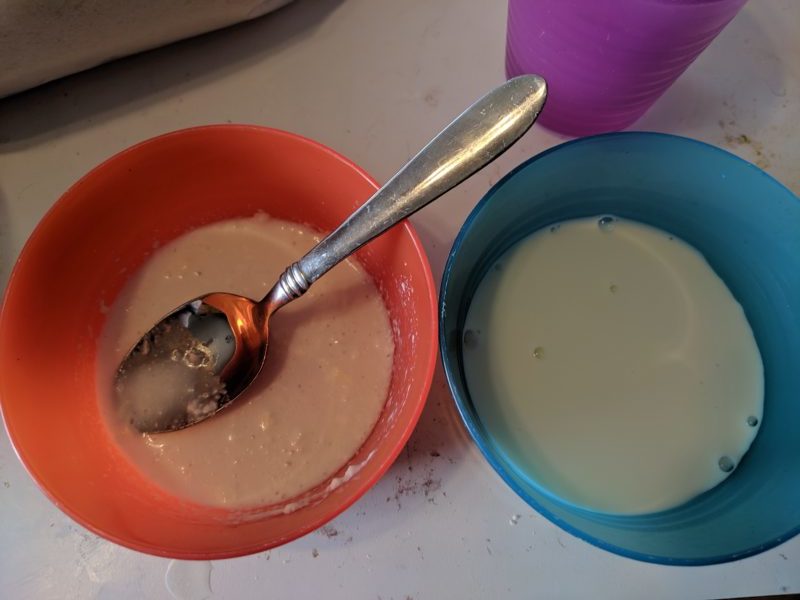
It's only been a couple of minutes, so it still looks chunky.
That's okay.
Nothing that a whisk and a few minutes in the fridge can't fix.
To get it as close back to its pre-freeze-dried state as possible, you're going to want to whisk or shake the mixture vigorously.
And then you'll want to store it in the fridge until it's chilled well.
Or you can totally pretend you're hiding from zombies (just be sure you're up to date on your first aid skills and your first aid kit is packed!) and eat it a little bit grainy.
It is, after all, Grape Nuts.
One final comparison between the two - once it's mixed, it's hard to differentiate the two.
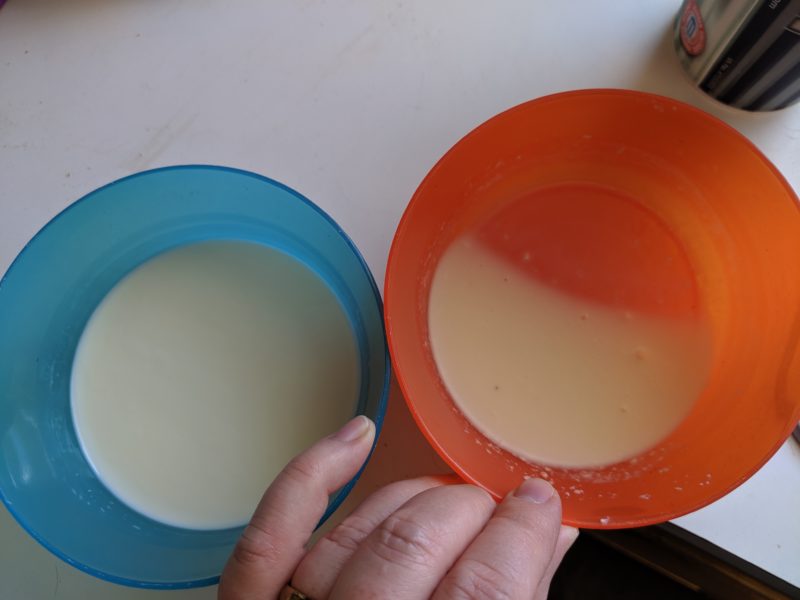
They taste the same - as long as you've gotten the clumps mixed in and have let it chill properly.
How to Store Freeze-Dried Milk Long Term
Now, storing the freeze-dried milk in a Ziploc bag is a great option - but only for a few days.
After that, you're going to want to store it in a mylar bag with some oxygen absorbers.
That way, it stays even more shelf stable.
Then, store it in a cool, dry place where it's away from crazy humidity or light, as that degrades the food.
It can store quite a while there - although ours never lasts long enough to worry about health or safety issues.
There you have it! If you've got the right tools for the job, it's not that bad.
But let's circle back to if you don't have the right tools...
How To Get Shelf Stable Milk Without A Freeze Dryer
Now, if you don't have the right equipment, here's what I recommend: find your local LDS Distribution Center (find your closest local center here - or use that same link to order from their online store) and buy shelf stable nonfat dry milk from there.
It's the best prices I've found anywhere for most home food storage items.
And you don't have to be a member of The Church of Jesus Christ (what we prefer to be called over "Mormons") to buy from there.
Freeze Dried Milk Is A Great Way To Be Prepared For Any Emergency Situation
And, really, that's what this is all about.
As much as I talk about zombies, it's far more likely that we'll experience a power outage.
Or I'll forget to buy milk at the store again - so we'll tap into the freeze-dried stuff.
We can even take this stuff hiking and backpacking - it's so light and travels very easily.
And when you add it to some freeze-dried eggs, it makes killer scrambled eggs - perfect for camping in Utah with the family.
Enjoy!
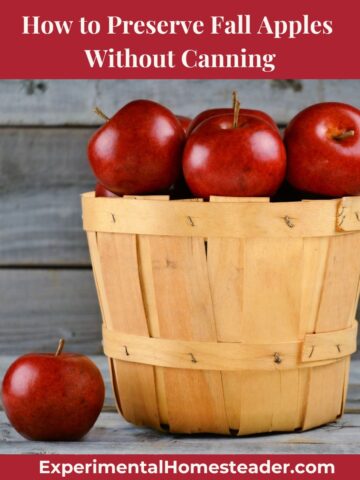
For those who do not have a freeze-dryer, you can also store goat milk in the freezer.

Discover game-changing freeze drying food storage tips for homesteaders. Preserve your garden's bounty or bulk purchases with confidence. Learn how to make freeze dried sweet corn at home. Freeze dried corn stored in mylar bags with oxygen absorbers lasts 25 years or more! Master the art of freeze drying bananas and savor homemade, nutrient-rich freeze-dried snacks. Your guide to banana preservation. Understanding the four factors that affect food storage is essential for keeping your food safe, especially if you intend to store it long term. Although canning broccoli was once considered safe, times have changed thus freezing, dehydrating or freee drying broccoli is recommended.How To Freeze Dry Food

Essential Freeze Drying Food Storage Tips for Homesteaders
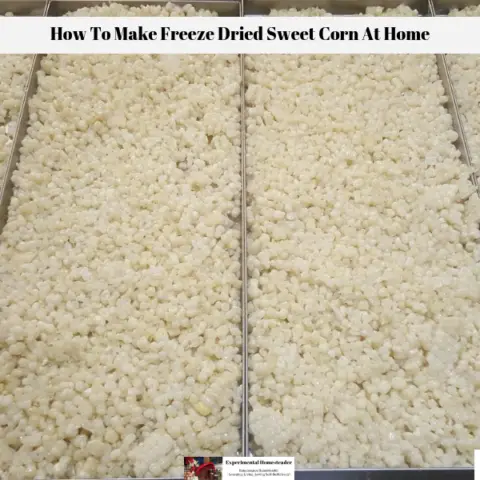
How To Make Freeze Dried Sweet Corn At Home

Simple Guide on Freeze Drying Bananas

Four Factors That Affect Food Storage
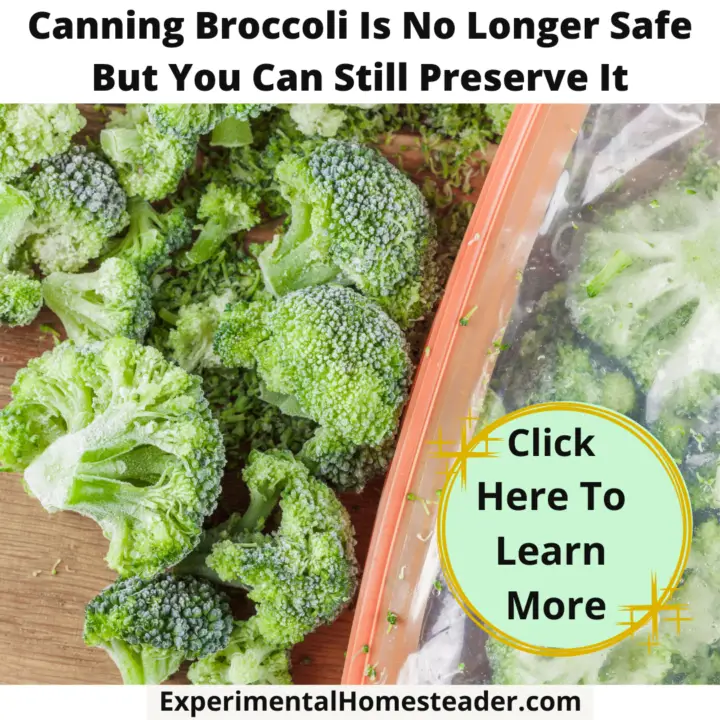
Canning Broccoli Is No Longer Safe But You Can Still Preserve It
About Kimberly C. Starr
Kimberly C. Starr is a writer, a ginger, an ER nurse without a night shift, a wife, and a mom to four. She writes about all of the things because humor really is the best medicine. Follow her on Facebook, Instagram, and Twitter for more laughs and momraderie.