Red Hot Apple Wedges Canning Recipe
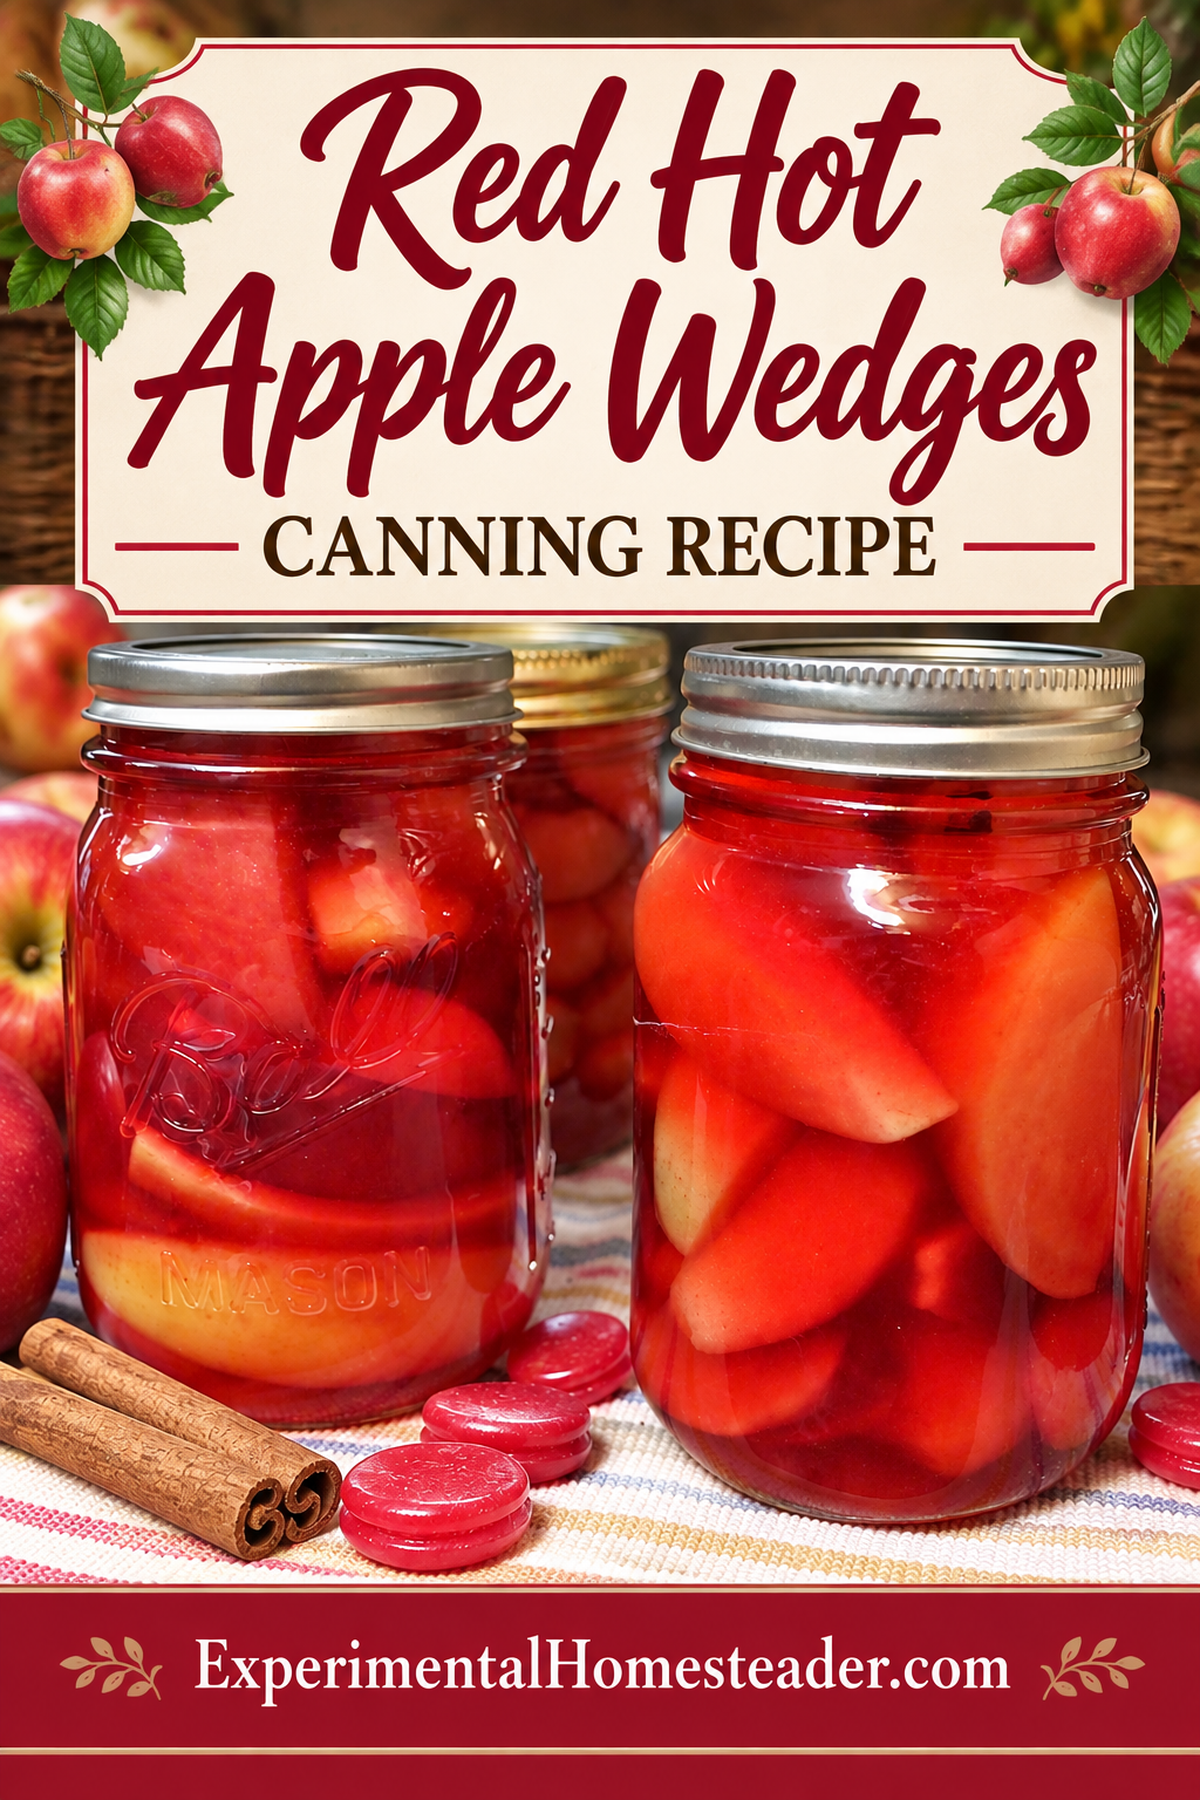
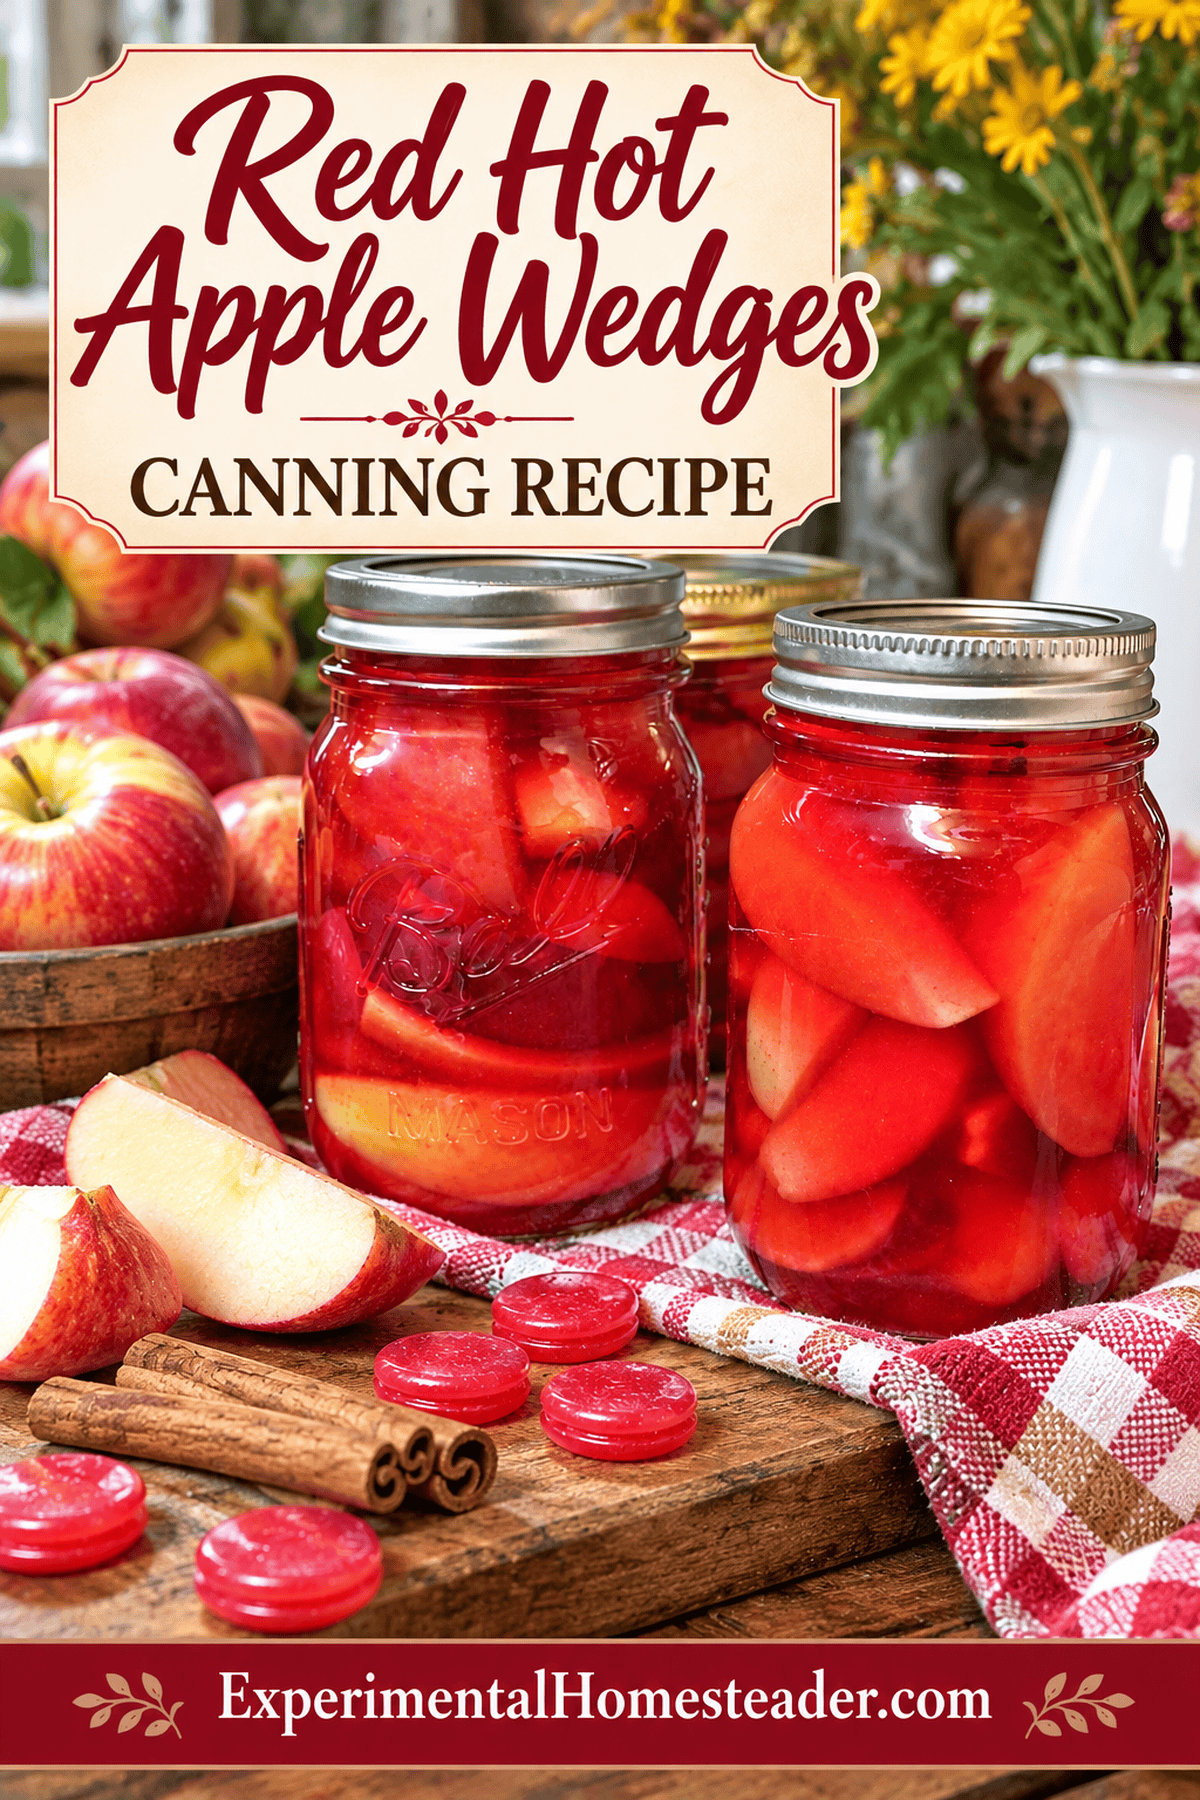
There is something satisfying about lining up jars of apples you have preserved yourself, especially when those apples are destined for winter meals and holiday desserts. This red hot apple wedges canning recipe is a little different from ordinary canned apples. Cinnamon candies give the wedges their rosy color and a warm, nostalgic flavor that makes them especially pretty on the table.
If you are new to canning, don't worry about making a pantry full of jars on your first try. Start by reading the entire recipe, gathering your equipment and taking your time. I like trying one batch of something new before committing a whole harvest to it. That way I can see how my family enjoys it and decide how I want to use the finished jars.
In This Article
Why I Love These Cinnamon Red Hot Apple Wedges
These apples have a pretty red tint from the cinnamon candies, which makes a jar feel a little festive before you even open it. The cinnamon flavor comes through without being overpowering, at least to my taste, and the finished apples are not excessively sweet.
I also like how useful they are. You can warm a portion on the stove and serve it as a side dish, or work the wedges into a dessert such as an apple pie. If you are making them for the first time, think about how you normally serve apples at home. That will help you decide whether this is a recipe you want to make again.
Equipment You Need To Make This Red Hot Apple Wedges Canning Recipe
- Cold pack canner - also known as a water bath canner
- Canning jar lifter
- Pint canning jars
- Canning lids and bands
- Stainless steel saucepan
- Slotted spoon
- Ladle
- Hot pads
- Bubble popper or butter knife
- Apple wedger and corer
How a Grocery Bargain Became a New Canning Recipe
My husband and I heard about a grocery deal that was too interesting to ignore: $15 for whatever we could fit into a paper grocery bag. We went to see what was available, and much of it was fresh fruit and vegetables.
With just the two of us at home, I am careful about buying more fresh produce than we can eat. Out-of-season produce can be expensive, and I don't want good food going to waste. But a deal like that makes sense when I have a plan to preserve what we bring home. Instead of making the same familiar apple wedges or another batch of apple pie filling, I wanted to try something different.
That is how these red hot apple wedges came about. If you have never canned apples before, read through the recipe before starting and set out everything you will need. Having your jars, lids, tools and prepared ingredients ready makes the process feel much more manageable.

Red Hot Apple Wedges Canning Recipe
- Total Time: 1 hour 1 minutes
- Yield: 8 pint jars 1x
Ingredients
- 24 medium sized apples, cut into eighths and treated to prevent browning
- 2 cups water
- 1 ½ cups sugar
- 1 ½ cups vinegar
- ½ cup cinnamon red hot candies
- ⅔ cup light corn syrup
- 2 cinnamon sticks, 4 inches each
- 2 Tablespoons red food coloring (optional)
- 2 teaspoon whole cloves
- 1 teaspoon ground ginger
Instructions
- Fill the cold pack canner with water and place it on medium high heat.
- Wash and sterilize the lids and pint jars. Then set them aside.
- Combine the sugar, cinnamon candies, cloves, ginger, water, vinegar, corn syrup and red food coloring (if using it) in a large stainless steel pan.
- Bring the mixture to a boil over medium high heat, stirring frequently.
- Add the apples and stir the mixture until the apples are heated all the way through. This takes about 5 to 6 minutes.
- Remove the cinnamon sticks and discard.
- Use a slotted spoon to fill the jars with the apples. Pack the jars to a half-inch from the top of the jar.
- Use a ladle to fill the extra space in the jars with the hot syrup. Be sure the apples are covered.
- Remove the air bubbles and add more hot syrup if necessary.
- Wipe the rim of the jar.
- Center the sterilized lid on the jar and screw the band down until resistance is met. It should be fingertip-tight.
- Place jars in the canner making sure they are completely covered with water.
- Bring the canner to a boil and process the pint jars for 15 minutes.
- Turn the burner off after 15 minutes.
- Remove the canner lid and wait for 10 minutes, then remove the jars, tighten the lids and allow the jars to cool overnight.
- Remove the bands and check the jars the next day to make sure the lids are sealed.
- If the lids are sealed, label and store the the jars in a cool, dark place.
- If the lids are not sealed you can either go back to step 10 and start over or put the jars in the refrigerator and use them right away.

Before You Begin: Set Yourself Up for a Calm Canning Day
If you have ever tried to prepare apples, heat jars, read a recipe and clean up all at the same time, you know how quickly a kitchen can feel crowded. I find it much easier to make room on the counter first, set out my equipment and read through the recipe from beginning to end. When you are new to canning, knowing what comes next is one of the simplest ways to feel more confident.
Choose a time when you will not be rushed. Have a clean towel ready for your tools, a clear work area for preparing apples and a safe place where processed jars can cool undisturbed. Check your jars for damage and use lids according to their manufacturer's directions. You do not need a fancy kitchen to preserve food, but you do need to pay attention to the details that matter.
One of those details is processing time. Water bath canning is not simply a matter of getting a lid to pop down. Use a scientifically tested recipe appropriate for the food and jar size, and adjust processing time for your altitude when directed. Do not shorten the process because the jars look sealed. If you are unsure whether a particular recipe has been tested for shelf-stable canning, check with your local extension service or the National Center for Home Food Preservation before relying on it for pantry storage.
How to Enjoy Red Hot Apple Wedges After Opening a Jar
One of my favorite things about preserving fruit is having something ready to use when I want a homemade dessert without starting completely from scratch. These cinnamon-flavored apple wedges can be warmed gently and served alongside a meal, spooned over pancakes or waffles, or used as a starting point for a baked apple dessert. Their red color also makes them an attractive addition to a holiday table.
For a simple dessert, try serving warmed wedges over vanilla ice cream or alongside a slice of pound cake. If you want to bake with them, remember that the fruit is already prepared and contains its own liquid. Drain or adjust the liquid only as your chosen dessert recipe directs, rather than assuming canned wedges behave exactly like raw apples.
I especially like recipes that give me more than one way to use what I put in the pantry. A jar that can become a quick side dish one evening and part of a dessert another day earns its shelf space. That is also why I encourage new canners to make a modest batch of unfamiliar recipes first. Preserving food is most useful when you actually enjoy eating it.
More Apple Desserts and Preserving Ideas
My Cinnamon Roll Apple Pie Casserole is the dessert that finally persuaded my husband to try these apples. If you want more ideas for using your harvest, you can also explore my apple pie recipe and apple freezing guide. Choose the preservation method that fits your time, equipment and plans for using the fruit.
How the Red Hot Apple Wedges Turned Out
This red hot apple wedges canning recipe contains vinegar, so right away my husband said yuck. I tried it anyway - and guess what? You really don't taste the vinegar, especially when the apple wedges are used in recipes.
Of course, he refused to try it until I used the apples in my Cinnamon Roll Apple Pie Casserole - and he just couldn't resist trying that. The Cinnamon Roll Apple Pie Casserole was a hit and he didn't even realize he was eating those apples that had vinegar in them!
I will be making the red hot apple wedges canning recipe again, but the next time I will be using fresh apples off of my own apple trees. I hope you give this recipe a try - and I do encourage you to make just one batch until you know how you like it. That way you don't end up canning something no one will eat.
Leave a comment below and let me know what you think of this recipe and remember to always use safe canning practices!
Beginner Questions About Canning These Apple Wedges
New to water bath canning? These are a few things worth understanding before you start. The recipe card above contains the ingredients and directions for this particular batch; the explanations here are background information, not substitutions for its instructions.
What does a water bath canner do?
A boiling-water canner holds jars in boiling water for the processing time specified by a tested recipe. Use a rack to keep jars off the bottom of the pot, and follow the recipe's directions for water coverage, timing and altitude adjustments. A jar that seals is not, by itself, proof that it was processed safely.
Do I need special jars and tools?
Use jars designed for home canning with new, appropriate lids, and check each jar for chips or cracks. A jar lifter makes moving hot jars much safer. A bubble remover or nonmetallic spatula helps release trapped air without damaging the glass. An apple corer or wedger is convenient, but careful knife work is fine for preparing fruit.
Can I change the vinegar, candy, sugar or other ingredients?
Do not change the ingredients or proportions in a home-canning recipe unless a tested source specifically permits the change. Acidity, the size and shape of the food pieces, packing liquid and processing method can all affect safety. If you want a different flavor or less sweetness, choose a tested recipe designed for that result rather than improvising changes to this one.
Can I use bruised or damaged apples?
Choose sound, good-quality apples and wash them before preparing them. Cut away minor bruises when appropriate, but discard fruit with mold, rot or extensive damage. The better your apples are to begin with, the better the finished texture and flavor are likely to be.
How should I store the finished jars?
After processing, follow current tested guidance for cooling and checking seals. Label each jar with its contents and the date, then store properly processed, sealed jars in a cool, dry, dark place. For best quality, plan to use home-canned food within about a year. If a jar is unsealed, leaking, bulging or otherwise suspicious, do not taste its contents to decide whether it is safe.
What if this is my first time canning?
Start with one batch, give yourself enough time, and keep the recipe in front of you. Read each step before you begin rather than trying to learn it while jars are already hot. For processing methods and safe canning fundamentals, the USDA Complete Guide to Home Canning and the National Center for Home Food Preservation are useful references.
If you are looking for more food-preservation ideas after trying these apples, explore the other canning and apple recipes linked throughout this article. The important thing is to build your confidence one tested recipe at a time.