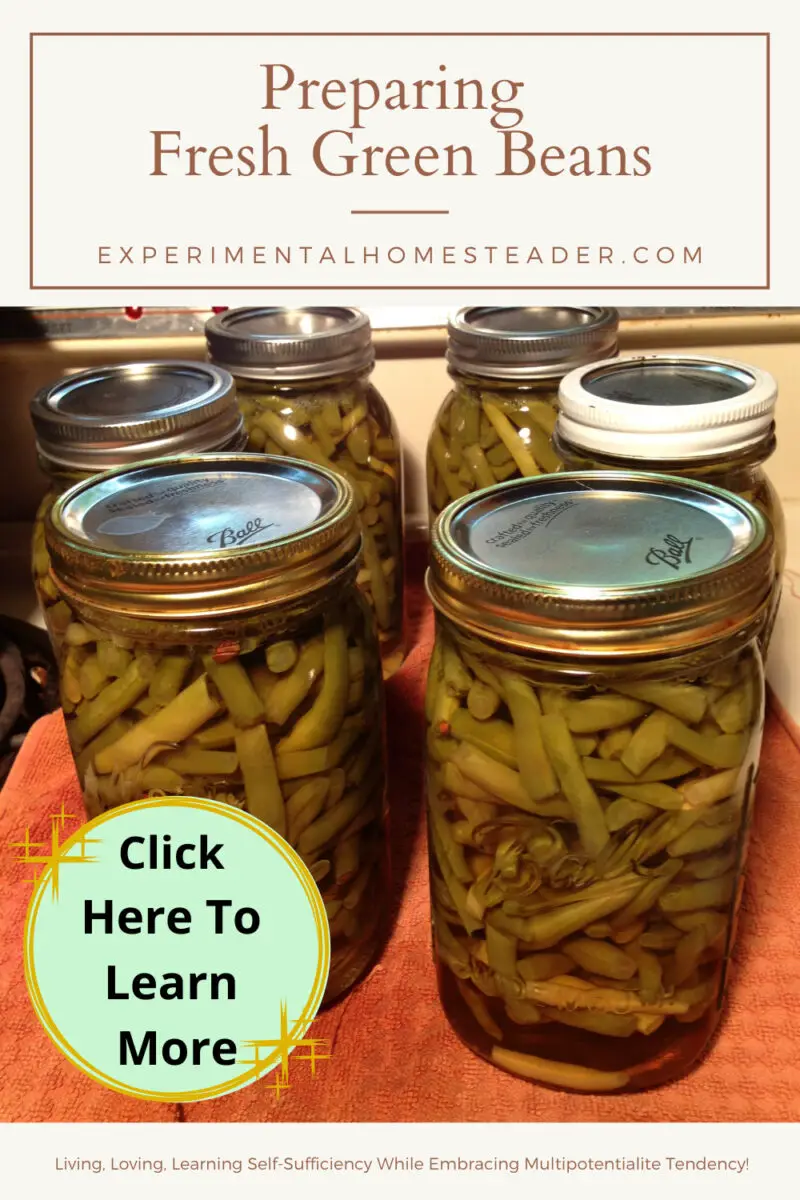
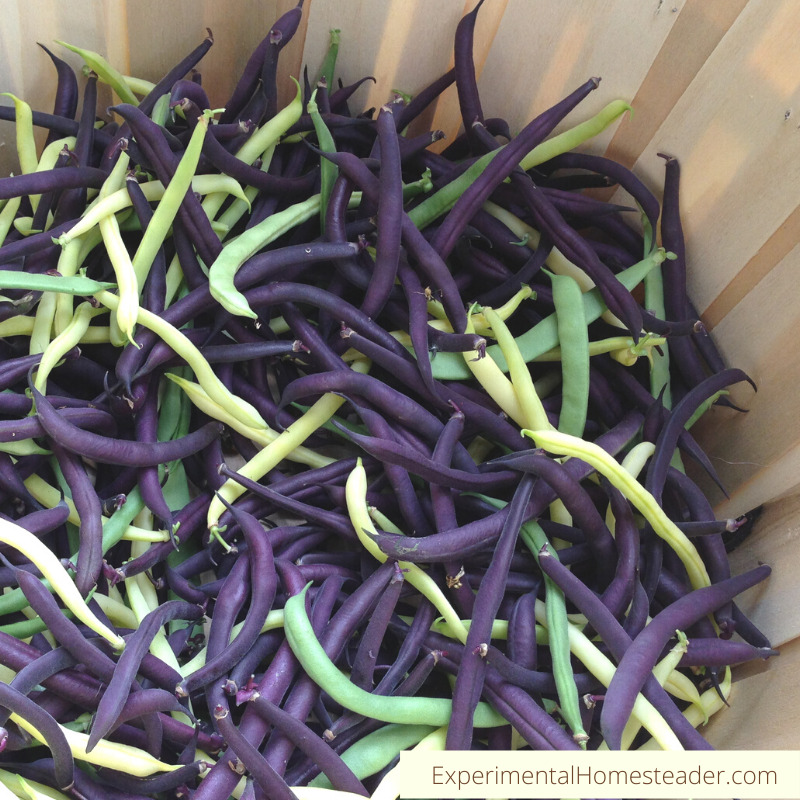
Preserving Fresh Green Beans For Winter
Nothing tastes as good to me as home canned green beans in the middle of winter, which is why I wanted to share the process of preparing fresh green beans with you.

The ones I am preparing today were actually picked yesterday, which isn't ideal, but sometimes you just do the best you can.
Even though they are a day old, they are still fresher than the ones that come from the grocery store and you can still can them.
Embracing Independence
Imagine a pantry stocked with jars of crisp, vibrant green beans, cultivated right in your backyard.
In a world that often favors convenience, homesteaders and preppers stand firm, embracing traditions that empower them.
It's more than just preserving food; it's about autonomy, security, and the symbiotic relationship between land and sustenance.
Let's face it, in the depths of winter's grasp, there's nothing quite like the satisfaction of savoring home-canned green beans that were nurtured in your very own garden.
For homesteaders and preppers, this practice goes beyond culinary delight; it embodies the essence of self-sufficiency and preparedness.
This comprehensive guide takes you through every step of the process, offering insight, troubleshooting tips, and an understanding of why mastering this skill is crucial for those embracing the homesteading and prepping lifestyle.
The First Step Of Preparing Fresh Green Beans
The journey begins with the first step - preparing fresh green beans for canning.
Whether they were plucked just hours ago or yesterday, their freshness remains superior to store-bought alternatives.
I made a video that I hope you watched that shows the first step in the process of preparing fresh picked green beans - whether they came from your garden, someone else's garden, a farmer's market or the fresh produce section of your favorite grocery store - to help you follow the process.
Once this process is complete, the green beans will be ready for the next step - and the process to complete that step depends on what you are going to do with them.
The first step is to rinse off the green beans and then start snapping both ends off of the green beans.
You can feed the ends to your chickens or pigs if you have some or put the ends in the compost pile.
Then snap each green bean in half - unless it's extra long and then you can snap it into thirds.
Basically each green bean piece needs to be approximately two inches long - but don't overthink this step!
If it's a little bit smaller, that's ok.
Sometimes little bits of leaves or other types of plant material stick to green beans. so be sure to inspect them and remove any plant material or bugs as you are preparing the green beans.
Managing Bean Beetle Damage
As a homesteader or prepper, embrace the quirks of nature.
Bean beetle damage is common but manageable.
If you encounter damage, don't worry.
Simply remove the affected parts, and the remaining beans are safe to can.
Discard damaged portions responsibly, either through composting or as feed for your livestock.
Sometimes a knife is helpful for removing damage especially if you don't have sharp fingernails.
If it's a large area, you can just snap that area off and keep the good portion of the green bean.

Next Pack The Green Beans Into Your Canning Jar
Transforming beans into a resilient pantry staple demands precision and care.
The raw packing method, favored by many homesteaders, seals maximum freshness within each jar.
Before I can these, I will fill the bowl with water several times and dump it through a strainer just to rinse them off a few more times.
I can pack quite a few green beans into a quart canning jar, which is plenty of food for a family.
If you are new to canning, it might be a bit harder for you to get your canning jars packed tightly, but you will learn.
Harnessing The Power Of Raw Packing
I prefer to raw pack my green beans, so that is the recipe I am going to share with you.
Raw packing involves filling your canning jar with two-inch segments of green beans, compacting them tightly within an inch of the jar's rim.
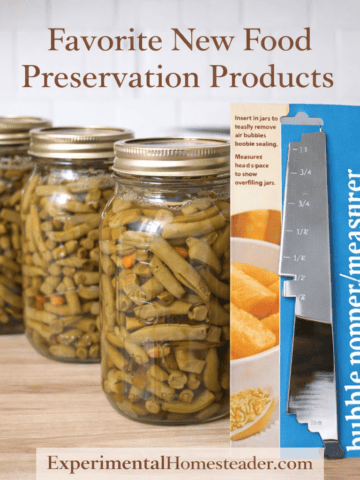
Add canning salt if desired, and pour boiling water into the jar, releasing trapped air bubbles using a butter knife or bubble popper.
Maintain an inch of air space at the top, crucial for the canning process.
Mastering The Art Of Pressure Canning
Pressure canning is a cornerstone skill for every homesteader and prepper, ensuring long-term food preservation.
I always use trusted recipes, like those found in the Ball Complete Book Of Home Preserving.
Guided By Tried-and-True Recipes
The process starts by tightly packing raw green beans into the canning jar.
Add canning salt if preferred, then pour boiling water and release air bubbles.
Normally I do use canning salt, but I am trying to can this year without it - in part for health reasons and in part due to some of the shortages, canning salt is still hard to find.
Maintain an inch of air space at the top, providing room for the pressure canning process.
It is very important to always use tested recipes from a reliable source because canning recipes do change and some things that once were considered safe to can are no longer safe.
The last thing you want to do is make yourself or your family sick with a bad batch of home canned food.
Navigating The Pressure Canning Journey
Load the jars into a pressure canner, adhering to the manufacturer's guidelines.
As the canner heats, release steam for 10 minutes, then seal the vent.
Once the pressure reaches the required level (typically 10 pounds), the journey progresses.
Awaiting Perfection
With your pressure canner functioning as an alchemical partner, trust and patience take center stage.
Process pint jars for 20 minutes or quart jars for 25 minutes.
As the process concludes, remember that patience is a homesteader's virtue.
Wait for the pressure to drop to zero before removing the canner's lid - an act of caution to ensure safety.
The horror stories you may have heard about pressure canners exploding is more often than not because someone tried to remove the lid before the pressure returned to zero - and yes, I have done that twice in my early days of canning.
The outcome was not pretty - so take my advice and be patient!
The Rewarding Outcome
Homesteading and prepping demand dedication, but the rewards are tangible.
As you remove the canner lid, a rush of satisfaction washes over you.
These jars, brimming with homegrown green beans, are more than sustenance; they're evidence of your commitment to self-sufficiency.
Here is the recipe I use.
Print
Preparing Fresh Green Beans
- Total Time: 1 hour 45 minutes
- Yield: 7 quart 1x
Ingredients
- 10 ½ to 17 ½ pounds fresh green beans, washed and broken up into 2 inch pieces
- Hot water
- Canning salt* (optional)
Instructions
- Pack raw green beans broken up into 2 inch pieces into a canning jar as tightly as possible to within an inch from the top of the jar. Do not be afraid to gently press down on the green beans in the jar to help compact them.
- Add the canning salt if you are using it to the top of the canning jar. The amount is per jar.
- Add boiling water to the canning jar. Use a butter knife or bubble popper to help release any trapped air bubbles. Be sure to leave an inch of air space at the top of the canning jar.
- Sterilize your lids and bands, then wipe the top of the canning jar to dry it off.
- Place the lid on the canning jar and follow with the band.
- Screw down the band until resistance is met, then tighten it fingertip tight.
- Place the canning jars filled with the green beans in a pressure canner.
- Adjust the water level in the pressure canner according the pressure canner manufaturer instructions.
- Lock the pressure canner lid and bring it to a boil.
- Vent steam for 10 minutes, then close the vent - making sure to use your pressure canner manufaturers instructions.
- Once the pressure canner has reached 10 pounds pressure, process pint canning jars for 20 minutes and quart canning jars for 25 minutes.
- Turn off the heat and allow the pressure to return to zero. Never open a pressure canner lid until the pressure has fully released as it could explode!
- Wait two minutes after the pressure has returned to zero before opening the vent and removing the lid.
- Once the canner lid is removed, wait for 10 minutes before removing the jars.
- Sit the jars on a towel on a table away from the heat of the oven and allow them to cool overnight.
- Remove the bands and check the lids to make sure they are sealed. If they are tightly sealed, go ahead and label the lid with the name of the item and the date. If they are not sealed, refrigerate them and use them right away or reprocess using new bands. Be sure to check the top of the jars if they did not seal to make sure there are no small cracks or chips you didn't see.
Notes
*½ teaspoon canning salt per pint or 1 teaspoon per quart
- Prep Time: 1 hour
- Cook Time: 40 - 45 minutes
How Long Does A Quart Jar Of Green Beans Last?
As a homesteader or prepper, you understand the importance of foresight.
Since we are a family of two - and my husband doesn't eat many vegetables, a quart jar will last two to three meals.
I typically prepare the entire jar and put the leftovers in the refrigerator.
That way instead of spending 45 minutes cooking the green beans and liquid down, all I have to do is heat up the leftovers.
If you prefer to just take out what you want, you can set the leftovers in the canning jar in the refrigerator and it's good for up to a week that way.
Frequently Asked Questions About Canning Green Beans
Q; Can I can green beans that are a day old?
A: Absolutely! Even beans that are a day old are fresher than most store-bought options. Their quality and taste will still be superior, making them perfect candidates for canning.
Q: How do I deal with bean beetle damage on my green beans?
A: Bean beetle damage is common. Simply remove the damaged portions, feed them to your livestock, compost them, or discard them. The remaining undamaged parts are safe to can.
Q: Can I reuse lids for canning green beans?
A: It's not recommended to reuse lids, as their seal may not be reliable for a second use. Always use new, sterilized lids to ensure a secure seal and prevent potential spoilage.
Q: How do I prevent air bubbles in my canned green beans?
A: To release trapped air bubbles in your canning jars, use a butter knife or bubble popper to gently stir and shift the beans before sealing the jars. This helps ensure even distribution of the contents and prevents air pockets.
Q: Can I adjust the canning recipe to add seasonings or spices?
A: While the core canning process should follow a tested recipe, you can customize the flavor by adding spices or herbs directly to the jar before canning. Just remember that any added ingredients should be safe for canning.
Q: How do I know if my canned green beans are spoiled or safe to eat?
A: Inspect the jars for signs of spoilage, such as mold, off smells, or bulging lids. If any jars exhibit these signs, discard them immediately. If the jar appears normal and the seal is intact, the contents should be safe to consume.
Q: Can I use a water bath canner instead of a pressure canner for green beans?
A: It's recommended to use a pressure canner for canning green beans, as their low acidity requires the high temperatures achieved by pressure canning. Water bath canning is not suitable for green beans due to the risk of botulism.
Q: How long do canned green beans last?
A: Canned green beans can last for up to 1-2 years when stored in a cool, dark place. While they may still be safe to eat beyond that timeframe, the quality may degrade over time.
Q: Can I adjust the processing time for my altitude?
A: Yes, processing times can vary based on altitude. Consult your pressure canner's manual for specific altitude adjustments to ensure proper processing and food safety.
Q: Can I reuse the canning liquid from the green beans for soups or stews?
A: Yes, the canning liquid from your green beans can be repurposed for soups, stews, or cooking other dishes. It contains valuable nutrients and flavors from the beans.
Remember, safety is paramount when canning.
Always follow tested and reliable recipes from reputable sources to ensure the best quality and preservation of your home-canned green beans.
Embracing The Values Of Homesteading And Prepping
In a world lured by convenience, homesteaders and preppers stand as champions of self-sufficiency.
As winter wraps its embrace around us, the taste of summer lingers in each bite of our canned green beans.
This journey transcends food; it's about autonomy, preparedness, and paying homage to the generations that came before us.
From snap to sterilization, from packing to preservation, this path echoes the resounding call of the land and the enduring spirit of self-reliance.
Canning Food At Home

Packing And Sterilizing Canning Jars
The most important part of canning is packing and sterilizing the canning jars properly. Learn how to do this important step the right way.
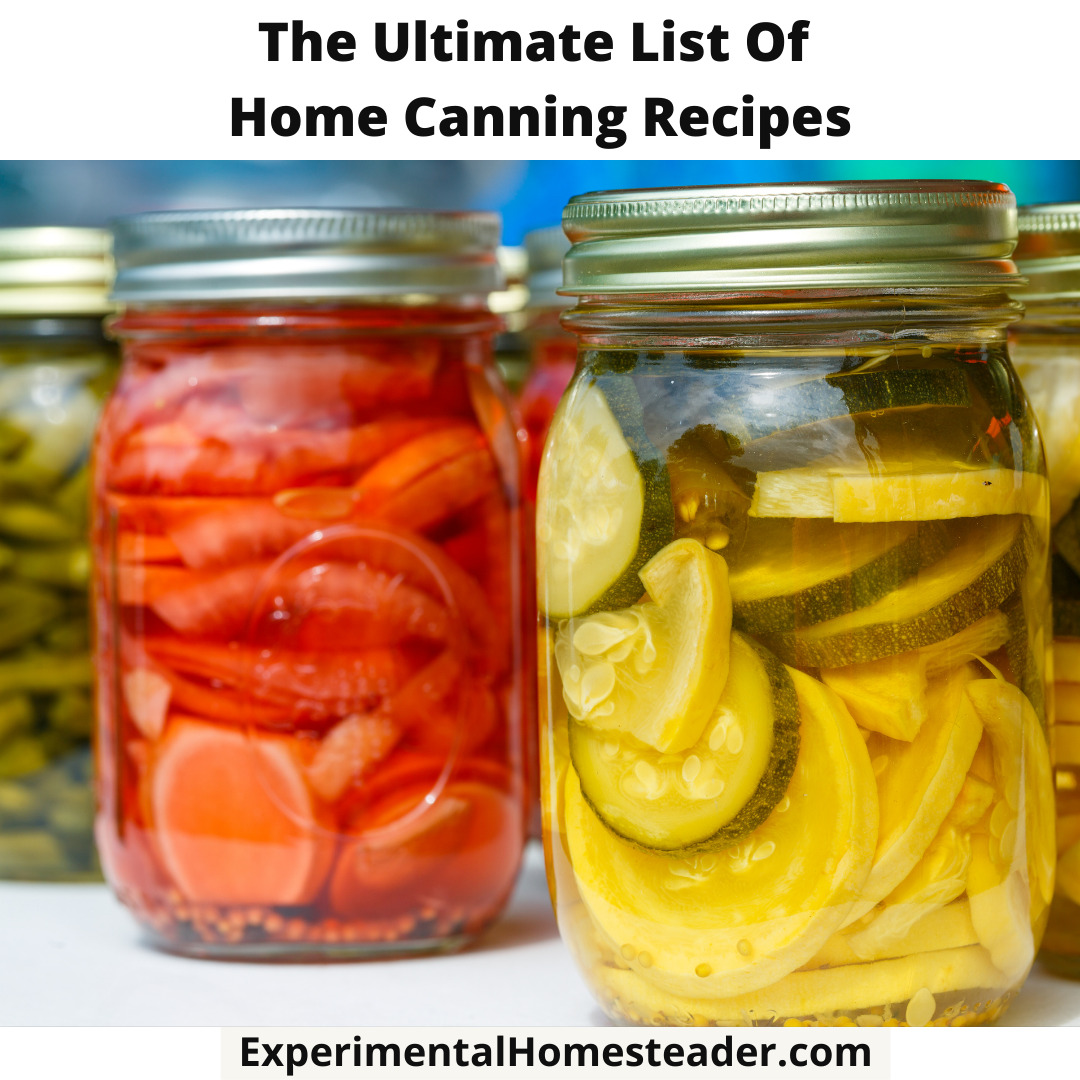
The Ultimate List Of Home Canning Recipes
This ultimate list of home canning recipes are all tested and proven to work. Learn how to preserve the fruits and vegetables you grow in your garden!
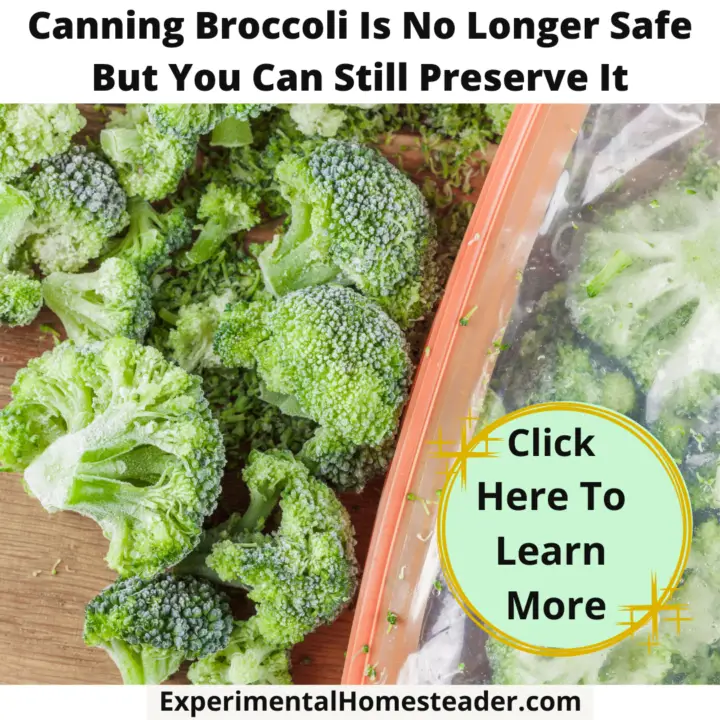
Canning Broccoli Is No Longer Safe But You Can Still Preserve It
Although canning broccoli was once considered safe, times have changed thus freezing, dehydrating or freee drying broccoli is recommended.
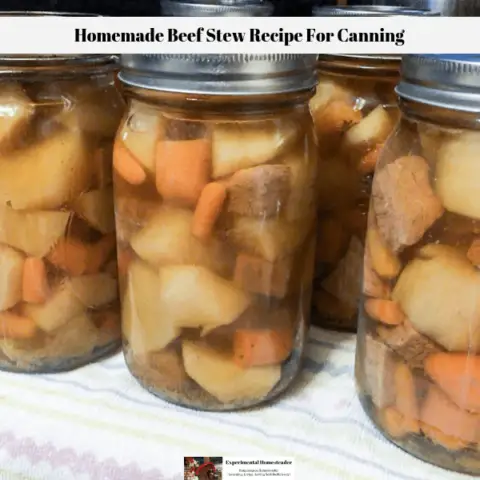
Homemade Beef Stew Recipe For Canning
When it comes to having quick home cooked meals that just need reheated, this beef stew recipe for canning can't be beat!
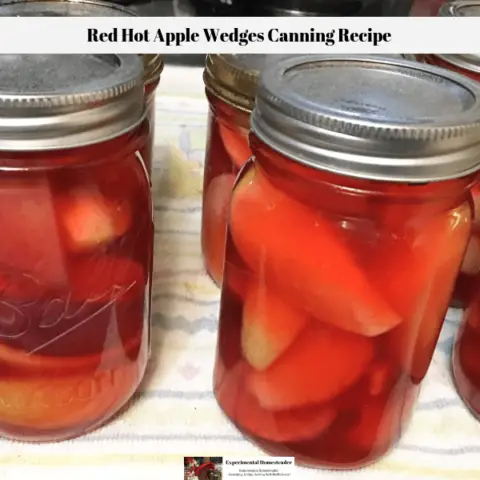
Red Hot Apple Wedges Canning Recipe
Preserving your own food means trying new recipes, such as this red hot apple wedges canning recipe. While it is true, it is a good idea to stick to recipes you know you and your family will eat, it never hurts to branch out a bit.

Cinnamon Chocolate Mint Fruit Cocktail Recipe
This Cinnamon Chocolate Mint Fruit Cocktail recipe is ideal to use up some of your extra summer fruit or to combine some of the fruit you have already preserved to come up with something a little different.
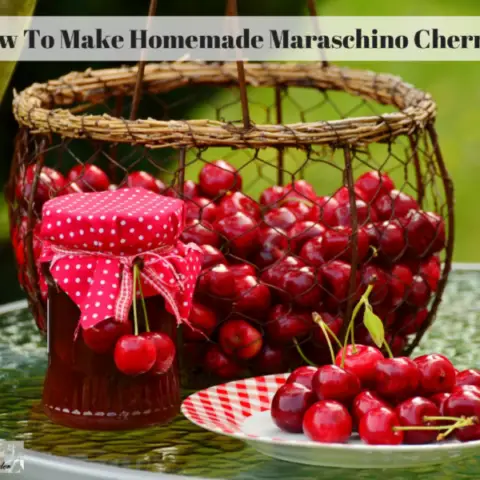
How To Make Homemade Maraschino Cherries
Learn how easy it is to make and can your own homemade maraschino cherries. Not only do these taste great, but they are easy to preserve too!
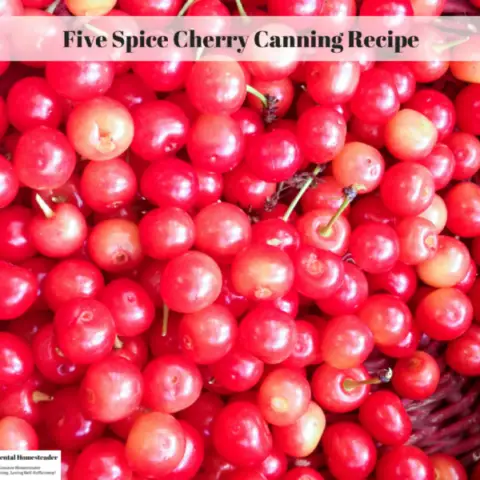
Five Spice Cherry Canning Recipe
This five spice cherry canning recipe is a unique take on typical recipes for canning cherries. I love the way the spices complimented the tart cherries!
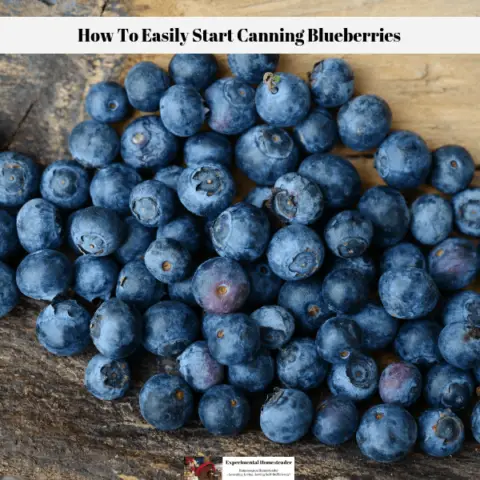
How To Easily Start Canning Blueberries
Learn how to easily start canning blueberries in your own kitchen. Home canning is a great way to preserve fresh foods that you or someone you know grew.

Apple Canning Recipes
There are many recipes for canning apples and I think I have tried them all. However the best way is to can them in plain syrup.

How To Make Raspberry Vinegar
A great way to preserve raspberries is to make raspberry vinegar. Its delicious on pork chops! Best of all you can preserve it for winter use by canning it.

Orange-Cranberry Vinegar And Marinade Recipe
This orange-cranberry vinegar and marinade recipe is easy to make, easy to can and tastes great!

How To Make Homemade Ketchup
Learn how to make homemade ketchup right in your own kitchen using tomatoes you grew in your garden. This recipe works with fresh or frozen tomatoes!

Homemade BBQ Sauce Recipe
This homemade bbq sauce recipe uses fresh tomatoes and is perfect for canning. Use it as it is or as a base sauce to create different types of BBQ sauces.

How To Make Cajeta Goat Milk Caramel
Learn how easy it is to make cajeta goat milk caramel from fresh goat milk. Plus learn how to preserve it for winter use by canning it.

How To Make Homemade Honey
Learn how to make homemade honey right in your own kitchen using a mixture of water, sugar, red clover, white clover and fireweed!
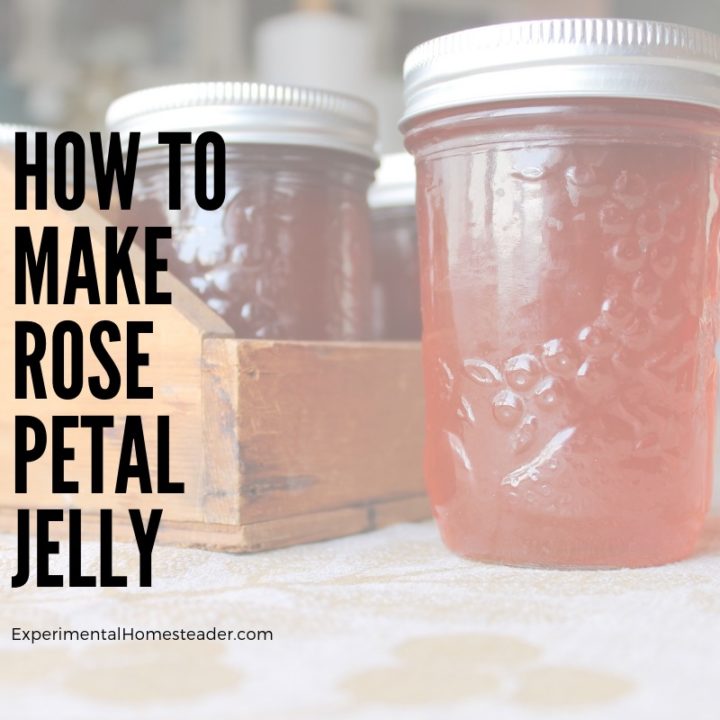
How To Make Rose Petal Jelly
Learn how to make rose petal jelly using fresh rose petals from your favorite organically grown roses. Try different roses for unique flavored jelly.

Delicious Raspberry-Chocolate Sundae Topper Recipe
This delicious, easy-to-make raspberry-chocolate sundae topper is an ideal canning recipe making it easy to serve to guests or give as gifts!
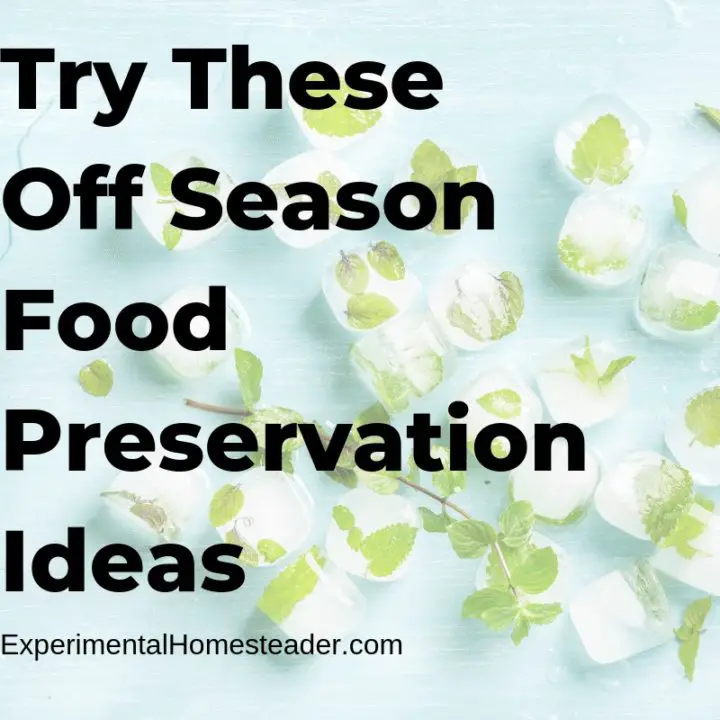
Try These Off Season Food Preservation Ideas
These off season food preservation ideas are perfect for the off season. There are lots of items you can fill your freezer with or even can year-round.
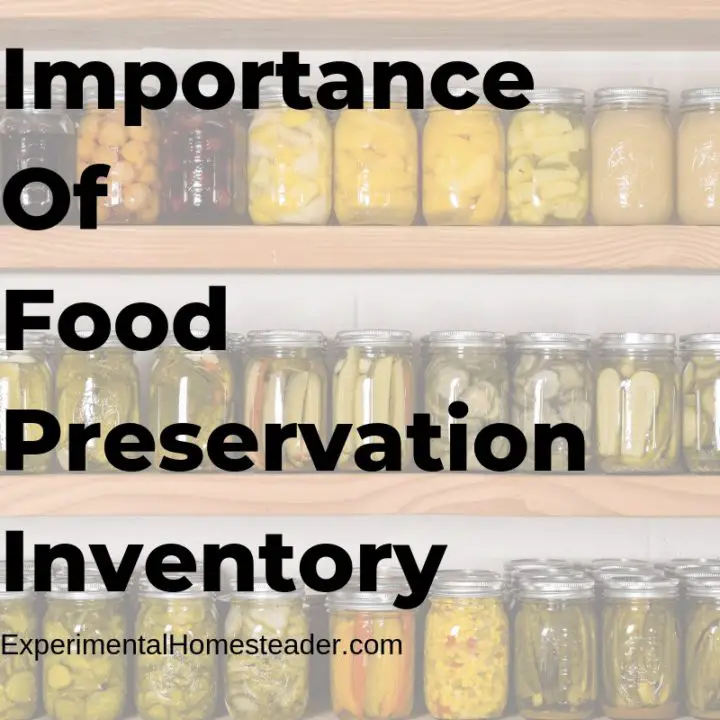
Importance Of Food Preservation Inventory
Do you understand the importance of food preservation inventory? From spices to food stored in the freezer and pantry, this list can help you save money.

Four Factors That Affect Food Storage
Understanding the four factors that affect food storage is essential for keeping your food safe, especially if you intend to store it long term.
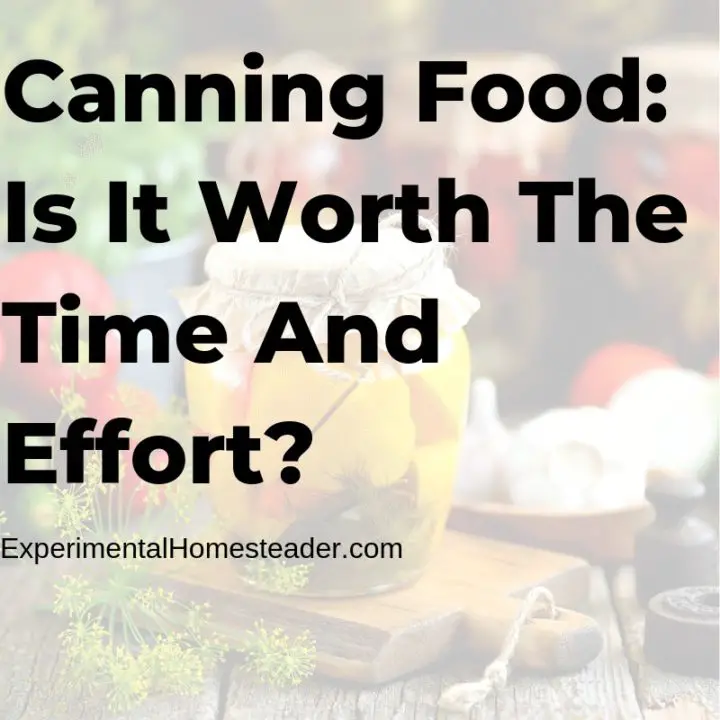
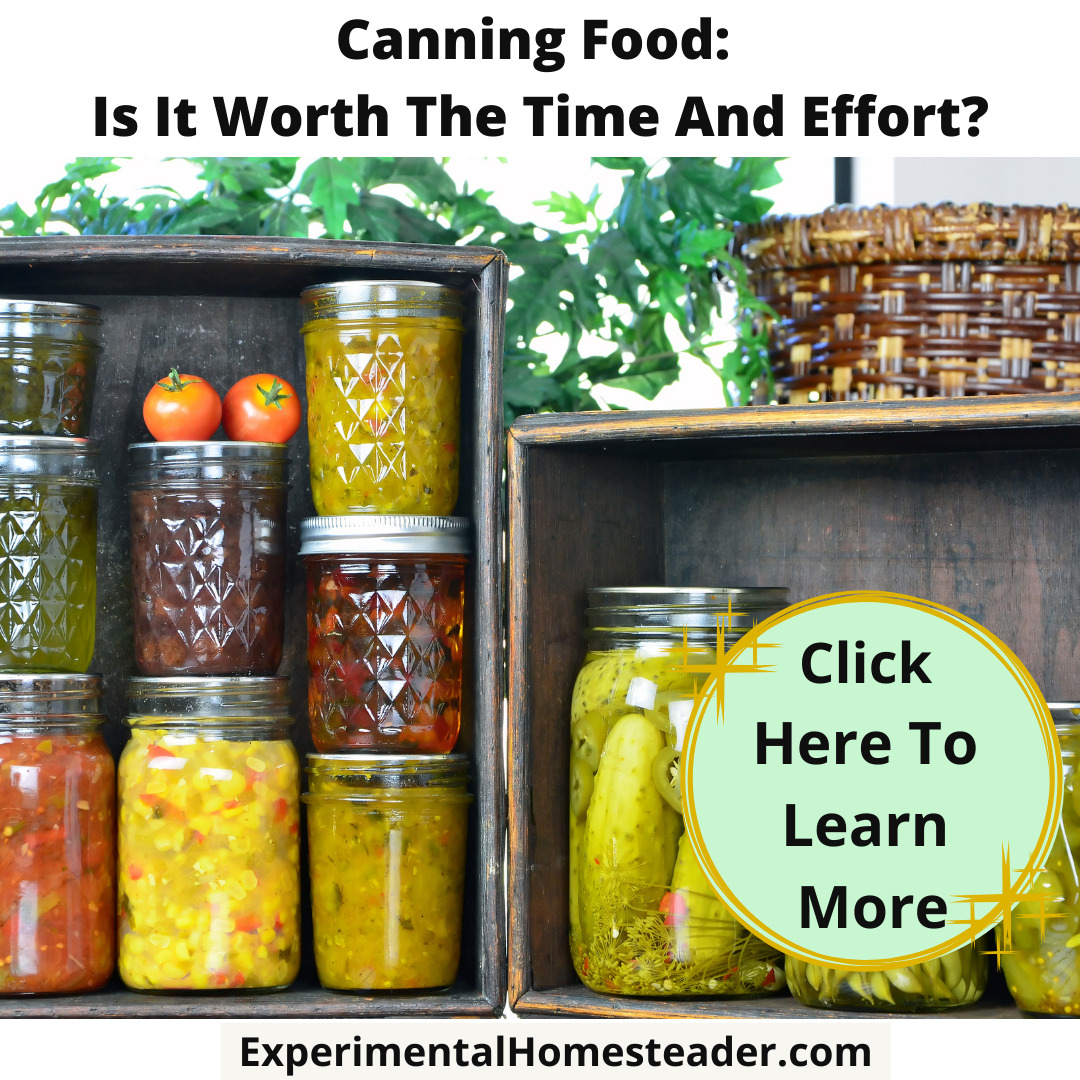
Canning Food: Is It Worth The Time And Effort?
Learn if canning food at home is really worth the time and effort involved as well as about some of the supplies you need to get started.
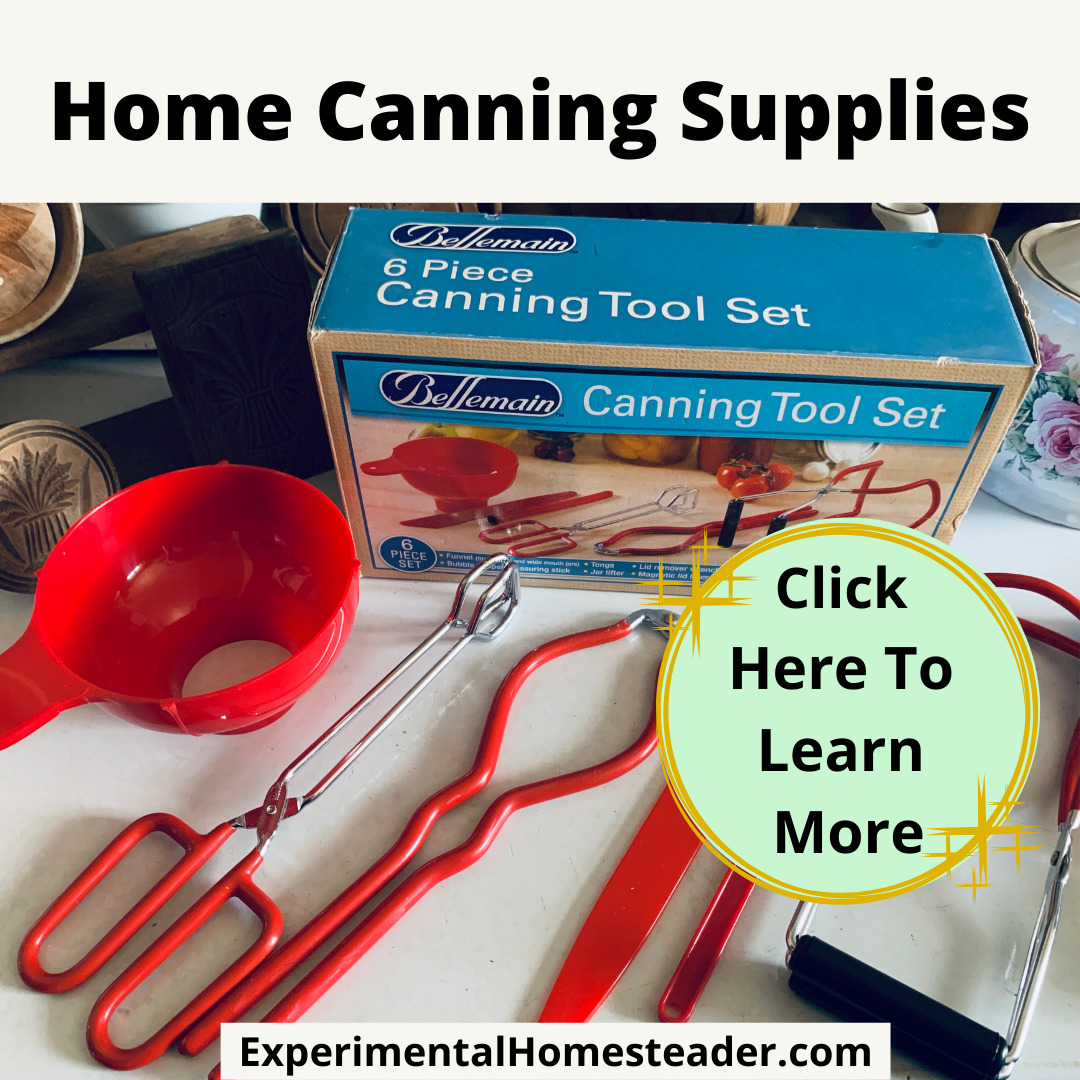
Home Canning Supplies
There are a number of home canning supplies you need to get started canning food at home, the Bellemain Kit contains 6 of them.
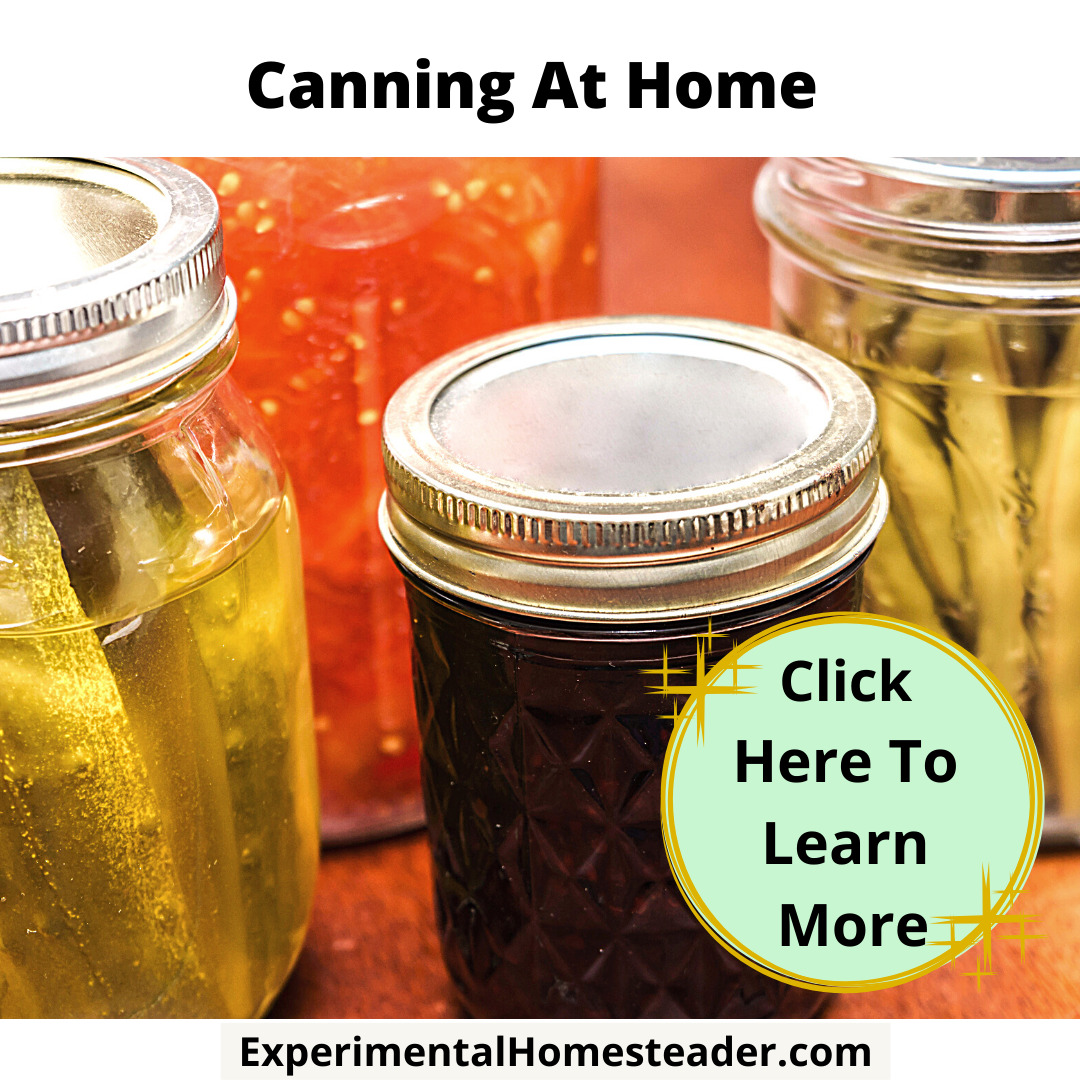
Canning At Home
When canning at home making sure everything is clean and in good condition is essential for food safety and your families health.

Fruit Juice Concentrate
Learn how to make your own fruit juice concentrate at home using fresh fruits from your garden or the farmers market.

Preserving Citrus Fruits
Preserving citrus fruits is something you want to know how to do if you grow your own, buy in bulk or have citrus fruits given to you.