As the crisp autumn air fills our lungs and the golden leaves carpet the ground, our thoughts turn not only to Halloween but also peek around the corner at the holiday season.
It's that time of year when the magic of canning and preserving Halloween treats allows us to capture the essence of one season and gracefully carry it over into the next.

For me, this enchanting journey all begins with Halloween and the delightful treats that come with it.
I can't help but reminisce about the times when I'd eagerly anticipate the sweets and savory delights of Halloween, knowing that the holiday season was just around the corner.
Those memories have inspired me to embrace the age-old tradition of canning and preserving Halloween treats, a tradition that's now become a cherished part of my heart and homesteading journey.

Candied Apples in Jars
Halloween isn't complete without the sweet crunch of candied apples, and there's a certain nostalgia in preserving them.
Let's dive into a bit of history first.
Did you know that candied apples have been enchanting taste buds since the early 20th century?
These delightful treats are a Halloween icon, and canning them allows you to savor their goodness throughout the holiday season.
I'll guide you through a detailed recipe to create the perfect red hot apple wedges, and then we'll embark on the canning journey.
Safety is paramount, so I'll share some tips to ensure your canned candied apples remain safe and delicious.
But the fun doesn't stop there – we'll explore creative ways to use these preserved treasures, from whipping up a decadent apple pie casserole to adding them as a luscious topping for holiday desserts.
Here are some creative ways to use your homemade red hot apple wedges (candied apples):
- Decadent Apple Pie: Use your candied apple wedges as a delightful filling for a homemade apple pie. Their sweet and slightly spicy flavor will add a unique twist to this classic dessert.
- Topping for Holiday Desserts: Sprinkle the candied apple wedges over holiday desserts like ice cream, yogurt, or cheesecake. Their vibrant color and sweet heat will make your desserts pop with flavor.
- Cheese and Charcuterie Board: Include them as a sweet and spicy element on your cheese and charcuterie platter. They pair well with a variety of cheeses, cured meats, and crackers, adding a burst of flavor.
- Stuffing for Pastries: Incorporate the candied apples into pastries like turnovers or hand pies. The combination of sweet and spicy will make for a delicious, hand-held treat.
- Holiday Baked Brie: Place candied apple wedges on top of a wheel of Brie cheese and bake until the cheese is gooey and the apples are caramelized. Serve with crackers or baguette slices for a festive appetizer.
- Fruit Salad: Combine them with other fruits for a unique fruit salad. The spicy kick of the candied apples will balance the sweetness of the other fruits.
- Pork or Ham Glaze: Use the candied apples as a glaze for roasted pork or ham. The sweet and spicy notes will add depth to the dish.
- Homemade Chutney: Chop the candied apple wedges and create a sweet and spicy chutney. It pairs wonderfully with roasted meats, sandwiches, or as a condiment for holiday leftovers.
- Cocktail Garnish: Place a candied apple wedge on the rim of a holiday cocktail, like a spiced apple martini or a hot toddy. The flavor infusion will elevate your drink.
- Holiday Breakfast: Top your morning pancakes, waffles, or French toast with candied apple wedges. Drizzle them with warm maple syrup for a delightful breakfast treat.
The versatility of candied apples allows you to experiment and get creative in the kitchen.
They can be both a sweet and spicy addition to a wide range of dishes, making them a valuable preserved treat for the holiday season.
Pumpkin Butter
Pumpkins, with their cheerful orange hue and rustic charm, are often seen as the quintessential symbol of Halloween.
But let's not forget that they're also incredibly versatile players in the holiday season.
Pumpkins are like the Cinderella of the kitchen, transforming from Halloween decoration to a holiday staple with grace and flavor.
In this section, I'm excited to guide you through the pumpkin's magical journey, where it becomes velvety, spiced pumpkin butter that's not only perfect for autumn but also extends its warm, comforting embrace well into winter.
I'll guide you through the process of selecting and using a trusted homemade pumpkin butter recipe, which you can preserve through freezing, as canning pumpkin butter is no longer considered safe.
For a reliable recipe, I recommend checking out Fifteen Spatulas Pumpkin Butter Recipe.
This process ensures that the delightful flavors of fall stay with us even as the days grow colder.
Now, how can you make the most of this golden goodness during the holidays?
Consider adding a dollop of pumpkin butter to your favorite thumbprint cookie recipe.
These cookies, with their delightful indents filled with sweet pumpkin butter, will become a beloved addition to your holiday baking repertoire.
The spiced notes of the pumpkin butter, nestled in a buttery, crumbly cookie, create a harmonious blend of flavors that is sure to evoke warm memories of the season.
So, don't let the pumpkin's role stop at being a Halloween jack-o'-lantern; let it become a star ingredient in your holiday culinary creations.
The pumpkin's enchanting journey from decoration to delectable delight is just beginning, and it's a journey that's worth savoring with every bite of those pumpkin butter thumbprint cookies.
Spooky Jam Collection
Imagine the sight of your pantry shelves adorned with jars of Halloween-themed jams and preserves, each one promising to infuse your holiday season with a touch of spookiness.
But our journey doesn't end with Halloween; it's a delightful venture into the creation of a jam collection that can be savored and shared throughout the entire holiday season.
Welcome to the enchanting world of Halloween-themed jams, where we'll explore unique flavors that capture the essence of the season.
Among my favorites are the vibrant blood-orange marmalade, with its zesty and slightly eerie allure, and the hauntingly delicious "Boo-berry" jam, where blueberries take on a ghostly hue.
But that's not all; I'm here to ignite your culinary creativity.
These jams can play a starring role in your holiday feasts.
Imagine using the blood-orange marmalade as a glaze for your holiday ham or spreading "Boo-berry" jam over warm scones during a festive breakfast.
And, let's not forget the joy of gifting these homemade treasures to loved ones, adding a personal touch to your holiday presents.
The possibilities are as boundless as your imagination, making this spooky jam collection a true delight for the Halloween and holiday season.
Ways To Use Homemade Jellies, Jams And Butters
Homemade jellies, jams and butters are incredibly versatile and can be used in a variety of delicious ways.
Here are 24 creative ideas for making the most of your homemade preserves:
- Toast Topping: This is a classic and always a favorite. Spread your homemade jam or jelly on warm, buttered toast for a delightful breakfast or snack.
- Peanut Butter and Jam Sandwiches: A timeless combination, the marriage of peanut butter and jam or jelly is a lunchtime staple that never gets old.
- Yogurt Parfaits: Layer your yogurt with homemade preserves and granola for a nutritious and flavorful parfait.
- Cheese Pairing: Serve your jam or jelly alongside a cheese platter. It pairs wonderfully with brie, camembert, or even cream cheese.
- Glaze for Meats: Use your homemade preserves as a glaze for roasted meats, such as chicken, pork, or even ham. The sweetness and fruity flavors add depth to the dish.
- Salad Dressing: Combine your preserves with vinegar and olive oil to create a unique and flavorful salad dressing. It works particularly well with vinaigrettes.
- Marinades: Transform your preserves into a marinade for chicken, pork, or grilled vegetables. The sugars caramelize beautifully when grilled.
- Filling for Pastries: Use your jam or jelly as a filling for pastries like thumbprint cookies, danishes, or turnovers.
- Ice Cream Topping: Drizzle your preserves over a scoop of vanilla or other complementary ice cream flavors for a sweet and tangy topping.
- Cocktail Mixer: Create a flavorful cocktail by incorporating your homemade jam or jelly into a cocktail recipe. It can add depth and sweetness to drinks.
- Homemade Pop Tarts: Make your own pop tarts with your preserves as the filling. They're a fun and nostalgic treat.
- Oatmeal Enhancement: Swirl a spoonful of jam or jelly into your morning oatmeal for a fruity burst of flavor.
- Dip for Cheese Sticks: Heat your preserves slightly and use them as a dip for mozzarella sticks or other cheese snacks.
- Glaze for Desserts: Brush your preserves over baked goods like tarts, cakes, or fruit pies to add a glossy finish and extra flavor.
- Pancake or Waffle Topping: Instead of syrup, try homemade jam or jelly on your pancakes or waffles. It's a delightful change of pace.
- Cocktail Swirl: Add a swirl of jam or jelly to cocktails like margaritas or mojitos for a fruity twist.
- Gifts and Party Favors: Package your homemade preserves in decorative jars and give them as thoughtful gifts or party favors.
- Sauce for Meatballs or Meatloaf: Use your preserves to create a sweet and tangy sauce for meatballs or meatloaf.
- Stir Into Porridge: Stir jam or jelly into warm rice or grain porridge for added flavor and sweetness.
- Muffin or Cupcake Filling: Inject your preserves into the center of muffins or cupcakes to surprise your guests with a fruity burst.
- Dip for Snacks: Serve it as a dip for pretzels, graham crackers, or apple slices. It's a delightful pairing with these snacks.
- Savory Dishes: Incorporate it into savory dishes like sauces, soups, or stews for a hint of sweetness and spice.
- Smoothies: Add a spoonful to your morning smoothie to infuse it with pumpkin flavor.
- Filling for Baked Goods: Use it as a filling for pastries, cakes, turnovers, and muffins.
With these ideas, your homemade jams and jellies can be enjoyed in countless ways, adding a personal and flavorful touch to your meals and snacks.

Ghoulishly Good Pickles
For the homesteader with a penchant for savory delights, it's time to dive into the world of ghoulishly good pickles.
Halloween preservation isn't limited to the realm of sweets; it's an invitation to savor the savory side of the season.
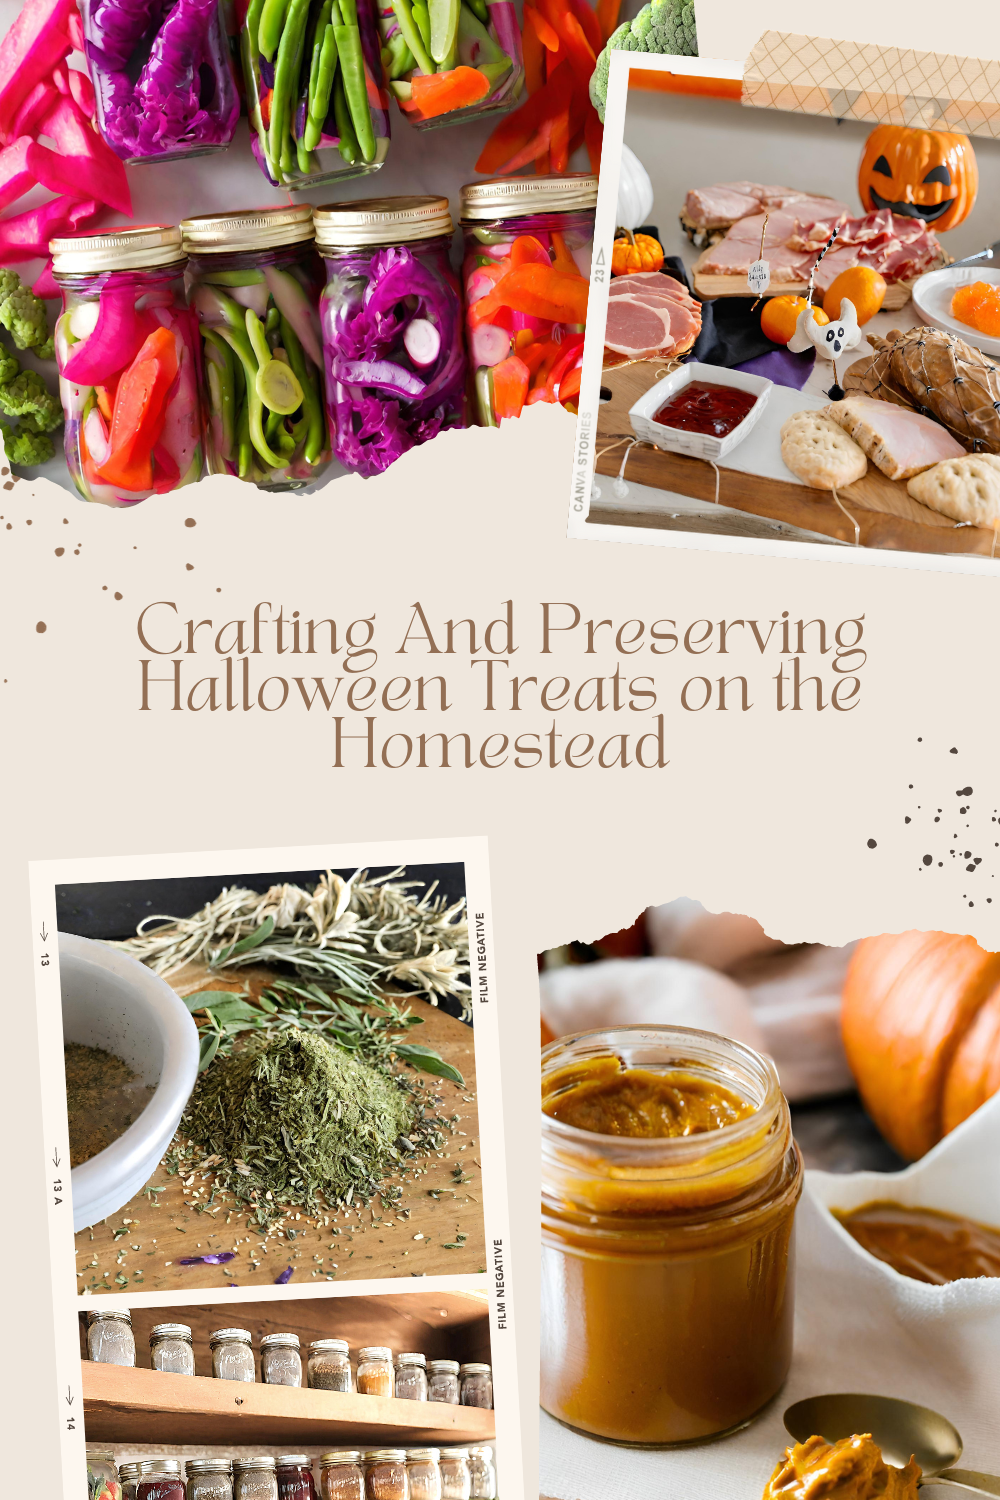
Let's embark on a journey to create unique pickles using the bountiful fall-season vegetables, offering not only a burst of color but also a satisfying crunch to elevate your holiday dishes.
Preserving these ghoulishly good pickles involves a canning process that guarantees both safety and flavor development - and yes, you can ferment them or simply can them in a vinegar base.
Even easier is to make refrigerator pickles, which is the recipe I am going to share with you in this post.
Of course, the choice is yours and if you want them to last longer, then canning or fermenting and canning is definitely the way to go.
PrintMixed Pickled Vegetables Refrigerator Recipe

If you're looking for a quick and easy way to enjoy the crisp and tangy flavors of pickled vegetables without the need for canning, refrigerator pickles are the perfect solution. This mixed pickled vegetables recipe combines a variety of crunchy vegetables with a flavorful brine for a delightful and customizable pickle experience. You can adjust the ingredients and spices to suit your taste.
- Prep Time: 45 minutes
- Cook Time: 45 minutes plus 24 hours to marinate
- Total Time: 25 hours 30 minutes
- Yield: 5 pints 1x
Ingredients
- 2 cups purple cauliflower florets
- 1 cup watermelon radishes, sliced
- 1 cup carrots, mixed colors, sliced into rounds
- 1 cup red bell peppers, cut into strips
- 1 cup purple green beans, trimmed
- 2 cloves garlic, peeled
- Fresh dill (optional, for garnish)
- Sterilized glass jars with lids
For the Brine:
- 4 cups white vinegar
- 4 cups water
- ¾ cup granulated sugar
- 2 tablespoons salt
- 1 tablespoon mustard seeds
- 1 teaspoon celery seeds
- 1 teaspoon whole black peppercorns
- ½ teaspoon red pepper flakes (adjust to taste)
Instructions
- In a large saucepan, combine white vinegar, water, granulated sugar, salt, mustard seeds, celery seeds, whole black peppercorns, and red pepper flakes. Bring the mixture to a boil and simmer for a few minutes until the sugar and salt are fully dissolved. Remove from heat and let it cool slightly.
- In sterilized glass jars, layer the mixed vegetables along with garlic cloves and optional fresh dill.
- Pour the warm brine over the vegetables, ensuring they are completely submerged. Leave about ½ inch of headspace in each jar.
- Place the lids on the jars and allow them to cool to room temperature.
- Once cooled, store the jars in the refrigerator for at least 24 hours to allow the flavors to develop. The pickled vegetables can be enjoyed within a few days, but their flavor intensifies over time.
- Serve the pickled vegetables as a crunchy snack, a zesty addition to salads and sandwiches, or as a side dish to complement your favorite meals.
Notes
These refrigerator pickles will keep well in the refrigerator for several weeks. Enjoy the delicious, tangy goodness of your homemade pickled vegetables without the need for canning.

Worried about how to enjoy these pickles during the holidays?
Fear not!
Here are some creative suggestions for incorporating these vibrant delicacies into your holiday meals.
Picture the vibrant purple of cauliflower, the eerie charm of watermelon radishes, and the captivating hues of other seasonal veggies that will add a unique twist to your Halloween and holiday table.
These pickles can be much more than mere condiments; they can be star players in your culinary creations and add a spooky and delightful touch to your festive gatherings.
To incorporate the ghoulishly good pickles into holiday meals, you can consider the following ideas:
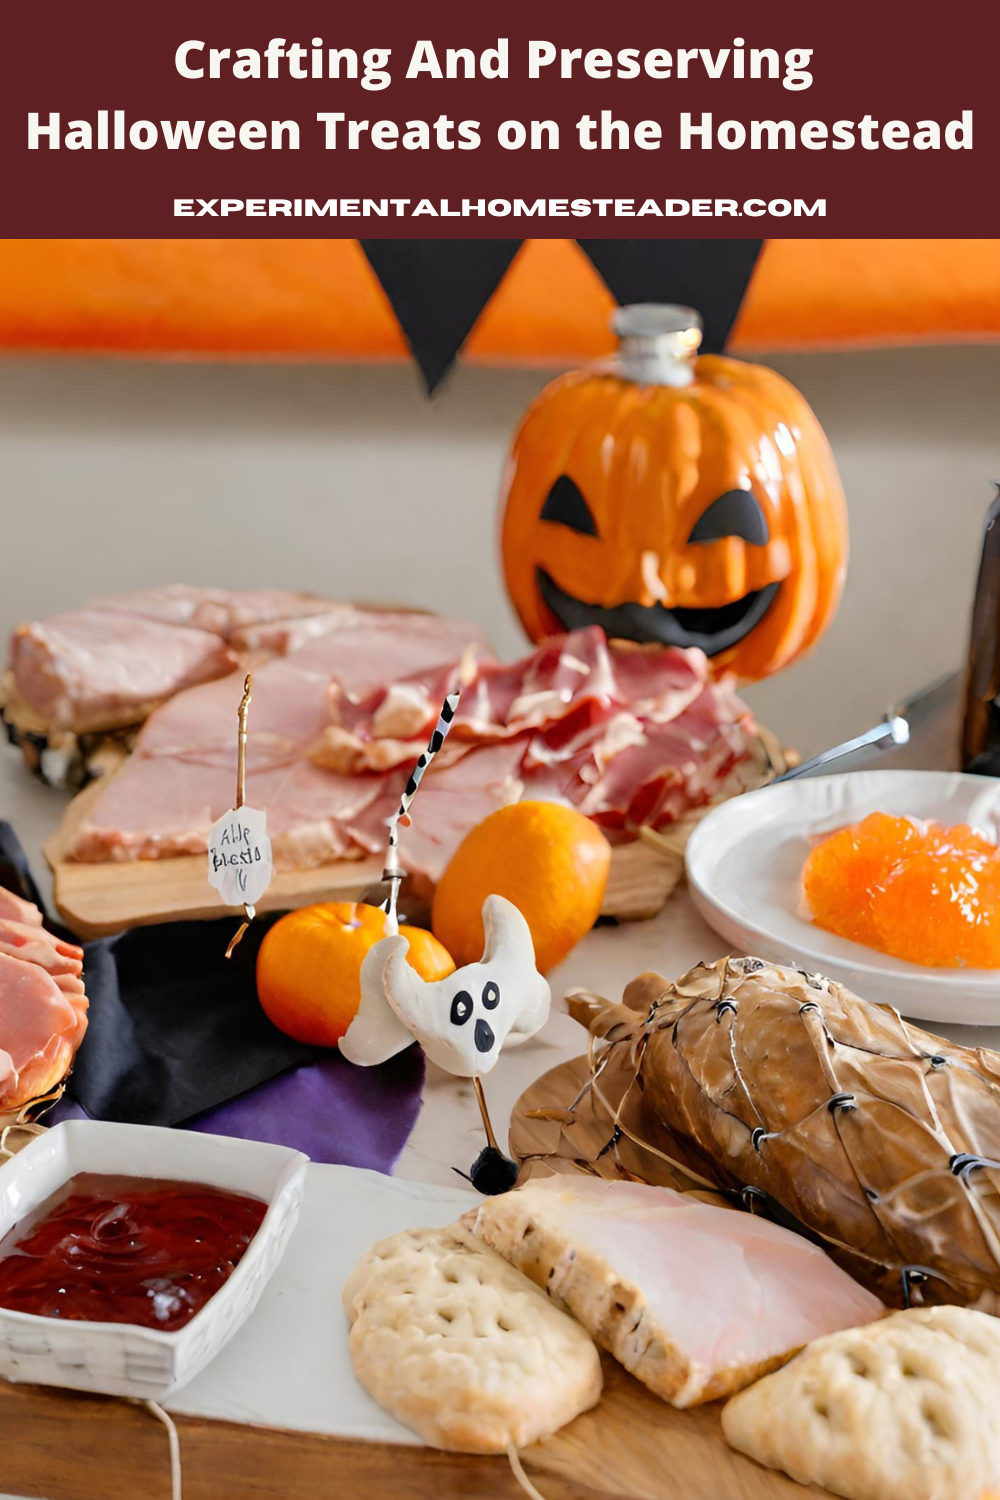
- Charcuterie Platter: Arrange your vibrant pickles on a festive charcuterie platter alongside cheeses, cured meats, and crackers. They'll add a burst of color and a zesty, crunchy contrast to the rich flavors of holiday cheeses and meats.
- Appetizer Accompaniment: Serve the pickles as a side dish for holiday appetizers. They pair well with savory bites like mini quiches, stuffed mushrooms, or spinach and artichoke dip, adding a refreshing element to the spread.
- Holiday Roasts: The ghoulishly good pickles can also make a unique and tangy side for holiday roasts. Their crunch and acidity can balance the richness of dishes like roasted turkey, ham, or prime rib.
- Festive Salad: Incorporate the pickles into a colorful holiday salad. You can chop them into bite-sized pieces and mix them with greens, roasted vegetables, nuts, and a tasty vinaigrette for a refreshing salad with a delightful crunch.
- Sandwiches and Sliders: Use the pickles to add a pop of flavor and texture to holiday sandwiches and sliders. They can complement turkey, ham, or roast beef sandwiches, elevating them with their unique colors and tang.
- Cocktail Garnish: Garnish holiday cocktails with a small pickle spear or a slice. The crunch and briny flavor can be a surprising addition to cocktails, especially if you're hosting a holiday gathering.

DIY Halloween Spice Blends
Are you ready to infuse your culinary creations with a touch of magic this Halloween season?
It's time to embark on a flavorful adventure as we delve into the art of crafting DIY Halloween-inspired spice blends.
These blends not only enhance the taste of your dishes but also evoke the very essence of Halloween.
Among the stars of our spice blend repertoire is the enigmatic "Witches' Brew" seasoning.
This bewitching blend combines a carefully curated selection of spices to create a flavor profile that's both aromatic and mysterious.
While the exact recipe can vary, it typically includes ingredients like dried herbs, ground spices, and sometimes a hint of heat from peppers.
The result is a seasoning that adds depth and complexity to your dishes, reminiscent of the enchanting brews conjured by witches on All Hallows' Eve.
But that's not all; our repertoire also includes the comforting Pumpkin Spice blend.
This blend captures the essence of fall with a harmonious mixture of cinnamon, nutmeg, cloves, and sometimes a hint of ginger.
Perfect for adding warmth and nostalgia to your autumn and holiday dishes.
The best part is that these spice blends aren't limited to your own culinary escapades.
They can also become charming holiday gifts, adding a personal touch to your presents.
Whether you're seasoning a hearty pumpkin soup, adding a touch of magic to roasted vegetables, or gifting these enchanting blends to friends and family, your pantry will be transformed into a treasure trove of flavors that capture the spirit of Halloween and the holiday season.
PrintWitches' Brew Seasoning Recipe
This "Witches' Brew" seasoning is a versatile blend that captures the essence of the season with its earthy and aromatic flavors. Feel free to adjust the ingredients to suit your taste preferences and culinary adventures. Enjoy the magic it adds to your dishes!
- Prep Time: 15 minutes
- Total Time: 15 minutes
- Yield: 8 ounces 1x
Ingredients
- 2 tablespoons dried rosemary
- 2 tablespoons dried thyme
- 1 tablespoon dried sage
- 1 tablespoon dried basil
- 1 tablespoon dried oregano
- 1 tablespoon dried marjoram
- 1 tablespoon garlic powder
- 1 tablespoon onion powder
- 1 teaspoon black pepper
- 1 teaspoon red pepper flakes (adjust to your desired level of heat)
- 1 teaspoon paprika (smoked paprika adds extra depth)
- 1 teaspoon salt (adjust to taste)
Instructions
- Prepare Your Ingredients: Gather all the dried herbs and spices listed in the ingredients.
- Mix the Spices: In a small bowl, combine the dried rosemary, thyme, sage, basil, oregano, marjoram, garlic powder, onion powder, black pepper, red pepper flakes, paprika, and salt. Use a whisk or a spoon to ensure the spices are evenly distributed.
- Adjust Flavor: Taste the blend and adjust the salt and red pepper flakes according to your preference. If you prefer a milder seasoning, use less red pepper flakes.
- Store Your Witches' Brew: Transfer your "Witches' Brew" seasoning to an airtight container. Make sure it's stored in a cool, dark place to maintain its flavor. A glass jar with a tight-fitting lid works well.
Notes
Usage:
- Use your "Witches' Brew" seasoning as a rub for roasted meats like chicken, pork, or lamb.
- Add it to soups and stews to give them a hearty, earthy flavor.
- Sprinkle it on roasted vegetables for a touch of enchantment.
- Enhance the taste of pasta dishes, especially those with tomato-based sauces.
- It's a delightful addition to homemade bread or pizza dough.
- Get creative and use it as a seasoning for popcorn, potato dishes, or even as a unique garnish for a Bloody Mary cocktail!
Decorative Label Ideas
In the world of food preservation, presentation is as important as the flavors locked within those glass jars.
As we venture into the world of ghoulishly good pickles, it's essential to think not only about the taste but also about the visual appeal.
After all, what's inside the jar is a labor of love, and it deserves to be showcased with a touch of artistry that captures the spirit of Halloween and the holiday season.
In this section, I'm here to guide you on crafting labels that will transform your canned goods into not just preserved treats but works of art.
When your friends and family receive these beautifully adorned jars, they'll feel the same excitement and anticipation that you put into creating them.
Creating your own DIY labels is not only a fun and creative endeavor but also a way to personalize your gifts.
To make the process a breeze, I'll offer you tips on how to design labels that reflect your unique style.
You can even take advantage of templates, which can simplify the design process significantly.
Canva, a user-friendly graphic design platform, is an excellent resource for creating labels.
They offer a variety of templates that you can customize to suit your preferences.
With these personalized labels, your jars will not only taste amazing but will also be a visual delight.
Encourage your creativity to run wild and let your labels tell a unique story, whether it's a spooky theme for Halloween or a heartwarming holiday motif.
Your jars will not only be gifts of deliciousness but also pieces of art that your loved ones will treasure.
Remember, when it comes to preserving and presenting, it's all about sharing a piece of your heart and the spirit of the season.
So, let your labels shine and make those canned goodies truly special.
Here are some tips to make the label design process a breeze and ensure they reflect your unique style:
- Set a Theme: Start by deciding on a theme for your labels. Whether it's spooky for Halloween, festive for the holidays, or a design that reflects your personal style, having a theme will provide a clear direction for your label design.
- Select Colors: Choose a color scheme that matches your theme. For Halloween, you might go for traditional black and orange, while the holidays could involve classic red and green. Your personal style may dictate a unique color palette that resonates with you.
- Choose Fonts: Select fonts that complement your theme and are easy to read. A decorative, cursive font might be ideal for a festive label, while a bold and clear font could work well for a spooky theme.
- Incorporate Images: Consider adding images or illustrations that are relevant to your theme. For Halloween, this could be pumpkins or ghosts, while the holidays might involve snowflakes or ornaments. Custom illustrations or clipart can be used to make your labels unique.
- Personalize: Don't forget to add a personal touch, such as your name or a message. It's an excellent way to let the recipient know who the delicious treats are from and convey your holiday wishes.
- Use Templates: As mentioned, platforms like Canva offer a variety of label templates. These templates are pre-designed and can save you time and effort. Simply choose a template that fits your theme, and then customize it to make it your own.
- Experiment and Edit: Feel free to experiment with different layouts, colors, and fonts until you find a design that you love. Most design tools, including Canva, allow for easy editing, so you can fine-tune your label until it's just right.
- Print and Test: Before mass-producing your labels, print a test copy to ensure the design, colors, and sizing are as you intended. This step prevents any last-minute surprises and allows you to make adjustments if needed.
- Quality Printing: When you're satisfied with your label design, print them on high-quality label paper or adhesive sheets. Good printing quality will enhance the overall look of your labels.
- Apply with Care: When affixing your labels to the jars, take your time to ensure they are applied evenly and without wrinkles. A well-applied label adds that final touch of professionalism.
Remember, the goal is to create labels that not only make your canned goodies look appealing but also reflect your style and the spirit of the occasion.
With these tips and some creative flair, your labels will be a delightful addition to your homemade treats, making them all the more special.

The Gift of Ghoulish Goodies
As dedicated homesteaders, we understand the true value of homemade gifts, and the art of preserving Halloween treats opens up the perfect opportunity to share the joy with those we care about.
In this section, we're about to embark on a heartwarming journey, exploring the magical act of giving preserved treats as holiday gifts.
When it comes to gifting, presentation is key.
So, let's start with packaging ideas that will elevate your canned goods into delightful presents.
You can wrap your jars in festive ribbons, adorn them with handcrafted labels, or place them in decorative gift bags or baskets.
These thoughtful touches not only make your gifts look splendid but also convey the effort and care you put into making them special.
The beauty of homemade gifts lies in the sentiment they carry.
Each jar of preserved treats is a labor of love, capturing the essence of the season and the joy of giving.
It's a reminder that the holiday spirit is not just about receiving but also about sharing happiness.
These homemade treasures tell a story, one of time spent in the kitchen, the warmth of the season, and the joy of creating something special for someone dear.
It's a narrative of love and togetherness that transcends the contents of the jar.
As you embark on your holiday gifting journey, embrace the spirit of canning and preserving, and let it inspire you to spread joy.
It's about bringing happiness to your loved ones, and in return, experiencing the joy of giving.
Your canned goodies, whether they're ghoulishly good pickles or velvety pumpkin butter, carry not just flavors but the heartwarming sentiment of the season.
It's a gift that's sure to be treasured, making your holiday celebrations even more special.
Embrace the Magic of Homemade Preservation
As we conclude our homesteader's guide to canning and preserving Halloween treats, I hope you're as eager as I am to embark on this enchanting journey.
It's about much more than preserving food; it's about capturing the essence of the season and sharing it with your dearest ones.
Remember, the magic of Halloween and the warmth of the holiday season can coexist right in your pantry.
Whether it's the sweet nostalgia of candied apples, the velvety richness of pumpkin butter, or the ghoulish charm of Halloween-themed jams, your preserves will be the bridge that connects these two delightful worlds.
I'm genuinely excited to hear your thoughts, ideas, and experiences.
Share your preservation journey in the comments below, and let's spark a conversation that celebrates the beauty of homesteading and preserving the seasons.
Here's to a spooktacular Halloween and a holiday season filled with homemade goodness!
Halloween Treats


Pumpkin Shaped Rice Krispies Halloween Recipe
When it comes to easy recipes for kids that grown-ups are sure to love, this pumpkin shaped Rice Krispies Halloween Recipe is perfect!
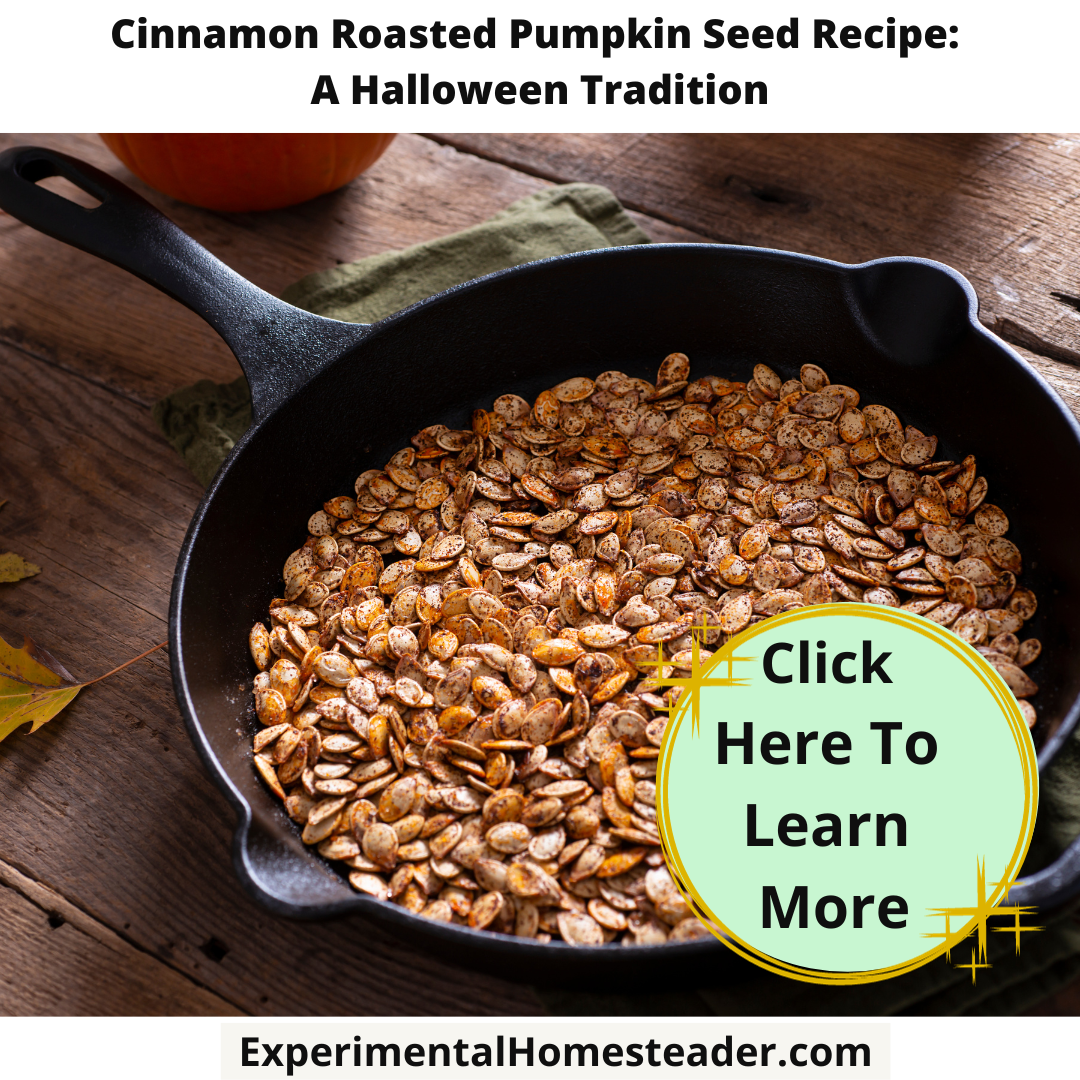

Cinnamon Roasted Pumpkin Seed Recipe: A Halloween Tradition
Celebrate Halloween with our delicious roasted pumpkin seed recipe! Discover creative seasonings for a tasty farm-style treat.

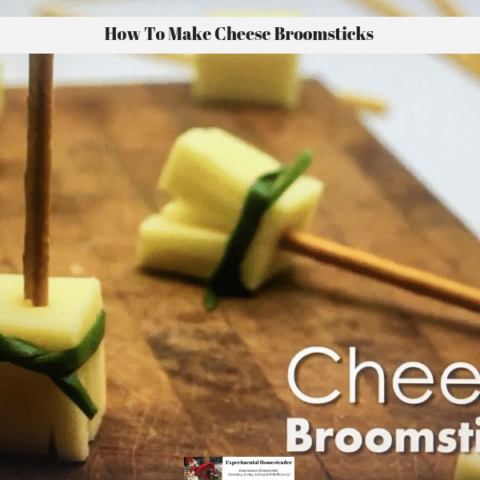
How To Make Cheese Broomsticks
These cheese broomsticks are delicious plus they are quick and easy to make. They are a perfect snack or appetizer for your Halloween Party.


Easy Halloween Cookies
Make easy Halloween cookies this year by buying store bought cookies and dressing them up. This is a great way to send decorated treats to school! #easyhalloweencookies #scarecrowcookies #easyhalloweencookiesdecorated #easyhalloweencookiesforkids