
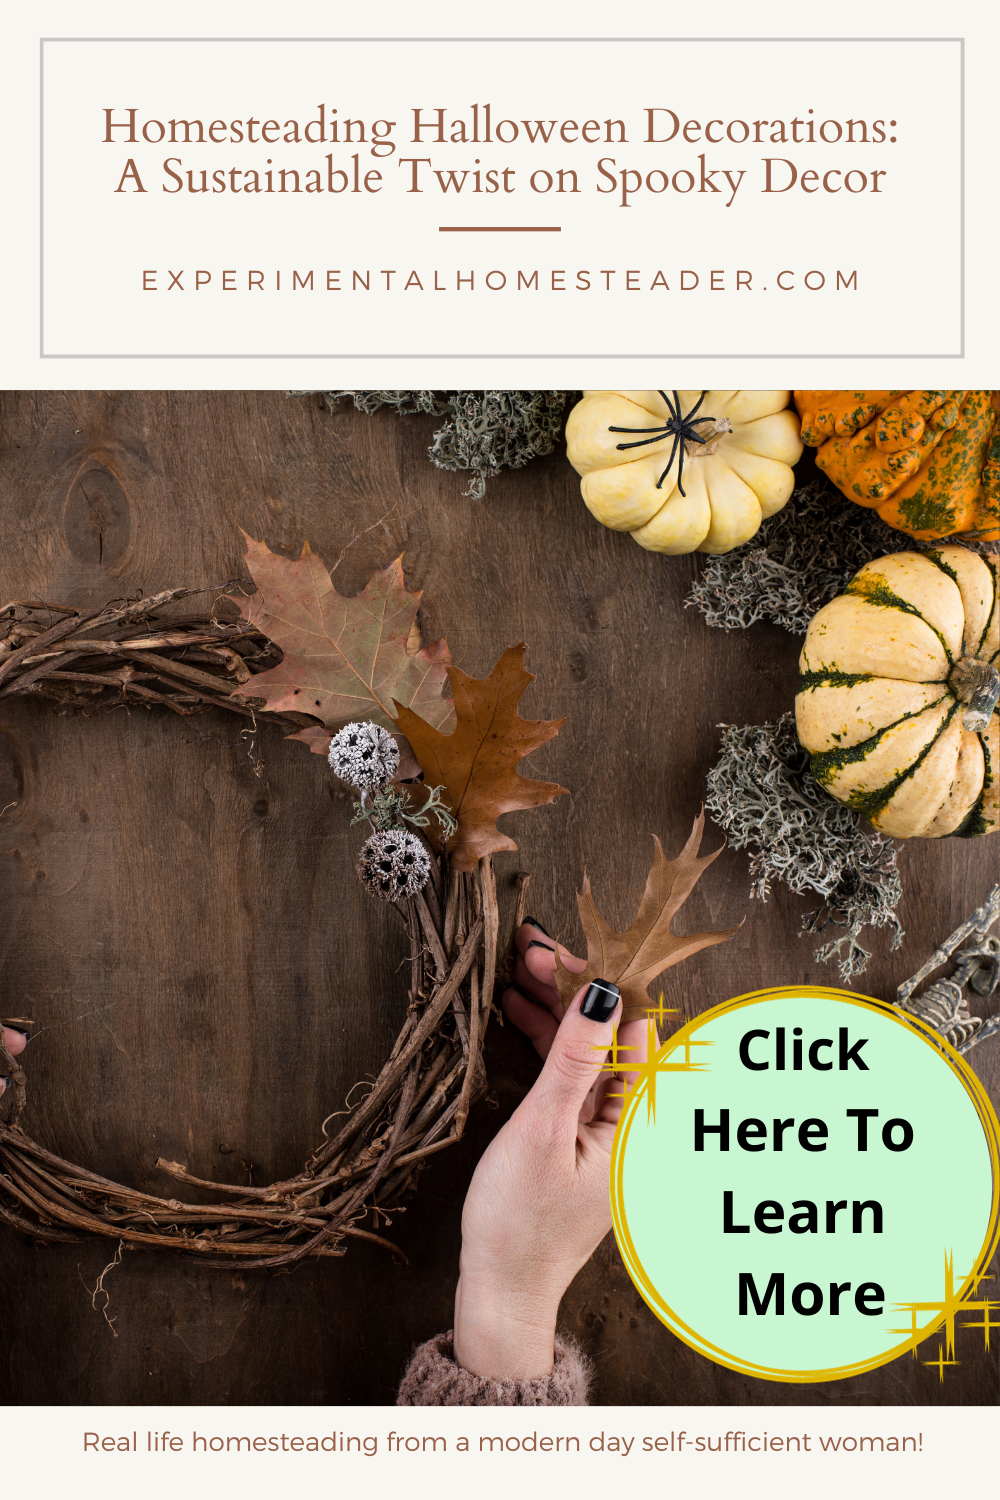
Halloween is right on our doorstep, and there's no better time to infuse that unique homestead charm into your homesteading Halloween decorations.
The magic of this season lies in the creativity that springs from the very heart of your homestead, and I'm here to be your guide through the enchanting world of sustainable, DIY Halloween decor.

Let's venture into the cornfields and gardens of your homestead, where we'll gather dried corn husks, gourds, and pumpkins – the humble heroes of our decorations.
We'll transform these natural treasures into corn husk scarecrows that stand guard over your garden, gourd lanterns that cast an eerie glow, and rustic wreaths that celebrate the beauty of the season.
With a touch of ingenuity and a sprinkle of homesteading spirit, we'll breathe life into your Halloween decor, and your space will be spookified in the most sustainable and heartwarming way possible.

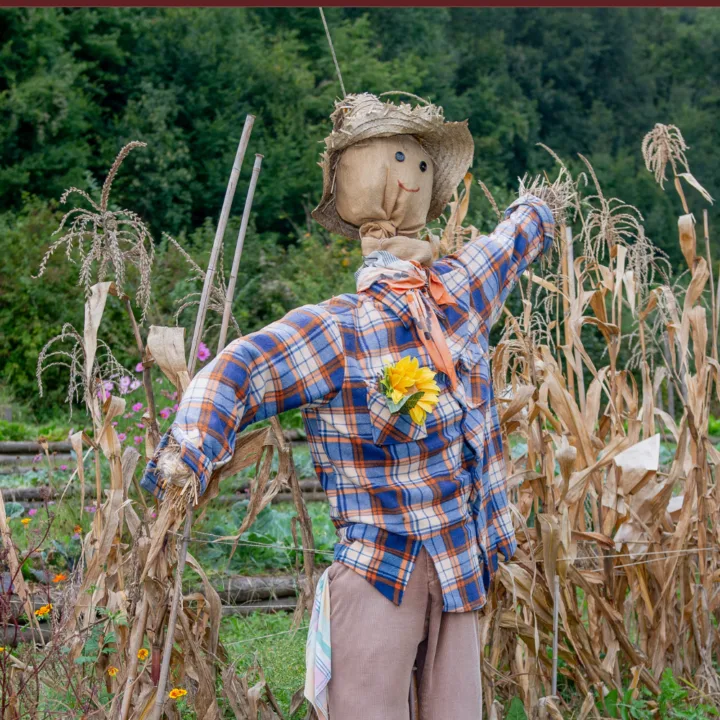
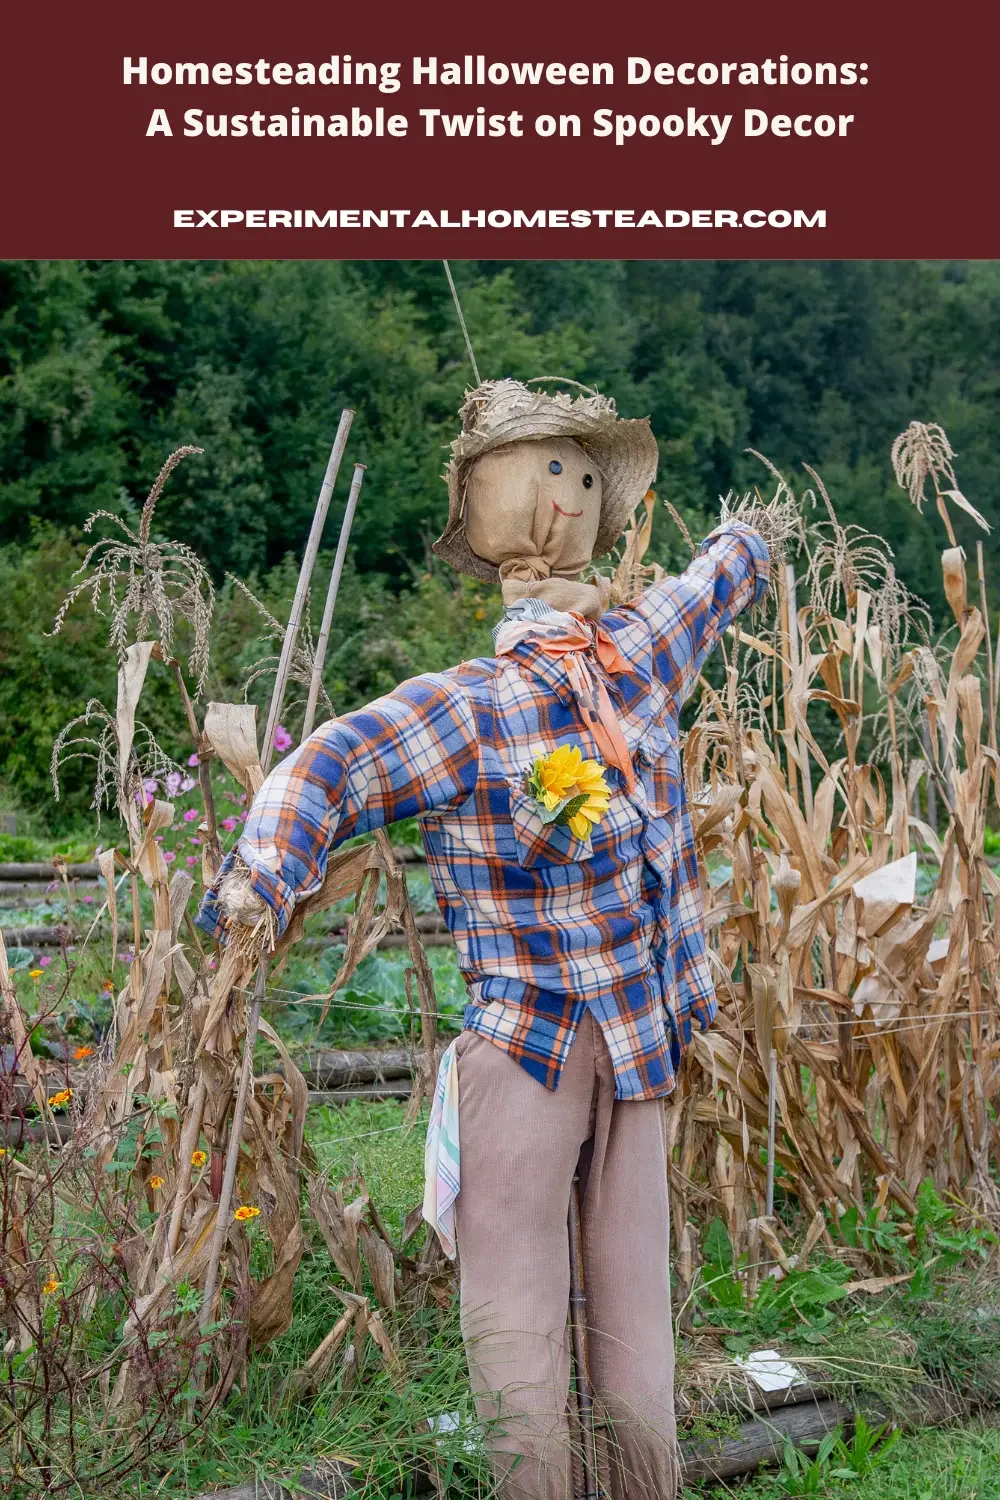
Corn Husk Scarecrows: Crafting Eco-Friendly Halloween Guardians
I'm a big fan of these adorable, eco-friendly scarecrows.
It's surprising how a simple item like corn husks can transform into a Halloween decoration.
Gather some dried corn husks and shape them into a scarecrow figure.
Don't forget to add a jute string for hanging.
Use old clothes or burlap for the outfit, and you've got yourself a spooky guardian for your garden.

Corn Husk Scarecrows
Materials
- Dried corn husks
- rubber bands or twine or jute
- burlap or cloth
- straw hat, rake, broom (optional)
Tools
- Marker
- Paint
Instructions
- Harvest Corn Husks: Start by collecting dried corn husks from your corn harvest. Make sure they are thoroughly dry, as this will prevent mold.
- Shape the Body: Take a bunch of corn husks and shape them into the body of your scarecrow. You can use rubber bands or twine to secure the husks together. Create a round head and a body shape, leaving some husks hanging down to resemble arms.
- Adding a Face: For the face, you can use a simple burlap sack or old cloth to create a head covering. Use a marker or paint to draw a friendly or spooky face on the sack.
- Outfit and Accessories: Dress your scarecrow by using old clothes or burlap. You can get creative with the outfit – maybe add a straw hat, a plaid shirt, and some jeans. Don't forget to stuff the clothes with more corn husks to give your scarecrow a fuller appearance.
- Hanging String: Attach a jute string to the top of the scarecrow's head, so you can hang it wherever you like in your garden.
- Finishing Touches: Consider adding some accessories like a small rake or a broom to make your scarecrow look like it's ready to work in the garden. These details add a touch of realism.
- Display: Hang your corn husk scarecrow in your garden or on your front porch. It not only adds a charming and spooky touch to your Halloween decor but also serves as a fun and eco-friendly guardian for your homestead.
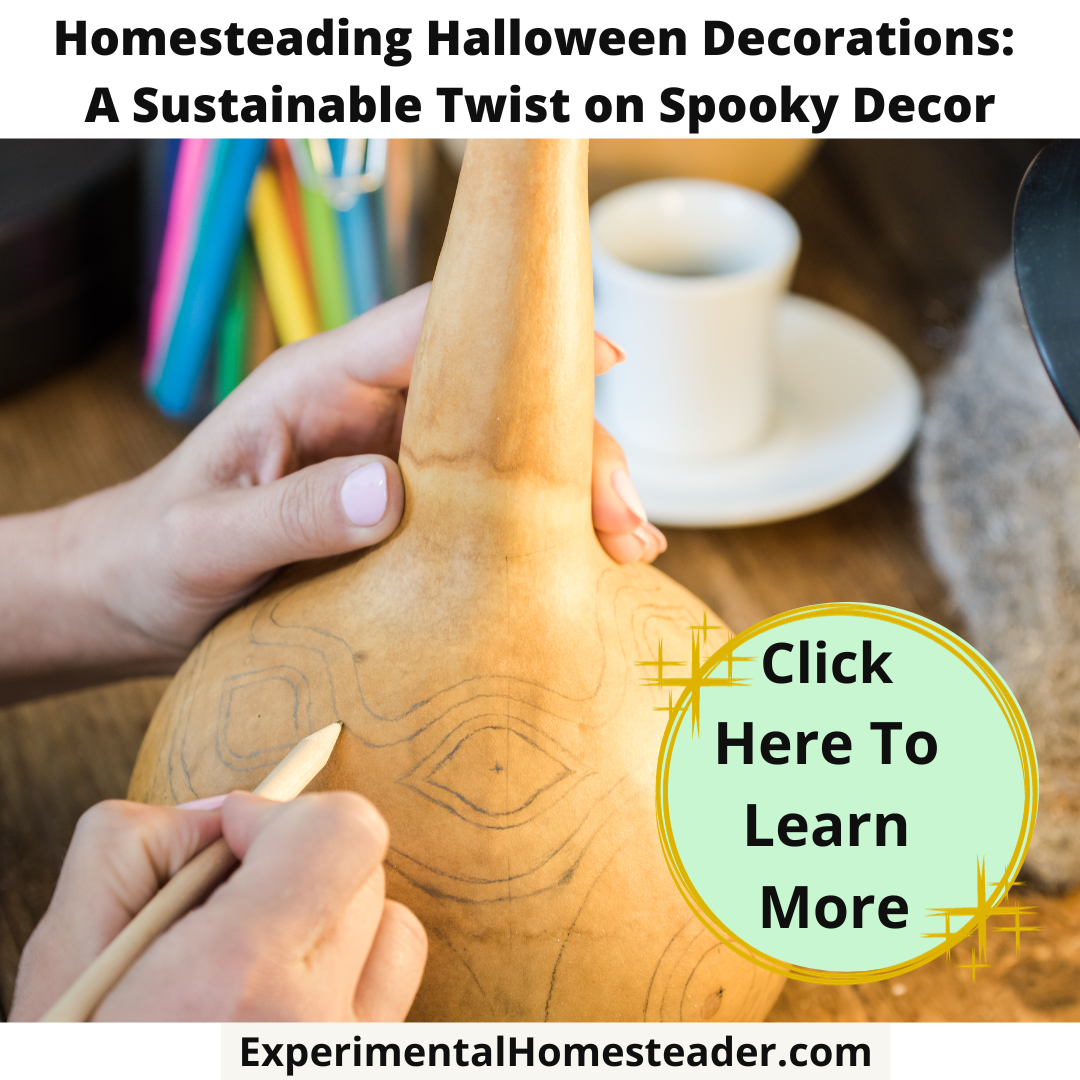

Gourd Lanterns: Illuminating Halloween with Homegrown Magic
Now, this idea is pure magic!
Take some of those beautiful gourds you've grown and carve them into lanterns.
Scoop out the seeds and flesh, and then create spooky faces or intricate designs.
Place a tea light inside for a warm, eerie glow.
Gourd lanterns not only look fantastic but also utilize resources from your own backyard.
<div
data-shortcode="mv_create"
data-attributes='{DQUOTEkeyDQUOTE:DQUOTE268DQUOTE,DQUOTEthumbnailDQUOTE:DQUOTEhttps://experimentalhomesteader.com/wp-content/uploads/2023/10/Copy-of-EHMain-1.pngDQUOTE,DQUOTEtitleDQUOTE:DQUOTEGourd
Gourd
Rustic Wreaths: Handcrafted Homestead Elegance for Halloween
Halloween wreaths don't have to be all plastic and glitter.
Let's make a rustic wreath using materials from your homestead.
Collect twigs, dried flowers, colorful leaves, and even some feathers if you have chickens.
Assemble them into a wreath shape, securing everything with twine or wire.
It's a natural, seasonal decor piece that will impress your visitors.
Rustic wreaths bring a touch of nature to your Halloween decorations.
Here's how to create one step by step.


Rustic Wreaths
Materials
- Natural materials like twigs, dried flowers, colorful leaves or feathers
- Twine or wire
- Small gourds, mini pumpkins or Halloween themed ornaments
Tools
- Hot glue (optional)
- Hot glue gun (optional)
Instructions
- Collect Natural Materials: Head out to your homestead and gather twigs, dried flowers, colorful leaves, and any feathers you may have from your chickens. These materials will be the foundation of your wreath.
- Shape the Base: Create a circular frame for your wreath using flexible twigs or branches. You can also purchase a simple wire wreath frame for added stability.
- Layer and Assemble: Start layering your collected materials onto the frame. Begin with the twigs, then add dried flowers, leaves, and feathers to create a visually appealing arrangement.
- Secure Everything: Use twine or wire to secure the materials to the frame. Make sure everything is tightly in place.
- Personalize Your Wreath: Add some seasonal flair by incorporating small gourds, mini pumpkins, or other Halloween-themed ornaments. This will make your wreath uniquely suited for the holiday.
- Hang with Pride: Find the perfect spot to showcase your rustic wreath – on the front door, above the mantel, or anywhere that needs a touch of autumn charm. Your visitors will be inspired by your natural and beautiful Halloween wreath.
Creating Unique and Budget-Friendly Halloween Decor with Homegrown and Foraged Materials
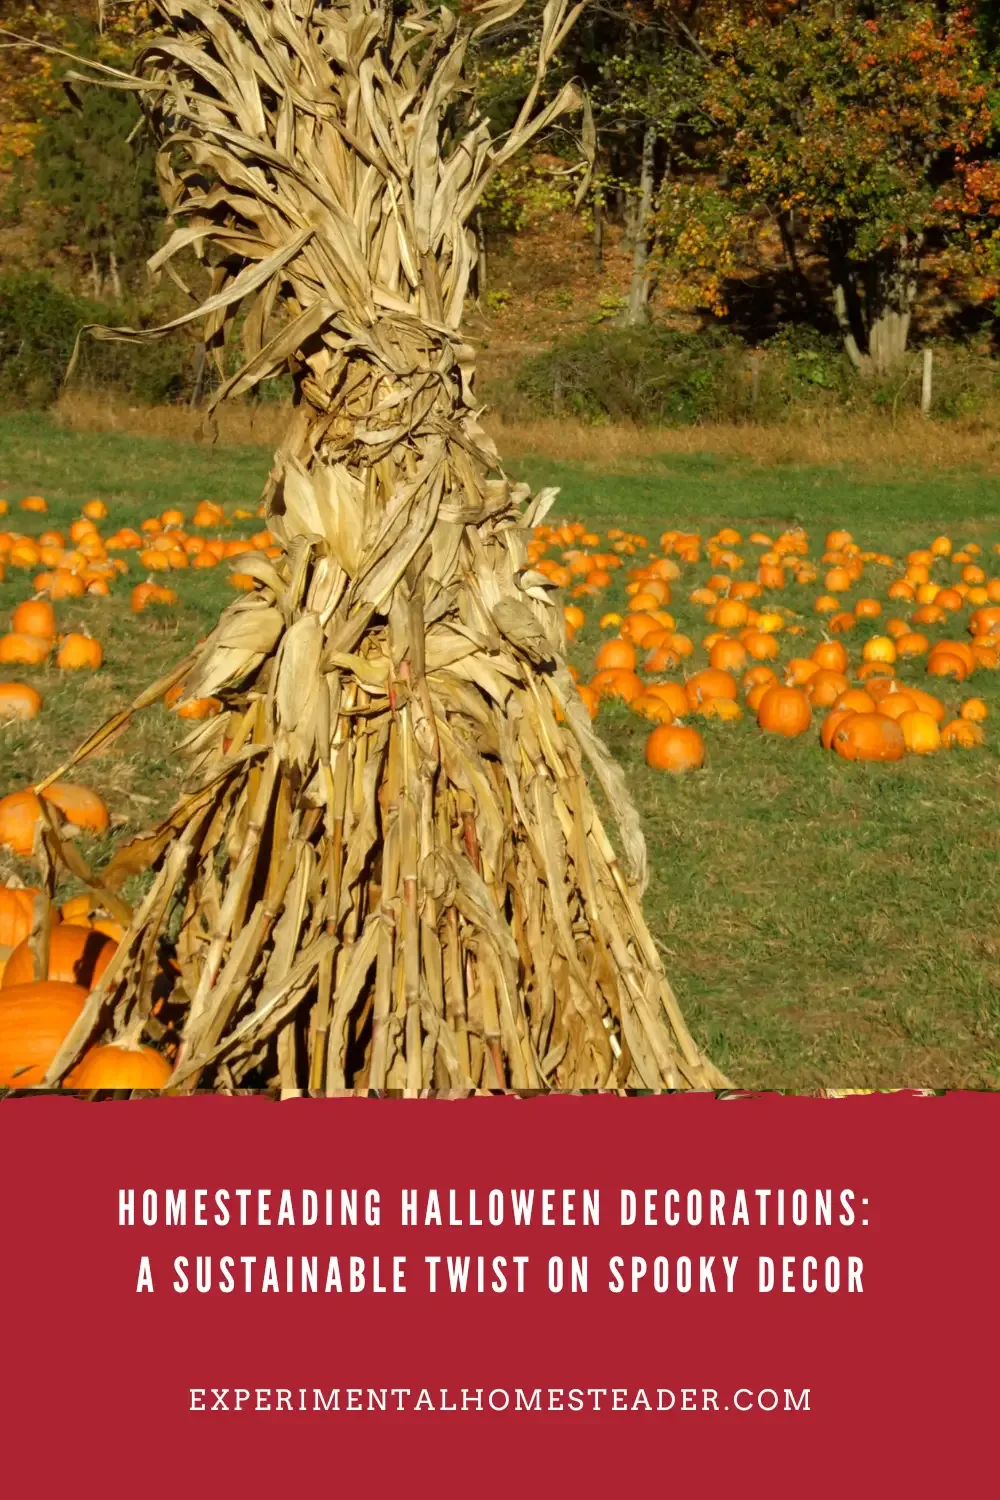
Now, let's dive into how you can craft fantastic Halloween decorations on a budget using corn stalks, gourds, pumpkins from your own garden, and natural materials you can forage.
This adds an even more authentic homesteading touch to your Halloween decor.
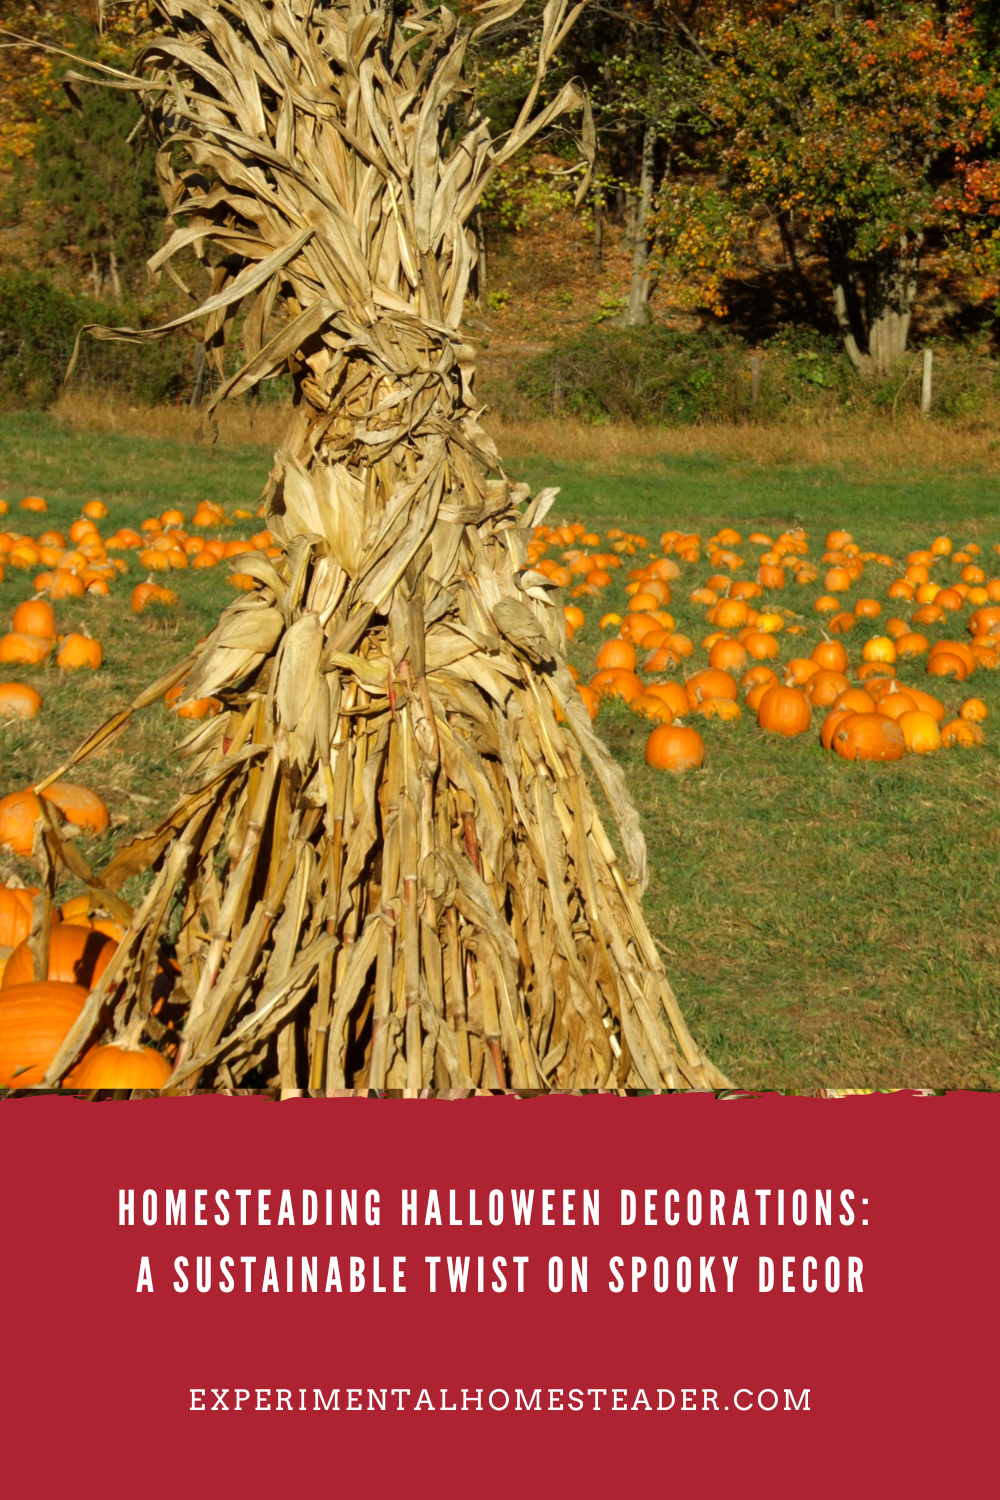
Corn Stalks:
- Harvest Corn Stalks: After the corn is ready for harvest, save the stalks. These can be used for a variety of decorations.
- Create a Corn Stalk Arch: Tie a few corn stalks together at the top to form an arch, securing them with twine or jute string. Place one on each side of your porch or garden entrance for a spooky, natural frame.
- Corn Stalk Bundles: Bundle smaller corn stalks and tie them with twine to create decorative bunches. Place these near doorways, on steps, or even indoors to bring the autumn spirit into your home.
- Corn Stalk Luminaries: For a rustic and budget-friendly luminary, wrap corn stalks around glass jars or hurricane candle holders. Secure them with twine and place tea lights inside for an eerie glow. Your readers will appreciate the cost-effectiveness and charm of this idea.
Gourd and Pumpkin Party:
- Choose Your Gourds and Pumpkins: Select a variety of shapes and sizes from your garden, including gourds, pumpkins, and squashes. Mix and match to add visual interest.
- Carve or Paint: Get creative with carving spooky faces, patterns, or painting these natural canvases. The great thing about gourds and pumpkins is that they can be transformed with minimal cost.
- Create a Display: Place your decorated gourds and pumpkins in clusters on your porch, steps, or garden. You can also use them as centerpieces for Halloween gatherings.
- Utilize Gourd and Pumpkin Lanterns: Hollow out some gourds and pumpkins to make charming lanterns. These can be placed along pathways or as table decor for an enchanting Halloween atmosphere.
Foraged Frights:
- Gather Natural Treasures: Take a foraging adventure on your homestead or in the nearby woods. Look for pinecones, acorns, branches, and colorful leaves to use in your Halloween decor.
- Pinecone Spiders: Attach pipe cleaners for legs and googly eyes to pinecones to create creepy-crawly spiders. These make fantastic table decor or hanging ornaments.
- Leafy Garlands: String colorful leaves onto twine to make garlands for your porch or mantel. It's an easy and budget-friendly way to bring the fall vibe into your home.
- Twig and Acorn Wreath: Craft a rustic wreath using foraged twigs, acorns, and any other found materials. Secure everything with twine or wire, and you have a unique and budget-friendly Halloween wreath.

These budget-friendly ideas not only resonate with the DIY spirit but also showcase the beauty of utilizing what your homestead provides.
You will love the cost-effective, eco-friendly, and creative approach to Halloween decor.
It's all about embracing the charm of the season while keeping your homesteading values intact.
Not to mention adding a sustainable twist to Halloween decor not only resonates with your homesteading ethos but also inspires others to embrace eco-friendly decorations.
Remember, it's all about showcasing the beauty and resourcefulness of homesteading in every season, even during Halloween.
Let's chat more about this in the comments below – and who knows, maybe you'll inspire some fellow homesteaders to get into the Halloween spirit sustainably.
Halloween Decorating And Craft Ideas
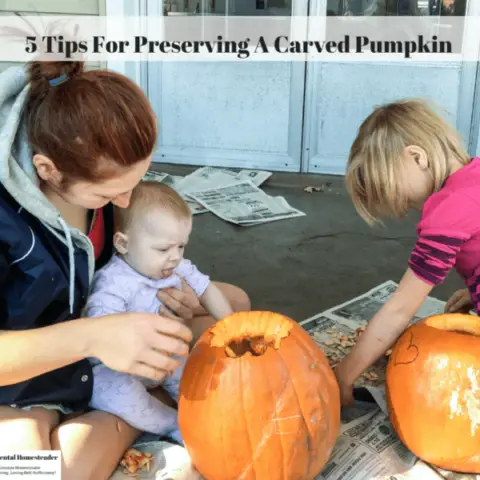

5 Tips For Preserving A Carved Pumpkin
Preserve a carved pumpkin for longer with this easy guide. Keep your Halloween design intac with our tips for preserving a carved pumpkin.


Easy Halloween Decorations From Cheap Fake Pumpkins
Yes, you can make easy Halloween decorations from those cheap fake pumpkins - and best of all they are perfect for kids to decorate.
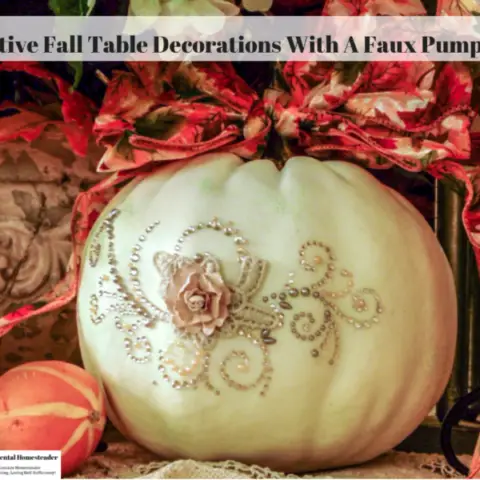

Festive Fall Table Decorations With A Faux Pumpkin
From festive centerpieces to fall table decorations faux pumpkins fit right in. Get ideas for decorating your faux pumpkins with bling and a bow.


How To Glitter A Pumpkin
Kids and adults alike love making DIY Halloween Crafts. Learn how to glitter a pumpkin at home plus how to keep the glitter on the pumpkin when you're done.
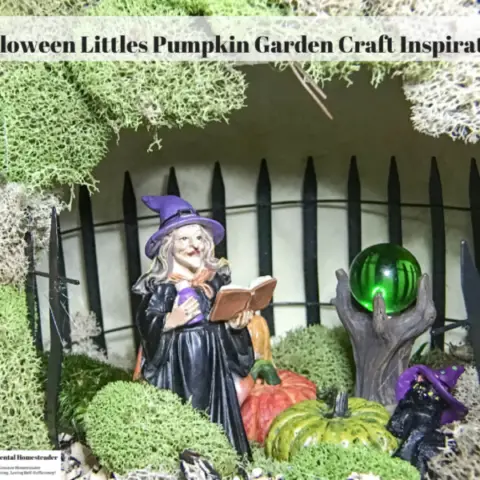
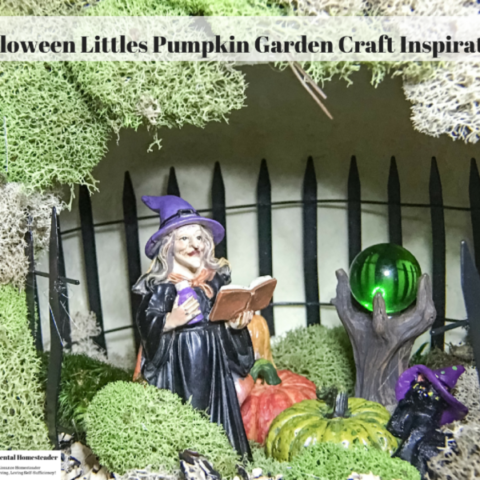
Halloween Littles Pumpkin Garden Craft Inspiration
This Halloween Littles Pumpkin Garden craft inspiration tutorial is sure to inspire you. This year make your own homemade Halloween decor.

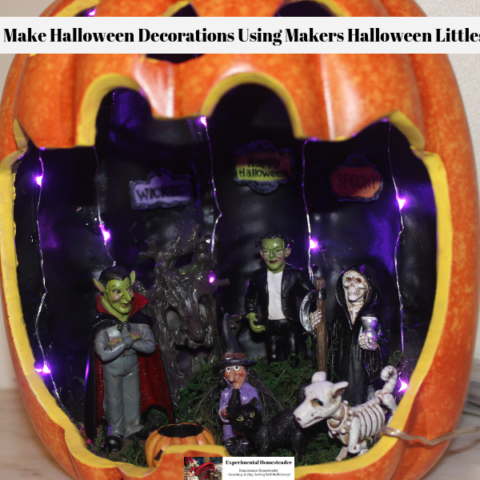
Easy To Make Halloween Decorations Using Makers Halloween Littles Decor
When it comes to easy to make Halloween Decorations, I recommend using the Makers Halloween Littles Decor. Simply arrange, glue and enjoy your fairy garden!

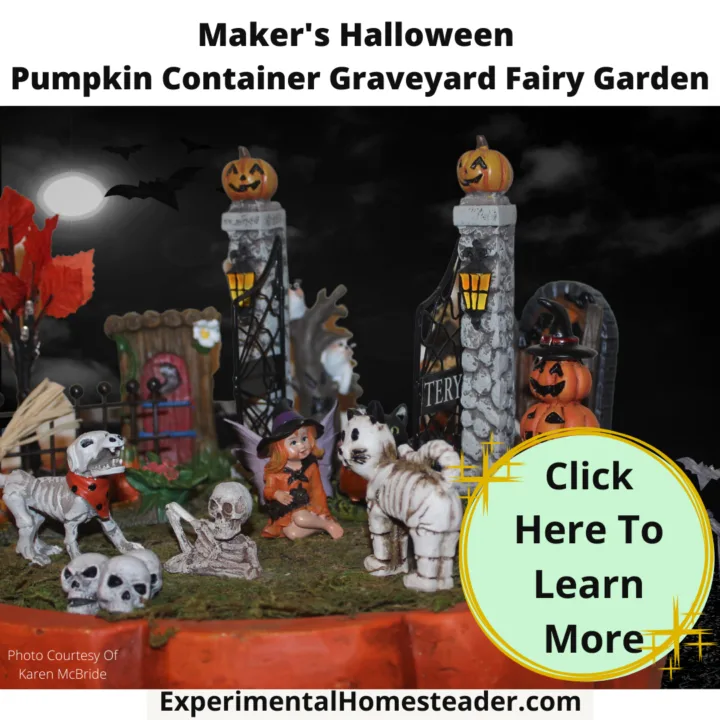
Maker's Halloween Pumpkin Container Graveyard Fairy Garden
This Maker's Halloween Pumpkin Container Graveyard Fairy Garden is the perfect combination of spooky and cute! It's easy to make too!
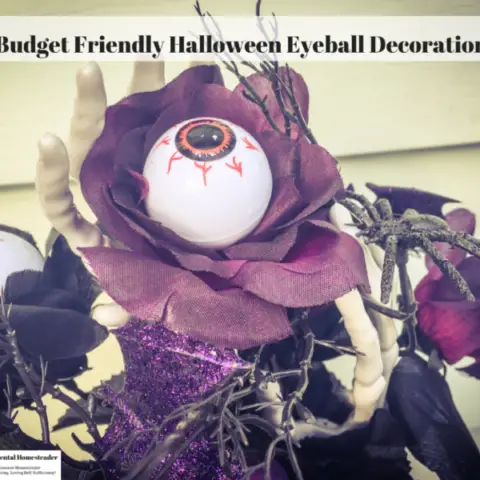

Scary Budget Friendly Halloween Eyeball Decorations Idea
Awesome Halloween eyeball decorations that make a perfect table centerpiece. These DIY Halloween decorations are budget friendly and easy to make.
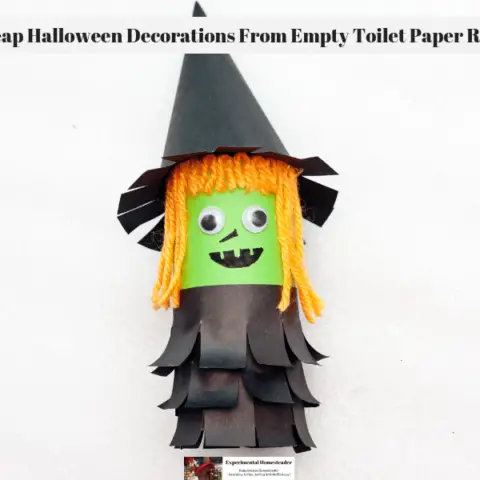
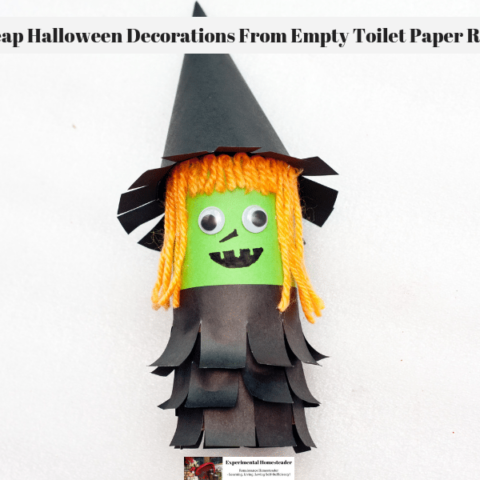
Cheap Halloween Decorations From Empty Toilet Paper Rolls
These cheap halloween decorations made from empty toilet paper rolls are a great way to show how eco-friendly you are while having fun with your kids!
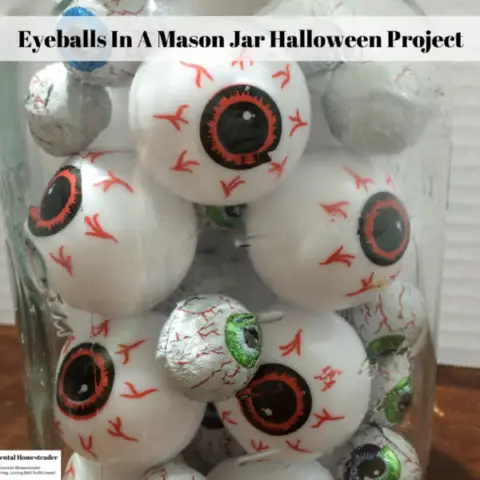

Eyeballs In A Mason Jar Halloween Project
Are you looking for budget friendly, cool Halloween projects to do with the kids? Then check out this eyeballs in a mason ball Halloween project!

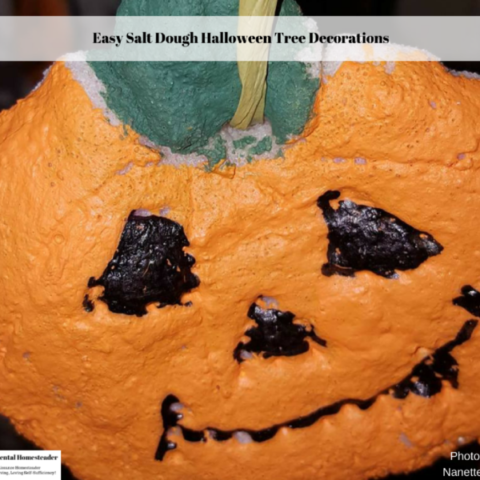
Easy Salt Dough Halloween Tree Decorations
Check out these easy Halloween decorations you make at home with ingredients in your pantry! This Halloween decorations idea is an easy project for kids.


DIY Halloween Bath Bomb Recipe
This cool DIY Halloween Bath Bomb Recipe packs a peppermint scented bath salt into a cauldron filled with a skeleton which pops out as the bath bomb fizzes.

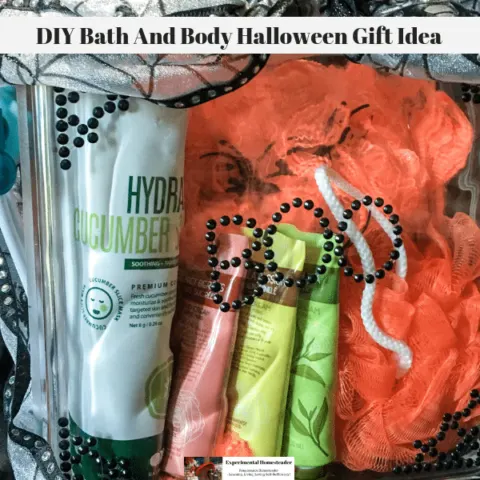
DIY Bath And Body Halloween Gift Idea
The acrylic Craft Block by Hy-Lite is a fun, creative way to make a unique DIY bath and body gift set that is the perfect finish to Halloween festivities.
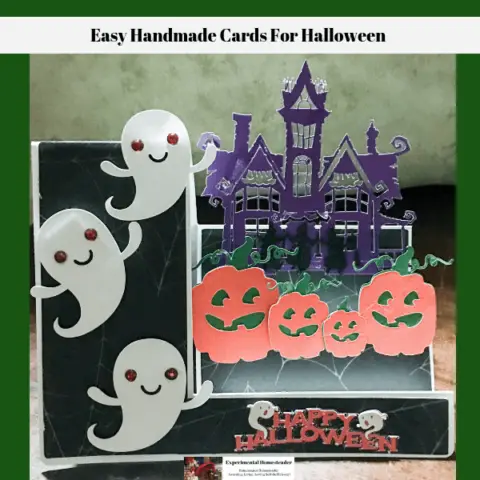
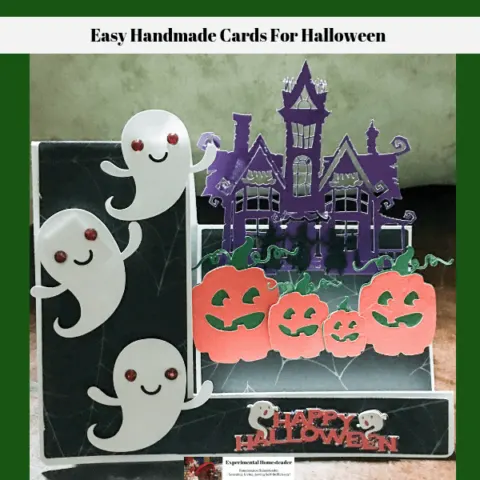
Easy Handmade Cards For Halloween
If you want easy handmade cards for Halloween that truly look intricate, then be sure to check out this step card made with the Cricut Maker.
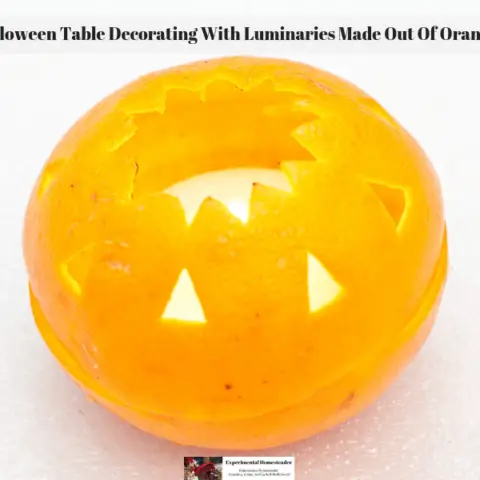
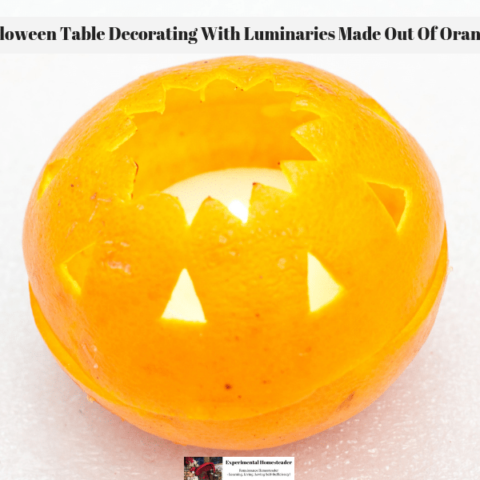
Halloween Table Decorating With Luminaries Made Out Of Oranges
When you are ready to start your Halloween table decorating this season, try using these luminaries made out of orange peels that naturally scent your home.
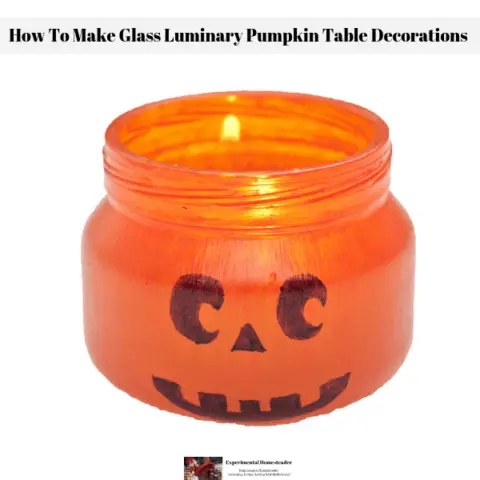

How To Make Glass Luminary Pumpkin Table Decorations
These glass luminary pumpkin table decorations are easy to make and they are a great way to recycle baby food jars! They are also easy for kids to decorate!
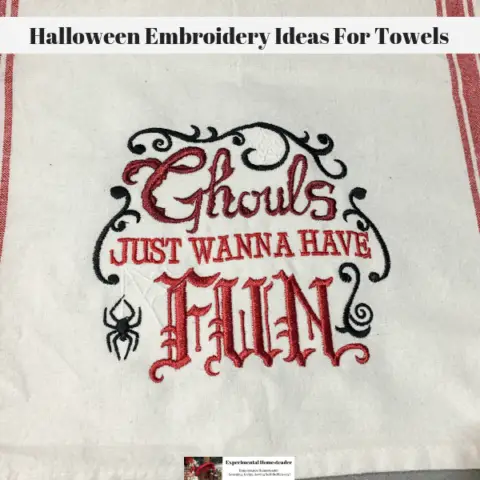
Halloween Embroidery Ideas For Towels
Dive into Halloween Embroidery Ideas for Towels: Unearth Spooky Designs and Step-by-Step How-Tos for Crafting.

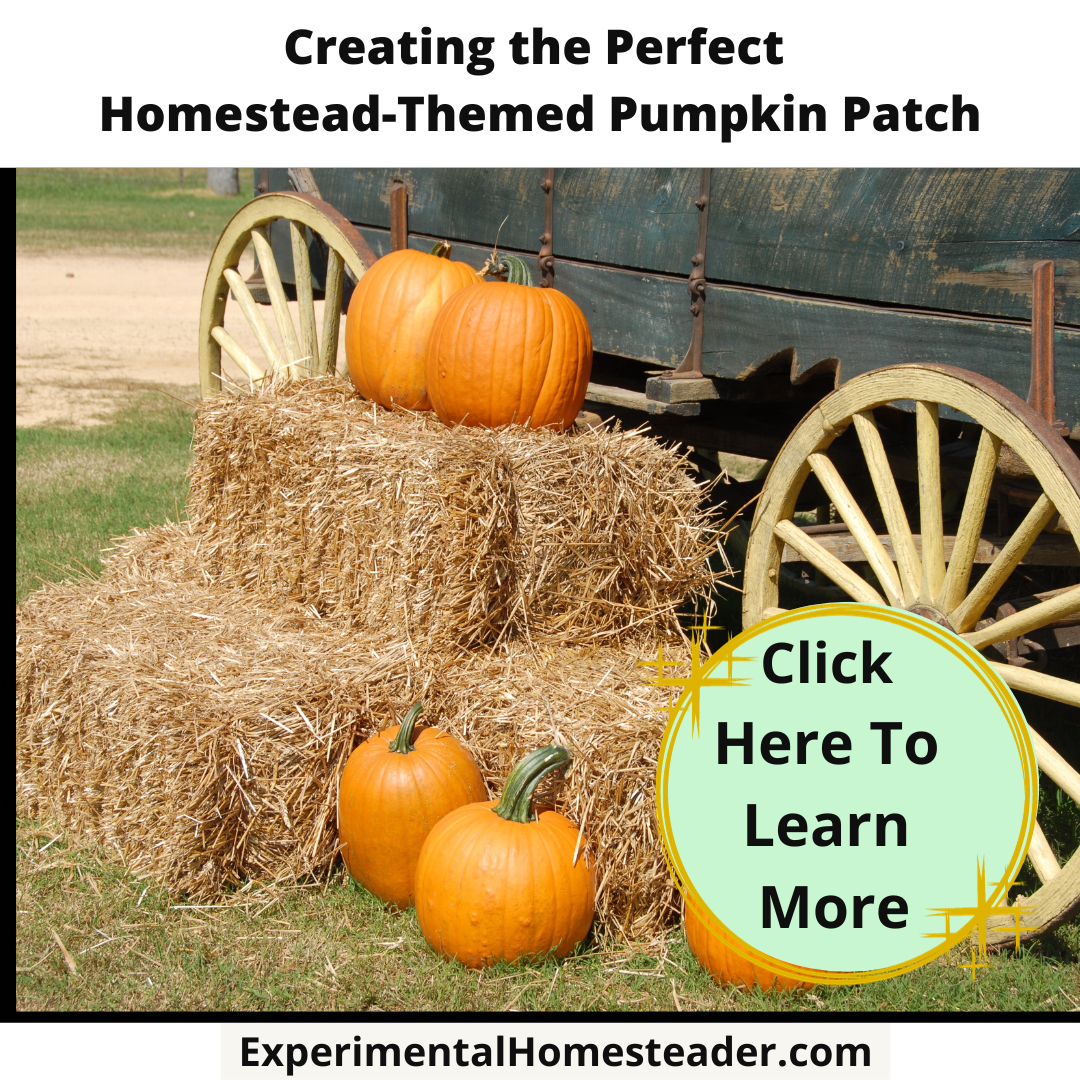

Creating the Perfect Homestead-Themed Pumpkin Patch
Learn how to create a captivating homestead-themed pumpkin patch, where pumpkins meet rustic charm and farm animals enhance the magic.