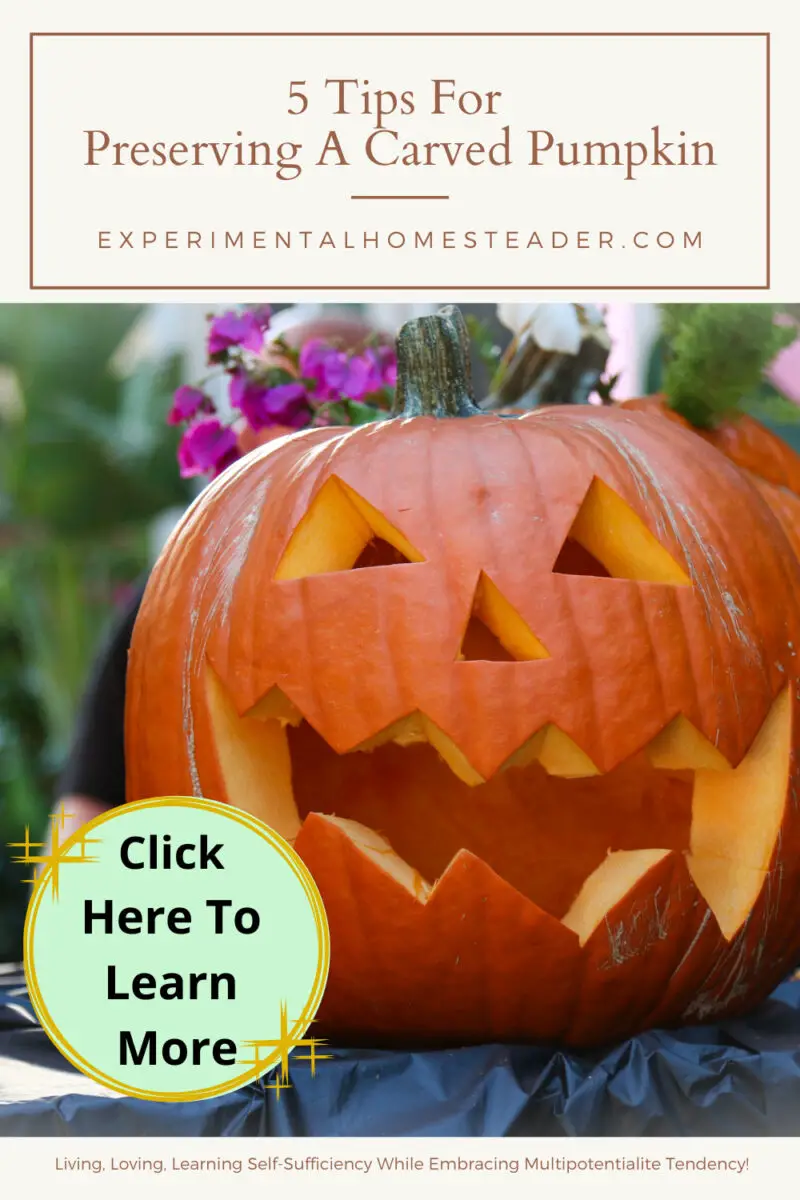
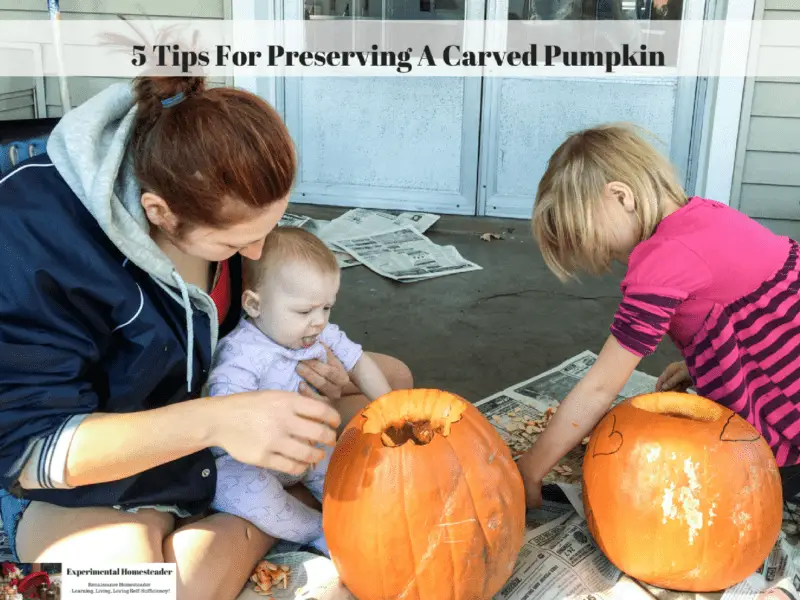
Preserving a Carved Pumpkin: Easily Make it Last Through Halloween
Preserving a carved pumpkin is easy once you know how plus it lets you get the most bang for your buck.

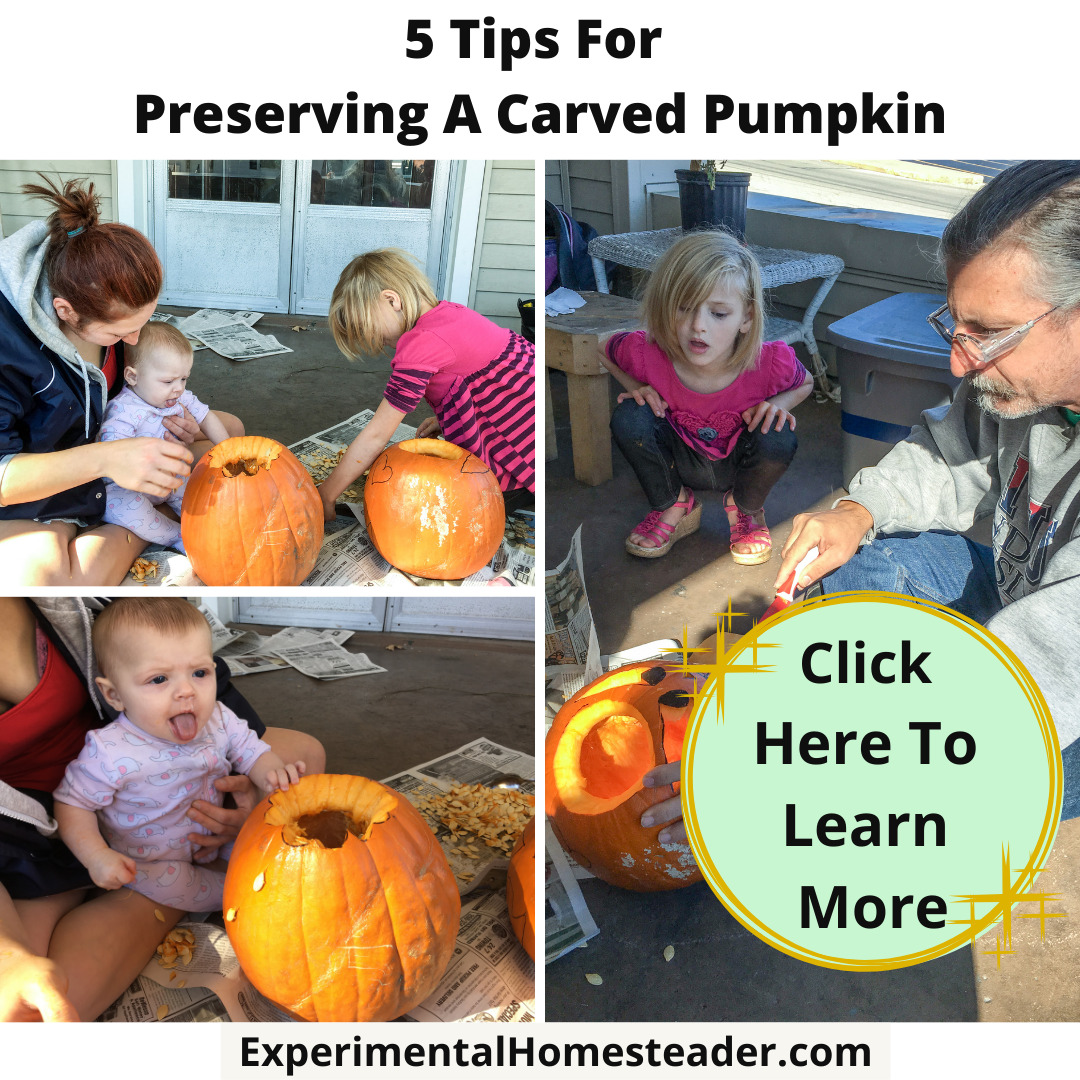
We all know how disappointing it is to spend the time to carve a pumpkin with our kids or grandkids and then watch its demise.
It is especially frustrating if the design was really intricate or the pumpkin doesn't even last until Halloween is over.
The good news is once you understand why pumpkins don't last that long - and know how to properly preserve a carved pumpkin, you can keep them looking good longer than if you did not follow these tips.
Why Don't Pumpkins Last?
As autumn settles in and we eagerly anticipate the spooky season, pumpkins start appearing at stores and farms.
They beckon us with their vibrant orange hues, promising to be the canvas for our Halloween creativity.
However, once you carve your pumpkin, you might notice it doesn't hold up for as long as you'd like, especially if you opt for the classic candle illumination.
The Culprit - Weather Whiplash
Here's where the weather becomes a major player in the pumpkin preservation game.
Late September, as you well know, can be a tumultuous time, weather-wise.
One day, you're digging out your sweatshirts, cozying up indoors, and flicking on the heater to ward off the chill.
The next day, it's a complete reversal - you're comfortably strolling in a t-shirt, contemplating whether to switch on the air conditioning.
This meteorological rollercoaster takes a toll on your carved pumpkins.
Temperature Extremes and Pumpkins
Pumpkins are sensitive creatures, and they react to temperature swings more than you might think.
The warmth from a candle inside can accelerate the process.
When the evening temperatures drop sharply after a warm day, condensation forms inside the pumpkin, causing it to deteriorate faster.
The warm day followed by a chilly night creates a cycle of moisture and drying, which is a recipe for a short-lived jack-o'-lantern.
Moisture Matters
Pumpkins, like many fruits, consist largely of water.
So, they are susceptible to moisture loss and dehydration.
The inconsistent weather doesn't help in maintaining their moisture balance.
The combination of a warm day and a chilly night causes the pumpkin's interior to sweat, and then, as the temperature rises again, it dries out rapidly.
This cycle can happen over a few days, leading to the pumpkin's untimely demise.
Understanding the interplay of temperature and moisture, and how it affects your carved pumpkin, is essential.
This knowledge not only helps you appreciate the science behind the pumpkin preservation techniques but also empowers you to make your jack-o'-lantern last longer and shine brightly on Halloween night.
Carved Pumpkin Preservation Tips
For those of us who can't resist the allure of early Halloween decorating, there's something magical about the warm glow of a carved pumpkin greeting the crisp autumn evenings.
But, as you've probably experienced, maintaining that enchanting glow can be a bit of a challenge.
Fear not, because I've got a treat for you - five invaluable tips that will not only preserve the beauty of your carved pumpkin but also extend its luminous presence, letting you enjoy your Halloween artistry just a little bit longer.
So, if you're eager to embrace the spirit of the season and want those carved pumpkins to remain the star of your décor, read on.
Tip #1: Handpick the Perfect Pumpkin
If you're on a mission to extend the life of your carved pumpkin, this first tip is your golden ticket.
And guess what?
It all starts with a delightful trip to a pumpkin farm, a place where the magic of autumn is in the air.
Let me be clear: those pumpkins in stores?
Well, they've often had a rough journey and aren't always treated with the TLC they deserve.
So, whether you're not blessed with a green thumb or simply don't have the space to grow your own, opt for a pumpkin-picking adventure.
Now, what should you look for when you're on the hunt for the perfect canvas for your Halloween masterpiece?
Your pumpkin should be flawless - free of cuts, soft spots, or unsightly scars.
Take a moment to carefully inspect your chosen pumpkin, and don't fall into the trap of thinking you can just cut away the blemishes later.
Once a pumpkin's been wounded, the countdown to decay has already begun.
By choosing your pumpkin with care, you're setting the stage for a long-lasting work of art that'll shine on your doorstep, making a statement to all passersby.

Tip #2: Weighty Matters - The Sturdy Stem Secret
Choosing the right pumpkin isn't just about appearances; it's a tactile experience.
To make sure your carved pumpkin stays fresher, longer, pay attention to its weight and the crown it wears.
Here's the trick: a healthy pumpkin should feel pleasantly heavy for its size.
That weight is a sign of moisture content, and moisture is your ally in preserving your pumpkin.
Now, if you're not quite sure what a pumpkin in its prime should feel like, embark on a mini adventure.
Head to a pumpkin patch or a farm stand that offers a selection of pumpkins and do a little comparison.
Lift several pumpkins of the same size, and you'll start to notice the difference.
The heavier ones tend to be juicier and better equipped to withstand the challenges of time.
In a way, it's like picking the juiciest fruit in the orchard - you're looking for that perfect balance of heft, which ensures your jack-o'-lantern will remain vibrant and attractive well into the Halloween season.
So, shop around, lift a few pumpkins, and choose the one that feels like a keeper.

Tip #3: Temperature and Environment - The Carved Pumpkin's Safe Haven
So, you've selected the perfect pumpkin, and your artistic flair has transformed it into a whimsical masterpiece.
Now, to ensure your creation remains a star attraction, it's time to create the ideal environment for it.
- Temperature Matters: Once your pumpkin is carved and adorned with its cheerful grin or spooky face, maintaining the right temperature is crucial. Aim to keep it in a cozy sweet spot between 50 to 70 degrees Fahrenheit. This range is like the Goldilocks zone for your pumpkin - not too hot, not too cold. It's just right to slow down the aging process.
- Shelter from the Elements: Nature can be unpredictable, and your carved pumpkin is sensitive to the whims of weather. Protect it from the rain; even a drizzle can spell trouble for the intricate designs. Direct sunlight can also be a culprit, as it accelerates moisture loss and decay. So, find a sheltered spot, like a covered porch or a cozy nook in your garden, to keep your pumpkin dry and shade it from the harsh sun.
- A Breath of Fresh Air: Just like us, pumpkins need good air circulation. Proper ventilation helps to prevent moisture buildup, which can lead to mold and a soggy demise. Be mindful of where you place your pumpkin; ensure it's not crammed in a tight space, and there's room for the air to flow around it.
By following these steps, you're creating a protective haven for your carved pumpkin, giving it the best chance to shine throughout the Halloween season.
Think of it as the equivalent of a cozy, climate-controlled art gallery, where your pumpkin masterpiece is the star exhibit.
Tip #4: Light It Right - Choosing the Perfect Glow
When it comes to preserving your carved pumpkin, your choice of illumination can make a world of difference.
The wrong kind of candle can hasten the aging process, but there are some fantastic alternatives that not only keep your pumpkin fresh but also enhance its safety.
- Opt for Tea Light Candles: One of the best ways to keep your pumpkin looking vibrant is to ditch those larger, hotter candles like votives. Instead, go for the humble tea light candles. These little wonders produce a gentle, flickering glow that's easy on your pumpkin's tender interior. The lower heat output means your masterpiece will last longer and won't wither away prematurely.
- Embrace LED Candles: If you're looking for an even safer option, LED candles are a fantastic choice. They not only eliminate the risk of fire hazards but also create an enchanting atmosphere. LED candles are available in various colors, and some even come with a flickering effect to mimic real flames. This allows you to get creative with the ambiance you want to create, whether it's a spooky, eerie glow or a warm, welcoming one.
By choosing the right type of lighting, you're not only preserving your pumpkin but also making your surroundings safer.
It's a win-win - your pumpkin stays fresh and vibrant, and you can enjoy its beauty without any worries.
Tip #5: The Protective Seal - Spray Wax and Petroleum Jelly
Preserving your carved pumpkin isn't just about external care; it's also about safeguarding its delicate insides.
This fifth tip is like a secret weapon, a shield against the forces of desiccation and mold.
- The Power of Spray Wax: When you're finished carving your pumpkin, its exposed flesh is vulnerable. This is where spray wax comes to the rescue. Spray a thin, even layer of wax on all the cut surfaces. The wax creates a barrier, sealing in the moisture and protecting the pumpkin's flesh from drying out. This not only keeps your pumpkin looking fresh but also ensures it remains structurally sound.
- Petroleum Jelly - A Natural Protector: If you prefer a natural approach, petroleum jelly is your go-to option. Gently apply a thin layer to the cut edges of your pumpkin. Just like spray wax, petroleum jelly locks in the moisture and prevents the growth of mold. It acts as a protective barrier, keeping your pumpkin's interior hydrated and healthy.
By using spray wax or petroleum jelly, you're providing your carved pumpkin with the best defense against two common adversaries: desiccation, which can lead to shriveling, and mold, which can quickly turn your masterpiece into a science experiment gone wrong.
So, with this final tip, your pumpkin is not only going to look fantastic but also remain in pristine condition, ensuring your Halloween décor continues to impress all who pass by.
Maintaining Your Masterpiece: Pro Tips for Prolonging Pumpkin Perfection
While these tips won't grant your pumpkin immortality, they are your secret sauce for extending the life of your carved pumpkin.
Your artistic efforts deserve to be enjoyed for as long as possible, and we've covered the essential strategies to make that happen.
Now, let's chat about a little bonus tip for those early bird pumpkin shoppers.
If you're eagerly selecting the cream of the crop weeks before Halloween, consider waiting a bit before wielding your carving tools.
Patience is your ally here.
Keeping your pumpkin intact and sheltered in a cool spot, perhaps under the comforting shade of a tree or nestled in a corner of your garage, can significantly slow down the aging process.
And here's a fun tidbit: the contents of your pumpkin, including those nutrient-packed seeds, are edible!
If you don't plan to roast them yourself, consider sharing this fall feast with your feathered friends and other local critters.
Just make sure to place them far away from your carved pumpkin and your front door to avoid any unexpected wildlife visitors.
So, there you have it, a comprehensive guide to preserving your pumpkin artwork and making it last longer.
If you have any questions, tips of your own, or simply want to share your pumpkin preservation success stories, don't hesitate to leave your thoughts in the comments below.
After all, the best ideas often come from our wonderful community of readers!
Halloween Decorating And Craft Ideas
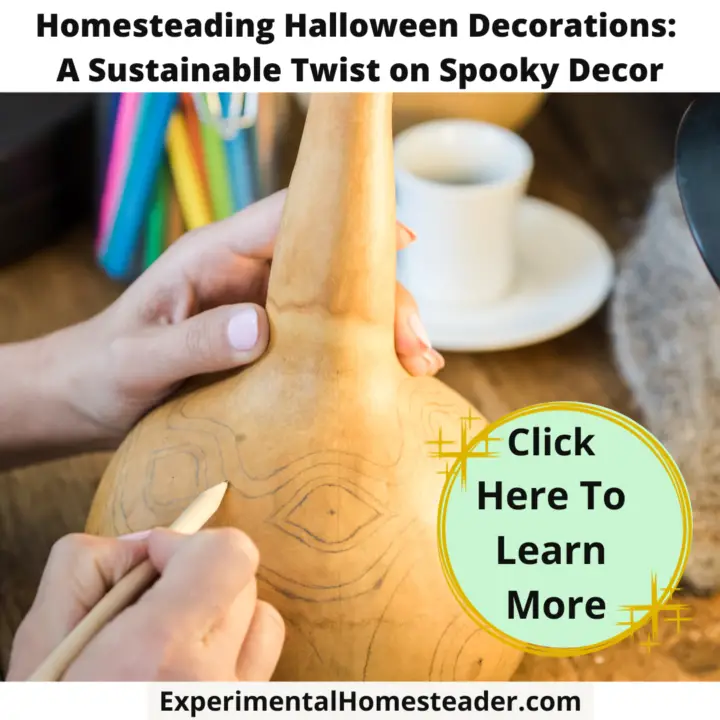
Homesteading Halloween Decorations: A Sustainable Twist on Spooky Decor
Discover eco-friendly homesteading Halloween decorations, from corn husk scarecrows to gourd lanterns, and rustic wreaths. Spookify sustainably!
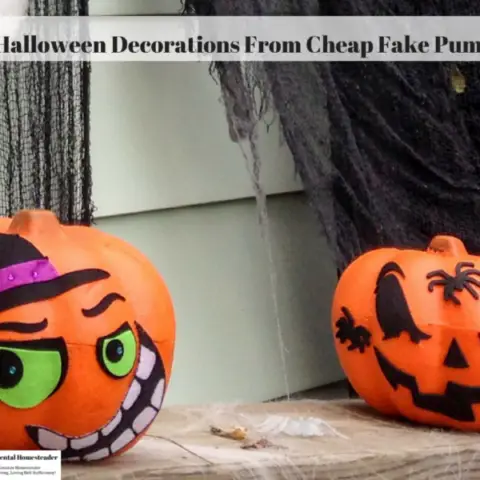
Easy Halloween Decorations From Cheap Fake Pumpkins
Yes, you can make easy Halloween decorations from those cheap fake pumpkins - and best of all they are perfect for kids to decorate.
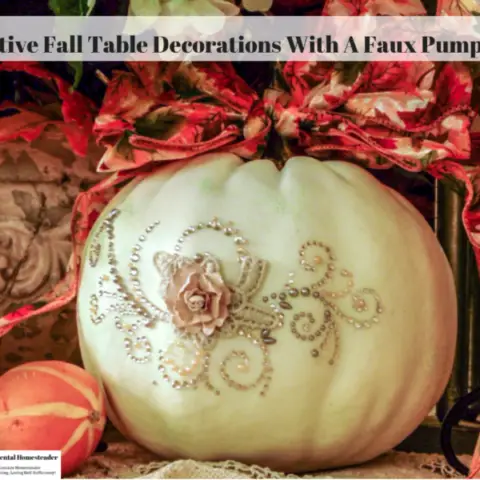
Festive Fall Table Decorations With A Faux Pumpkin
From festive centerpieces to fall table decorations faux pumpkins fit right in. Get ideas for decorating your faux pumpkins with bling and a bow.
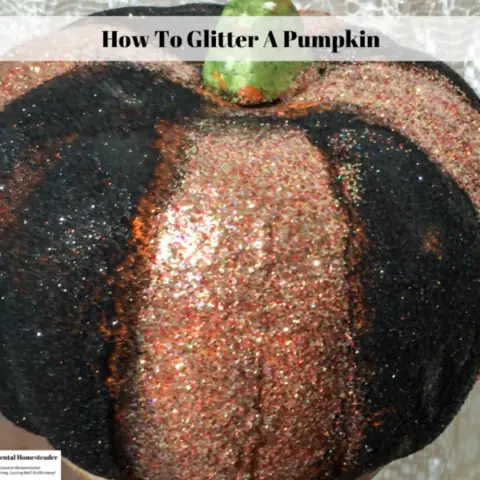
How To Glitter A Pumpkin
Kids and adults alike love making DIY Halloween Crafts. Learn how to glitter a pumpkin at home plus how to keep the glitter on the pumpkin when you're done.
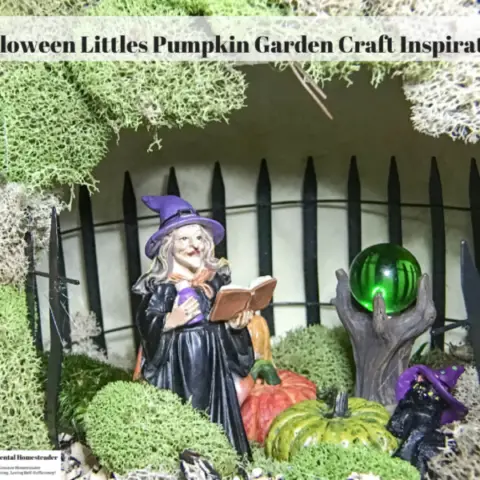
Halloween Littles Pumpkin Garden Craft Inspiration
This Halloween Littles Pumpkin Garden craft inspiration tutorial is sure to inspire you. This year make your own homemade Halloween decor.
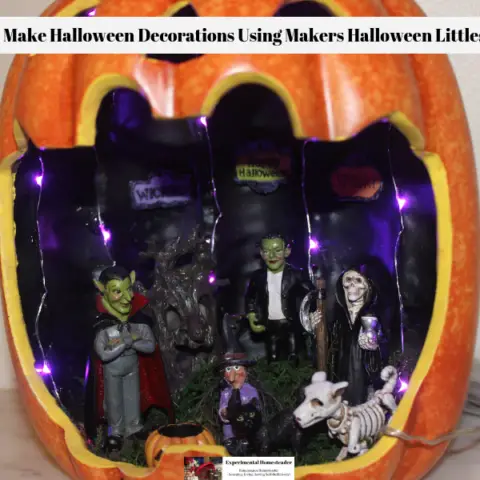
Easy To Make Halloween Decorations Using Makers Halloween Littles Decor
When it comes to easy to make Halloween Decorations, I recommend using the Makers Halloween Littles Decor. Simply arrange, glue and enjoy your fairy garden!
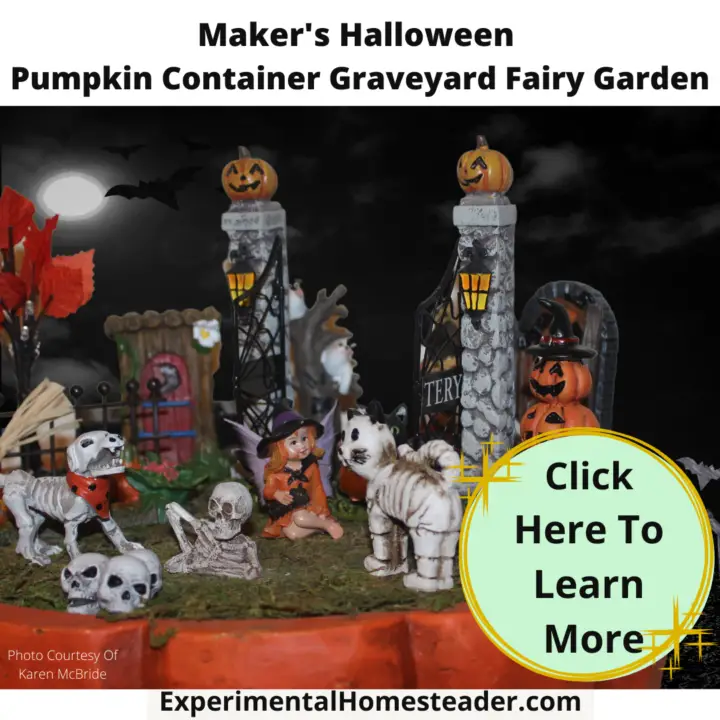
Maker's Halloween Pumpkin Container Graveyard Fairy Garden
This Maker's Halloween Pumpkin Container Graveyard Fairy Garden is the perfect combination of spooky and cute! It's easy to make too!
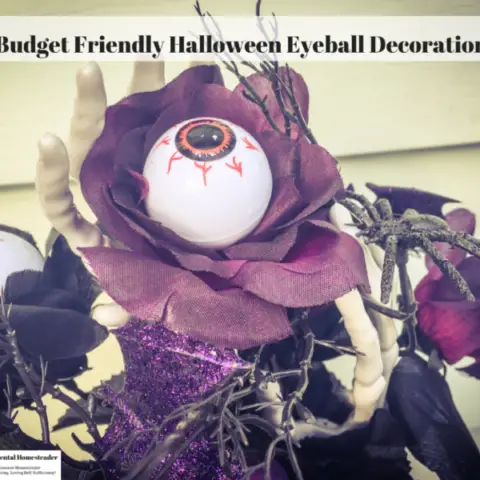
Scary Budget Friendly Halloween Eyeball Decorations Idea
Awesome Halloween eyeball decorations that make a perfect table centerpiece. These DIY Halloween decorations are budget friendly and easy to make.
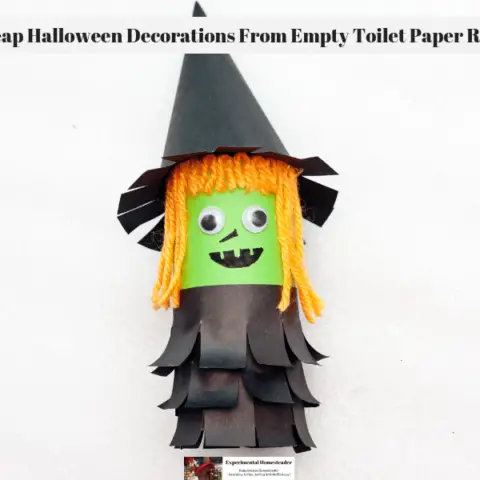
Cheap Halloween Decorations From Empty Toilet Paper Rolls
These cheap halloween decorations made from empty toilet paper rolls are a great way to show how eco-friendly you are while having fun with your kids!
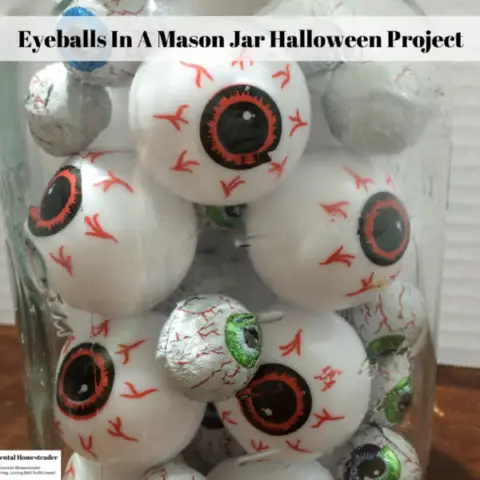
Eyeballs In A Mason Jar Halloween Project
Are you looking for budget friendly, cool Halloween projects to do with the kids? Then check out this eyeballs in a mason ball Halloween project!
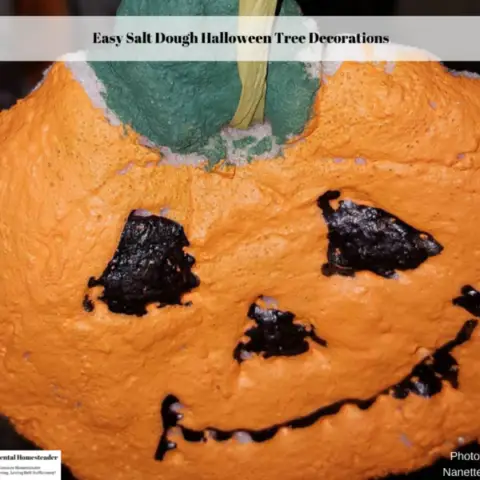
Easy Salt Dough Halloween Tree Decorations
Check out these easy Halloween decorations you make at home with ingredients in your pantry! This Halloween decorations idea is an easy project for kids.

DIY Halloween Bath Bomb Recipe
This cool DIY Halloween Bath Bomb Recipe packs a peppermint scented bath salt into a cauldron filled with a skeleton which pops out as the bath bomb fizzes.
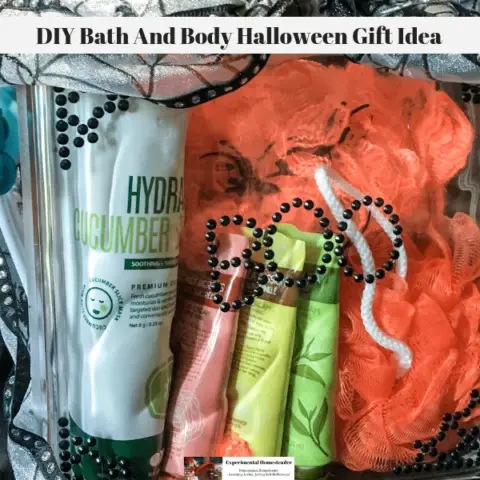
DIY Bath And Body Halloween Gift Idea
The acrylic Craft Block by Hy-Lite is a fun, creative way to make a unique DIY bath and body gift set that is the perfect finish to Halloween festivities.
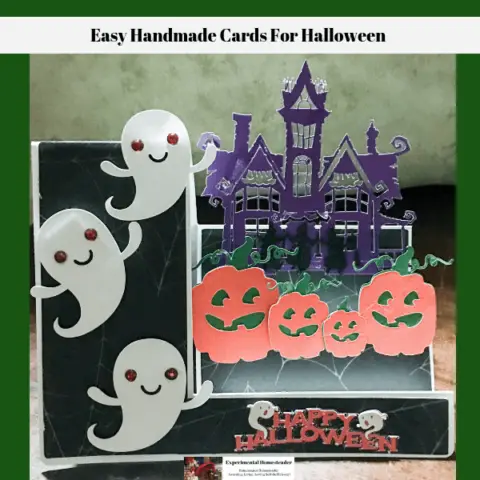
Easy Handmade Cards For Halloween
If you want easy handmade cards for Halloween that truly look intricate, then be sure to check out this step card made with the Cricut Maker.
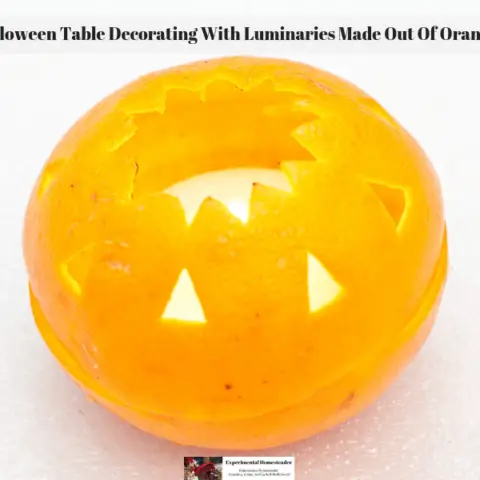
Halloween Table Decorating With Luminaries Made Out Of Oranges
When you are ready to start your Halloween table decorating this season, try using these luminaries made out of orange peels that naturally scent your home.
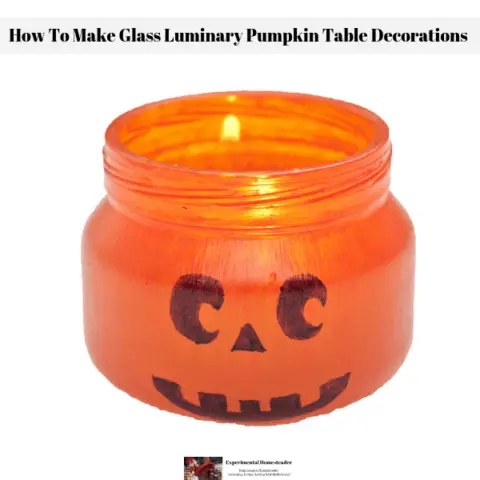
How To Make Glass Luminary Pumpkin Table Decorations
These glass luminary pumpkin table decorations are easy to make and they are a great way to recycle baby food jars! They are also easy for kids to decorate!
Halloween Embroidery Ideas For Towels
Dive into Halloween Embroidery Ideas for Towels: Unearth Spooky Designs and Step-by-Step How-Tos for Crafting.

Creating the Perfect Homestead-Themed Pumpkin Patch
Learn how to create a captivating homestead-themed pumpkin patch, where pumpkins meet rustic charm and farm animals enhance the magic.