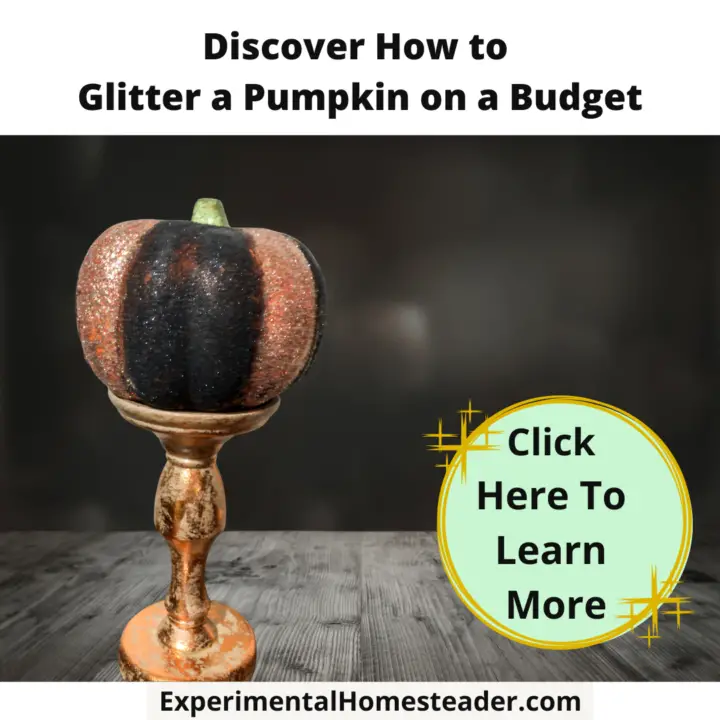
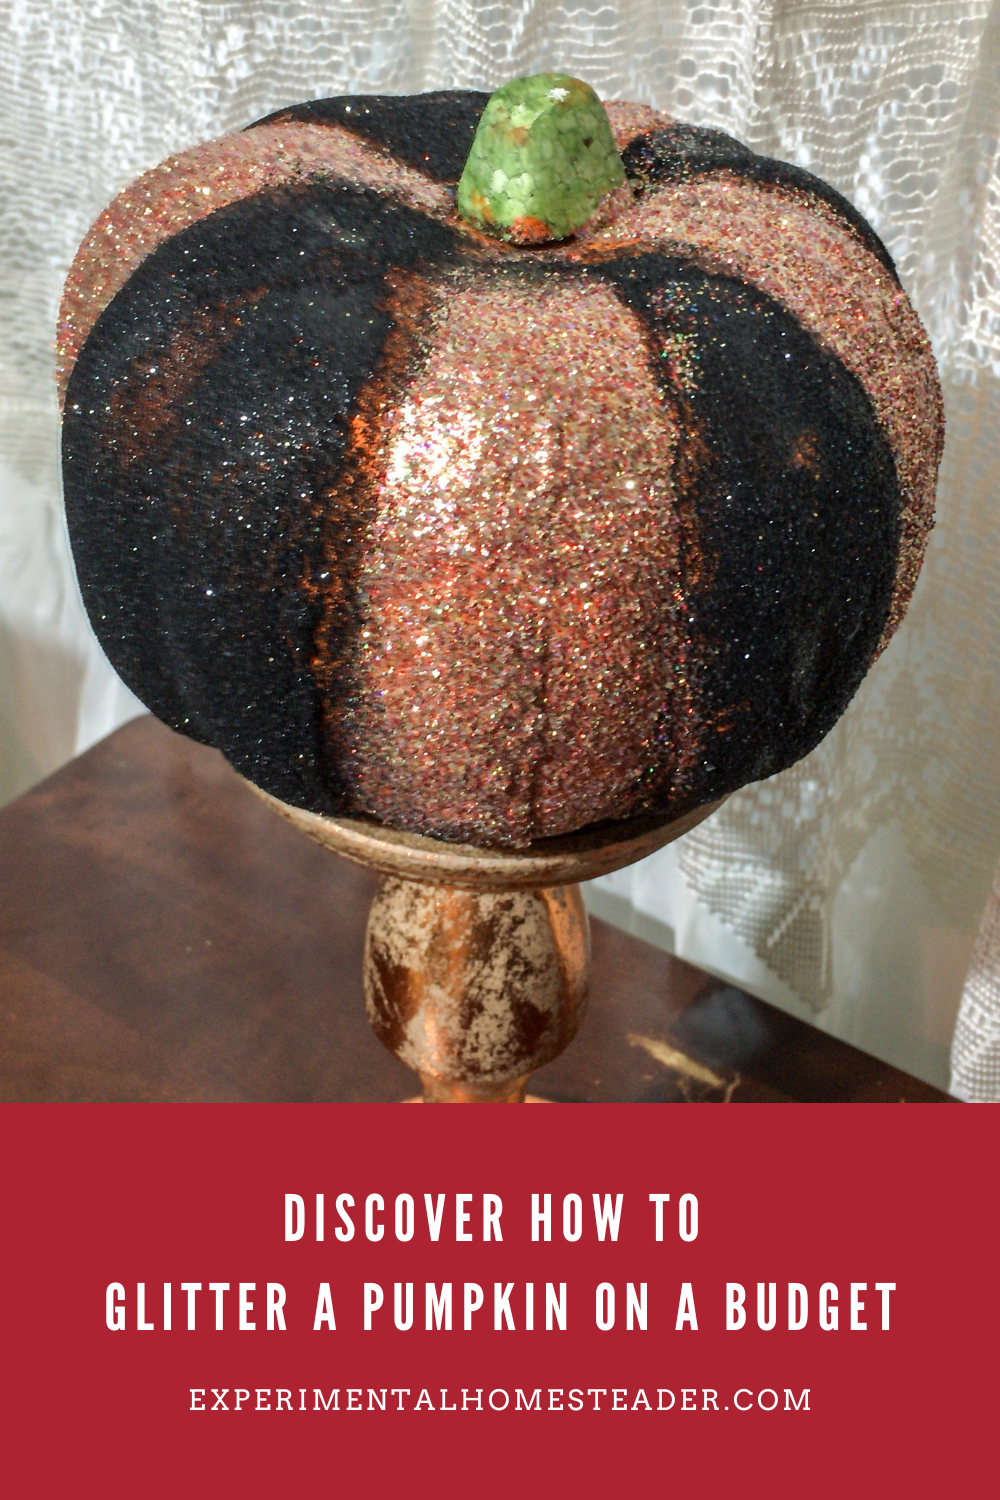
Discover How to Glitter a Pumpkin on a Budget
Have you ever wondered how to glitter a pumpkin at home?

If you're a homesteader who enjoys DIY crafts, you're in for a delightful treat!
Glittering pumpkins is not only a fun and creative project, but it also allows you to save money on your Halloween decorations, a boon for the budget-conscious homesteader.
In this comprehensive guide, I'll take you through the process of turning an ordinary pumpkin into a sparkling masterpiece that will not only impress your guests but also add a touch of charm to your homestead.
Embracing the DIY spirit is not only about being thrifty but also about expressing your creativity.
It's a chance to infuse your personal touch into your home's decor.
Whether you're preparing for Halloween or simply want to celebrate the season, glittering pumpkins is a fantastic way to do it.
So, let's dive into this glittering adventure together and make your homestead truly sparkle this fall!
Save Money On Your DIY Halloween Crafts
DIY projects are not only a great way to express your creativity but also to save money. Glittering a pumpkin at home is significantly cheaper than buying pre-glittered ones from the store.
Additionally, when you create your own, you have the freedom to customize the design and colors to perfectly match the rest of your holiday decor.
This personal touch adds a unique charm to your homestead.
Pumpkins are a versatile element in fall decorating.
From the bountiful harvest to Halloween spookiness and even Thanksgiving warmth, pumpkins seamlessly fit into any type of decor.
Adding some glitter to them can make your homestead truly shine during this festive season.
Where To Find Faux Pumpkins
To begin this creative endeavor, you'll need a faux pumpkin as your canvas.
These faux pumpkins come in various sizes and price ranges, making them accessible to all.
You can find them at hobby stores, and if they're not already discounted, be sure to use a coupon.
For smaller pumpkins, check out your local dollar store for budget-friendly options.
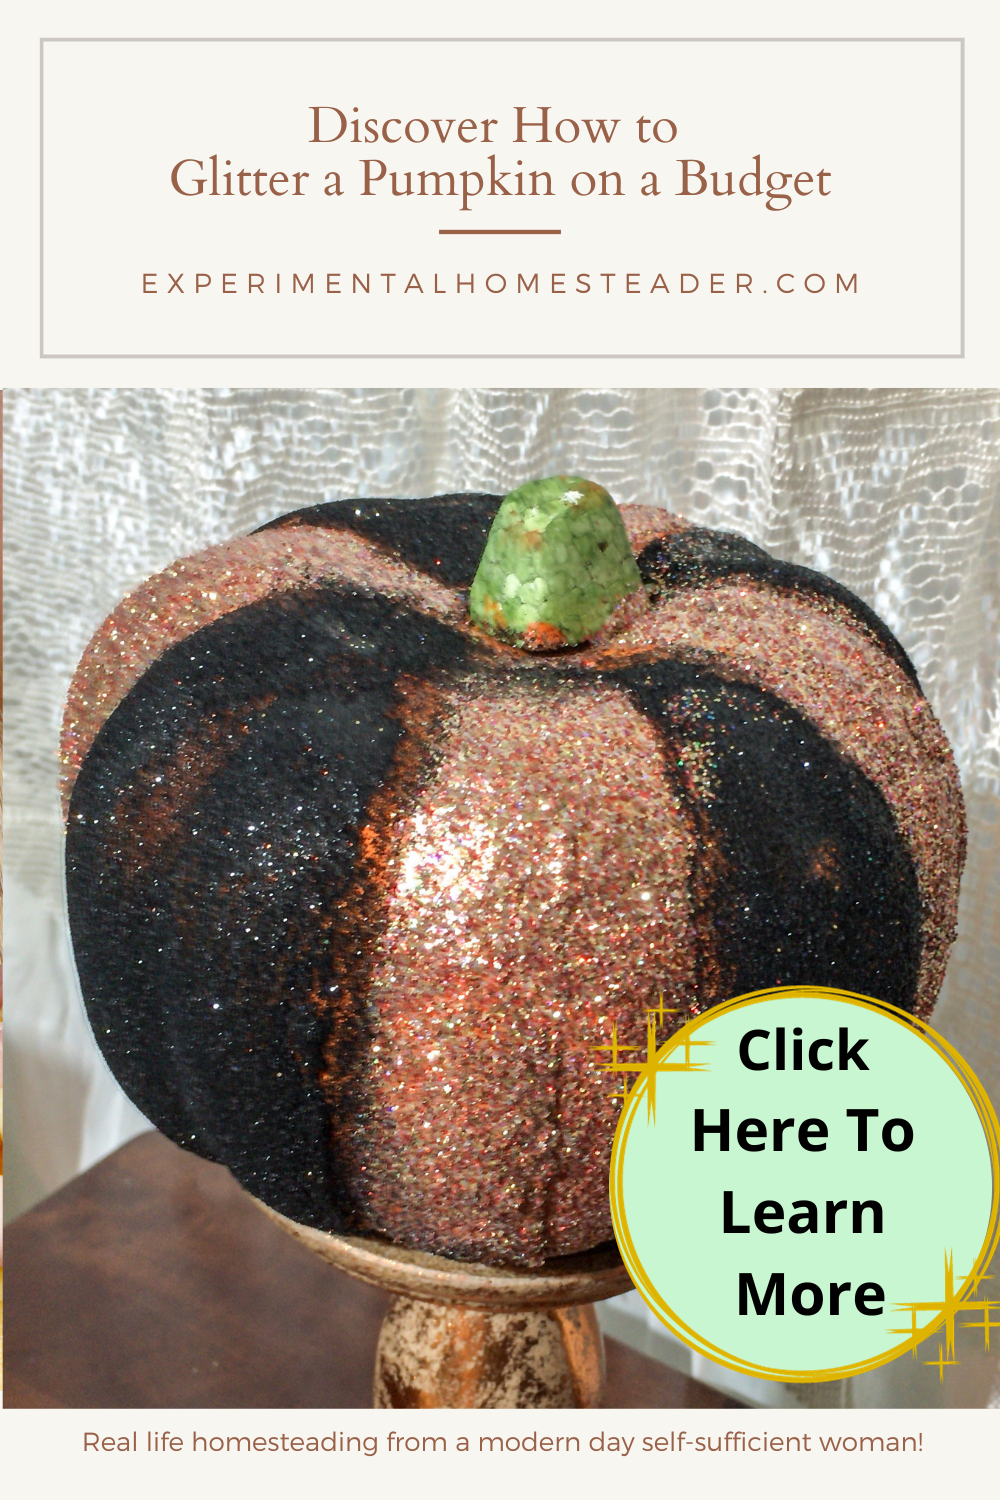
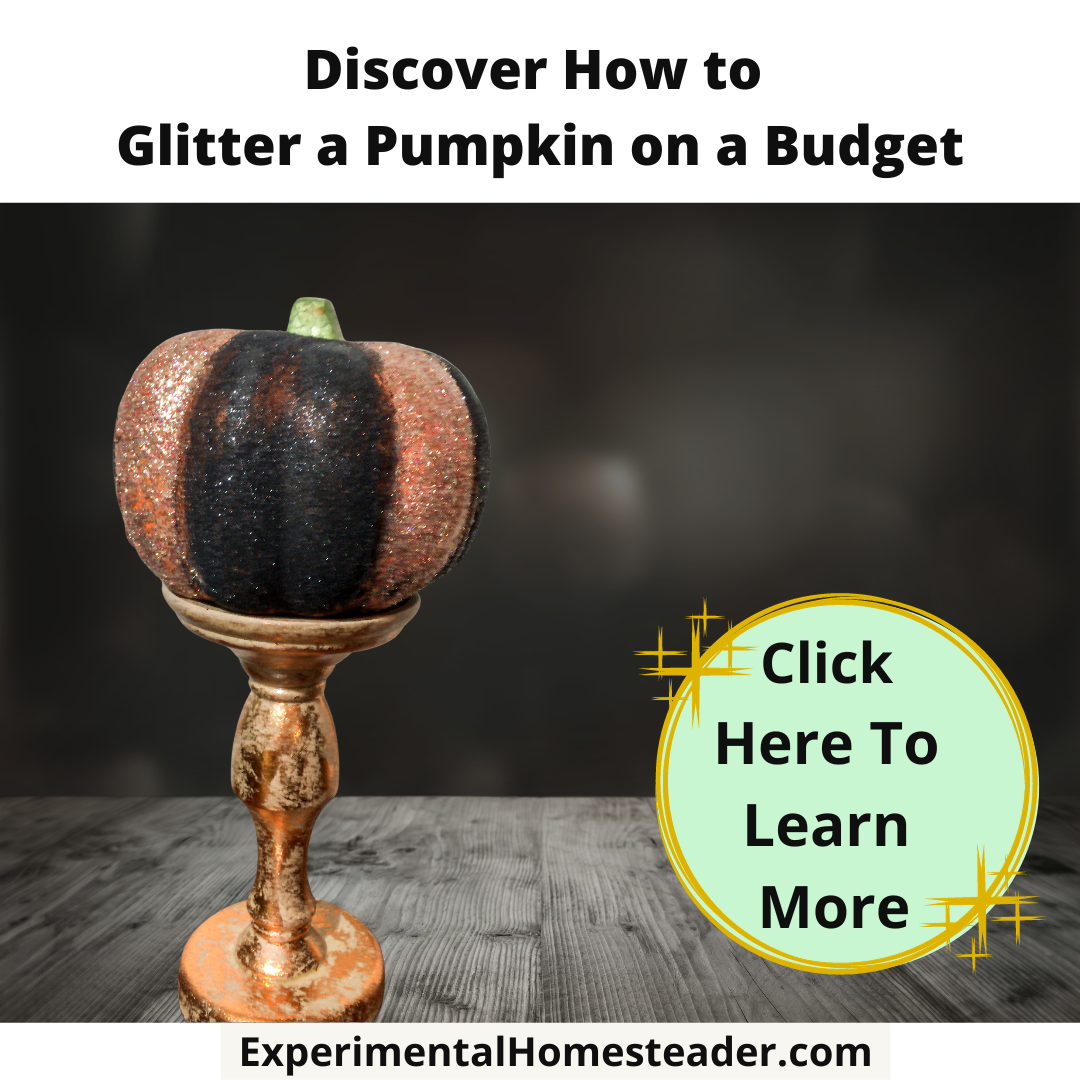
For this project, I opted for a foam pumpkin, which was a steal at just $1.00.
The beauty of DIY is that you can often use supplies you already have at home, and in this case, I had glue and glitter readily available.
Displaying Your Pumpkin
Now, how you choose to display your glittered pumpkin is entirely up to you.
I personally purchased a stand for under $10.00 to elevate my pumpkin and make it a centerpiece.
This added a touch of elegance to my decor, but you can also simply place your glittered pumpkin on a tabletop or any spot that feels right in your homestead.
One of the charming aspects of glittering a pumpkin is the ability to control the level of glitter coverage.
In my case, I intentionally let some of the natural orange of the pumpkin show through the glitter to give it an antique, rustic look.
It's all about personalizing your craft to match your unique style.

How I Glitter a Pumpkin
Now, let's dive into the fun part - how to glitter a pumpkin.
The following instructions will guide you through the process step by step, so you can achieve a stunning result that adds a touch of magic to your homestead.
-
- Gather Your Supplies: To start, make sure you have a faux pumpkin, glitter in your chosen colors, craft glue, a paintbrush, and a container to catch excess glitter.
- Prepare Your Work Area: Lay down some newspaper or a drop cloth to catch any glitter that might spill.
- Apply Glue: Using your paintbrush, apply a thin layer of craft glue to the area of the pumpkin you want to glitter. You can do this in sections to ensure the glue doesn't dry too quickly.
- Sprinkle the Glitter: Over a container, generously sprinkle your chosen glitter color onto the glued area. Make sure to cover it completely.
- Tap Off Excess Glitter: Hold the pumpkin over the container and tap it gently to remove any excess glitter. This step is essential for a clean finish.
- Repeat the Process: Continue these steps, section by section, until your entire pumpkin is covered in glitter. You can mix and match glitter colors for a unique look.
- Let It Dry: Allow your glittered pumpkin to dry completely. This can take a few hours, so be patient.
- Display Your Glittered Pumpkin: Once dry, you can proudly display your glittered pumpkin in your preferred location.
How To Glitter A Pumpkin
Transform a pumpkin into a sparkling masterpiece! Learn the process of glittering a pumpkin at home and add a personal touch to your decor.
Materials
- Faux pumpkin
- Black glitter
- Gold glitter
- Elmers Glue
- Clear Spray Sealant
Tools
- Use a paintbrush to brush to cover one section of ribbing with a thin layer of glue*.
- Hold the pumpkin, glue side facing up, over the top of a piece of paper and sprinkle the area covered in glue with a single color of glitter.
- Tilt the pumpkin sideways to allow any excess glitter to fall off onto the piece of paper.
- Give the pumpkin a slight tap on the bottom to release any loose glitter.
- Skip two ribs and repeat the process using the same color of glitter. Do this until every other section of pumpkin ribs is covered in glitter.
- Set the pumpkin aside on a piece of clean paper to dry.
- Fold the paper and pour the glitter back into the bottle it came out of.
- Once the first sections of glitter are dry, brush a thin layer of glue onto one of the remaining orange sections.
- Pour a second color of glitter onto the fresh glue.
- Tilt the pumpkin straight down - do not let any of the second color of glitter get onto the glittered areas.
- Give the pumpkin a slight tap on the bottom to help release any loose glitter.
- Move onto the next section that has no glitter on it and repeat the process.
- Once the entire pumpkin is covered in glitter, set it aside to dry overnight.
- The next day look carefully at the pumpkin. If there are areas that need more glitter on them carefully add glue using the paint brush and then dust some glitter on using the same process as above.
- Allow the pumpkin to dry for another 24 hours.
- Repeat this process until you are satisfied with the way the pumpkin looks.
- Once you are happy with the results, use a clear spray sealant to seal the glitter and keep it from flaking off.
- Allow the sealant to dry according to the manufactures instructions.
- Repeat the sealing process three times making sure the sealant is completely dry before adding another coat.
- Once the final coat of sealant is dry your pumpkin is ready to display.
- Be sure to wrap it in bubble wrap or newspaper at the end of the season and store it away so you can use it again.
Notes
*Note: Choose how large of an area you wish to cover with one color of glitter. I choose to cover 2 ribs of the pumpkin with one color, skip 2 ribs and repeat until I completed the entire pumpkin. It is best to work a section at a time to prevent the glitter colors from mixing.
Embrace Glittering Pumpkins for a Sparkling Homestead
Creating your glittered pumpkin is a wonderful way to add a personal touch to your homestead's Halloween or fall decor.
It's cost-effective, creative, and allows you to embrace the spirit of the season with a touch of sparkle.
As a homesteader, there's something special about crafting your own decorations.
It connects you to the traditions of the season and brings a sense of fulfillment as you see your creation shining proudly.
Your glittered pumpkin will become more than just a decoration; it will be a testament to your creative skills and a symbol of the love you pour into your homestead.
So, if you've ever wondered how to glitter a pumpkin at home, now you know the secret.
It's a delightful and budget-friendly craft that not only saves you money but also brings a touch of homemade magic to your homestead.
Whether it's for Halloween or any fall occasion, your glittered pumpkin will be a showstopper, capturing the essence of the season, and filling your homestead with the warmth of your creativity.
Get ready to embrace the DIY spirit, and let your homestead shine with this sparkling project!
Frequently Asked Questions About Crafting with Glitter
Q. What type of glue should I use when crafting with glitter?
A. For most glitter projects, a clear-drying craft glue or a specialized glitter glue works best. It provides a strong bond and dries transparent, allowing the glitter to shine.
Q. Can I use regular craft paint instead of glue for glittering?
A. While you can mix glitter with paint for some projects, it's generally better to use glue for a more adhesive and long-lasting result.
Q. How can I prevent glitter from getting everywhere during the crafting process?
A. To contain the glitter, work over a tray or paper to catch excess glitter. Also, tap your project over a container to collect any loose glitter for reuse. A plastic or disposable cloth tablecloth over the work area works really well too - and use one on the floor under the work station as well. It really helps with clean-up.
Q. Are there eco-friendly glitter options available?
A. Yes, many eco-friendly or biodegradable glitters are available, making it a more sustainable choice for your projects.
Q. How do I keep glitter from shedding off my project after it's dried?
A. To prevent glitter shedding, apply a clear sealant or topcoat over the dried glitter. This helps lock it in place and reduces shedding.
Q. Can I mix different colors of glitter for a unique effect?
A. Absolutely! Mixing glitter colors can create a stunning and one-of-a-kind look for your craft projects.
Q. What's the best way to clean up glitter spills?
A. Use a lint roller or sticky tape to pick up loose glitter, or a damp cloth to wipe surfaces. Be prepared for a bit of glittery residue-it's the nature of the craft!
Q. How long does it take for glittered items to dry completely?
A. Drying time can vary based on the project and the amount of glue used. In general, allow at least a few hours for the glue to dry and the glitter to set.
Q. Can I use regular household glitter for crafting?
A. While you can use standard glitter for many projects, craft or extra-fine glitter is usually easier to work with and adheres better.
Q. What are some creative ways to use glitter in crafting beyond just decorating pumpkins?
A. Glitter can be used to embellish candles, ornaments, greeting cards, and so much more. Get creative and let your imagination sparkle!
Halloween Decorating And Craft Ideas
Homesteading Halloween Decorations: A Sustainable Twist on Spooky Decor
Discover eco-friendly homesteading Halloween decorations, from corn husk scarecrows to gourd lanterns, and rustic wreaths. Spookify sustainably!
5 Tips For Preserving A Carved Pumpkin
Preserve a carved pumpkin for longer with this easy guide. Keep your Halloween design intac with our tips for preserving a carved pumpkin.
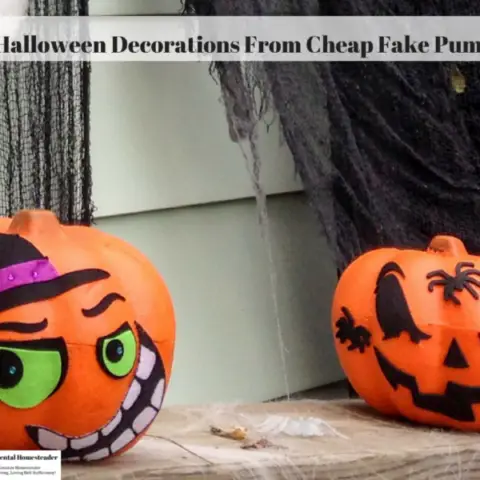
Easy Halloween Decorations From Cheap Fake Pumpkins
Yes, you can make easy Halloween decorations from those cheap fake pumpkins - and best of all they are perfect for kids to decorate.
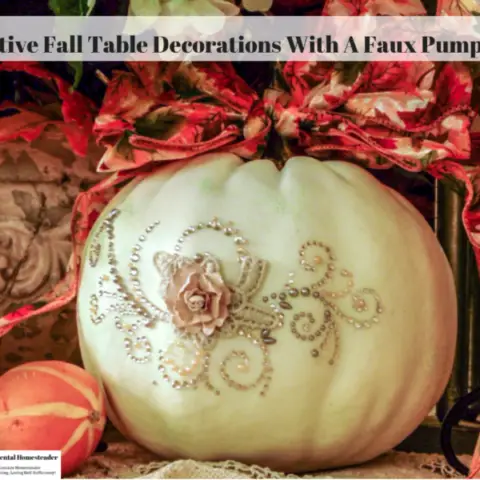
Festive Fall Table Decorations With A Faux Pumpkin
From festive centerpieces to fall table decorations faux pumpkins fit right in. Get ideas for decorating your faux pumpkins with bling and a bow.
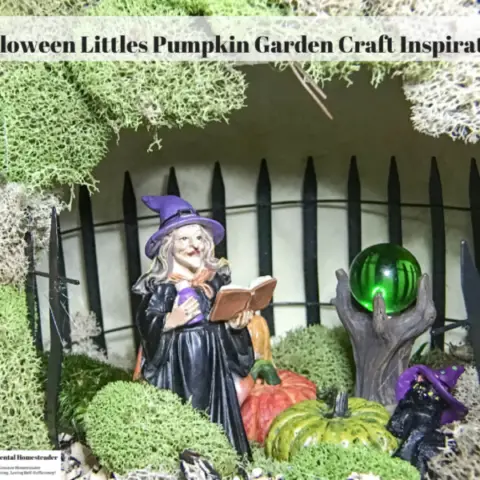
Halloween Littles Pumpkin Garden Craft Inspiration
This Halloween Littles Pumpkin Garden craft inspiration tutorial is sure to inspire you. This year make your own homemade Halloween decor.
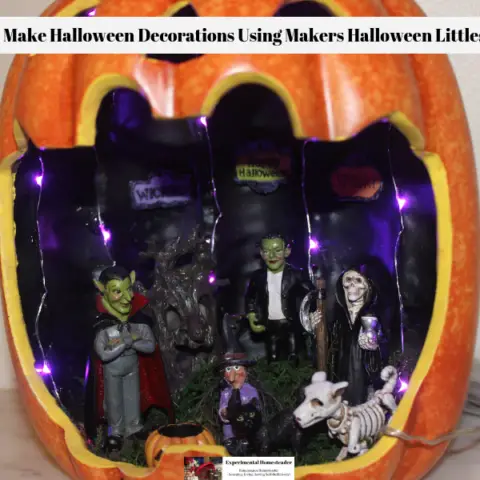
Easy To Make Halloween Decorations Using Makers Halloween Littles Decor
When it comes to easy to make Halloween Decorations, I recommend using the Makers Halloween Littles Decor. Simply arrange, glue and enjoy your fairy garden!
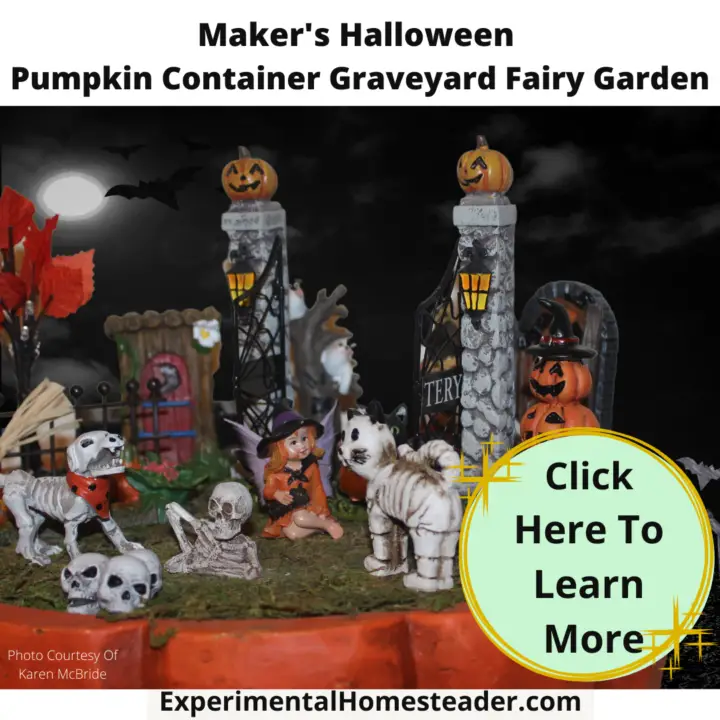
Maker's Halloween Pumpkin Container Graveyard Fairy Garden
This Maker's Halloween Pumpkin Container Graveyard Fairy Garden is the perfect combination of spooky and cute! It's easy to make too!
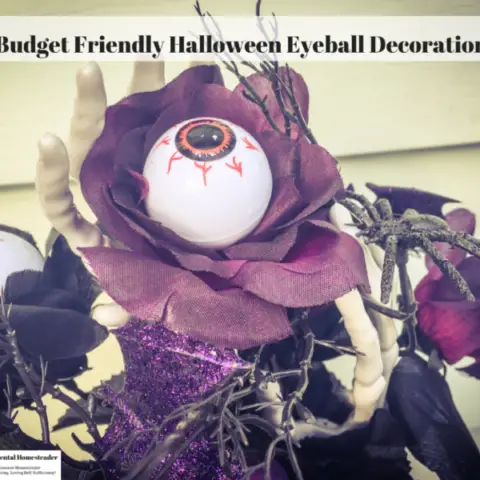
Scary Budget Friendly Halloween Eyeball Decorations Idea
Awesome Halloween eyeball decorations that make a perfect table centerpiece. These DIY Halloween decorations are budget friendly and easy to make.
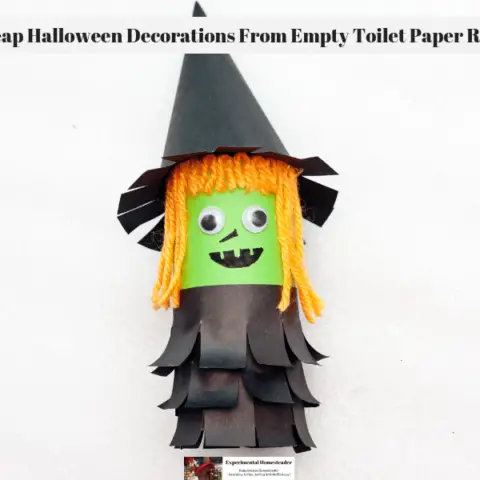
Cheap Halloween Decorations From Empty Toilet Paper Rolls
These cheap halloween decorations made from empty toilet paper rolls are a great way to show how eco-friendly you are while having fun with your kids!
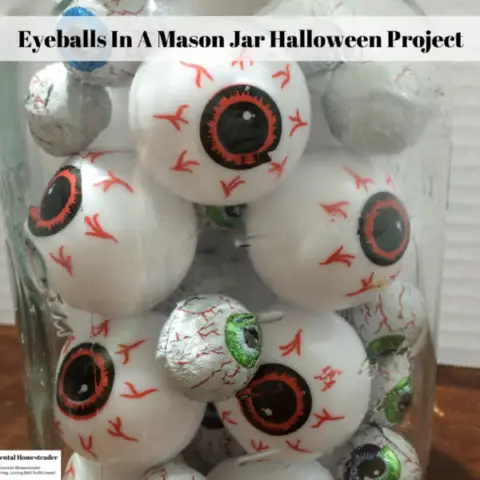
Eyeballs In A Mason Jar Halloween Project
Are you looking for budget friendly, cool Halloween projects to do with the kids? Then check out this eyeballs in a mason ball Halloween project!
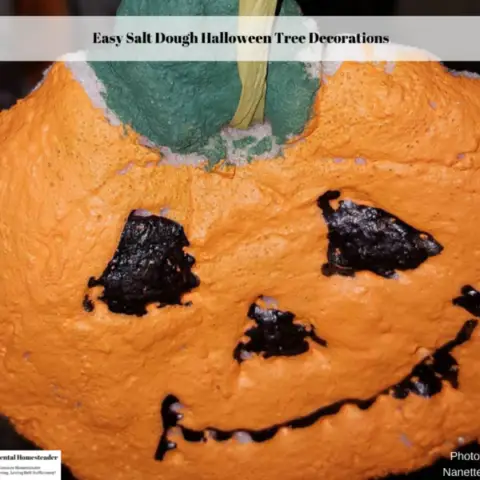
Easy Salt Dough Halloween Tree Decorations
Check out these easy Halloween decorations you make at home with ingredients in your pantry! This Halloween decorations idea is an easy project for kids.

DIY Halloween Bath Bomb Recipe
This cool DIY Halloween Bath Bomb Recipe packs a peppermint scented bath salt into a cauldron filled with a skeleton which pops out as the bath bomb fizzes.
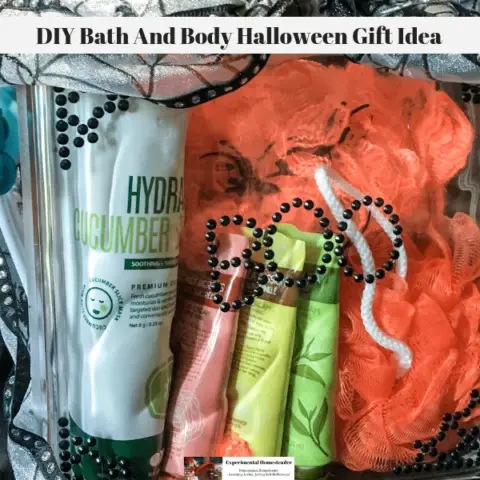
DIY Bath And Body Halloween Gift Idea
The acrylic Craft Block by Hy-Lite is a fun, creative way to make a unique DIY bath and body gift set that is the perfect finish to Halloween festivities.
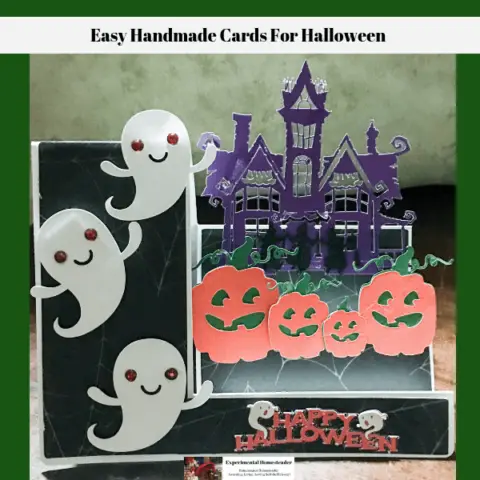
Easy Handmade Cards For Halloween
If you want easy handmade cards for Halloween that truly look intricate, then be sure to check out this step card made with the Cricut Maker.
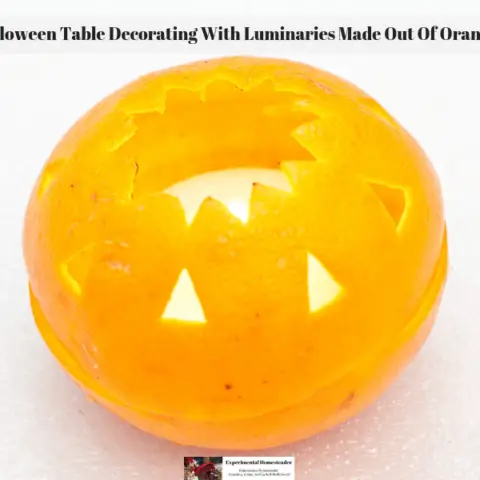
Halloween Table Decorating With Luminaries Made Out Of Oranges
When you are ready to start your Halloween table decorating this season, try using these luminaries made out of orange peels that naturally scent your home.
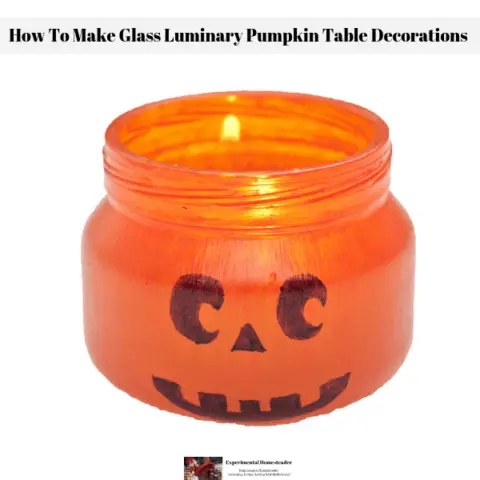
How To Make Glass Luminary Pumpkin Table Decorations
These glass luminary pumpkin table decorations are easy to make and they are a great way to recycle baby food jars! They are also easy for kids to decorate!
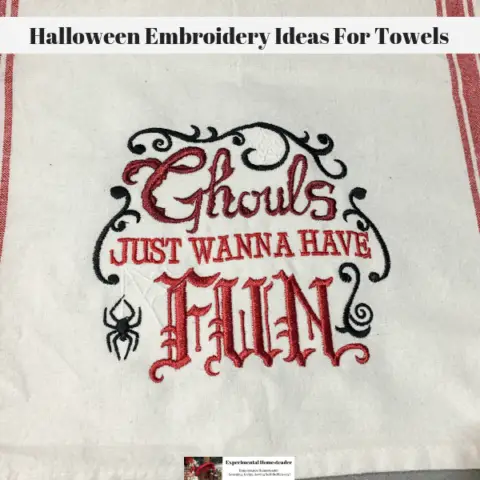
Halloween Embroidery Ideas For Towels
Dive into Halloween Embroidery Ideas for Towels: Unearth Spooky Designs and Step-by-Step How-Tos for Crafting.

Creating the Perfect Homestead-Themed Pumpkin Patch
Learn how to create a captivating homestead-themed pumpkin patch, where pumpkins meet rustic charm and farm animals enhance the magic.