Create Easy Halloween Decorations with DIY Salt Dough Crafts
Are you in search of easy Halloween decorations that can infuse your home with spooktacular charm?

Look no further!
In this article, we'll embark on a creative adventure through the world of DIY salt dough Halloween crafts.
From enchanting pumpkin keepsakes to eerie ornaments that bring your Halloween spirit to life, we've got you covered.
Whether you're a seasoned crafter or a newbie looking for a fun project, our collection of ideas will inspire you to add a homemade, budget-friendly touch to your Halloween decor.
Easy Halloween decorations are just a few doughy steps away.
So, roll up your sleeves and let's dive into the crafty world of salt dough magic.
Crafting Pumpkin Salt Dough Keepsakes
Halloween is a time for creating memories, and what better way to do so than by crafting pumpkin salt dough keepsakes?
These charming creations not only make for fantastic decorations but also hold a special place in our hearts.
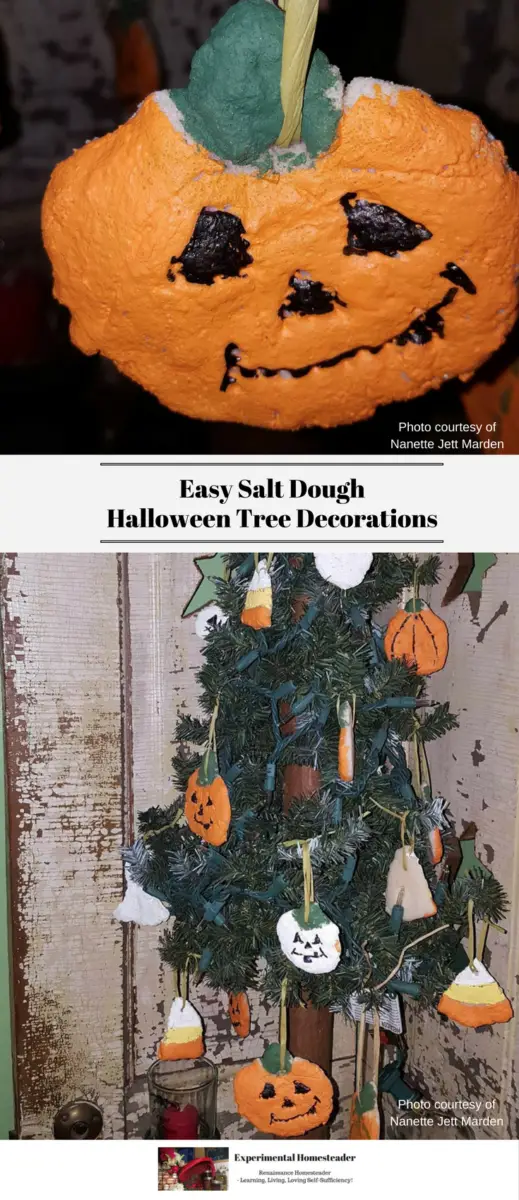
My friend Nanette, the creative genius behind these pumpkin keepsakes, shared this delightful idea with me.
The salt dough recipe she used, just like in our previous article, came from Messy Little Monster.
However, the artistic touch she added to these pumpkin-shaped ornaments is entirely her own.
Each pumpkin tells a story, making them perfect keepsakes for Halloween and beyond.
Easy Salt Dough Halloween Tree Decorations
Materials
- 2 cups flour
- 1 cup table salt
- 1 cup water
- Deco-Art Americana Acrylic Paint
- Modge-Podge
Instructions
Combine the flour, table salt and water together to make the dough. If it is too sticky add a little more flour.
Decide how many colors of salt dough you need and divide the dough up.
Place the dough into separate non-food containers, put on plastic gloves to keep your hands clean and add the paint.
Use your hands to mix the paint into the salt dough. Be sure the color is vibrant because it will fade. I suggest choosing a color two to three shades brighter than what you want.
Shape the dough with your hands or use cookie cutters to cut out shapes.
Use an unsharpened pencil to make a round hole in the top of the ornaments to allow them to be hung once they are dry.
Place the shaped dough onto a parchment lined cookie sheet.
Preheat the oven to 150 degrees Fahrenheit.
Place the cookie sheet in the oven and turn it over every 30 minutes.
Check the dough once an hour to see if it is dry. Typically the dough is dry in two hours.
Once the dough is dry place it on a wire rack to cool. It is ok to leave it on the wire rack for a couple of days if you wish.
Seal the front and back of the ornaments with Modge Podge. I suggest two to three layers of Modge Podge per ornament.
Once the Modge Podge is dry, put a string or ribbon through the hole in top of the ornaments.
They are now ready to hang on your Halloween Tree.
Notes
Storage Tip: Wrap each salt dough ornament individually and place them – neatly stacked – in a plastic box such as a plastic shoe box. Use plenty of packaging material and do not put any other types of ornaments in the same box. These ornaments are breakable.
A Spooky Twist: Salt Dough Halloween Ornaments
One of the most enchanting aspects of DIY crafting is the ability to infuse your personality and creativity into your creations.
When it comes to Halloween, the possibilities are endless.
We shared how to create Halloween tree decorations, but what if you want to take it a step further and make a variety of spooky salt dough ornaments?
From ghosts to black cats, witches' hats to bats, you can craft a diverse range of Halloween ornaments to adorn your space.
The key is to let your imagination run wild and let your salt dough take the form of these eerie characters.
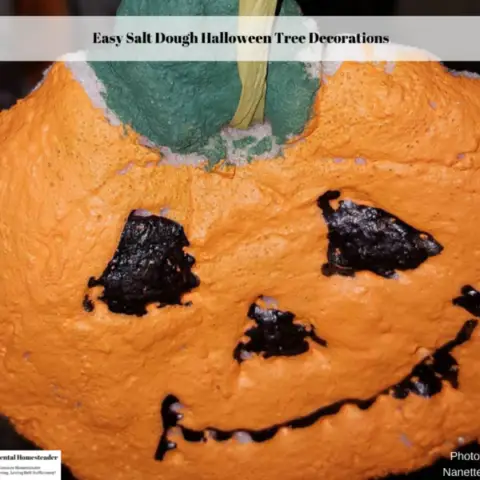
Crafting Spooktacular Salt Dough Pumpkins
When it comes to Halloween, the pumpkin stands as an undisputed icon.
It's the symbol of autumn's arrival, the harbinger of Halloween's magic, and a canvas for creativity.
While many of us associate pumpkins with carving, there's an enchanting twist to this tradition - crafting spooktacular salt dough pumpkins.
Salt dough pumpkins open up a world of creative possibilities.
They're not confined to the short-lived life of a carved jack-o'-lantern but rather serve as charming decorations that can last well beyond Halloween night.
Here's how you can bring these whimsical pumpkins to life.
The Doughy Delight
The process begins with the same salt dough recipe we shared in our original article.
It's a blend of 2 cups of all-purpose flour, 1 cup of salt, and 1 cup of warm water.
This dough is incredibly malleable, allowing you to shape it into pumpkins of any size or style you desire.
Carving Out Pumpkin Perfection
Rather than using a knife to carve a face, you can use various tools to sculpt the details of your pumpkin.
A wooden skewer or the back of a paintbrush works beautifully for creating ridges, lines, and even spooky smiles.
You can get as intricate as you like, crafting pumpkins with character, each telling its own whimsical tale.
Painting Your Pumpkin Patch
Once your salt dough pumpkins have dried and are as hard as their real counterparts, it's time to unleash your artistic flair.
Painting is where the real magic happens.
Orange, of course, is the classic color, but don't feel limited by tradition.
Experiment with shades and patterns to create a unique pumpkin patch that complements your overall decor.
A Touch of Sparkle and Shine
For those who enjoy a bit of glimmer and glitz, adding a touch of glitter to your pumpkins can elevate their charm.
A sprinkle of fine glitter while the paint is still wet can create a captivating shimmer that captures the Halloween spirit.
Twine and Ribbons for Hanging
Remember, these salt dough pumpkins aren't just for tabletop decor.
You can turn them into hanging ornaments by threading a piece of twine or ribbon through a small hole at the top.
This way, they can adorn your home in various ways - from door frames to mantels or even as part of a Halloween wreath.
Dabble in Antiquing
If you're looking for a more vintage and aged appearance, you can experiment with antiquing techniques.
Simply brush on a diluted black paint and then gently wipe it off, leaving the paint in the crevices and giving your pumpkins an antique, weathered look.
This adds a touch of mystique and nostalgia to your pumpkin patch.
Decorating with Salt Dough Pumpkins
Your salt dough pumpkins are now ready to take center stage in your Halloween decor.
They hold the spirit of the season in their whimsical designs and colorful charm.
Place them strategically around your home to create a cozy and welcoming atmosphere for your Halloween celebrations.
The best part?
These salt dough pumpkins aren't just for Halloween night.
They are sturdy and long-lasting, making them wonderful keepsakes that can be enjoyed year after year.
With each passing Halloween, they become a part of your cherished traditions, evoking warm memories of crafting and decorating.
As you embrace the tradition of pumpkin crafting, remember that it's not just about the end result; it's about the journey.
It's about the moments spent with loved ones, the creative expression, and the joy of making something unique.
These salt dough pumpkins are a delightful way to infuse your Halloween with spooktacular charm, and they're as much a testament to the season as they are a celebration of your creativity.
From Salt Dough to Halloween Treasures: A Homesteader's Tale
As homesteaders, we understand the profound beauty of crafting and creating.
It's a way of life that goes beyond simple decor; it's about leaving a mark, nurturing traditions, and cherishing every moment.
Salt dough ornaments and pumpkins have a unique place in this way of life.
They're more than decorations; they're the embodiment of the love and creativity that a homesteader pours into their craft.
Revisiting the Basics of Salt Dough Crafting
Salt dough crafting is a timeless art that harks back to simpler times when resourcefulness and creativity were the cornerstones of homesteading life.
We revisit these basics not out of nostalgia but as a reminder of the roots from which our crafting journey stems.
The salt dough recipe, a blend of 2 cups of all-purpose flour, 1 cup of salt, and 1 cup of warm water, is a testament to the simplicity and accessibility of our craft.
It's a humble combination of ingredients that, with the right touch, can transform into treasures that grace our homes.
Adding Personal Touches: The Homesteader's Signature
Homesteaders have a knack for infusing their creations with a personal touch.
It's an art that goes beyond aesthetics.
When crafting salt dough ornaments and pumpkins, every indentation, every stroke of paint, and every detail carries a piece of our soul.
The joy of crafting is not only in the final product but in the process itself.
As homesteaders, we understand the significance of taking the time to perfect each detail.
Our pumpkins don't just have faces; they have personalities.
They tell stories, evoking emotions in those who encounter them.
This personal touch is the signature of a homesteader's creation.
The Magic of Creating Keepsakes
Halloween is not just about the decorations; it's about the memories we create.
Homesteaders are adept at capturing the magic of a moment and preserving it for the future.
Salt dough treasures embody this sentiment.
They are more than ornaments; they're a testament to the passage of time.
Each Halloween, as you carefully unpack your salt dough creations, memories flood back.
You remember the laughter shared with loved ones as you molded the dough, the delight in each brushstroke of paint, and the joy of hanging these treasures.
They become a part of your story, chronicling the evolving seasons of your life.
Year After Year: A Homesteader's Tradition
Homesteading is about traditions, the rituals that connect us to our roots and our loved ones.
Your salt dough pumpkins and ornaments are not just for this year's Halloween; they're for years to come.
They hold within them the promise of future celebrations, future memories, and the enduring spirit of a homesteader's craft.
In conclusion, the journey from salt dough to Halloween treasures is not just a craft; it's a journey of the heart.
These creations become an extension of your homesteading spirit, infusing the season with warmth and charm.
They are the embodiment of the homesteader's dedication to crafting, preserving traditions, and making every moment count.
With every Halloween that passes, they become a cherished part of your legacy.
Halloween Decorating And Craft Ideas

Homesteading Halloween Decorations: A Sustainable Twist on Spooky Decor
Discover eco-friendly homesteading Halloween decorations, from corn husk scarecrows to gourd lanterns, and rustic wreaths. Spookify sustainably!
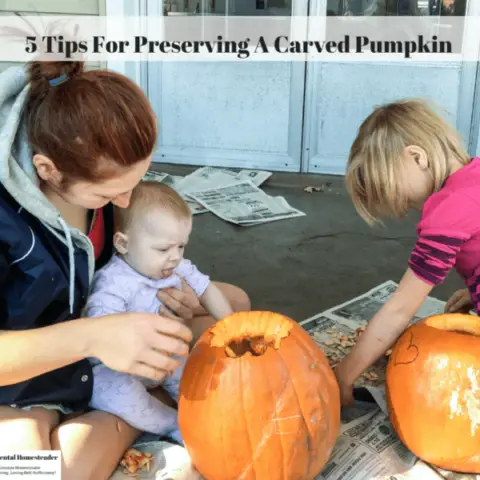
5 Tips For Preserving A Carved Pumpkin
Preserve a carved pumpkin for longer with this easy guide. Keep your Halloween design intac with our tips for preserving a carved pumpkin.
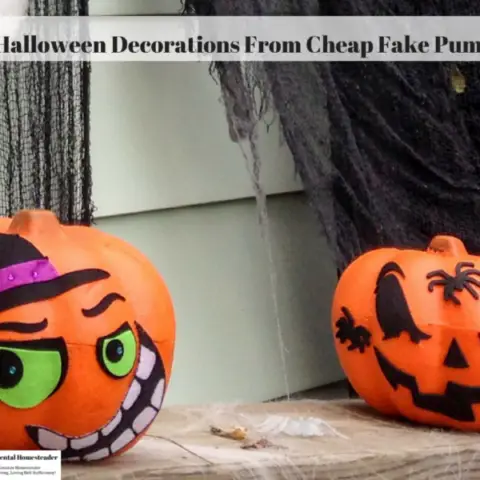
Easy Halloween Decorations From Cheap Fake Pumpkins
Yes, you can make easy Halloween decorations from those cheap fake pumpkins - and best of all they are perfect for kids to decorate.
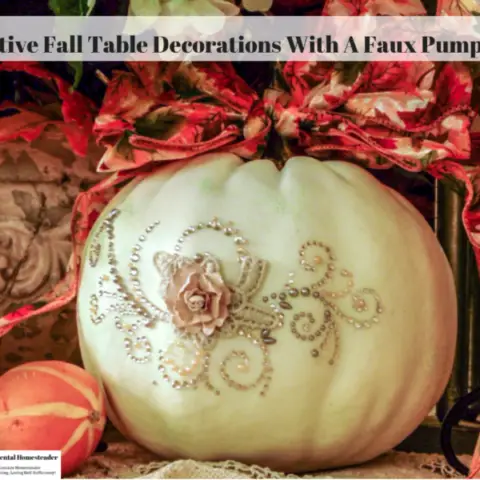
Festive Fall Table Decorations With A Faux Pumpkin
From festive centerpieces to fall table decorations faux pumpkins fit right in. Get ideas for decorating your faux pumpkins with bling and a bow.
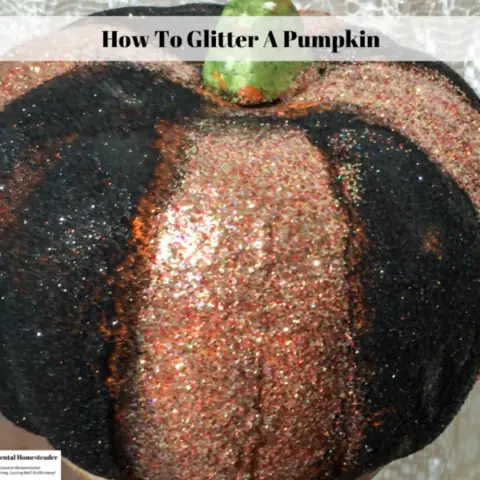
How To Glitter A Pumpkin
Kids and adults alike love making DIY Halloween Crafts. Learn how to glitter a pumpkin at home plus how to keep the glitter on the pumpkin when you're done.
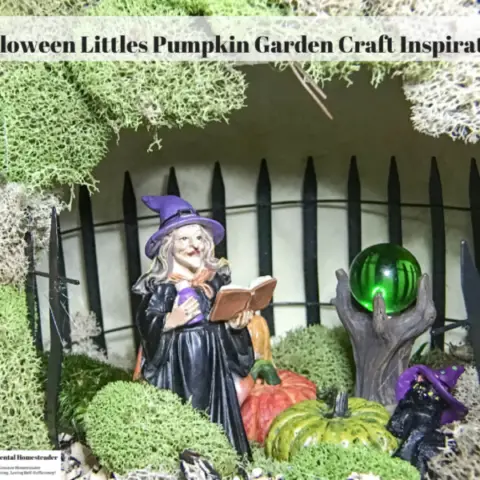
Halloween Littles Pumpkin Garden Craft Inspiration
This Halloween Littles Pumpkin Garden craft inspiration tutorial is sure to inspire you. This year make your own homemade Halloween decor.
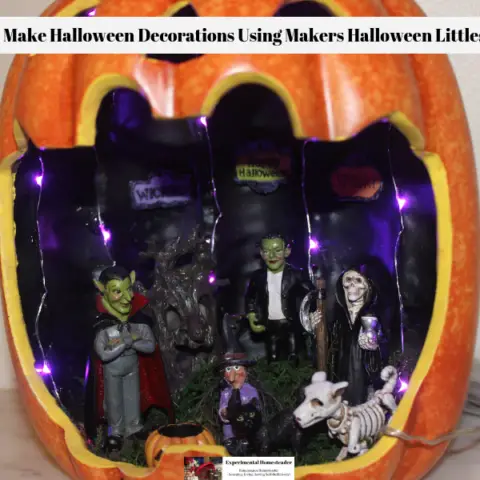
Easy To Make Halloween Decorations Using Makers Halloween Littles Decor
When it comes to easy to make Halloween Decorations, I recommend using the Makers Halloween Littles Decor. Simply arrange, glue and enjoy your fairy garden!

Maker's Halloween Pumpkin Container Graveyard Fairy Garden
This Maker's Halloween Pumpkin Container Graveyard Fairy Garden is the perfect combination of spooky and cute! It's easy to make too!
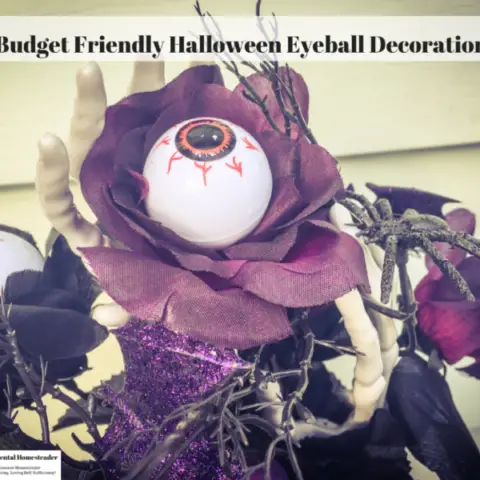
Scary Budget Friendly Halloween Eyeball Decorations Idea
Awesome Halloween eyeball decorations that make a perfect table centerpiece. These DIY Halloween decorations are budget friendly and easy to make.
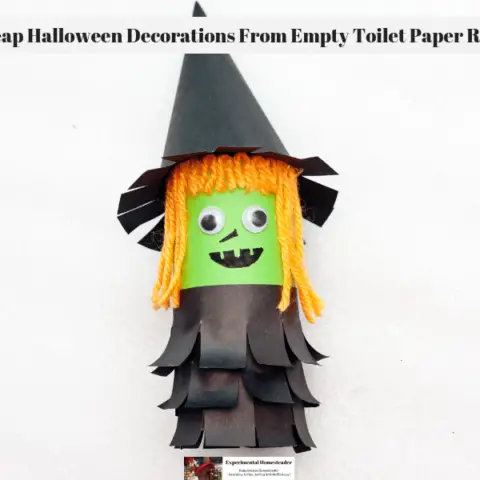
Cheap Halloween Decorations From Empty Toilet Paper Rolls
These cheap halloween decorations made from empty toilet paper rolls are a great way to show how eco-friendly you are while having fun with your kids!
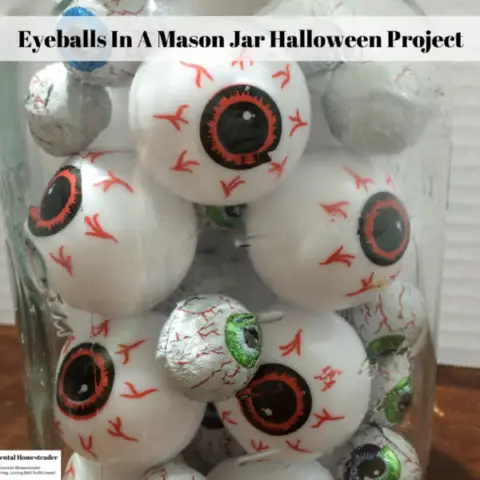
Eyeballs In A Mason Jar Halloween Project
Are you looking for budget friendly, cool Halloween projects to do with the kids? Then check out this eyeballs in a mason ball Halloween project!

DIY Halloween Bath Bomb Recipe
This cool DIY Halloween Bath Bomb Recipe packs a peppermint scented bath salt into a cauldron filled with a skeleton which pops out as the bath bomb fizzes.
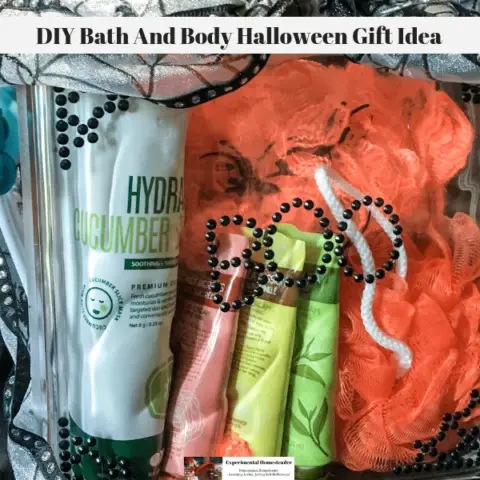
DIY Bath And Body Halloween Gift Idea
The acrylic Craft Block by Hy-Lite is a fun, creative way to make a unique DIY bath and body gift set that is the perfect finish to Halloween festivities.
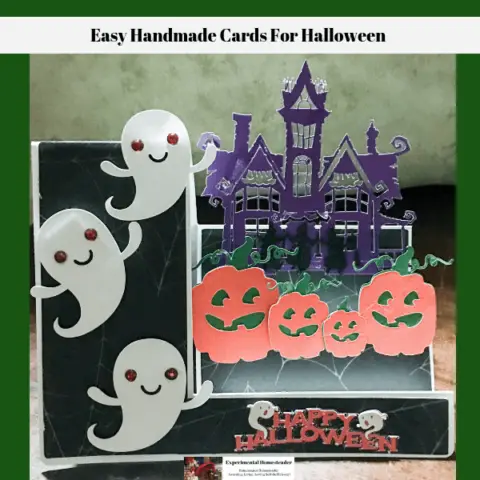
Easy Handmade Cards For Halloween
If you want easy handmade cards for Halloween that truly look intricate, then be sure to check out this step card made with the Cricut Maker.
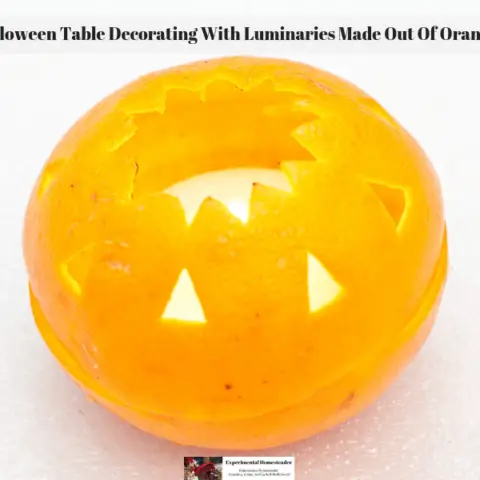
Halloween Table Decorating With Luminaries Made Out Of Oranges
When you are ready to start your Halloween table decorating this season, try using these luminaries made out of orange peels that naturally scent your home.
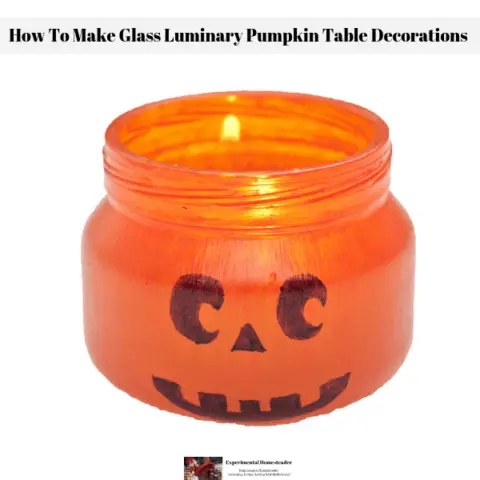
How To Make Glass Luminary Pumpkin Table Decorations
These glass luminary pumpkin table decorations are easy to make and they are a great way to recycle baby food jars! They are also easy for kids to decorate!
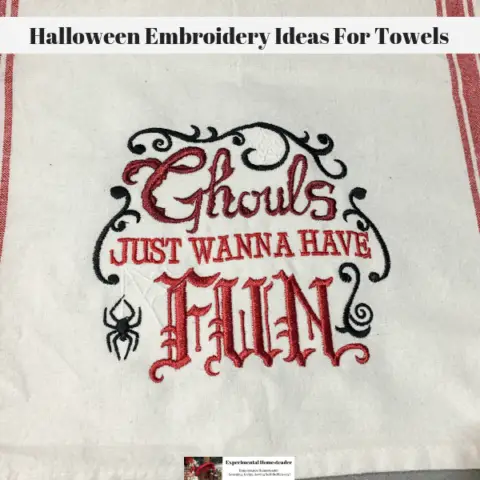
Halloween Embroidery Ideas For Towels
Dive into Halloween Embroidery Ideas for Towels: Unearth Spooky Designs and Step-by-Step How-Tos for Crafting.

Creating the Perfect Homestead-Themed Pumpkin Patch
Learn how to create a captivating homestead-themed pumpkin patch, where pumpkins meet rustic charm and farm animals enhance the magic.