Making a Sourdough Starter: How to Craft Your First Perfect Loaf
Embarking on the delightful journey of sourdough baking is like stepping into a world of tantalizing flavors and chewy goodness.

At the heart of this artisanal bread is the sourdough starter, a magical concoction that adds a unique character to each loaf.
Crafting your own sourdough starter is truly a labor of love, and it sets the stage for a delicious adventure in bread making.
The process involves understanding the intricacies of fermentation, cultivating wild yeast, and patiently waiting for that perfect tangy aroma to develop - if that is your goal, because not all sourdough has to be tangy.
As you delve into the art of sourdough, you'll not only master the science behind the starter but also unlock the secrets to creating a perfect batch of sourdough bread.
The satisfaction of baking your first-ever loaf with your homemade starter is unparalleled.
Get ready to be amazed by the mysteries and complexities of sourdough, and relish the immense satisfaction that comes with each slice of your freshly baked creation.
It's a journey worth taking-one that promises not just delicious bread but a newfound appreciation for the art of baking.
Understanding the Basics of Sourdough Starter
Combining, nurturing, and utilizing a sourdough starter is a transformative experience for any home cook, offering a delightful glimpse into the thrilling world of wild yeast and 'living' baking.
Microbiological Marvel: The Dance of Fermentation
The art of sourdough baking is a mesmerizing journey into the world of microbiology, where the sourdough starter takes center stage, harnessing the transformative power of fermentation.
- The Symphony of Microorganisms - Sourdough's microbiological landscape is a symphony of wild yeast and bacteria, each playing a crucial role in shaping the distinct character of the bread. These microorganisms, present in the flour and the surrounding environment, become the unsung heroes of the sourdough starter.
- A Lively Rhythm of Feeding - The creation of a lively, bubbling sourdough starter is not an overnight affair; it's a slow, patient rhythm of feeding. Repeated over several days, this process involves combining the humble trio of flour, water, and time with the natural microflora, fostering a dynamic and diverse community within the starter.
- Wild Yeast: Nature's Leavening Agent - Wild yeast, a captivating force of nature, is the primary leavening agent in sourdough. Unlike commercial yeast, which provides a consistent rise, wild yeast introduces an element of unpredictability and complexity to the fermentation process. As it consumes the natural sugars in the flour, it releases carbon dioxide, responsible for the bread's airy structure.
- Lactobacilli: The Flavor Architects - In tandem with wild yeast, certain bacteria, mainly Lactobacilli, play a pivotal role in shaping the flavor profile of sourdough. These bacteria produce lactic acid during fermentation, imparting the distinctive tanginess that makes sourdough bread truly exceptional.
- The Alchemy of Fermentation - The beauty of fermentation lies in its alchemical transformation of basic ingredients into a flavorful and textured masterpiece. As the microorganisms work their magic, they create a symbiotic dance, releasing not just carbon dioxide for leavening but also a medley of aromatic compounds that contribute to the unique sensory experience of sourdough.
The Living Essence of Sourdough
In unveiling the power of fermentation, the sourdough starter emerges as a living entity, a testament to the intricate dance of microorganisms.
This microbiological marvel is more than a scientific process; it's a choreography of flavors, textures, and aromas that culminate in the irresistible allure of sourdough bread.
As you embark on your sourdough journey, savor not just the end product but the fascinating spectacle of microbiology in action, crafting a loaf that is as alive with culture as it is with flavor.
Aromatic Alchemy: The Sourdough Signature
The starter develops a slightly sour, tangy aroma owing to the production of lactic and acetic acid by the bacteria, earning it the name 'sourdough.'
This seemingly unassuming mixture is crucial for baking sourdough bread, responsible for leavening and flavoring the bread with a deeply savory complexity.
For those who prefer a less sour bread, using warmer water, around 80 degrees Fahrenheit and a fermentation temperature somewhere in the range of 70 degrees Fahrenheit to 76 degrees Fahrenheit produces a milder flavor.
Whole grains and rye flours used in the main dough also tend to produce a milder sourdough.
Warmer water, around 90 degrees Fahrenheit along with warmer fermentation temperatures that range between 82 degrees Fahrenheit and 85 degrees Fahrenheit, tend to produce a starter that is more acidic and has a more traditional sourdough taste.
Another way to make sure you get that traditional tang is to add rye or whole wheat flour to the starter when you first begin making it.
Artisanal Appeal: Texture and Appearance
The incorporation of a sourdough starter into the bread-making process goes beyond flavor; it profoundly influences the bread's texture.
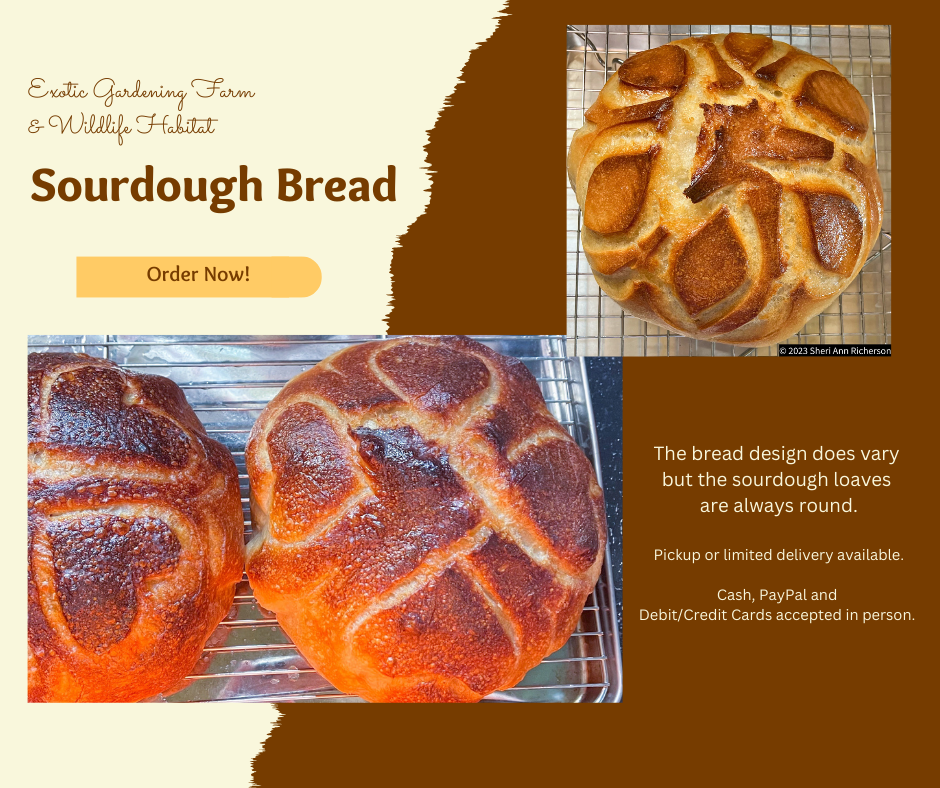
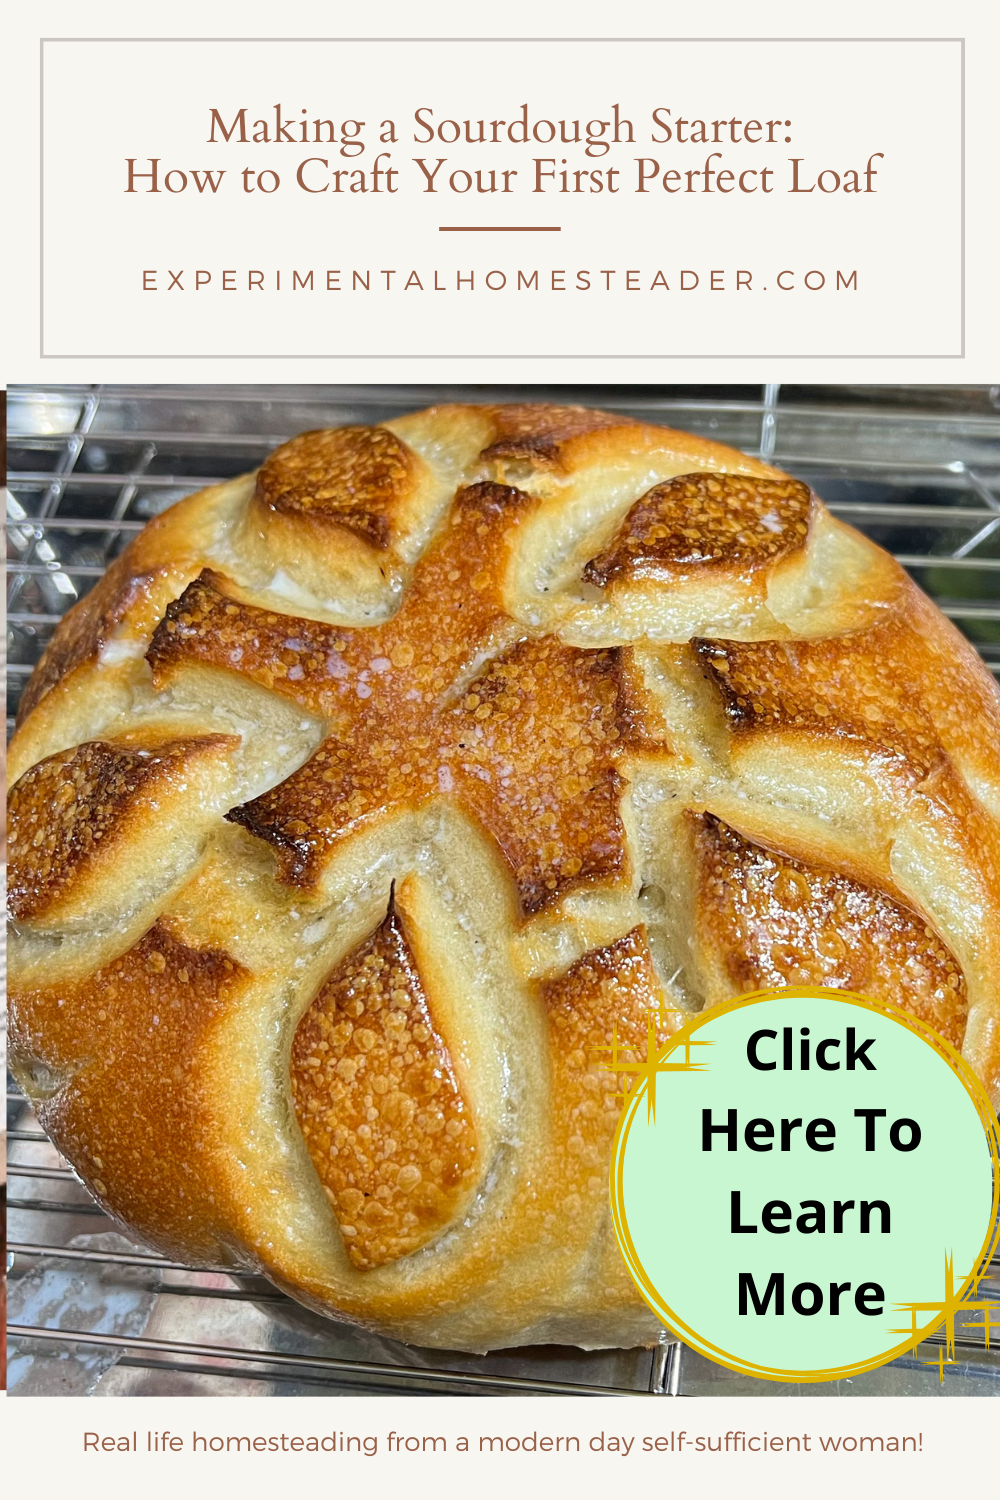
This transformative touch results in a soft, chewy crumb adorned with larger, irregular holes, while the crust bears a distinctive crackly, rustic appearance.
It's the unpredictability in these textural elements that elevates sourdough bread to the realm of true artisanal delight, offering a sensory experience that captivates not just the taste buds but also the eyes and hands of those fortunate enough to savor its unique qualities.
Nutritional Alchemy: Breaking Down Gluten and Phytic Acid
Throughout the fermentation process, a sourdough starter becomes a biochemical powerhouse, producing enzymes that play a vital role in breaking down gluten.
This enzymatic activity not only contributes to the desirable soft, chewy texture of the bread but also enhances its digestibility.
Moreover, the natural fermentation of sourdough is thought to reduce phytic acid in the bread.
This reduction is significant as phytic acid can impede the absorption of essential minerals.
As the levels decrease during fermentation, important minerals in the flour become more readily available for absorption, enhancing the nutritional profile of the bread.
In essence, the sourdough starter not only imparts flavor and texture but also partakes in a transformative process that enhances the bread's nutritional value and digestibility.
Sourdough Starter in the Kitchen
Envision your sourdough starter as a silent companion in your kitchen.
Through mindful nurturing, this living entity seamlessly integrates into your culinary space, infusing its unique flavors and vitality into the art of bread baking.
More than a mere necessity, it embodies a timeless connection between food, nature, and people-an enduring bond that unites us in the universal joy of breaking bread.
This living kitchen companion becomes a symbol of the shared experience and communal pleasure found in the simple act of enjoying a freshly baked loaf, fostering a deeper appreciation for the culinary traditions that connect us all.
Delicious Alchemy: From Simple Beginnings to Crusty Loaves
The journey from humble origins to crusty, flavorful loaves epitomizes the delicious alchemy of the sourdough starter, reshaping our perception of bread.
This odyssey beckons us to relish not only the final product but also the intricate interplay of flavors and textures masterfully orchestrated by the unassuming sourdough starter.
It's a captivating expedition, encouraging us to appreciate the transformative artistry that elevates a simple mixture into a culinary masterpiece.
Crafting the Perfect Sourdough Starter Recipe: A Labor of Love
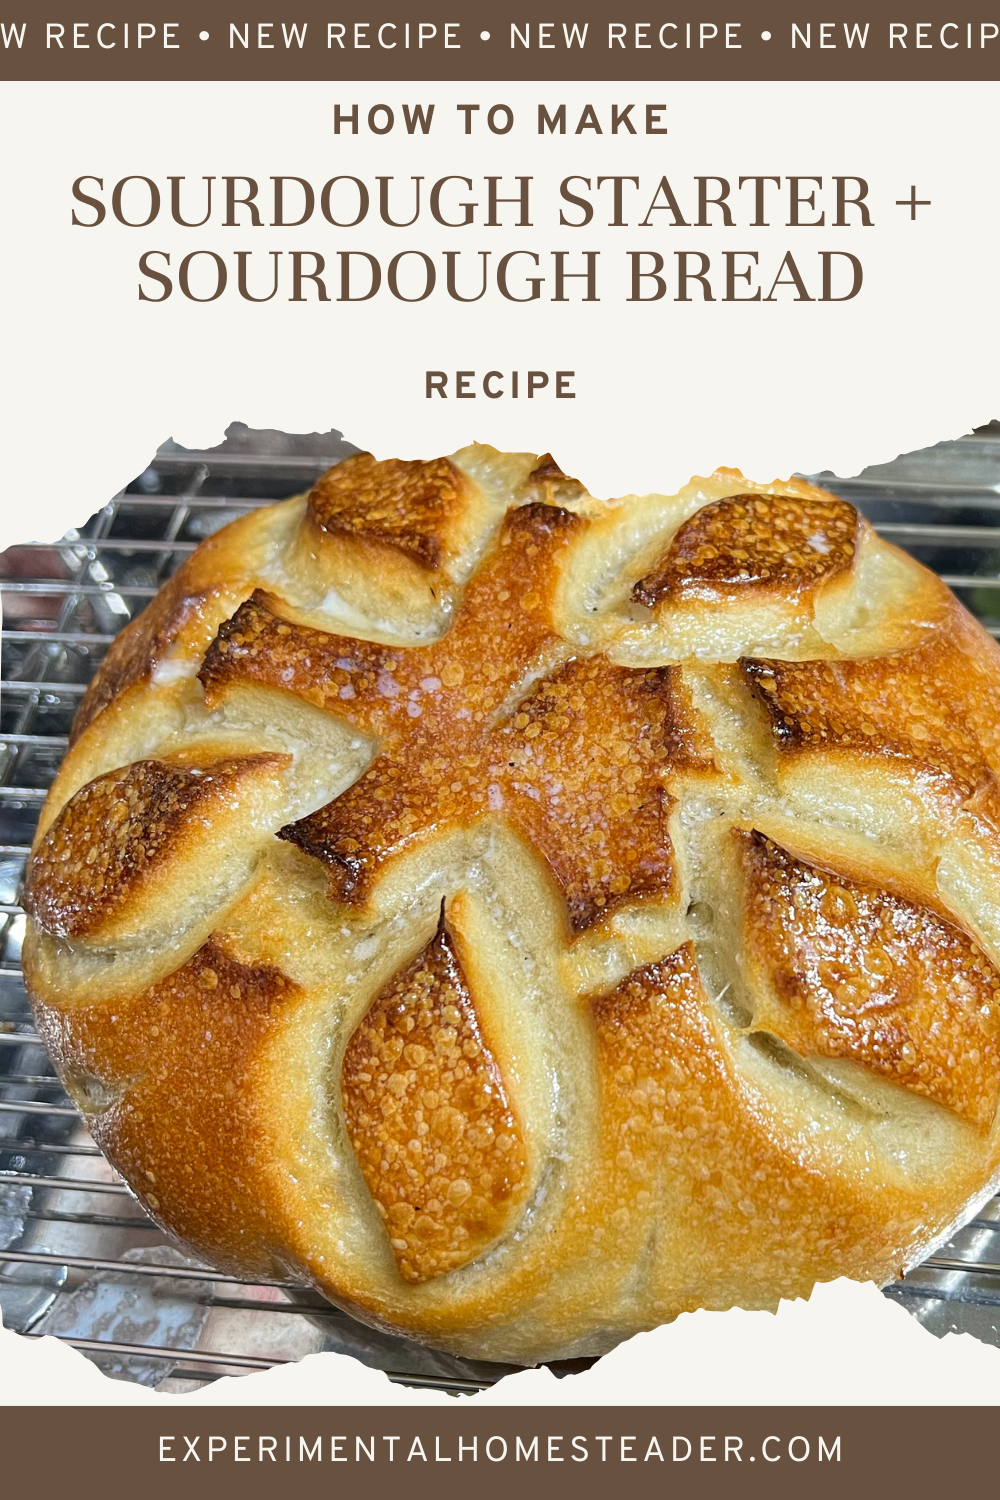
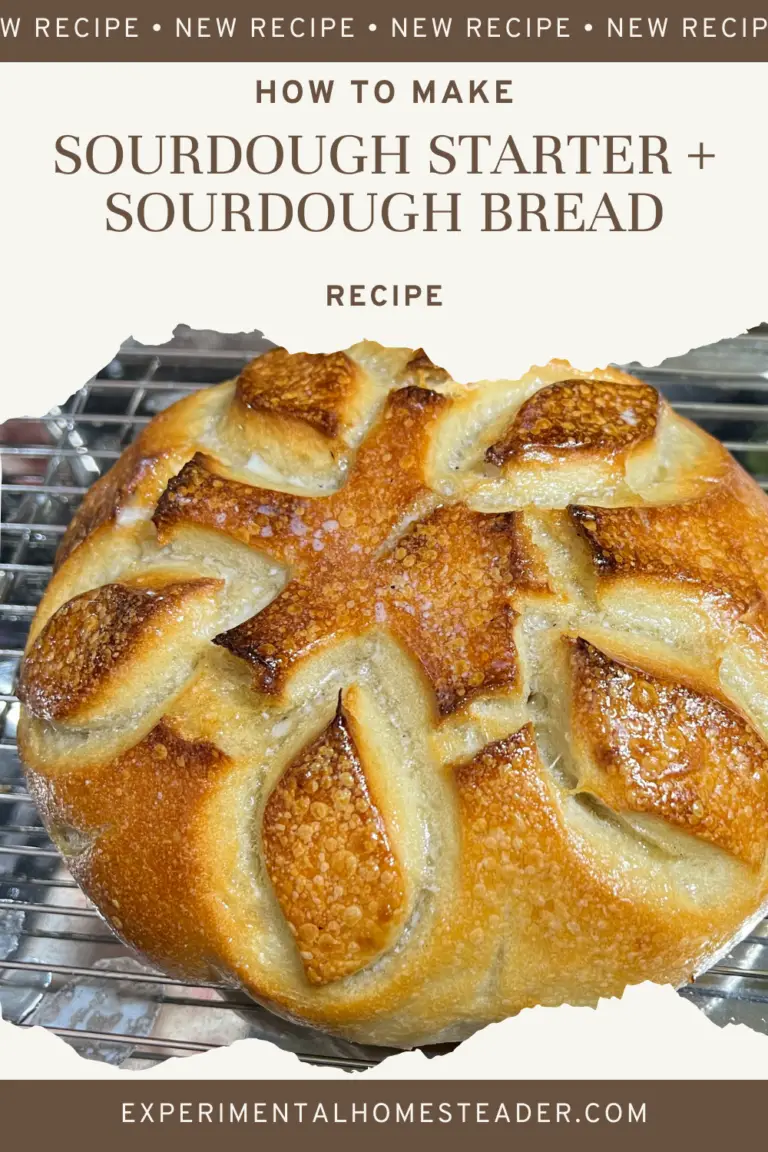
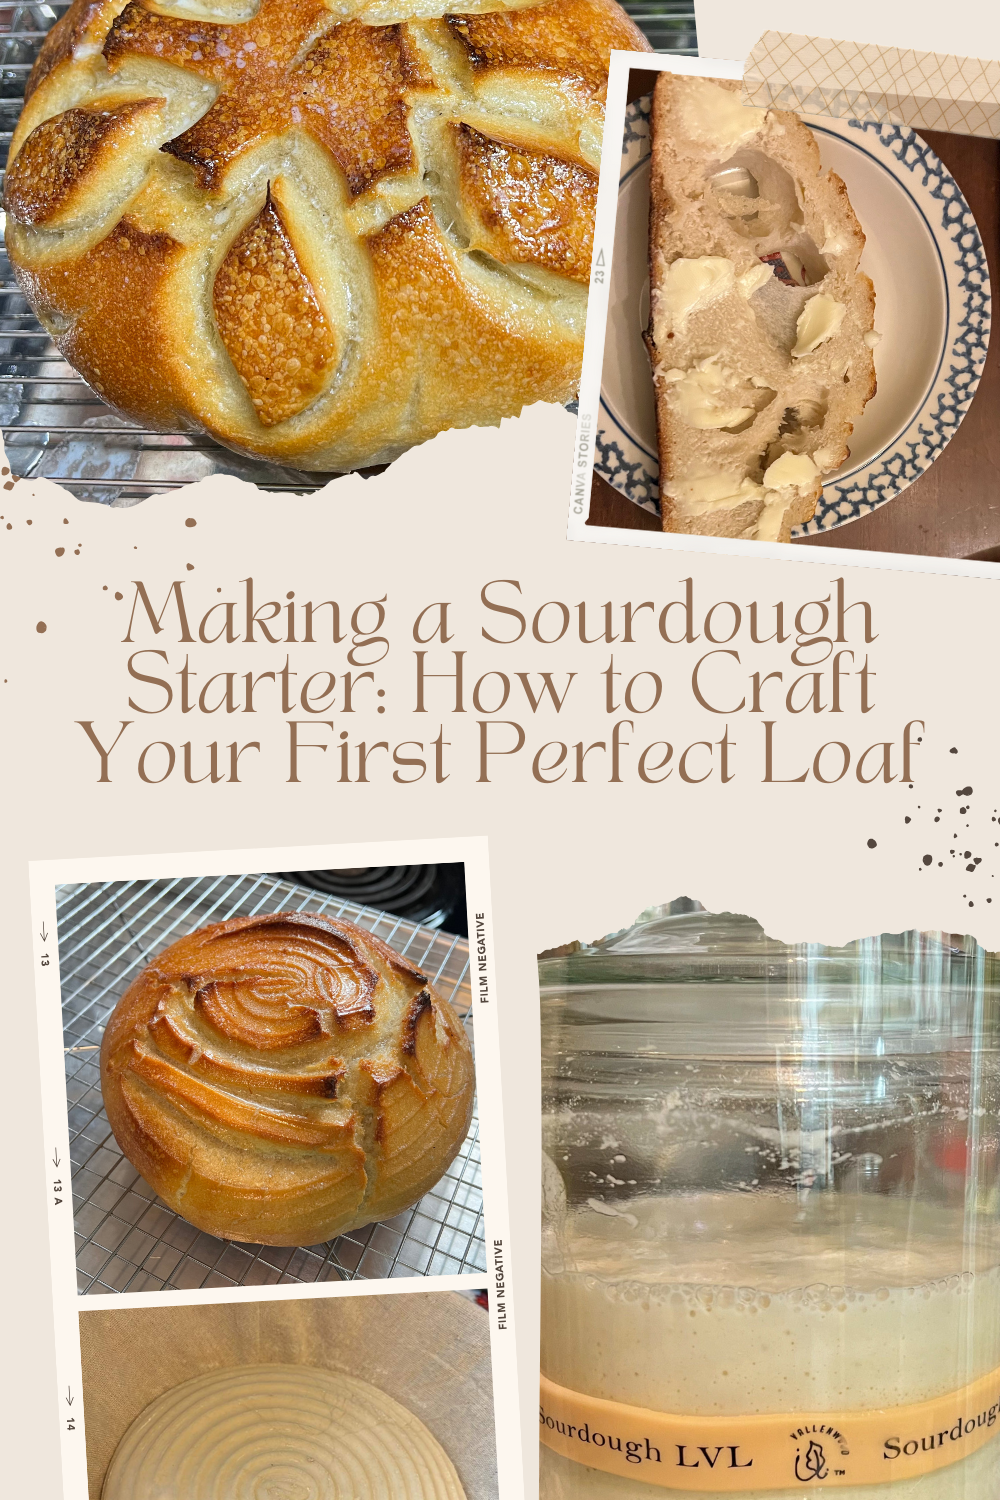
Imagine a mouthwatering chunk of sourdough bread: the crackling crust, the dense interior punctuated with airy pockets, and that unmistakable, tangy taste.
This is more than just bread - it's an experience.
Now hold that image, because we're about to divulge the secret to baking a sublime sourdough loaf. The difference between good and great lies in building your own optimal sourdough starter.
Creating a sourdough starter is not just about mixing flour and water; it is also about nurturing a living organism.
It's like a pet that needs love, attention, and regular feeding.
The ultimate perfect recipe?
You guessed it: time, passion, and just the right ingredients.
Print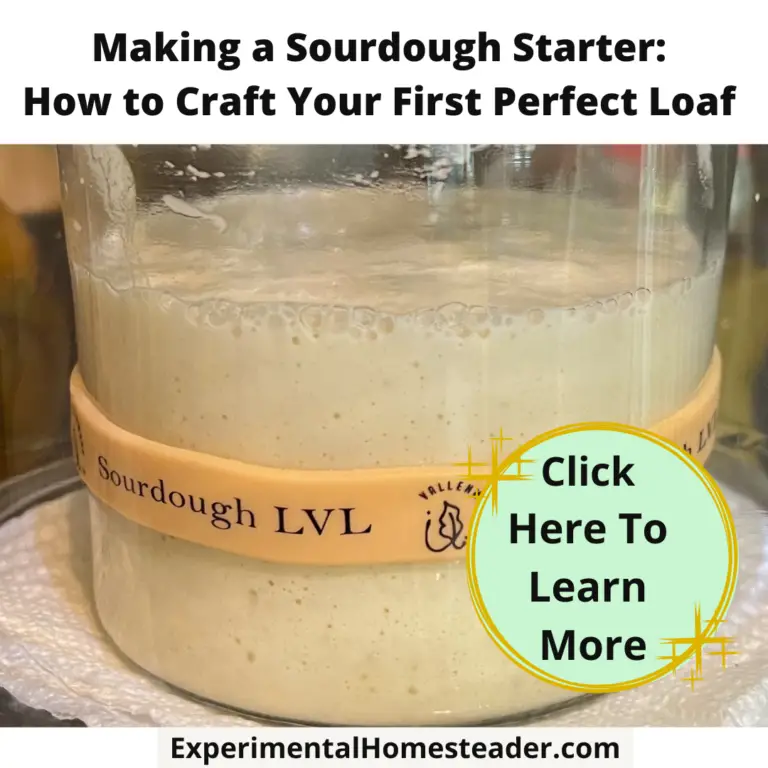
Making a Sourdough Starter
- Total Time: 10 minutes
Instructions
- To get started, choose organic, unbleached, whole wheat or rye flour. These types of flour are often chock full of the wild yeast and bacteria needed for that robust starter.
- Add lukewarm water (ideally 78 - 82F), a conducive temperature to get your wild yeast up and active.
- Next, mix the ingredients together until smooth in a container that is large enough for the starter to grow. It should be covered but not airtight, a cloth or coffee filter secured by a rubber band will do the trick. Remember, your sourdough starter needs to breathe.
- Store your starter in a warm place. Ideal temperatures range from 70 - 75F. This hospitable environment will allow the wild yeast and bacteria to develop, resulting in that desirable sourdough tang.
- Now feed your starter daily - or at least once every two days. Keeping a regular feeding schedule is key as it encourages healthy growth. Adding small amounts of fresh flour and water rejuvenates the mixture, provides nourishment, and helps maintain the right acidity level. Consistency is king, opt for a 1:1:1 feeding ratio - equal parts of starter, flour, and water .
Notes
Some people measure by weight - and some use measuring cups. I use measuring cups and once I get mine started I tend to use ½ cup fresh ground flour - but store bought is ok - and ¼ cup water. Your starter should be the consistency of thick pancake batter.
- Prep Time: 10 minutes
How To Reactivate A Dehydrated Sourdough Starter
In the event you choose to purchase a dehydrated sourdough starter from us or dehydrate some of your own and wish to reactivate it, fear not - reactivating a dehydrated starter is simpler than you might think.
Below are step-by-step instructions to guide you through the process.
For those in need of a dehydrated sourdough starter:
If you're starting from scratch or looking for a reliable source, you can purchase a dehydrated sourdough starter from me.
With our carefully crafted starters, you'll embark on your sourdough adventures with confidence, whether you're a seasoned baker or just getting started.
Regardless of where your dehydrated sourdough starter came from, here is how to reactivate it.
- Day 1: Soak one and a half teaspoons of dried starter in one Tablespoon in lukewarm water in a small container with a lid. Let it soften for a few minutes, then stir in 1 Tablespoon of all-purpose, wheat or fresh ground flour. Cover and let it sit at room temperature for 24 hours.
- Day 2: Stir in one Tablespoon of flour and two teaspoons of water to the mixture. Cover and let it sit at room temperature for another 24 hours.
- Day 3: Stir in one Tablespoon of flour and one teaspoon of water. Within the next 12 to 24 hours, bubbling action of fermentation should start, especially in warmer environments.
- Transfer and Feed: Transfer the activated starter to a jar or large bowl with ample space for expansion. Stir in ½ cup flour and ¼ cup of water. Mark the level on the jar with a rubber band. Within about 12 hours, a lively, spongy starter should develop.
- Continued Feeding: Continue feeding once or twice daily until you have enough starter for baking. Use ½ cup flour and ½ cup water making sure the starter is the consistency of thick pancake batter. Maintain equal weights of flour and water for consistency. Remove ½ cup discard daily starting on Day 4 and continuing throughout the life of your starter. You can save this in a container in the refrigerator for use later in recipes or dehydrate it and store it in your pantry.
Remember to refer to the section "Cultivating Life: Nurturing Your Sourdough Starter" below for further guidance on maintaining your sourdough starter.
If you encounter difficulties during the activation process, check out our FAQ on troubleshooting a sluggish or seemingly "dead" starter.
Cultivating Life: Nurturing Your Sourdough Starter
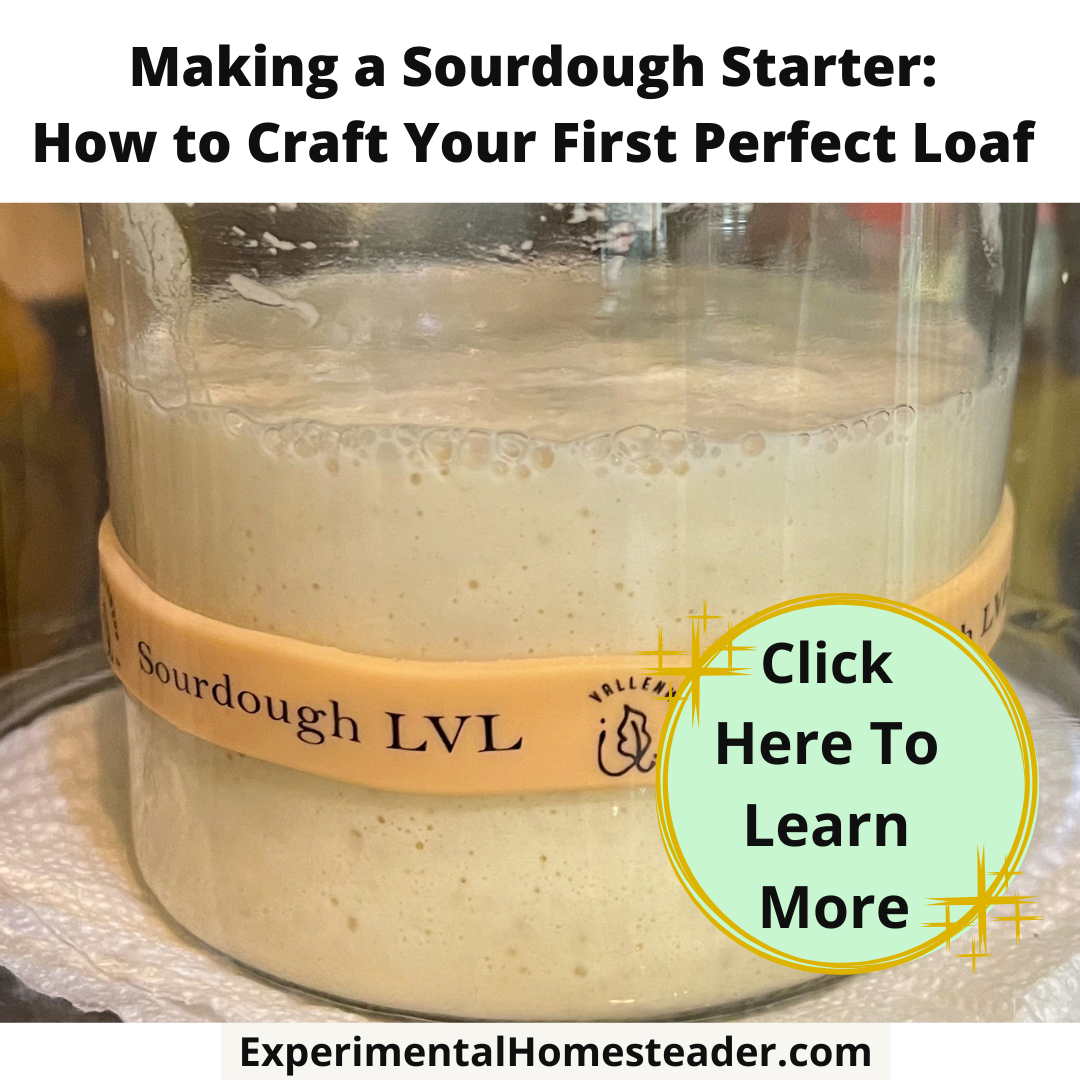
Watch for the signs of life in your sourdough starter.
Bubbles, a rise in volume, and a distinct sour but pleasant smell.
It might take a few days or even a week, but patience is indeed a virtue in the world of sourdough.
Signs of Vigor and Distress
Be mindful of signs your starter might be in distress.
If the smell becomes overpowering, the color changes notably, or a layer of hooch forms on top, your starter might need some rescuing.
But don't panic, often reducing the quantity and increasing the frequency of feedings can bring the starter back to health.
A Culinary Commitment
While it's true your sourdough starter might need your commitment, the end results are overwhelmingly gratifying.
Making your own sourdough starter is a testament to the age-old adage - the best things in life are worth waiting for.
Now, armed with your homegrown, optimal sourdough starter, every loaf you bake becomes an embodiment of your culinary journey.
Each slice, a testament to your labor of love.