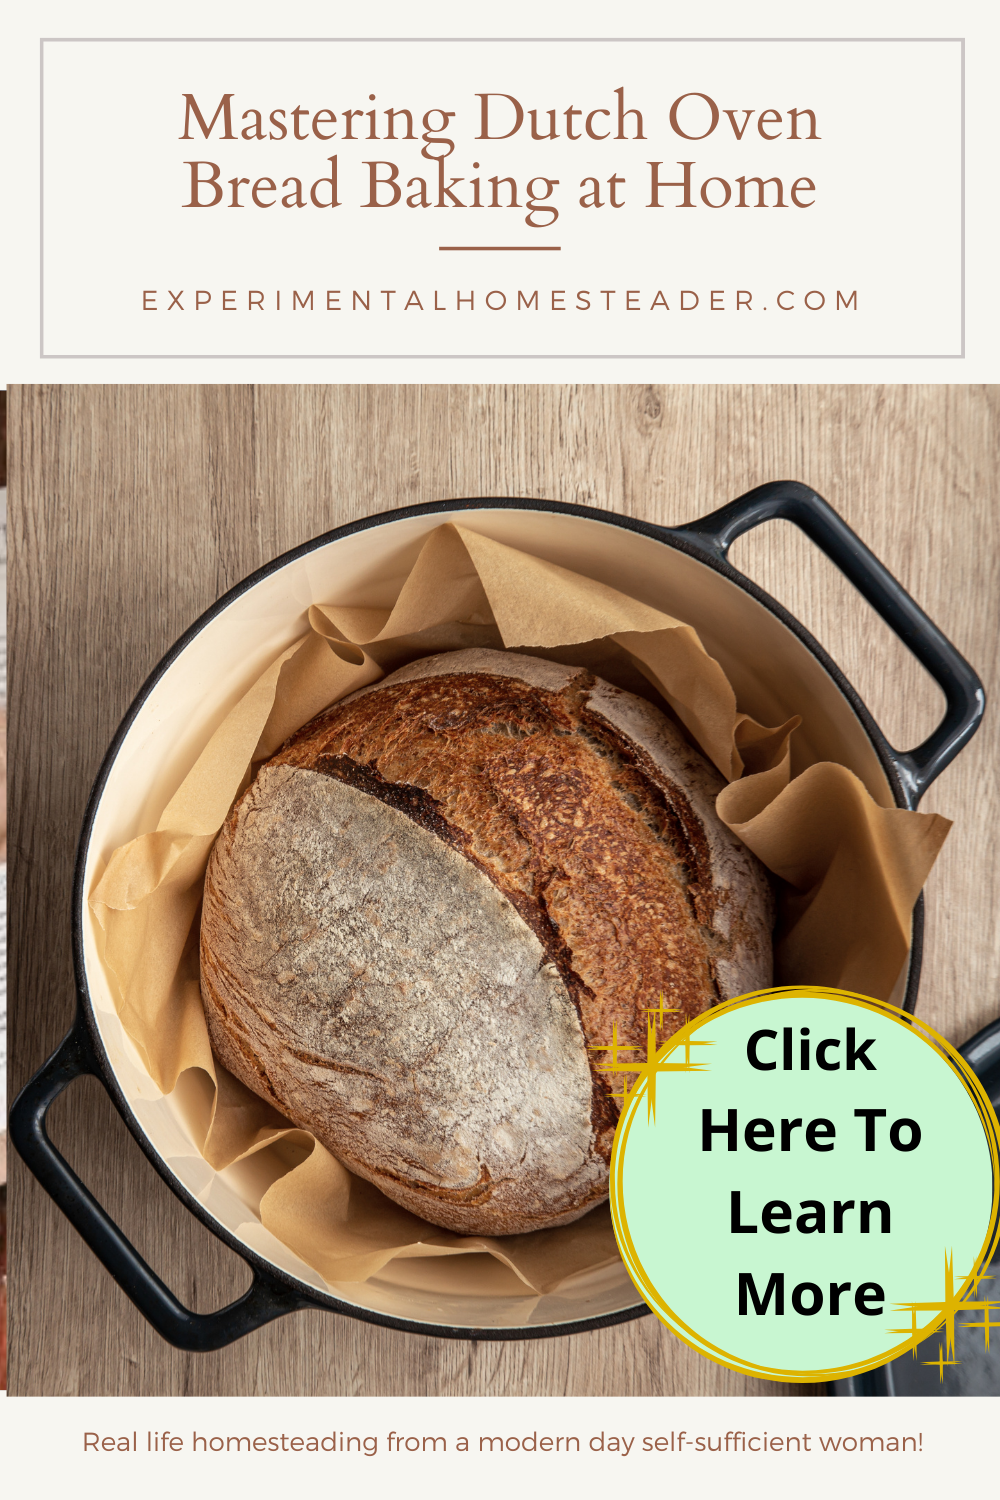
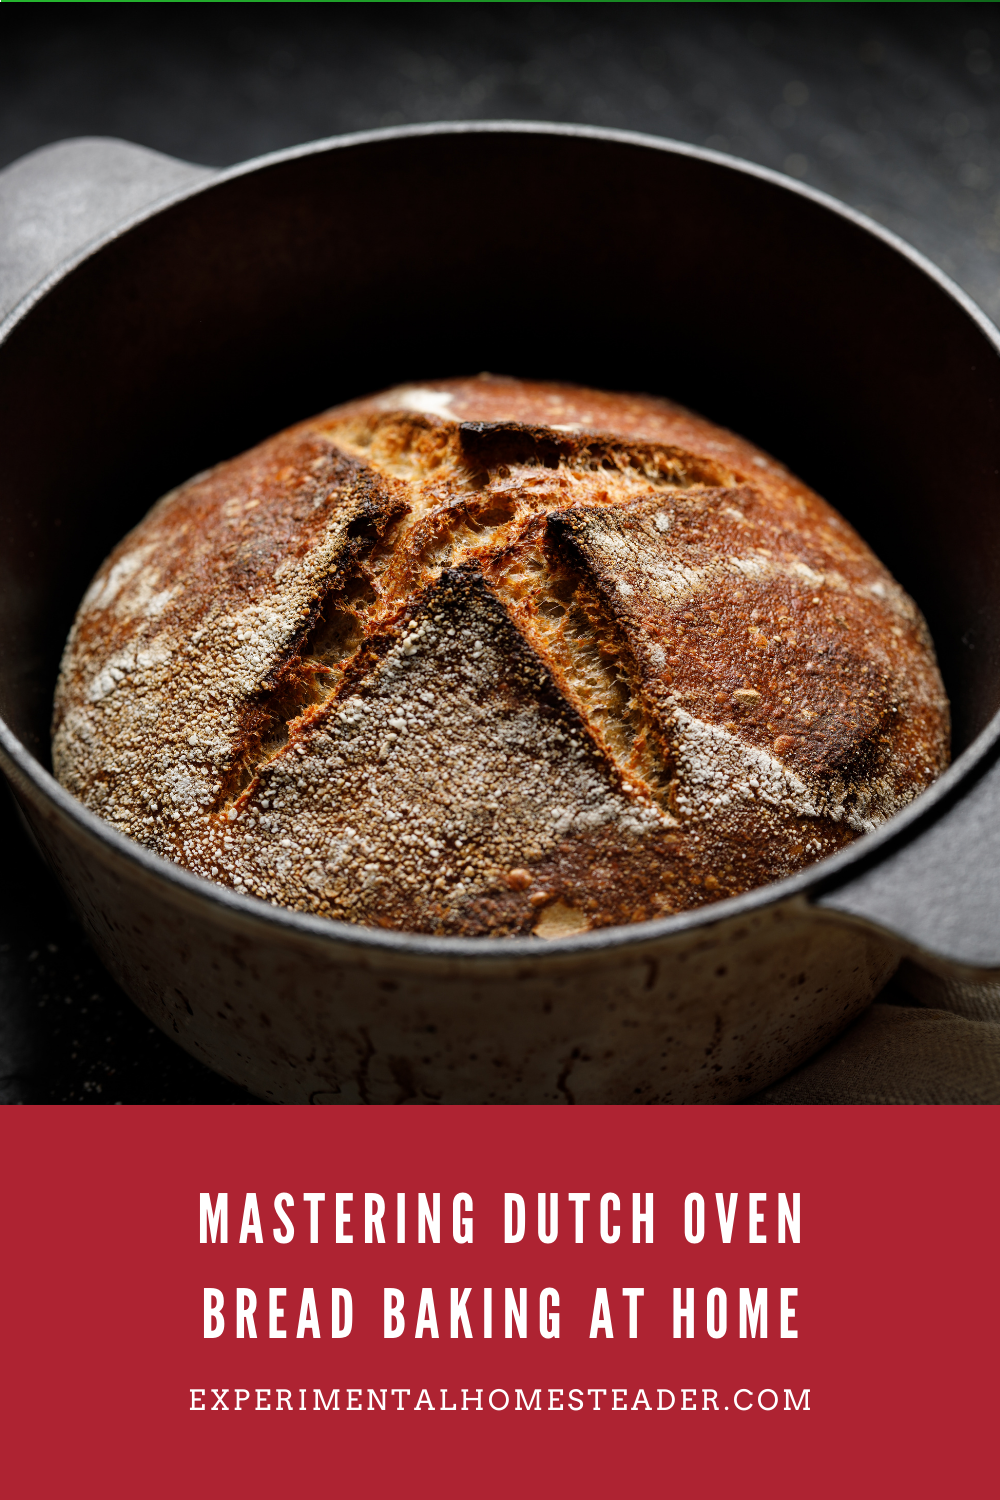
Mastering Dutch Oven Bread Baking at Home
You know, there's something magical about Dutch Oven bread baking.

It's like tapping into centuries of tradition and wisdom, blending science with a dash of creativity.
Picture this: you, in your kitchen, armed with patience, a bit of know-how, and the trusty cast iron Dutch oven.
Together, you're about to embark on a journey of bread-making brilliance.
It's the start of a bread-making adventure like no other.
First, we will dive into the world of yeast dough.
We'll chat about proofing, kneading - all those little steps that set the stage for the magic of yeast to unfold.
Then we will move onto sourdough.
Sourdough is like adding a twist of rebellion to your bread game, with its wild, tangy flavor.
We'll explore how to nurture your own sourdough starter and infuse your bread with that unmistakable character.
Before you know it, you'll be mastering the art of bread-making like a true pro.
So, roll up those sleeves, tie on your apron, and let's dive into the world of baking magic!
Yeast Dough
One can truly appreciate the wonders of cooking when encountering the almost magical transformation that simple flour, water, and yeast undergo when they unite to create the masterpiece that is bread.
The foundation of this transformation?
Yeast dough, an alchemical blend of simple ingredients, it's the cradle where the heart of all bread-making pivots.
So, let's get down to unveiling the steps of preparing the perfect yeast dough for bread.
Print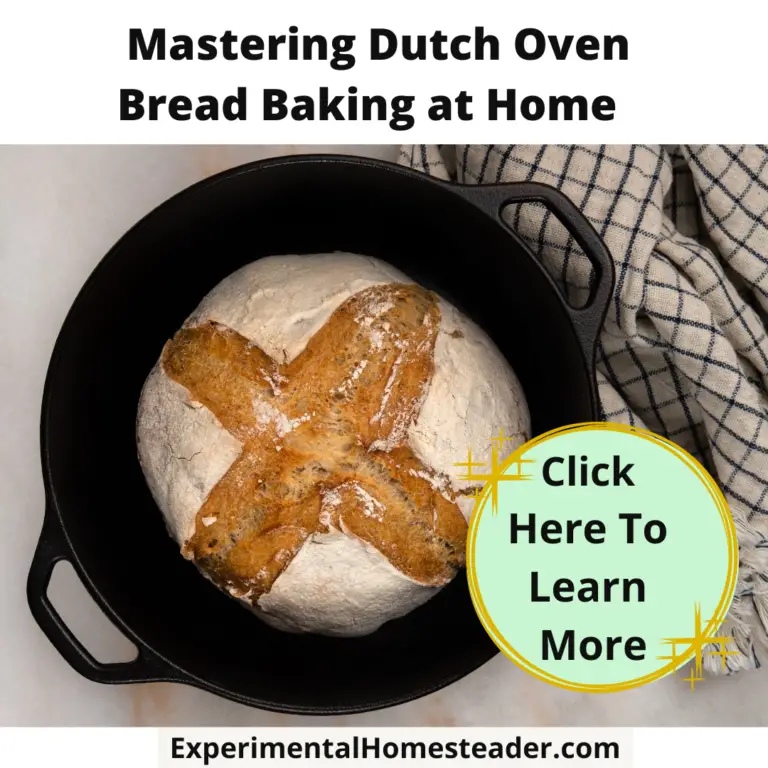
Basic Yeast Bread
- Total Time: 4 hours 35 minutes
- Yield: 1 loaf 1x
Ingredients
Instructions
- In a large mixing bowl, stir together the warm water, sugar, and yeast. Let the mixture sit for about 5 minutes until it becomes frothy. This froth indicates that the yeast is active and ready to go. If it doesn’t froth, it's a clear sign that the yeast is outdated, and it's time to start afresh with a new packet.
- Next add two cups of flour into the yeast-water mixture. Stir this concoction gently until the flour is moist.
- Add the olive oil or butter, followed by the salt. It's crucial to wait until now to add the salt because it can kill the yeast if they come in direct contact too early.
- Knead the dough in the bowl until it forms a ball. Transfer the ball of dough onto a lightly floured surface and continue kneading it for a good 8-10 minutes. The goal is to create a smooth, elastic dough.
- Transfer the kneaded dough to a lightly greased bowl, cover it with a clean kitchen towel, and sit it in a warm, draft-free space. Allow the dough to rise until it has doubled in size. This could take anywhere from 1 to 2 hours, depending on the warmth of your kitchen.
- Once the dough has sufficiently risen, gently punch it down to release the gas bubbles formed during the rising process. Now shape the dough as desired, laying it into a cast iron Dutch Oven with a cast iron trivet in the bottom of it and lined with 2 layers of parchment paper*.
- Cover the shaped dough again and allow it to rise until almost doubled. This usually takes about 30 minutes to an hour.
- Once the dough is finished rising, place the pan the dough is in or on into a preheated oven. Standard baking time in a 375-degree oven is about around 30-35 minutes for boules.
Notes
*The cast iron trivet and the two layers of parchment paper keep the bread from burning or sticking as it bakes. The parchment paper makes removing the bread once it is baked a lot easier.
- Prep Time: 4 hours
- Cook Time: 35 minutes
Bear in mind, baking, like any art form, requires patience and practice!
Not every loaf will be perfect.
But remember, each attempt is a learning experience, leading you towards a rewarding sense of culinary mastery.

The Magic of Sourdough
Sourdough, the rebel of the bread world, is not just a type of bread; it's a living culture, a tradition passed down through generations.
A Living Culture
Unlike commercial yeast, which is cultivated in a lab, sourdough starter is a wild fermentation of flour and water, teeming with naturally occurring yeast and lactobacilli bacteria, created right in your own kitchen.
This dynamic duo of microorganisms gives sourdough its distinctive tangy flavor and airy texture.
Unique and Ever-Changing
What's truly fascinating about sourdough is its ability to adapt and evolve over time.
Each sourdough starter carries a unique microbial community, influenced by factors like location, temperature, and the baker's handling techniques.
Beyond Flavor
Beyond its flavor profile, sourdough offers nutritional benefits as well.
The fermentation process breaks down gluten and phytic acid, making it easier to digest and unlocking nutrients for better absorption.
A Connection to Tradition
But perhaps the most captivating aspect of sourdough is its connection to history and tradition.
Bakers have been making sourdough bread for thousands of years, long before the advent of commercial yeast.
A Symbol of Authenticity
In today's fast-paced world, where convenience often trumps tradition, sourdough stands as a testament to the enduring power of slow food and artisanal craftsmanship.
It's a symbol of authenticity in an age of mass production, inviting us to slow down, savor the process, and reconnect with the ancient art of bread-making.
If you would like to learn more about sourdough starters, check out my blog post Making a Sourdough Starter: How to Craft Your First Perfect Loaf, where I'll take you on a journey of creating your own sourdough starter and baking your first loaf of bread, complete with insider tips for mastering the art of Dutch oven bread baking.
Cast Iron Dutch Oven Basics
As bakers, we all crave that magical moment when the scent of freshly baked bread fills the air, promising a symphony of flavors and textures.
But how can we elevate our baking game to new heights?
The cast iron Dutch oven is the answer for many.
In the world of baking, where every step from kneading to shaping is a dance of creativity and precision, the act of baking itself holds a special allure.
It's the moment of transformation, where dough turns into golden loaves of deliciousness.
And when it comes to achieving perfection in this art, baking bread in a cast iron Dutch oven stands out as a tried-and-true method, celebrated for its simplicity and outstanding results.
So, let's embark on a journey into the heart of Dutch oven bread baking, where each loaf tells a story of craftsmanship and culinary delight.
Exploring Dutch Oven Baking
In the realm of culinary exploration, bakers are always seeking new methods to elevate their creations.
One such technique that sparks intrigue is baking bread in a Dutch oven.
But what sets this method apart from others, and how does it shape the final product?
Let's delve into the captivating world of Dutch oven bread baking to uncover the secrets behind its unique allure.
- Heat Distribution: Conventionally, any bread is baked inside an oven where the heat surrounds it from all directions, and the air circulation affects the baking process. However, when a cast-iron Dutch oven steps into the picture, it changes the game entirely. It provides a convection-like environment that retains and distributes the heat evenly. This controlled heat distribution system ensures that every part of your bread bakes at the same time.
- Creating Steam: Picture this. As the dough bakes inside a closed Dutch oven, the moisture within the dough starts to evaporate, creating steam. An oven traditionally lets this steam escape, whereas a Dutch oven traps it, creating a perfect humid environment. This trapped steam plays a significant role in making the bread's crust crispy while keeping the interior moist and soft.
- Oven Spring: Oven spring is a last blast of rising just after the dough is put in the oven, thanks to the yeast having one final party before the heat kills it off. When baking in a Dutch oven, the high level of heat and the steam produced provides the dough with an ideal oven spring, which gives the bread a desirable height and a flavorful crumb.
- Presentation: Artistic bakers often find joy in playing around with the look of their final bake. Using a Dutch oven gives you the flexibility to experiment. Preheat the Dutch oven before placing the dough inside; it gives an instant crust formation that won't adhere to the sides.
- Toasting Flavors: Let's not forget why a food lover practically lives - to relish an explosion of flavors! The cast iron of the Dutch oven lends a unique flavor to the bread, a subtle toasted aroma that's truly irresistible.
A gastronomical haven lies within the world of Dutch oven baked bread.
Keep in mind, though, that every oven is different, and thus finding perfect baking times and temperatures that work best for you may take a couple of tries.
Elevating Your Bread Baking Game: Techniques Beyond the Basics
For beginner bakers, mastering the essentials is just the beginning - it's like laying the foundation for a culinary masterpiece.
But there's so much more to explore beyond the basics.
Let's take a deeper dive into the art of bread making.
Perfecting Oven Temperatures
Now, we all know the magic a Dutch oven can work on a loaf of bread, but not everyone has one in their kitchen arsenal.
So, it's time to learn more about how to use your oven.
Understanding its quirks and hot spots can truly level up your baking game.
Experiment with different heat settings to find that sweet spot - typically between 375 to 425 degrees Fahrenheit.
Scoring the Bread
The art of scoring is like giving your bread its own signature style.
Those precise cuts on the dough's surface aren't just for looks; they guide the bread's expansion during baking, resulting in that perfect rise and crust.
Grab a sharp tool like a lame, razor, or trusty knife to work your scoring magic.
Regulating Humidity
Creating steam in your oven can work wonders for your bread's rise and crust.
There's no fancy equipment needed - just pop a metal baking tray at the oven's base while preheating, then carefully pour in some hot water when you slide in the bread.
The steam created helps your loaf reach its full potential before that delicious crust forms.
Temperature Transition
Now, here's a little trick to achieve that bakery-worthy crust and fluffy interior: start your bread in a hotter oven (around 475 to 500 degrees Fahrenheit), then lower the temperature to around 450 after the first 15 minutes.
It's like giving your loaf the perfect temperature hug for a balanced bake.
Artisan Bread Baker's Signature
Want to add that extra touch of artisan flair to your bread?
Try brushing on an egg or milk wash before baking for a glossy finish that screams "homemade perfection."
And don't forget the toppings - a sprinkle of seeds or a dusting of flour can take your loaf to the next level.
I like to brush my bread with melted butter once it comes out of the oven.
The Cold Bake
Feeling adventurous?
Why not try the cold bake technique?
Instead of preheating the oven, pop your dough in cold and let it work its magic slowly.
Sure, it takes a bit longer, but the result?
A crispy crust and deep, complex flavors that are well worth the wait.
Understanding the ins and outs of these bread baking techniques opens up a whole new world of possibilities in the kitchen.
Elevating Your Bread Baking Experience with the Cast Iron Dutch Oven
This guide was created to help enhance your understanding of the process of baking bread, as well as the essential role of a cast iron dutch oven in that journey.
Armed with the knowledge about yeast dough, sourdough, the properties and the benefits of a dutch oven, you are well on your way to creating a magnificent loaf of homemade bread.
With each step, may you find joy in the artistry of baking and the satisfaction of creating a loaf of bread that is truly special.
Bread, Roll And Cracker Recipes

Artisan Bread Making Tips For The Beginner
Check out these artisan bread making tips and try your hand at making a loaf of freshly baked bread tonight. Making homemade bread is easy!
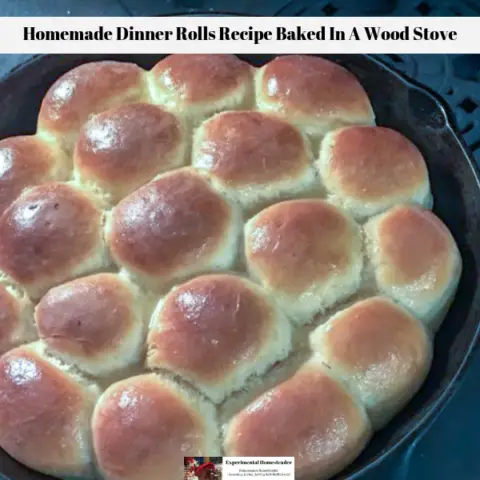
Homemade Dinner Rolls Recipe Baked In A Wood Stove
This delicious homemade dinner rolls recipe is easy to bake in a wood stove or over an open campfire. Get the printable recipe and give it a try!

Easy Homemade Swerve Dinner Rolls Recipe
This easy homemade swerve dinner rolls recipe is perfect for everyday, but is easy to dress up with various seeds and grains for the holidays!
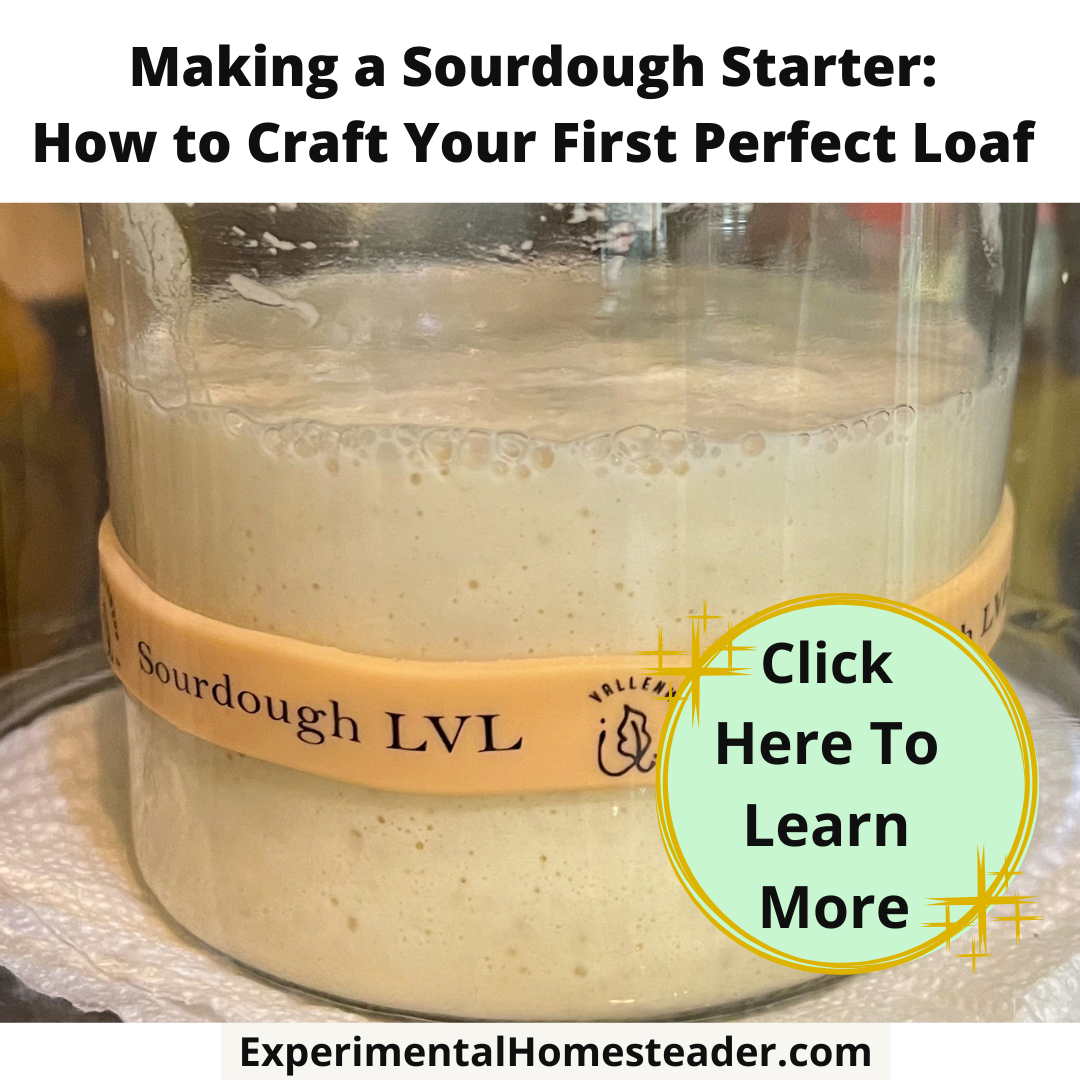
Making a Sourdough Starter: How to Craft Your First Perfect Loaf
Create a delicious sourdough starter & sourdough bread with this comprehensive guide. Get expert tips & techniques for sourdough success!
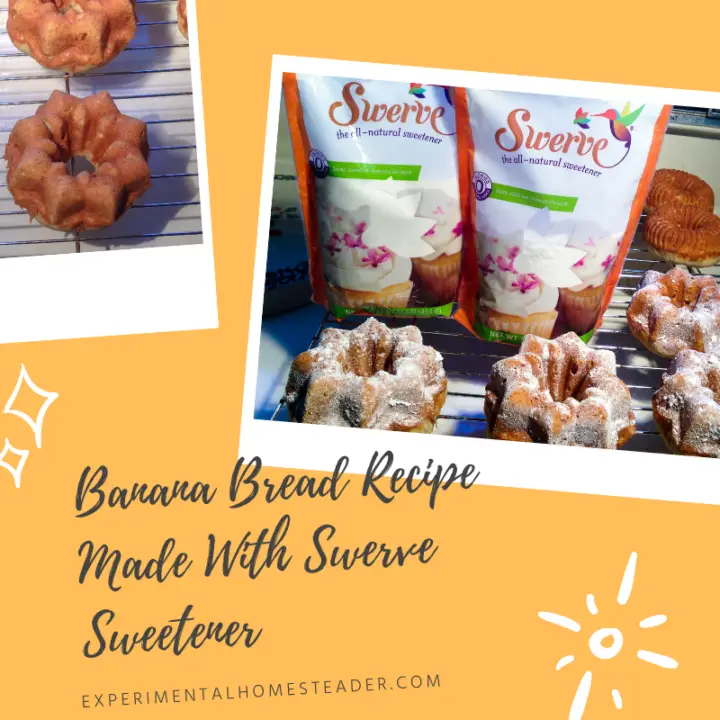
Banana Bread Recipe Made With Swerve Sweetener
This easy to make, healthy and delicious banana bread recipe made with Swerve Sweetener is a great way to use up frozen or over ripe bananas.

Banana Bread Made With Applesauce
Banana bread made with applesauce is delicious and more moist than when it is made without it. Use home canned or store bought applesauce!
Lavender Bread Recipe
This delicious lavender bread recipe is easy to make and tastes great! Use fresh or dried lavender flowers from your own garden!
Solace Sun Bread Tutorial
Sometimes you simply want something fun and unique to serve guests. Check out this solace sun bread tutorial and learn how to shape and paint bread!

Homemade Crunch Bread
Sometimes you want that extra crunch in a loaf of bread, especially if it is going to be made into toast! This homemade crunch bread is the perfect recipe!
Rosemary Peppercorn Bread
Rosemary peppercorn bread is slighly spicy and delicious when paired with jellies, jams or fruit butters. Of course, it's great for sandwiches too!
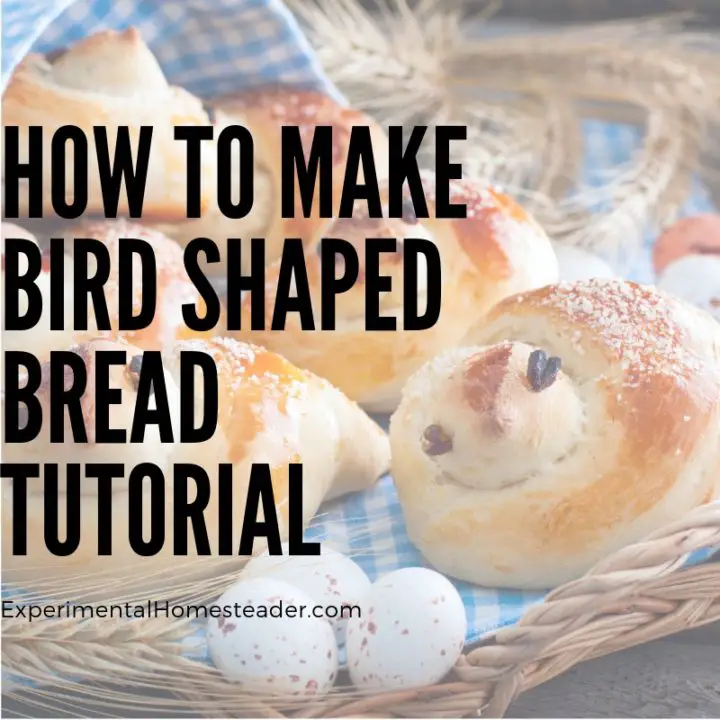
How To Make Bird Shaped Bread Tutorial
Learn how to mkae bird shaped bread with this tutorial plus get my honey wheat bread recipe that is easy to make at home with or without a bread machine.

Toasted Seasame Herbal Honey Whole Wheat Bread
This toasted seasame herbal honey whole wheat bread is a go to recipe that not only tastes great, but is easy to make and has a unique taste!
Painted Bunny Bread Tutorial
This painted bunny bread tutorial is ideal for Easter, but of course you can make it anytime of the year. Best of all, it is edible!
Mickey Mouse Shaped Ideas With Bread
If there is a Disney lover in your household, then you won't want to miss this Mickey Mouse shaped ideas with bread! Cute and easy to make!
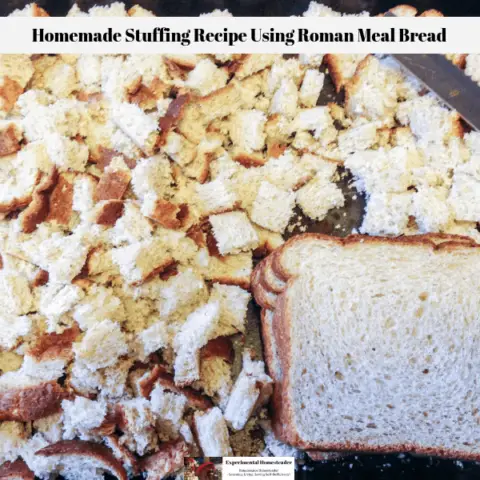
Homemade Stuffing Recipe Using Roman Meal Bread
This homemade stuffing recipe using Roman Meal Bread is not only delicious, but it is easy to make. Plus it's made with whole grain bread!
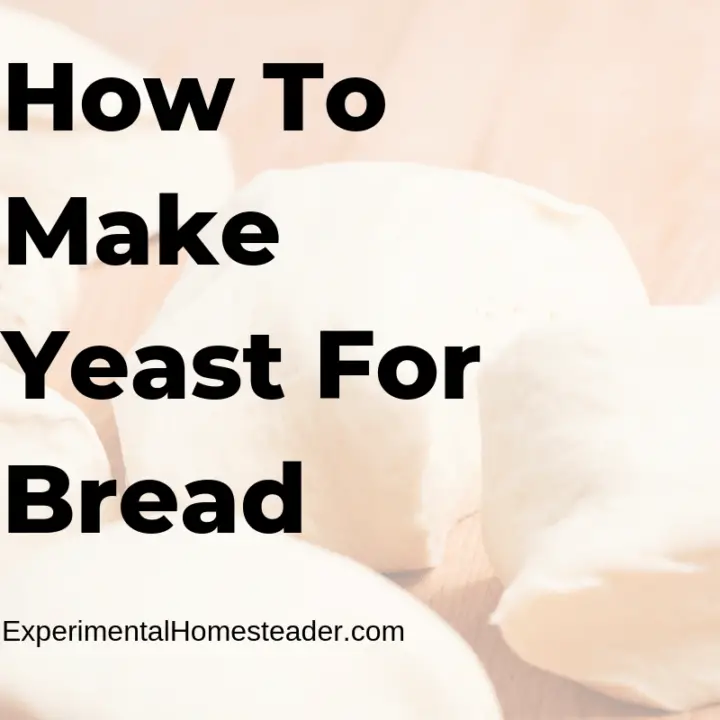
How To Make Yeast For Bread
It is easy to learn how to make yeast for bread at home. While it is possible to bake bread without yeast, learn what yeast does and why it is important.
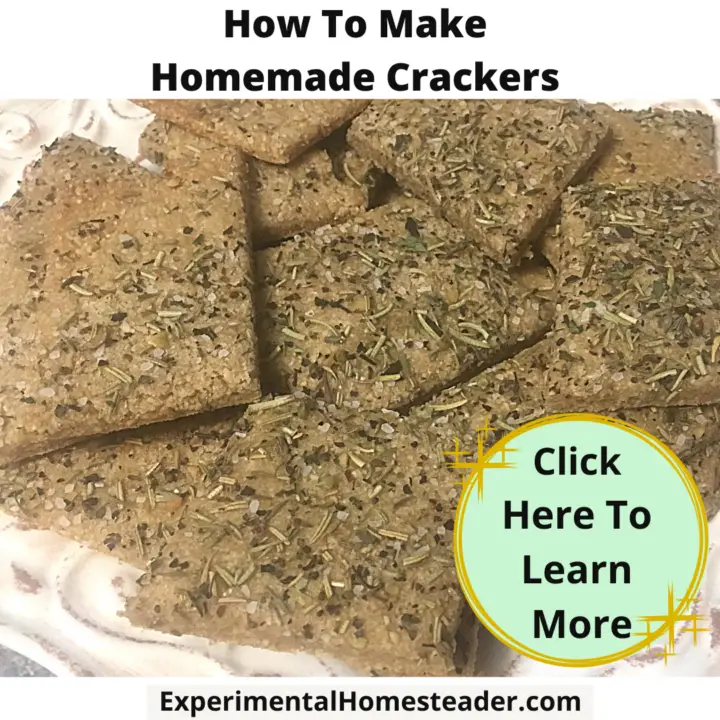
How To Make Homemade Crackers
Learn how to make homemade crackers so you never run out again. They are easy to make and you can customize the toppings!