Are you interested in the captivating world of goat milking and wish to construct your own goat milk stand?
Before diving into such a project, it's essential to cultivate a robust comprehension of goat behavior.

This knowledge will not only promote a harmonious relationship between you and the goats but also ensure the design of your milking stand considers their inherent preferences and needs effectively.
Recognizing the right materials and tools for construction will equally set a solid foundation for your stand.
Whether you're a novice builder or a seasoned expert, understanding the construction techniques for a goat milking stand like joining methods, and safety regulations is paramount.
This information will guide you through the step-by-step process, ensuring a high-quality and durable result.
Understanding the Intricate Behaviors of Goats
Understanding the behavioral attributes of goats is integral for anyone who wishes to build an effective goat milk stand.
It’s not just about constructing a passable stand – it’s about crafting a stand that caters to the unique characteristics of the furry friends.
Diving into the world of goat milk stand construction, here are the essential behavioral traits of goats and how they impact the design and construction process.
- First, goats are naturally curious creatures. They're driven by an innate need to explore their surroundings. This means they not only need space to move around but also a stand that can withstand their frequent investigations. When constructing the milk stand, ensure stability and sturdiness is prioritized to cater to the goat's curious nature.
- Second, goats are incredibly agile and can often escape from spaces that other animals can’t. Incorporating a secure locking mechanism in the milking stand becomes an absolute necessity to keep the goat safely in place during the milking process. The design should prioritize the goat's comfort but also incorporate measures to reduce their mobility temporarily.
- Third, recognize that goats are social animals. They can become stressed or anxious when isolated. Ensuring their favorite buddy is in sight, or they can still interact with their herd during milking will make the process smoother for everyone. Position the milk stand in a way that the goat has visual access to its goat pals.
- Fourth, goats have a tendency to kick, especially when they're uncomfortable or startled. To prevent the scenario of sudden kicks during milking, create a standing platform that offers a good foothold, so the goat feels secure and less likely to kick.
- Last, while all goats share some commonalities, they are, above all, distinctive individuals with their own personalities. Be prepared to tailor the milking stands to fit each individual goat's needs. Whether it's adjusting the headgate width or adding more padding to the stanchion, each of these personal touches can make the goat feel even more comfortable.
Understanding goat behavior and using that understanding during the construction process is vital to produce a goat milk stand that provides security, comfort and accessibility for goats.
Crafting with the goat’s nature in mind leads to a more efficient and less stressful milking process, ultimately resulting in higher quantities of higher-quality milk.
Thus, turning an everyday chore into an enjoyable hobby.
Materials and Tools for Construction
When constructing a goat milk stand, essential materials and tools are fundamental to the process.
Selecting the right materials has a significant impact on the strength, durability, and usability of the stand.
Let's dive into the collection of the necessary equipment you need to maneuver the craft of building a reliable goat milk stand.
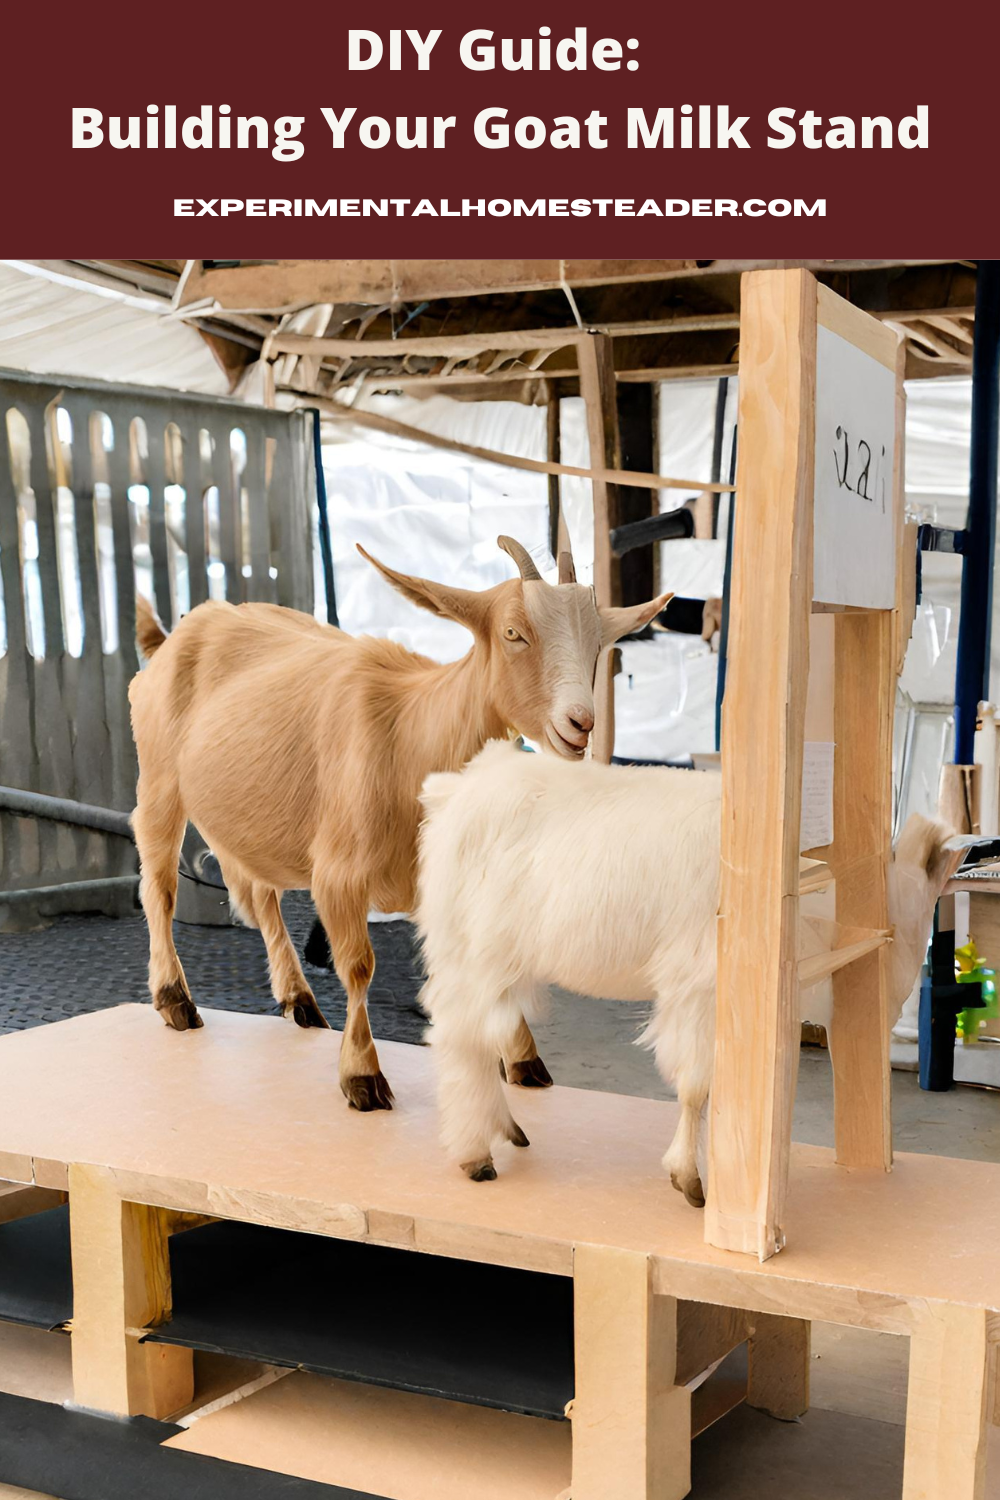
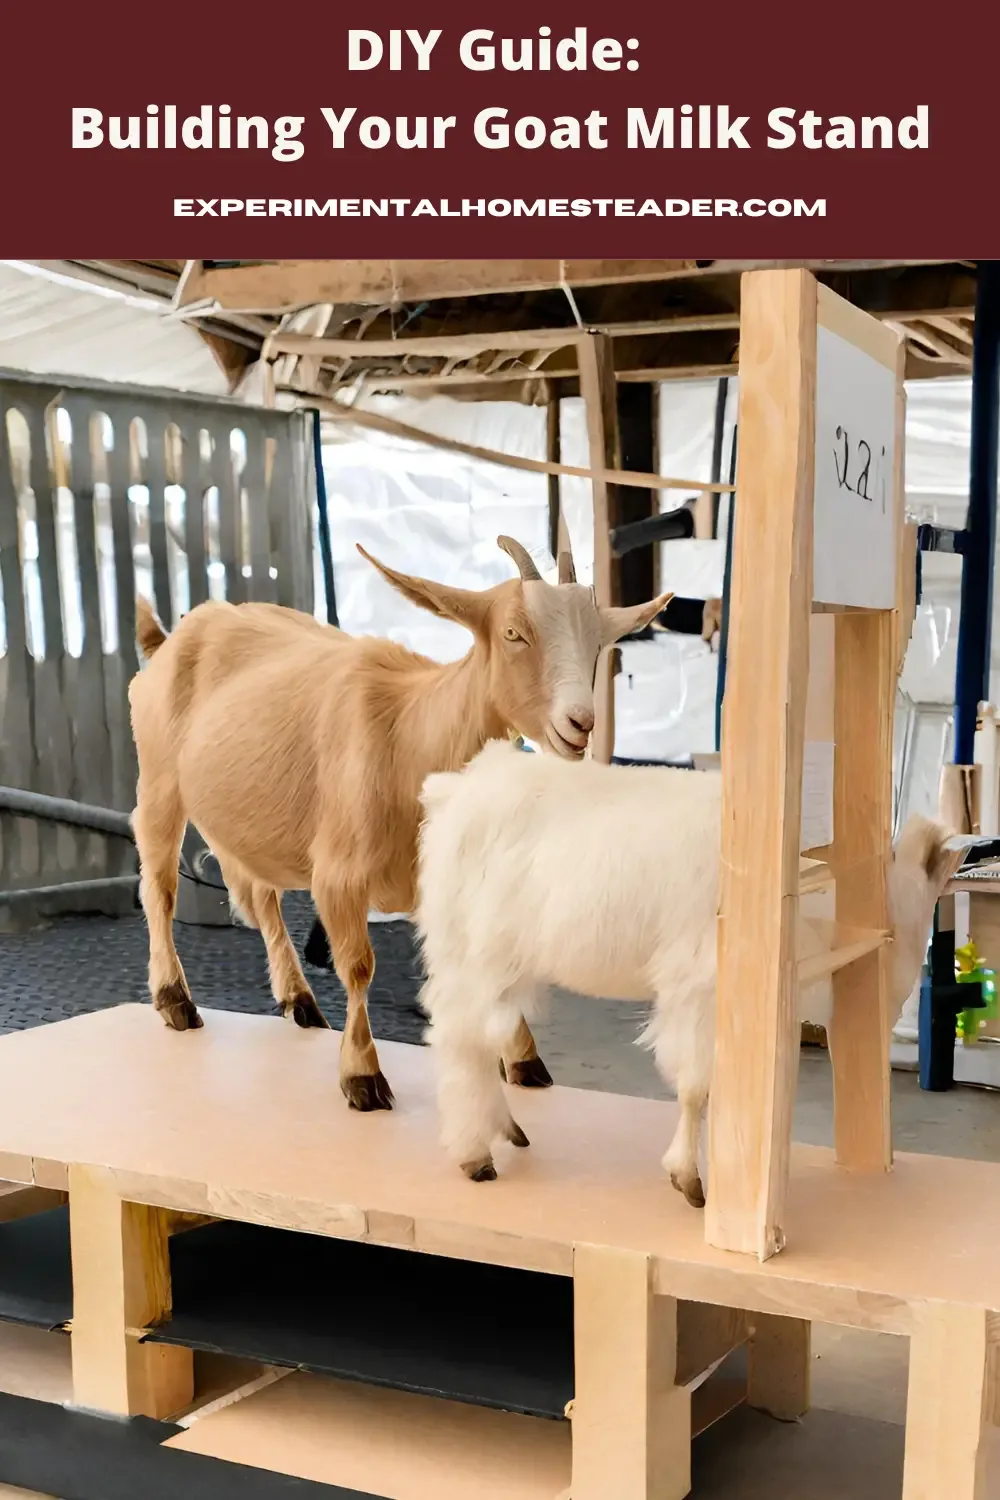
The foundation of your milk stand is the platform – this is your goat's stage, where all the action will take place.
A sturdy one would need a few 2 x 4s or 2 x 6s timber, cut to the desired length and width of your stand, typically 24" x 48".
Also, a ¾" plywood sheet measuring these same dimensions will provide a stable and safe platform for your goat.
One must not forget the importance of a goat's comfort, for this, obtain dense foam padding or a thick rubber mat that will fit the top of your stand.
This will give a comfortable standing spot for your goats, reducing movement and increasing their comfort level during milking sessions.
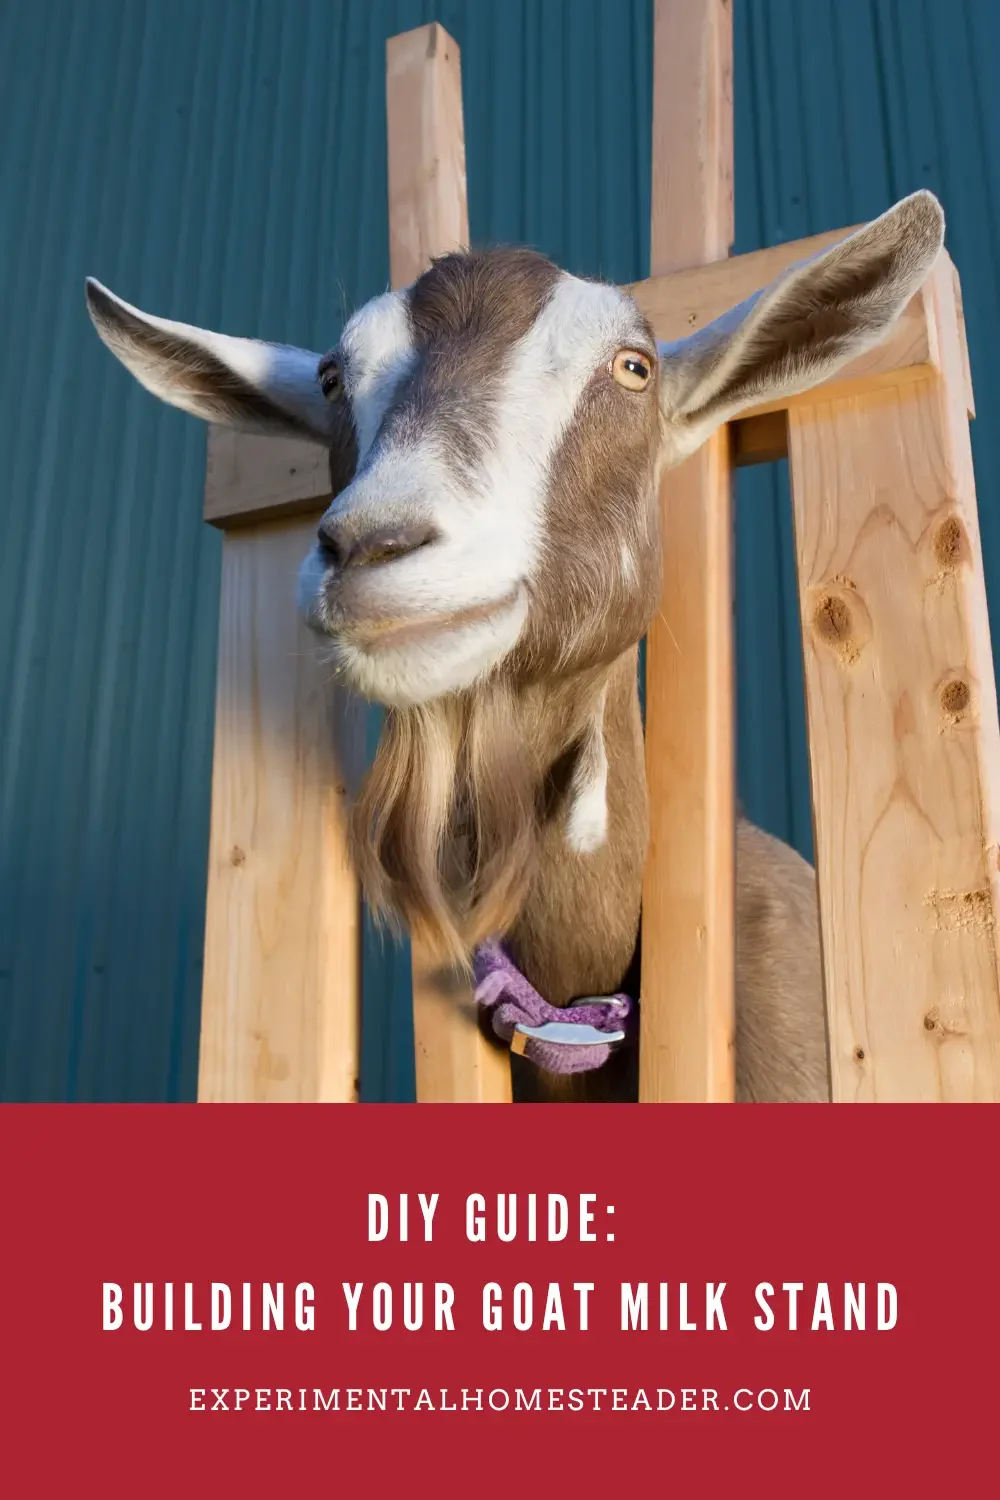
On to the headpiece – a unique part of any milk stand.
It consists of a fixed piece and a movable piece, looped together with a durable hinge. Essential materials for this part include a 4 x 4 post cut to about 40" to 45" (depending on the size of your goats), a simple 2 x 4 cut slightly shorter than your post for the movable part, and a substantial hinge to connect the two pieces together.
For secure locking, a slide bolt latch is ideal.
It's easy to operate and will keep your goat secure throughout the milking process.
Opt for a heavy-duty one to ensure it stands the test of time and an excited goat!
From there, let's talk hardware.
Deck screws at least around 3" long will get the job done for assembling your stand. You'll need at least a box of 100.
Let’s remember, a well-ventilated environment for goats is significant.
A drill to create holes in the stand's platform would be essential, furnishing adequate ventilation and drainage.
Also, using some wood glue on the joints before screwing the pieces together can provide additional strength and durability.
To protect your goat milk stand from the elements and keep it looking great, a tin of exterior-grade wood sealant or paint is needed.
Choose a finish that will suit the stand's environment, whether it's bold, low-key, or clear.
In terms of tools, prepare to have a saw (a power saw is handy but not essential), a drill (with drill and screwdriver bits), a level, tape measure, pencil, and perhaps a little elbow grease.
And there you have it!
With these basic materials and tools, you're equipped to create a sturdy, reliable, and goat-approved milking stand that'll turn milking into a daily joy rather than a chore.
Construction Technique
Ready to dive into the fine art of goat milking stand construction?
Let's do this!
First thing's first: the platform.
Assemble your platform using 2 x 4s or 2 x 6s timber, depending on the size and weight of your goats.
Put the frame together, then fasten a piece of sturdy plywood on top to create a smooth yet solid surface for your goat to stand on.
But wait a second—don't your goats deserve a little luxury?
Of course they do!
A dense foam or rubber matting on the platform can make all the difference.
Not only does this provide comfort for your goat, it also aids in reducing hoof noise and acts as a shock absorbent during the times your goats get a bit kicky.
Next up: the all-important headpiece.
This piece of your stand is crucial for securing your goats comfortably and safely.
Combine a durable 4 x 4 post and a 2 x 4 for this job.
Add a hinge to the vertical 2 x 4 part to add the flexibility of adjusting the headpiece according to your goat's size.
Slide bolt latches are perfect for this: they're strong, user-friendly, and available in most hardware stores.
Now, for assembly, deck screws are a must!
They're versatile, strong and easy to work with. Also, remember to drill ventilation and drainage holes at strategic points on the platform.
That milk has to go somewhere, right?
Plus, this will facilitate easier cleanup afterward.
But wait, don't start screwing just yet!
To enhance the strength of your stand even further, apply some wood glue where the pieces join.
Wood glue might seem less macho than nails or screws, but trust me—it's that extra layer of adhesive that’s going to secure this stand through the antics your goats might come up with.
Lastly, protect your masterpiece from weather and elements!
An exterior-grade wood sealant or paint does this job beautifully.
Not only does it add an aesthetically pleasing touch, it also provides a lasting layer of protection to preserve the quality of the wood.
Love your tools!
Your saw, drill, level, and tape measure are your best friends during this project.
Whether you're cutting your timber to size, drilling those important ventilation and drainage holes, or making sure the platform is perfectly even, make sure you have these tools on stand-by.
Always mark your measurements with a pencil before cutting to minimize mistakes.
Does that sum it all up?
Not quite!
Remember, it's not just about building a milk stand, but creating a stress-free, comfortable environment for your goats.
When your goats are happy, you'll find that your new hobby isn't just about the end product (delicious, nutritious milk!).
It’s also about the fun, fulfilling bonding time with these charming animals.
Just imagine yourself reaching out with an empty bucket, only for your goat to give a satisfied bleat and step easily onto their brand-new milking platform—proud moment!
All things considered, acquiring profound insight into goat behavior proves beneficial when designing a goat milking stand, improving its effectiveness and the overall milking experience.
The importance of choosing the right materials significantly affects the longevity and sturdiness of the stand.
Additionally, understanding the construction technique permits one to create a stand which is user-friendly for both the user and the goat, while adhering to safety standards.
Building a DIY goat milk stand can indeed seem like an intimidating project.
So, whether you're embarking on the journey for practical reasons or simply for the love of craftsmanship, the acquired comprehension of your friendly goats and the construction process will indubitably be instrumental in achieving your goals.
Sizing Up Your Stand: Tailoring for All Sizes
Goats, as we know, come in all shapes and sizes, from the dainty Nigerian Dwarf to the more substantial Saanen.
To build a goat milk stand that truly caters to your entire herd, consider flexibility as your guiding principle.
It's all about ensuring that every member of your caprine family has a comfortable and secure spot to step onto for their daily milking session.
One ingenious solution is to incorporate a movable headpiece on a slotted rail.
This simple yet effective feature allows you to easily adjust the height of the headpiece to match the size of each goat.
Imagine the convenience of a stand that can effortlessly accommodate your petite doe and your towering buck with a few swift adjustments.
It's like having a custom-made milking platform for each of your beloved goats.
This adaptable design guarantees that no goat is left out, no matter how large or small they may be.
It's the ultimate way to ensure the comfort and confidence of your furry friends during milking time.
The Ergonomics of Milking: Your Comfort Matters Too
Milking goats is a labor of love, but it shouldn't be a literal pain in the back.
One often overlooked aspect of goat milking stands is the ergonomics for the person wielding the milking equipment.
After all, your comfort and well-being are paramount.
We're all too familiar with the aftermath of a milking session that leaves you with a sore back and strained muscles.
So, when designing your stand, keep the ergonomics in mind.
Find the sweet spot for the platform's height that suits you best.
It should allow you to milk your goats with ease, without stooping or straining.
Your milking stand should be designed to make your job not only efficient but also comfortable, ensuring that you can continue to enjoy this daily ritual without any physical discomfort.
Keeping it Clean: Hygiene is Paramount
Hygiene is the linchpin of any goat milking operation.
Nobody wants their fresh goat milk to come into contact with dirt or contaminants.
To make your post-milking cleanup a breeze and ensure the pristine quality of your milk, think about incorporating features for easy cleaning into your design.
One practical addition is to include removable pans or trays beneath the goat's standing area.
These can swiftly catch any spills or drips during milking.
Once you're done, it's a simple matter of removing the pan and cleaning it thoroughly.
This not only maintains the cleanliness of your milk but also keeps your milking stand in top condition.
It's a small but significant step towards ensuring the purity of your dairy products.
Nifty Extras: Enhancing Functionality
Why stop at just a basic milking stand when you can add a touch of practicality to make your life on the homestead even easier?
Consider these nifty extras that can elevate your milking stand's functionality:
- Hooks for hanging your milking supplies, so you always have your equipment within arm's reach.
- A storage area for cleaning materials, keeping everything tidy and organized.
- A place to keep some treats for your goats as a reward for their cooperation. It's a small gesture that can go a long way in making milking a more pleasant experience for both you and your goats.
Safety First: Protecting Your Herd
While we're discussing design, safety is non-negotiable.
Sharp edges or protruding nails are potential hazards that can harm both you and your goats.
Safety should always be a top priority.
It's not just about ensuring a secure milking process; it's about creating an environment that prioritizes the well-being of all involved.
If you decide to use treated wood, make sure it's safe for your goats.
Some wood treatments can be toxic, and the last thing you want is to expose your precious herd to harmful chemicals.
Always double-check that the materials you use are goat-friendly and pose no health risks to your animals.
Aesthetic Choices: Beauty on the Homestead
Finally, let's not forget the aesthetic aspect of your goat milk stand.
It's not just a functional piece of equipment; it can also be a beautiful addition to your homestead.
You have the freedom to infuse your unique style into this everyday tool.
Consider painting your milking stand in a color that complements the overall look of your farm.
Whether you prefer bold and vibrant or subtle and understated, the choice is yours.
You can even add decorative touches to make it uniquely yours, turning your milking stand into a charming and distinctive feature on your homestead.
Incorporating these elements into your goat milk stand design ensures that it's not just a practical piece of equipment but a true asset to your homestead, making your daily milking routine more efficient, comfortable, and even a bit more stylish.

Step-by-Step Guide: Building Your Goat Milk Stand
Welcome to the heart of this DIY adventure, where we'll take you through the process of constructing a goat milk stand from the ground up.
Whether you're a seasoned homesteader or just embarking on your farming journey, this step-by-step guide will help you create a versatile and comfortable milking platform tailored to your goats' unique needs.
It's time to roll up your sleeves, gather your materials, and get ready to craft a stand that will make goat milking a breeze while ensuring the utmost comfort for your caprine companions.

DIY Guide: Building Your Goat Milk Stand
This guide will ensure you create a functional and comfortable milking platform for your goats.
Materials
- You'll need 2 x 4s or 2 x 6s timber for the platform frame.
- A ¾" plywood sheet for the platform's top surface.
- Dense foam padding or a rubber mat for added comfort.
- A 4 x 4 post for the headpiece.
- A 2 x 4 for the movable part of the headpiece.
- A sturdy hinge to connect the two pieces of the headpiece.
- A slide bolt latch for secure locking.
- Deck screws (around 3" long) for assembly.
- Wood glue for added strength.
- Exterior-grade wood sealant or paint for protection.
Instructions
- Step 1: Gather Your Materials and Tools
You'll need 2 x 4s or 2 x 6s timber for the platform frame.
A ¾" plywood sheet for the platform's top surface.
Dense foam padding or a rubber mat for added comfort.
A 4 x 4 post for the headpiece.
A 2 x 4 for the movable part of the headpiece.
A sturdy hinge to connect the two pieces of the headpiece.
A slide bolt latch for secure locking.
Deck screws (around 3" long) for assembly.
A drill with drill and screwdriver bits.
A level, tape measure, pencil, and saw.
Wood glue for added strength.
Exterior-grade wood sealant or paint for protection. - Step 2: Design the Platform
Determine the size of your stand, typically 24" x 48" for the platform.
Assemble the platform frame using the 2 x 4s or 2 x 6s.
Fasten the ¾" plywood sheet on top to create a smooth and sturdy surface for your goat. - Step 3: Add Comfort and Safety Features
Cover the platform with dense foam padding or a rubber mat to provide comfort for your goat.
Drill ventilation and drainage holes at strategic points on the platform for cleanliness and airflow. - Step 4: Build the Headpiece
Construct the headpiece using the 4 x 4 post for the fixed part and the 2 x 4 for the movable part.
Attach a durable hinge to connect the two pieces, allowing for adjustment.
Install a slide bolt latch for secure locking during milking. - Step 5: Assemble the Stand
Use deck screws to assemble the various parts of the milk stand.
Apply wood glue to the joints before screwing the pieces together for added strength and durability. - Step 6: Protect and Personalize
Coat the milk stand with an exterior-grade wood sealant or paint to protect it from the elements.
You can choose a finish that matches your farm's aesthetic or adds a personal touch. - Step 7: Test and Adjust
Before using the stand for milking, test it with your goats to ensure it's comfortable and secure.
Make any necessary adjustments, such as the height of the headpiece, to accommodate different-sized goats.
By following these step-by-step instructions, you'll be well on your way to creating a reliable and goat-friendly milking stand. Remember that understanding your goats' behavior and needs is key to building a stand that ensures a stress-free and efficient milking process.
Crafting the Perfect Goat Milk Stand
As we conclude this comprehensive guide on building a goat milk stand, we've embarked on a journey to create not just a practical milking platform but a dedicated space that caters to the comfort and safety of both you and your goats.
From understanding your goats' unique behaviors to choosing the right materials and tools, we've covered every aspect of crafting a functional and goat-friendly stand.
Remember, versatility is key; design your stand to accommodate goats of all sizes, ensuring no one is left out.
Focus on ergonomics to make your milking sessions comfortable, and prioritize hygiene with features for easy cleaning.
Those nifty extras can add a touch of convenience to your daily routine, while safety measures and thoughtful choices keep your herd protected and healthy.
And let's not forget the aesthetics – your milking stand can be a reflection of your personal style and a beautiful addition to your homestead.
By embracing these insights and techniques, you've not only learned how to build a goat milk stand but also discovered the art of creating a harmonious milking experience that turns a daily chore into a delightful, fulfilling bonding time with your charming caprine companions.
So, roll up your sleeves, gather your tools, and embark on this DIY adventure.
Your goats are waiting for their new milking platform, and you're well-equipped to make it a reality.
Here's to successful and enjoyable goat milking on your homestead!
All About Goats

Goat Homemade Teat Dip Recipe
This homemade teat dip for goats is easy to make. This particular teat dip solution contains essential oils and simple ingredients plus it does the job!
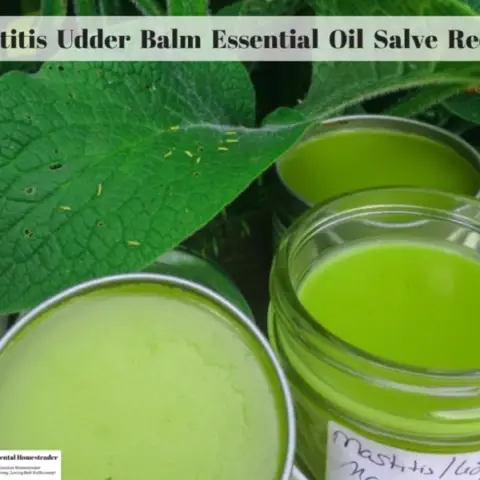

Mastitis Udder Balm Essential Oil Salve Recipe
It is essential to take care of your goats teats. I wanted something natural so I came up with this homemade balm essential oil salve recipe using comfrey.
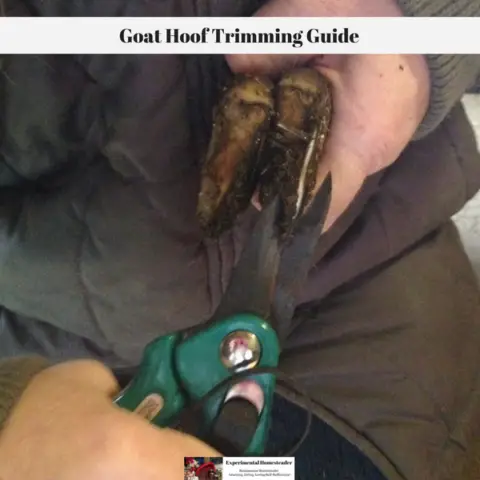

Goat Hoof Trimming Guide
This goat hoof trimming guide takes you step by step through the goat hoof trimming process. You will gain an understanding of what to put in your goat hoof trimming kit and how to use the goat hoof trimming stand plus how to train your goats to cooperate when using goat hoof trimmers.
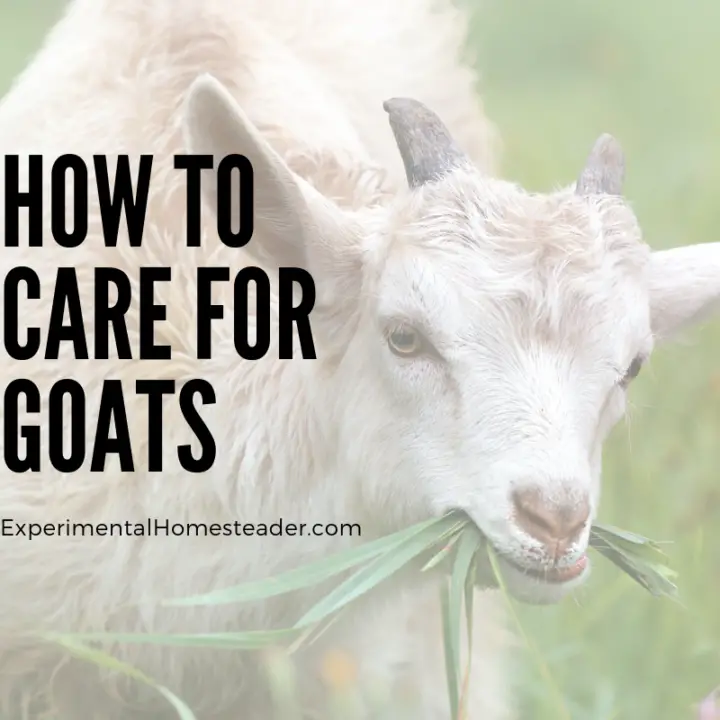

How To Care For Goats
Learn tips on how to care for goats ideal for beginners as well as experienced goat owners. Plus get tips on handling goat milk, meat and more!

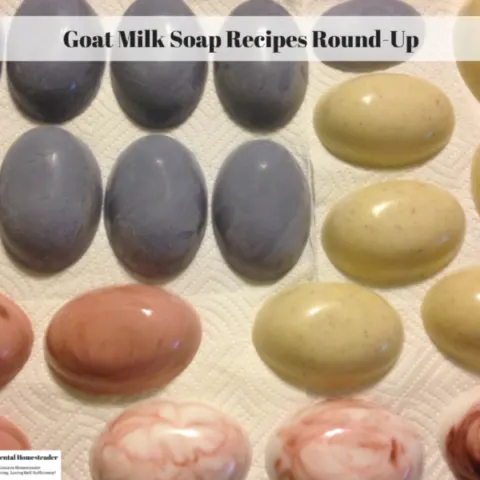
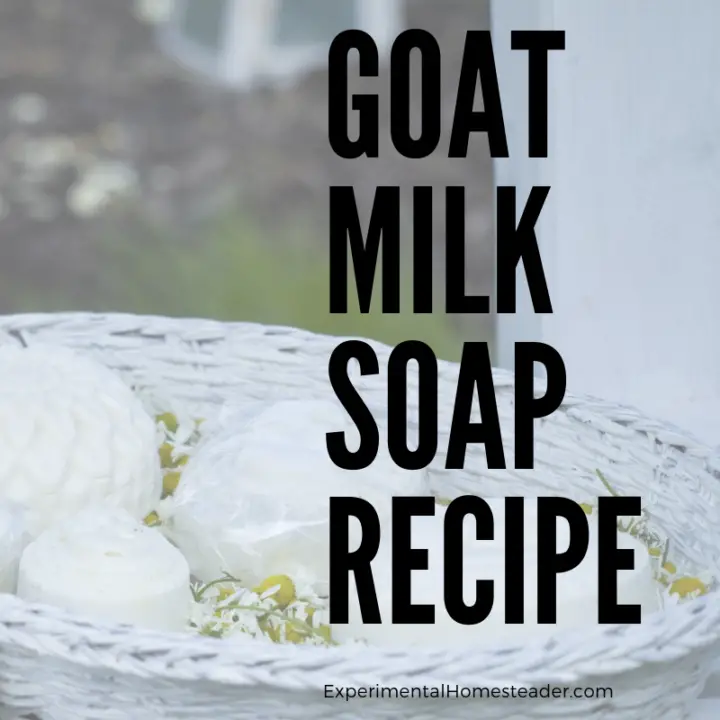
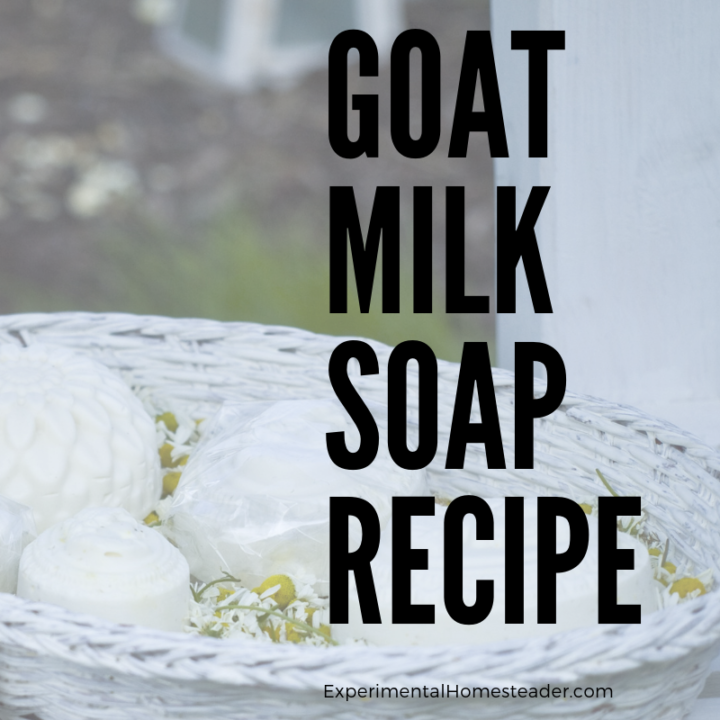
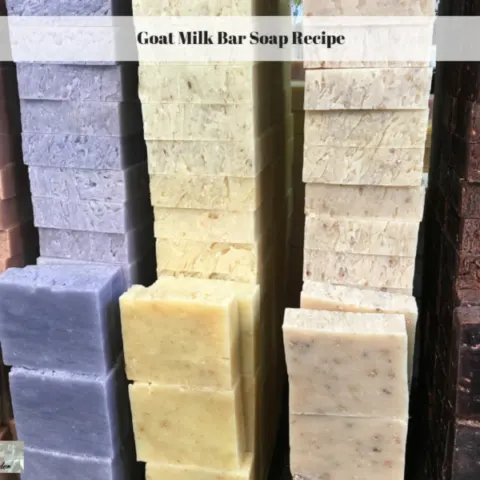
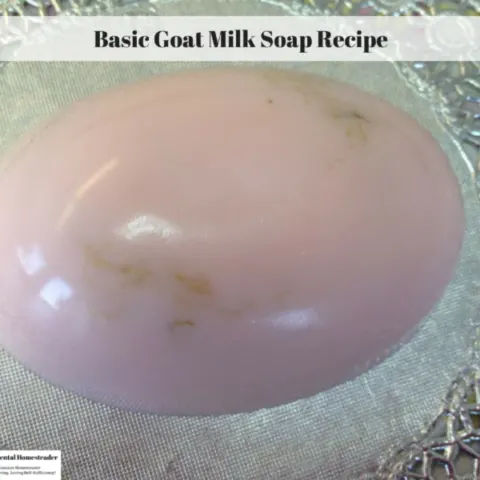
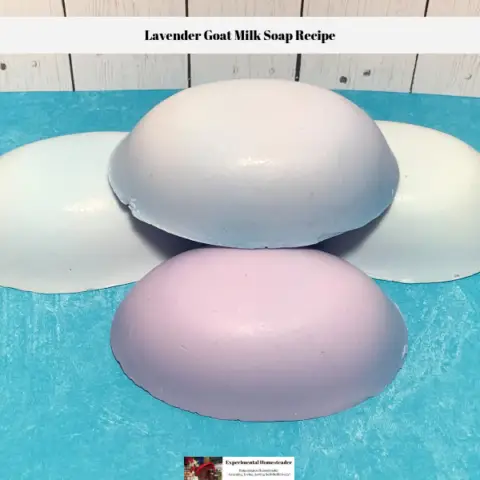
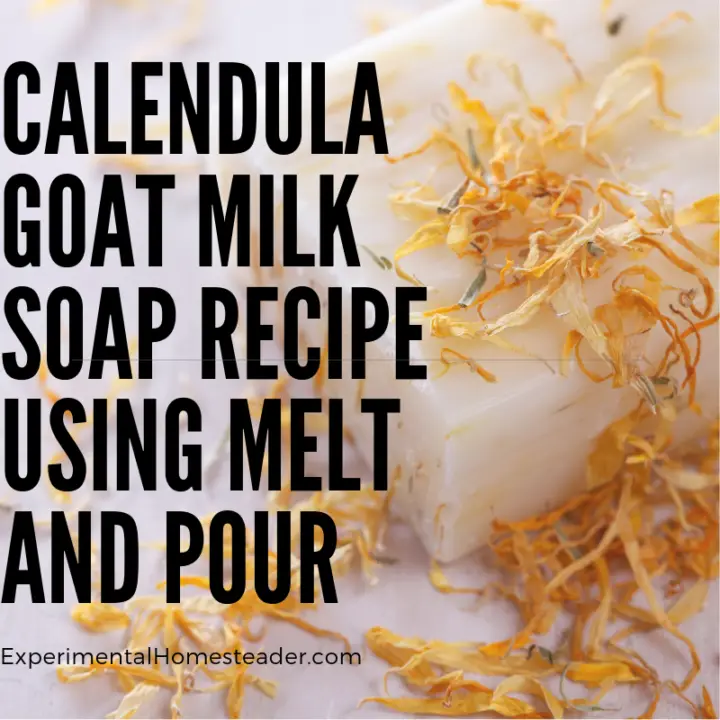
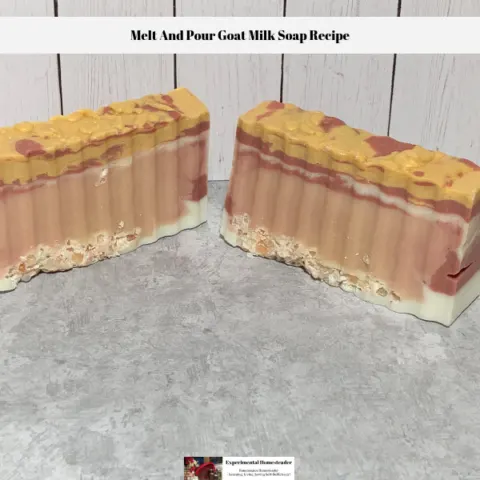
Goat Milk Soap Recipes
Are you looking for goat milk soap recipes? Look no further! Here you find a goat milk soap recipe for liquid soap, bar soap and even laundry soap.


Goat Milk Laundry Soap Recipe
Make your own laundry detergent using this goat milk laundry soap recipe. It is super easy and only requires three basic ingredients. Scent is optional.
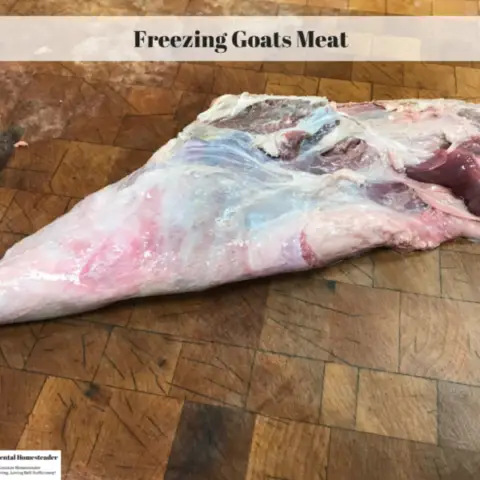

Freezing Goats Meat
Freezing goats meat is as easy as freezing any other type of meat. If you raise goats or have a goat meat store close by this is an easy way to stock up.


Goat Milk Butter Recipe
Learn how to make butter from goats milk using a kitchen blender! This goat milk butter recipe only takes a few minutes to make!
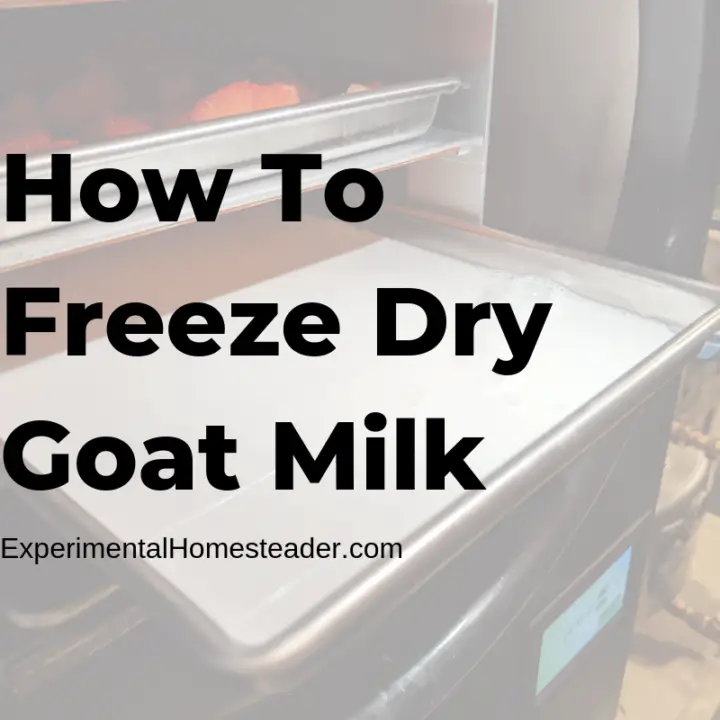
How To Start Freezing Goat Milk
Freezing goat milk is the best way to preserve it. Learn how long frozen goat milk lasts in the freezer, how long it lasts in the refrigerator and more!
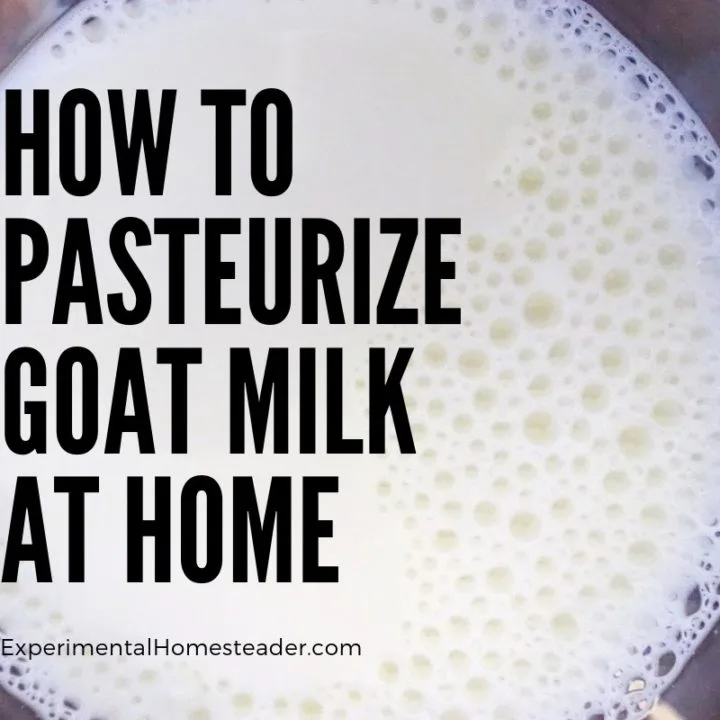
How To Pasteurize Goat Milk At Home
It's easy to learn how to pasteurize goat milk at home regardless of the actual method you choose to use to accomplish the task.
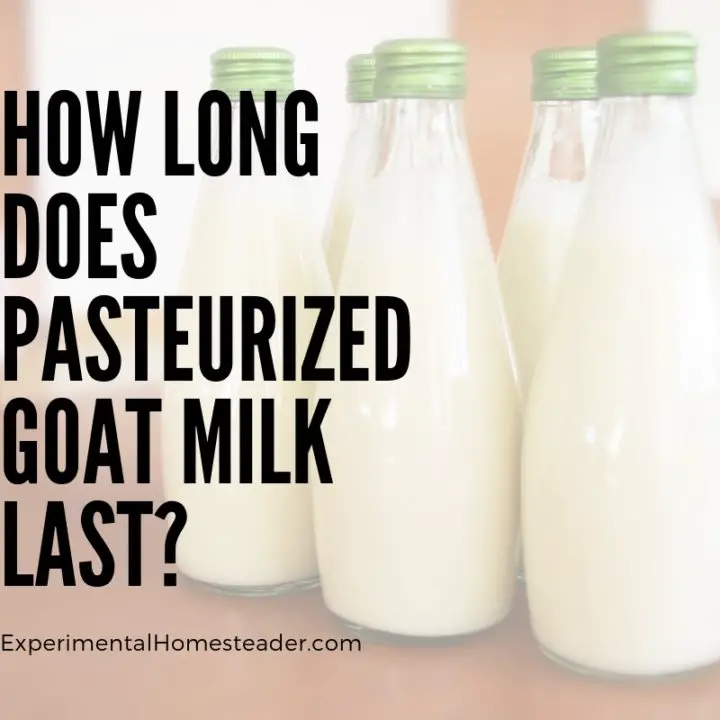

How Long Does Pasteurized Goat Milk Last
Have you ever wondered how long does pasteurized goat milk last? Find out the the answers for both refrigeratored and frozen goat milk!

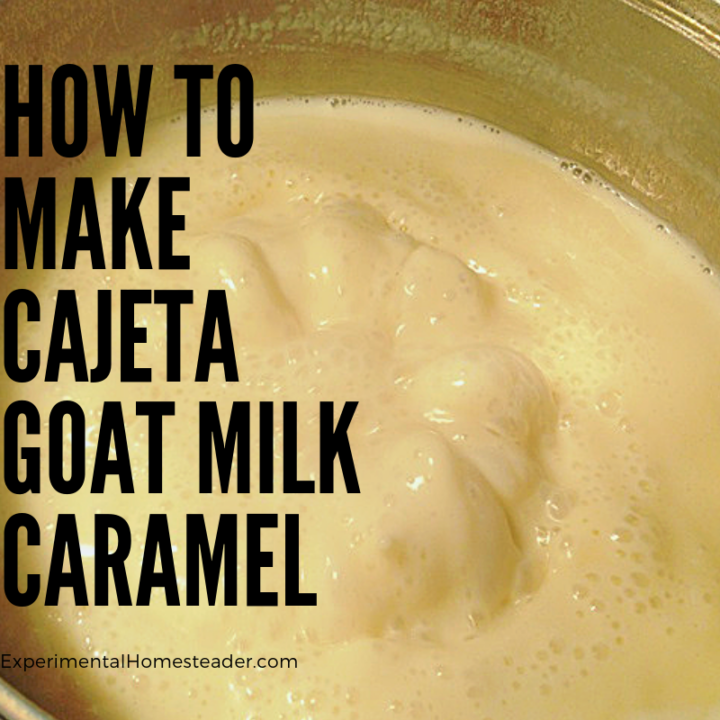
How To Make Cajeta Goat Milk Caramel
Learn how easy it is to make cajeta goat milk caramel from fresh goat milk. Plus learn how to preserve it for winter use by canning it.