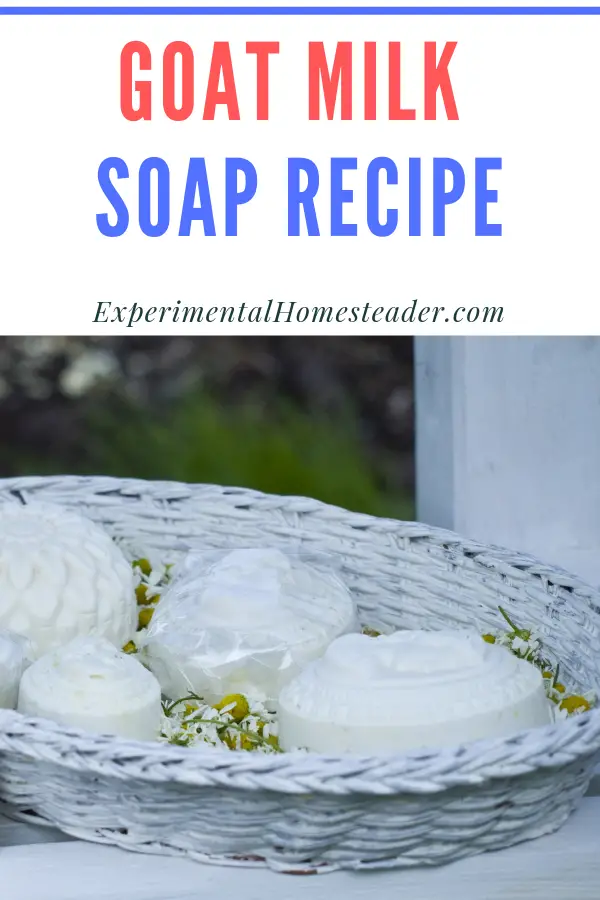
Goat Milk Soap Recipe
One of the advantages of raising goats is being able to make this goat milk soap recipe.


Why I Like This Goat Milk Soap Recipe
One reason I like this goat milk soap recipe is because it bubbles up and washes the dirt away.
This is also a great soap to use in the shower or bath tub.
Best of all, as long as it is cured properly it is long lasting.
I cure all of my soap for a minimum of six months just because I think it makes the soap last a little longer than if it is used fresh.
This applies to both goat milk soap I make completely from scratch and goat milk soap I make from a melt and pour base.
Ideas For Using This Goat Milk Soap Recipe
I like to make a big batch of this goat milk soap recipe up and use it as a base.
Think of it as making your own melt and pour soap base.
When I am ready to make the individual bars of soap, I just grate up the amount of the base that I want and then add the other ingredients.
This technique is how they make hand-milled soap.
For those who do not want to make their own goat milk soap recipe from scratch, you can substitute a melt and pour goat milk soap, then follow the instructions from step 25 down to step 35.
I have made this recipe both ways and it works fine.
I hope you will give this recipe a try and not be afraid of making it because of the lye.
Just remember to always use your rubber gloves, safety glasses and take your time when working with lye.
Print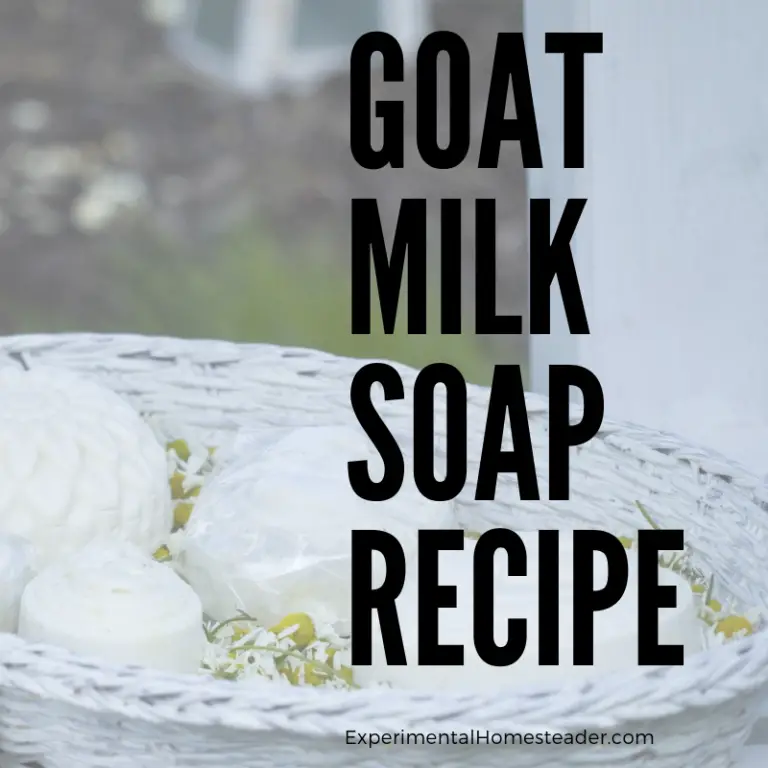
Goat Milk Soap Recipe
Ingredients
Instructions
- Place the correct amount of lye into a plastic pitcher. Be sure to weigh this by placing the container on a scale, making sure it is set to zero and then add the lye. This step is very important!
- Set the pitcher containing the lye aside someplace where it will not get knocked over.
- Now using the same method, place a second plastic pitcher on the scale and weigh the cold water.
- Carefully pour the lye into the pitcher containing the water. Do this slowly and be sure you are wearing your soap making safety equipment such as rubber gloves and safety glasses. Do not splash this mixture!
- Once all of the lye is in the pitcher containing the water, stir the mixture with a wooden spoon, again taking care to not splash the mixture.
- Continue stirring the lye mixture until all of it is dissolved. At this point the lye mixture should have heated up and have reached a temperature somewhere between 150 degrees Fahrenheit to 200 degrees Fahrenheit.
- Set the pitcher containing the lye mixture aside to cool. Again, be sure it is in a safe place so it does not accidentally get knocked over. You want the lye to cool down so the temperature is 100 degrees Fahrenheit. You can use a hot or cool water bath to help the process along.
- Now go ahead and weigh the tallow and place it in a stainless steel pot or an enamel pot without chips in it.
- Set the pot on the heat source and set the heat temperature to medium to melt the tallow. Stir the contents frequently to encourage the melting process. It is ok to smash the small pieces against the side of the pot to encourage them to melt.
- Once the tallow is melted, stir continually to reduce the temperature to 105 degrees Fahrenheit. You can use a cold water bath to lower the temperature faster.
- Double and triple check the temperature of both the lye solution and the tallow. This is a very important step! Both the tallow and lye needs to be in the 95 degree Fahrenheit and 100 degree Fahrenheit range!
- Be sure you still have your rubber gloves and safety glasses on before proceeding to the next step.
- Begin stirring the tallow and slowly - very slowly - pour the lye solution into the pot with the tallow while continuing to stir the mixture. The only way to get the lye to absorb into the fat is to keep stirring it. This is a long process!
- Stir gently so you do not splash the contents out of the pan. The mixture will begin to thicken and turn opaque. It will look grainy instead of smooth. This is normal.
- Continue to stir until you see trailings, which are lines of soap that float on the surface yet remain distinct from the soap in the pot. To test for this, lift your spoon out of the pot and drizzle a thread of soap on top of the mixture. If you see the the distinct markings of the drizzle on the surface the soap has reached the trailings stage.
- At this point, simply pour your soap into the mold, place a lid on the mold and wrap the entire mold in old towels to insulate it.
- Place the mold in a warm place where it will not be disturbed for 48 hours.
- After 48 hours have passed, unwrap the soap, but do not touch it without wearing the rubber gloves. It is still caustic. The soap should be solid looking but may still be soft to the touch.
- Leave the soap uncovered for another 48 hours, then see if it is hard enough to touch without leaving an impression, if it is proceed, if not, then allow it to harden a little longer.
- Once the soap is hard enough, then turn the mold upside down over a sink or inside a tub and press the bottom to release the soap from the mold. If the soap does not easily release, set it aside and give it a couple more days to dry.
- Once the soap is out of the mold, place it on a clean surface with a piece of freezer paper underneath it.
- Allow it to sit exposed to the air for a week to harden more.
- Now it is ready to be cut into bars of soap. These bars can be any size you desire them to be. A knife warmed with hot water will cut into the bars of soap easily.
- Once the soap is cut into bars, it needs to dry for another two weeks.* Be sure to place the bars of soap on freezer paper to dry.
- Once the bars of soap are done curing, grate the soap. This is easily done with an electric kitchen grater but it can be done by hand if you prefer.
- Place 12 ounces of grated soap into a stainless steel pan.
- Add 9 ounces of goat milk soap to the grated soap.
- Place the pan on the heat source and turn it to medium.
- Stir the mixture continually until the soap is melted.
- Pour the soap into a glass container such as a glass measuring cup.
- Allow the soap to cool just slightly, then add any essential oils, coloring or other additives you wish.
- Stir to mix the additives into the soap.
- Pour the soap into the molds.
- If any bubbles form on top of the soap, give the soap a light spray of isopropyl alcohol. This will take care of the bubbles.
- Allow the soap to cool and fully harden in the molds.
- Once the soap is hard, remove it from the molds using the same process as above.
- Set the molded soap on freezer paper and allow it to cure. As stated above, I like to cure mine for a minimum of six months, but you can certainly use it after two weeks curing time if you prefer.
Notes
*I typically allow my bars of soap to cure for six weeks at this point.
Note: Wrap each cured bar of soap in Saran Wrap and store them in a sealed container in a cool, dark place.
If you have questions or comments, feel free to leave them in the comment section below.
I highly recommend the following articles:
- Goat Milk Bar Soap Recipe
- Goat Milk Laundry Soap Recipe
- Goat Milk Soap Recipes Round-Up
- Basic Goat Milk Soap Recipe
Use the buttons on the right side to share this article with friends or family who might find it useful. Pin the picture below to your pinboard on Pinterest for future reference.