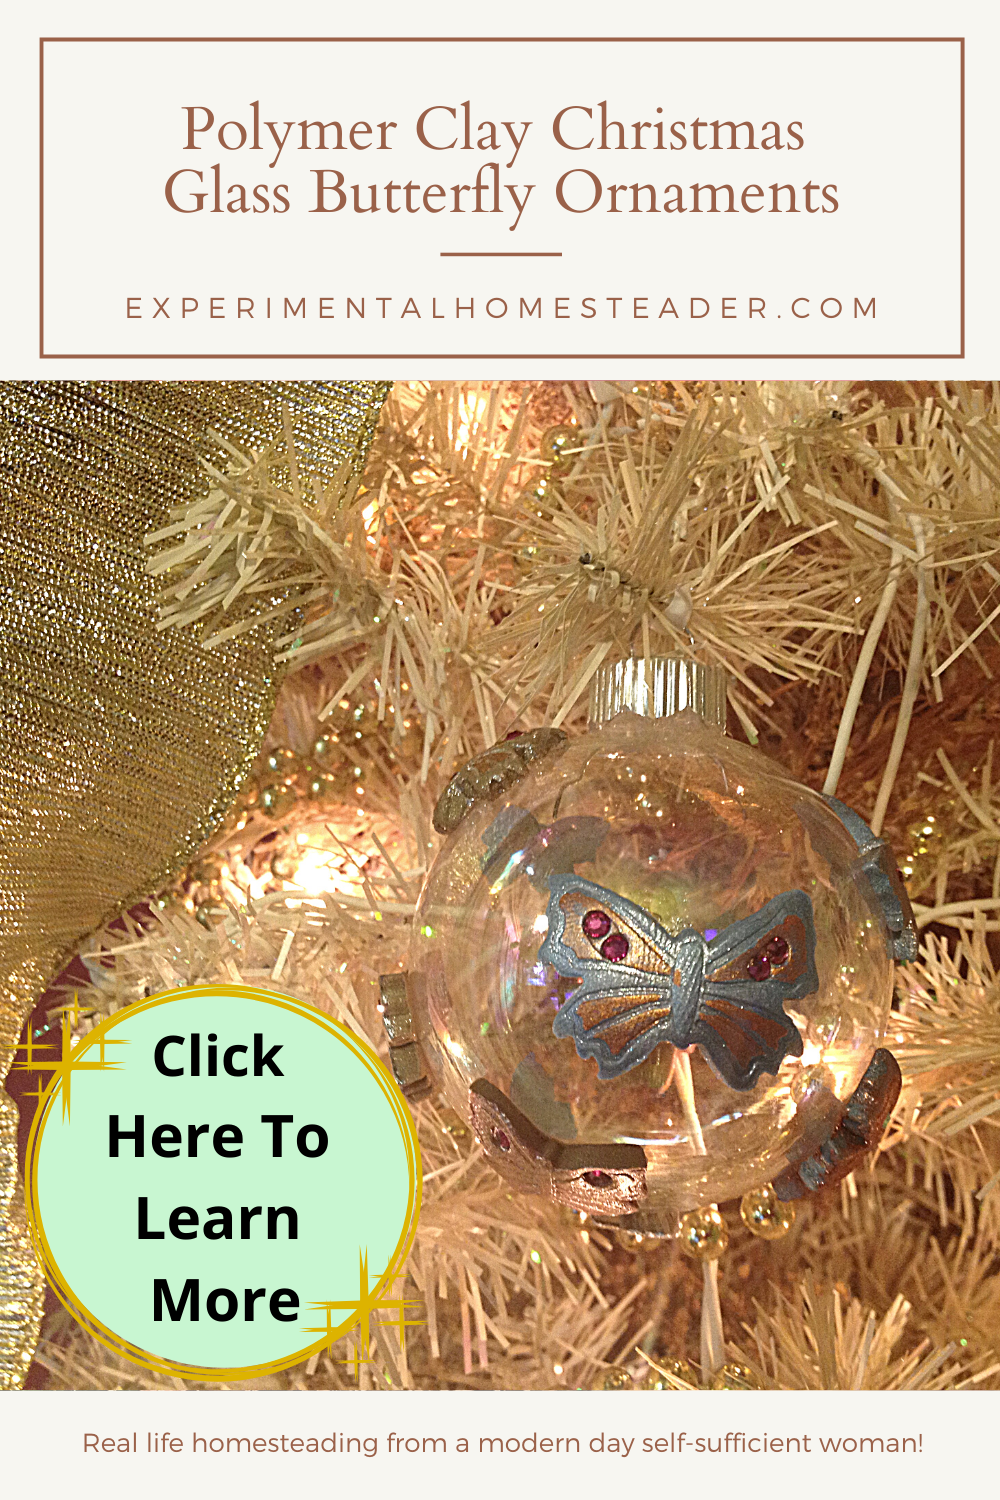
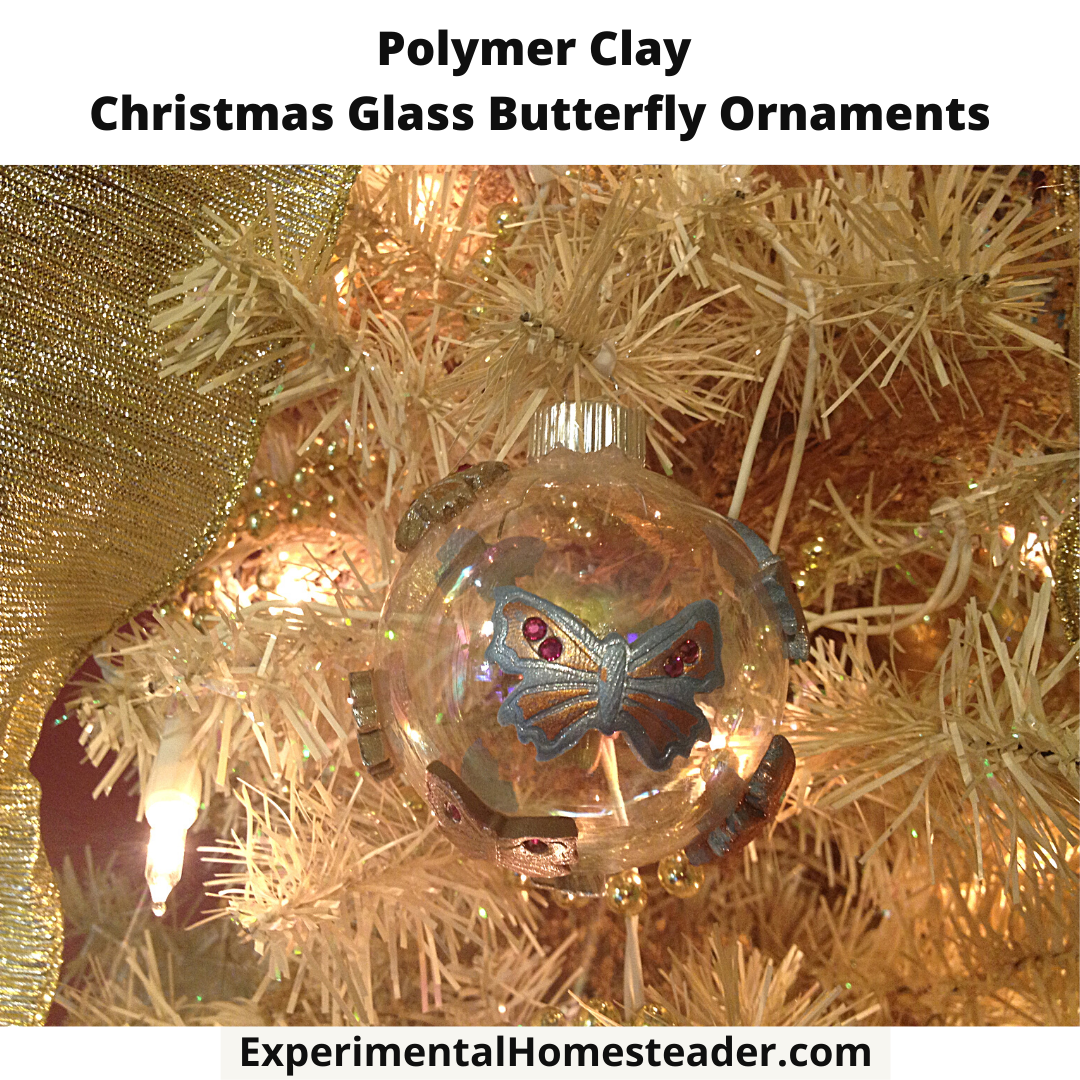
Polymer Clay Christmas Glass Butterfly Ornaments
Show your love of butterflies this holiday season by making your own polymer clay Christmas glass butterfly ornaments.

Fun For Adults And Children Too!
This Christmas DIY decor idea is fun - and easy.
Choose a variety of polymer clay that you can bake in an oven and glass ornaments in any shape or size you choose, cut the butterfly shapes out and decorate them.
Then attach the decorated polymer clay butterflies to the glass ornaments by gently pressing them into place, bake and then hang your new handmade ornaments on your real or artificial holiday Christmas tree.
It really is that simple.
In fact, this is a great project to do with children.
Here is a step-by-step guide on how to make these gorgeous polymer clay butterfly Christmas ornaments.

Polymer Clay Butterfly Christmas Ornament
Make your own polymer clay Christmas glass butterfly ornaments this year! This is a great craft idea for kids and adults!
Materials
Tools
Instructions
- Collect all of your materials - clay, decorations, clay rolling pin, non-stick craft mat and the embossing cutters you intend to use to make the butterfly shapes with. The ones I chose were the Lisa Pavelka butterfly embossing cutters. They come in a set of 3 - and all 3 are a slightly different size.
- Place the non-stick craft mat on the table you will be working on.
Roll the clay out to approximately ¼ inch thick - making sure to turn it over a couple of times to make sure both sides of the clay are smooth. - Use the butterfly embossing cutters to cut out the butterflies. Cut 2 large butterflies, 3 medium butterflies and 5 small butterflies.
Once all the butterflies are cut out, decorate each clear glass ball Christmas Ornament individually. Use a combination of Swarovski Crystals, paint specially formulated for polymer clay and Jacquard Pearl-Ex pigments. - Press each decorated butterfly onto the glass ornament, making sure none of them touch.
- Once you are satisfied with the way the Christmas ornament looks, remove the metal hanger that the ornament came with.
- Fold a piece of aluminum foil in half and lay the ornament on top of the piece of foil. ,
- Fold the aluminium foil in half again to make it fit inside an aluminium throw-away pan.
- Make a tent out of a second piece of aluminum foil to cover the top of the pan making sure that air can escape on both ends.
- Once the ornament is secure in the baking pan, put it in the oven and followed the manufacturer instructions on the specific brand of clay you are using.
- Use hot pads when removing the baking pan from the oven because the ornaments are very hot. Allow the ornaments to sit in the pan and cool before you try to handle them.
- Once the ornaments are cool to the touch they are ready to hang.
To keep them from year to year, wrap each ornament in bubble wrap and put them inside a plastic shoebox for safe keeping.
DIY Christmas Decor Ideas


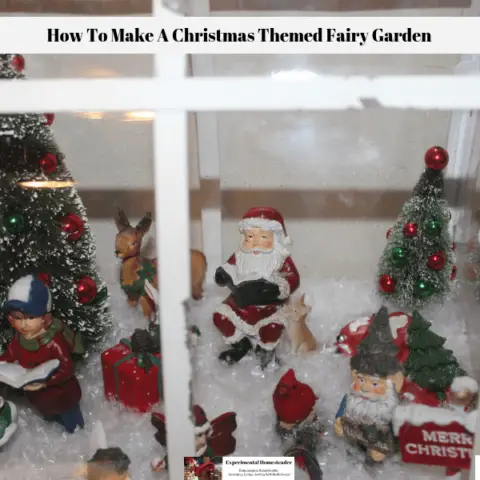
How To Make A Christmas Themed Fairy Garden
This super cute Christmas themed fairy garden, made by my friend Karen McBride, is easy to recreate and is a lot of fun to make.
How To Make A Christmas Fairy Garden Basket
Learn how to make a Christmas Fairy Garden Basket using the Maker's Holiday Littles Figurines plus how to do it on a budget!
This post is part of the following linky parties and blog hops: