DIY Feather Christmas Tree
This DIY feather Christmas tree is super cute and oh so easy to make!

While this is not the same as the German Feather Trees from the 1800's, it is also called a feather tree.

The Story Behind The Project
On a recent trip to one of my favorite hobby stores I came across a beautiful feather Christmas tree.
I thought to myself that is so cute, but I don't want to pay the price they are asking - and after all, I do have chickens, so feathers are plentiful around the farm.
I looked closely at the tree to see how it was made and then decided to make one myself - complete with decorations.
The Necessary Supplies
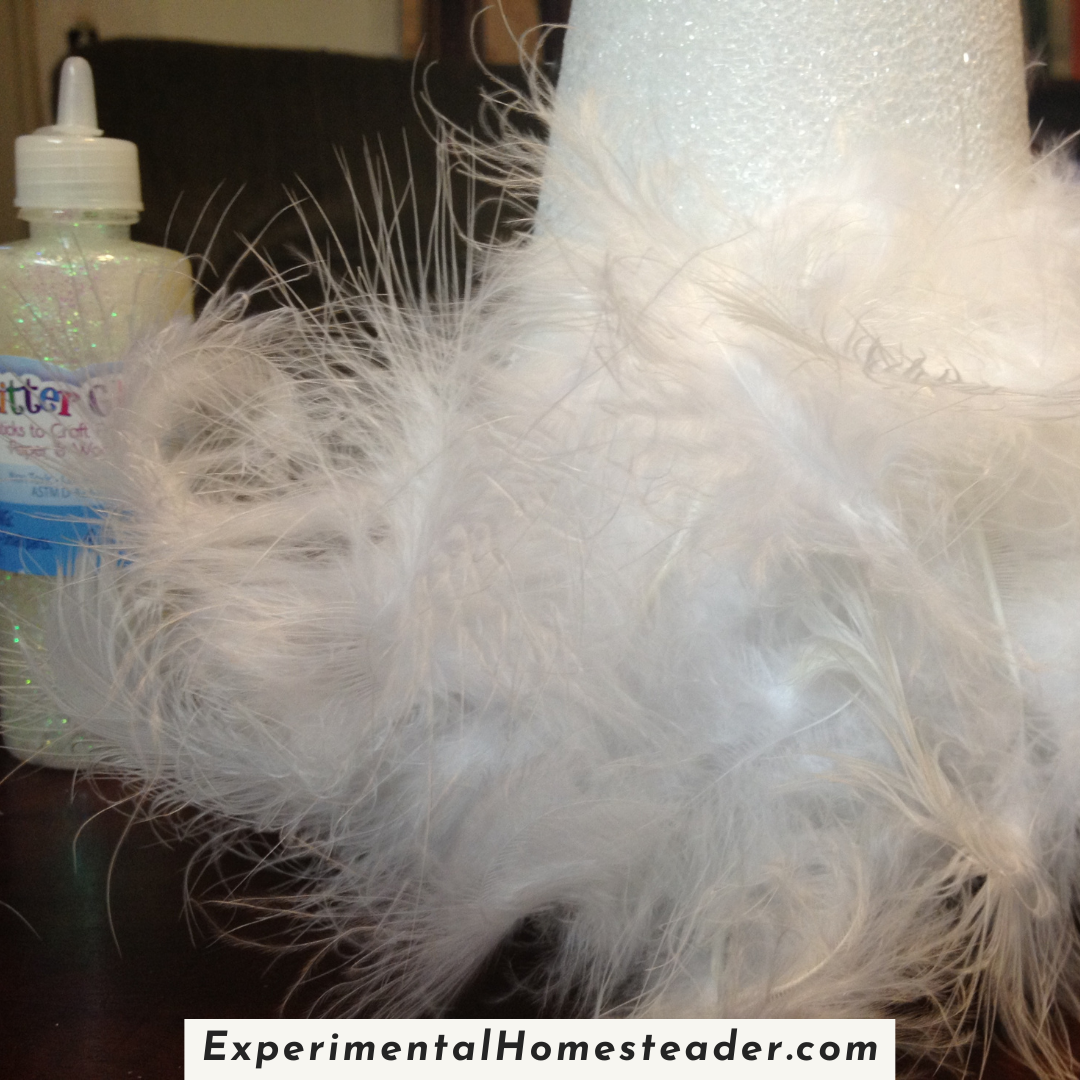
I bought a styrofoam cone which was what they used to secure the feathers.
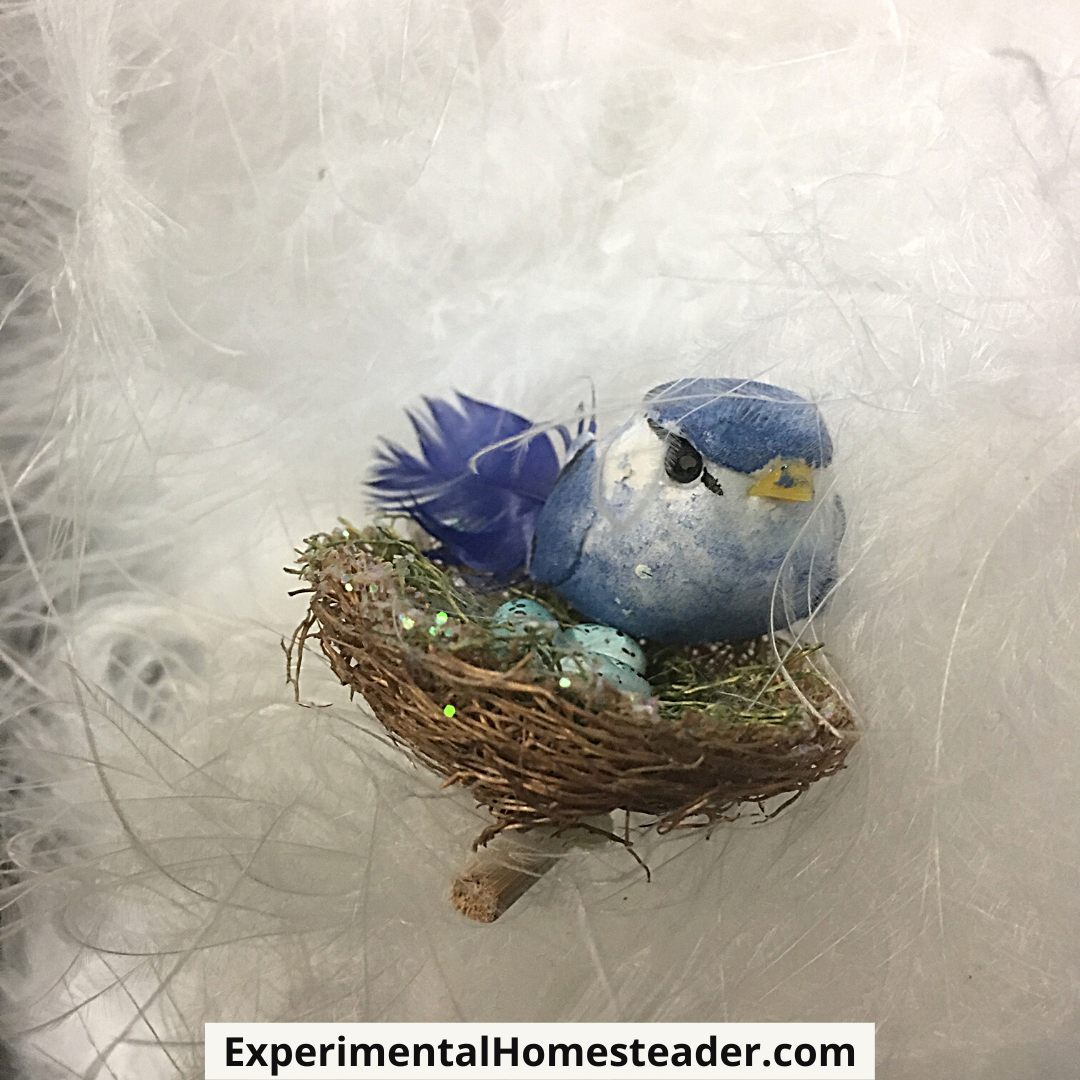
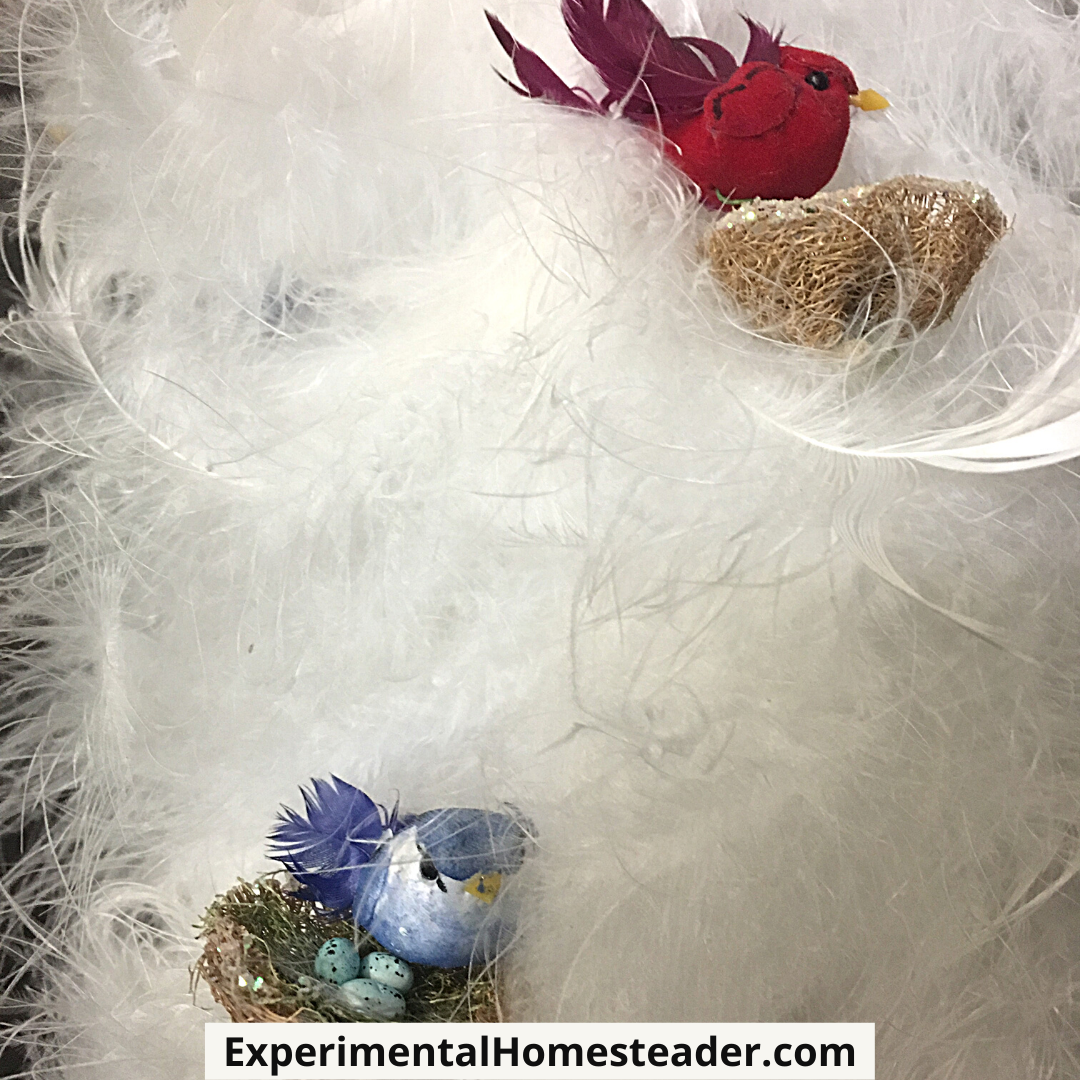
I also bought mini-birds nests from the papercrafting section and mini-birds from the floral decorating section.
I purchased glitter glue as well because the tree I saw had all of its feathers edged in glitter.
Because feathers come in all sizes and there was a need to secure some of the smaller feathers to the tree, I also grabbed the Elmer's glue bottle.
After all, Elmer's has been the glue of choice for crafts for many years.
Now It's Time To Get Started
I set up my work table with the glue, feathers, styrofoam and a pair of very dull scissors.
You see, I need to curl the ends of the feathers. I could have used a butter knife or other blunt object but the scissors I chose were so dull there was no chance of me getting cut.
I chose to create a white feather tree like the one I saw.
I also ended up opting not to glitter the tips of my feathers.
Here is how I made my decorated feather Christmas tree.

DIY Feather Christmas Tree
Have you seen those cute feather trees and now you are wondering how to make one? Then check out this DIY Feather Christmas tree tutorial!
Materials
Tools
Instructions
- Press a feather at a time against the blade of the scissors.
- Pull the feather across the blade until it is curly enough to suit you.

- Once you are satisfied with how the feather looks, insert the feather into the styrofoam cone, starting at the bottom of the cone.
- Make sure the curl of the feather touches the bottom of the table.
- As each row is finished, move on to the next row.
- Slowly work your way up to the top of the cone - layer by layer.
- If you notice areas that look a bit sparse, fill them in by gluing some of the smaller feathers into those areas. Be sure to curl the tips of those feathers as well - and let me tell you, it is a tedious process.
- Once the entire cone is covered in white feathers, inserted a glitterly snowflake into the top of the cone.
- Then insert some small feathers into the top of the cone to fill in around the snowflake. Be sure the tips are facing upward to create a peaked look.
- Cut a bamboo skewer into 4 sections.
- Wrap florist wire around the bamboo skewer.
- Use the florist wire and a drop of glue to secure the birds or the birds nest onto a bamboo skewer.
- After the glue dries, insert the skewer into the styrofoam pressing it in far enough that the birds and their nests looked like they were built on the tree itself.
- Continue to add birds and bird nests until you are satisfied with how the tree looks.

That's all there was to making this cute feather tree.
If you decide to make one - or maybe you already have made one - I'd love to see some pictures!
DIY Christmas Decor Ideas


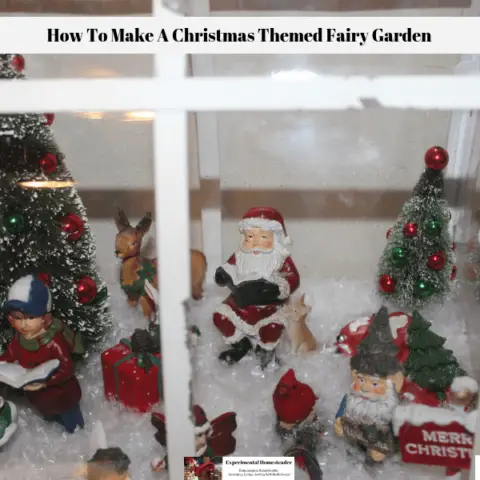
How To Make A Christmas Themed Fairy Garden
This super cute Christmas themed fairy garden, made by my friend Karen McBride, is easy to recreate and is a lot of fun to make.
How To Make A Christmas Fairy Garden Basket
Learn how to make a Christmas Fairy Garden Basket using the Maker's Holiday Littles Figurines plus how to do it on a budget!