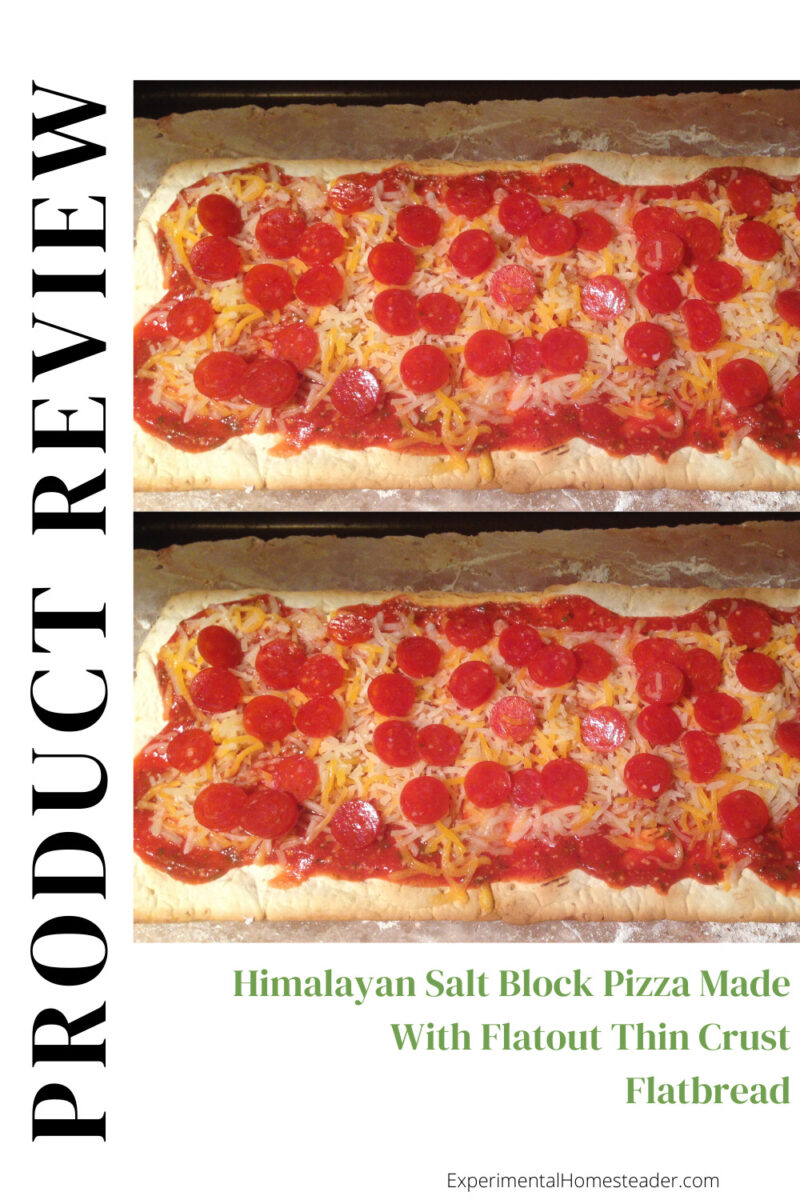
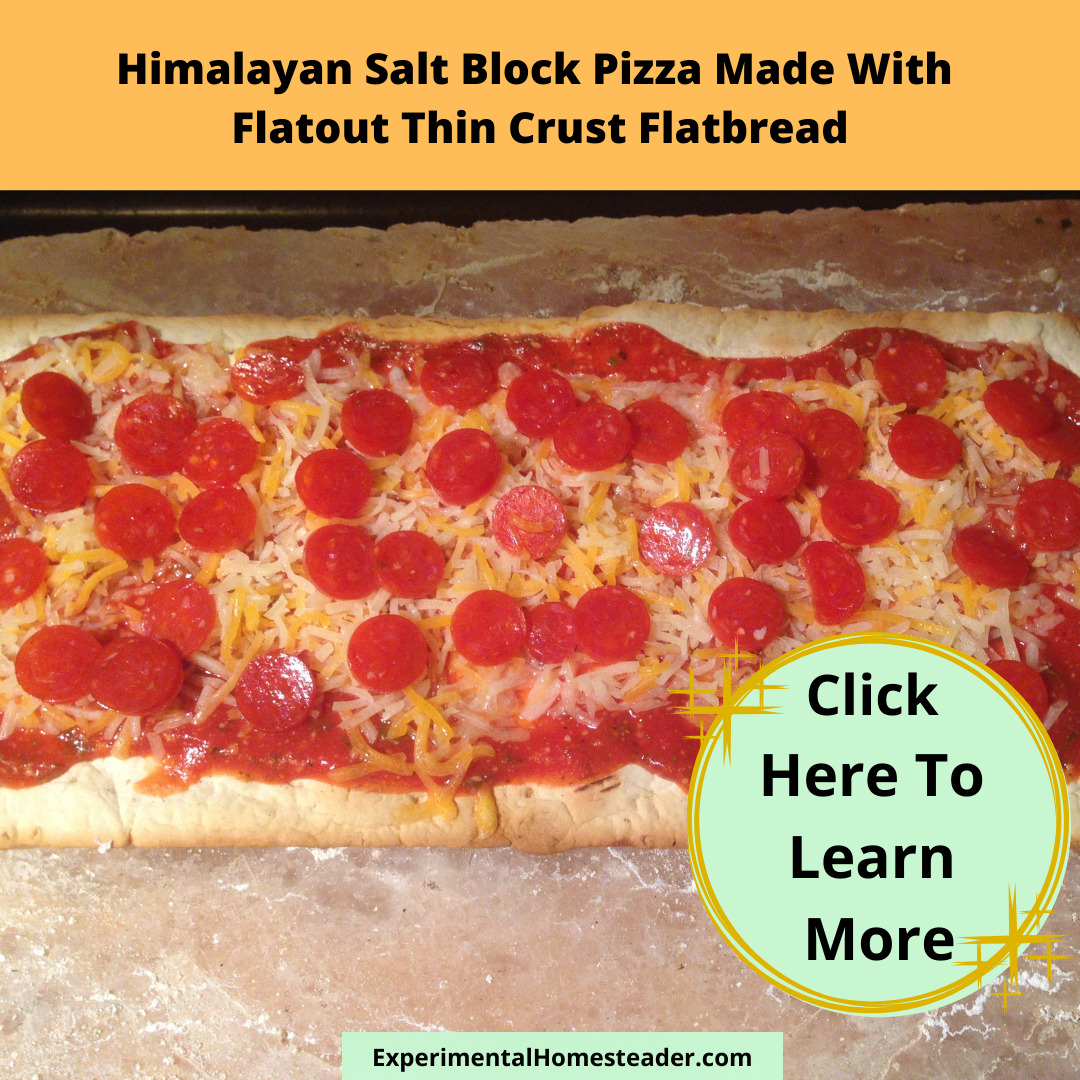
Himalayan Salt Block Pizza
Disclaimer: This is a sponsored post. Opinions are my own. I only recommend products or services I believe will be good for my readers and that I am happy with. I am disclosing this in accordance with the Federal Trade Commission's 16 CFR, Part 255: "Guides Concerning the Use of Endorsements and Testimonials in Advertising."

This Himalayan salt block pizza recipe was created because I received a package of Flatout Pizza Crust and was at a loss what to do with it besides make a regular oven baked pizza.
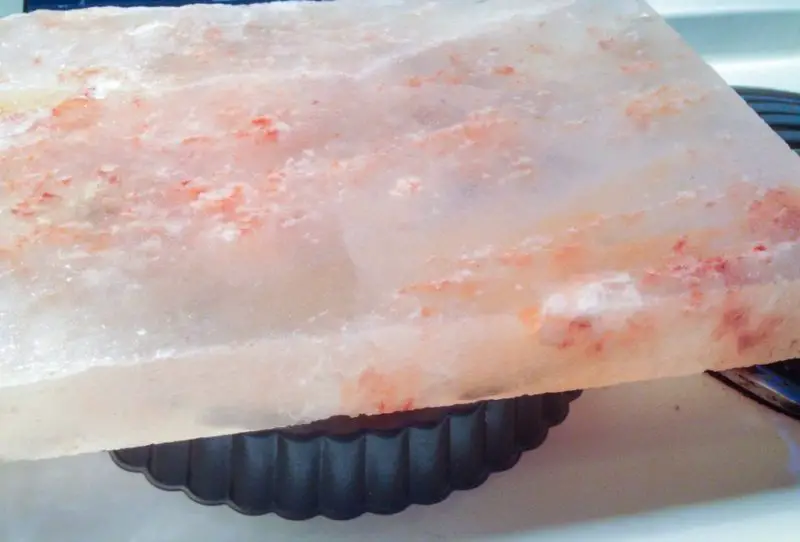
I had just purchased the salt block and really wanted to try it out.
I figured one of the easiest possible recipes would be pizza and I was right.
Here is a short video that shows you what I did.
Temper The Salt Block Before You Cook The Himalayan Salt Block Pizza
As for the salt block - well - it took some doing because I had to temper it.
I tried to temper it on my stove top but it started to crack.
I moved it into the oven and set the oven on the lowest setting for 30 minutes, then I turned the oven up to 350 degrees F for 15 minutes, then I turned it up again to 400 degrees F.
I did sit my salt block on a cookie sheet, just in case it broke.
The salt block was fine.
Once it began to sizzle you could see the water bubbling up.
After an hour, I went ahead and cooked the pizza on top of the salt block.
I then turned off my oven and the salt block is sitting in it cooling.
I will take it out tomorrow.
I really do love my new salt block and am enjoying the difference in the ways foods I cook everyday taste.
My First Himalayan Salt Block Pizza Using Flatout Pizza Crust
I made my first pizza on a Himalayan salt block tonight.
Once the salt block was tempered, I turned the oven up to 450 degrees Fahrenheit.
Once the oven came up to temperature, I checked the temperature of the salt block using a laser surface thermometer to make sure it was also 450 degrees.
I then laid the pizza on top of the salt block and cooked it until the cheese melted, approximately 10 to 15 minutes.
The crust was oh so crispy - like a cracker - which is the way I like it.
I used the Flatout Thin Crust Flatbread Artisan Pizza crust - and this was the first time I made pizza using it.
Cooked on the salt block, I liked it.
When I cooked the pizza in the oven, it was not crisp enough to suit me.
The salt block put a crispy edge on the pizza crust almost as quickly as I laid the crust on top of the salt block.
I really enjoyed the pizza cooked that way.
The second pizza that I cooked in the oven was not as crisp as the first one and I did not enjoy it as much.
I really like thin, crispy pizza crust.
I Used Frozen Flatout Pizza Crust For The Himalayan Salt Block Pizza
The Flatout Thin Crust Flatbread Artisan Pizza crust in Rustic White was good, but had a very distinctive taste that I couldn't quite identify.
I had froze my Flatout Thin Crust Flatbread Artisan Pizza crust for a little over a month, so maybe that was the issue.
I'm not sure since this was the first time I tried it.
The product thawed very nicely.
I was pleased.
It was not mushy once it thawed and the size of each crust makes it an ideal item to make a quick snack or a meal for just one person with.
Keep some on hand in the freezer and make yourself an after work snack or your kids an after school snack.
I put cheese, sauce and pepperoni on mine but you could make a veggie pizza or whatever kind you liked.
I keep shredded cheese and mini pepperoni in the freezer as well.
It only takes a few minutes for these items to thaw enough to use.
Quick And Easy Recipes

Individual Homemade Pizzas
Instead of making a large pizza, make individual homemade pizzas so everyone can have their favorite toppings and their own pizza.

5 New Emotion Recipes From Inside Out
Download these five recipes from Inside Out, a movie from Disney-Pixar that helps kids learn how to express the emotions they feel.
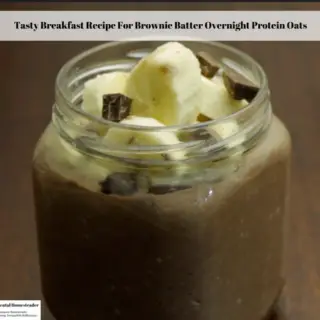
Tasty Breakfast Recipe For Brownie Batter Overnight Protein Oats
Quick, easy recipes for breakfast menu ideas are always popular, especially in today's fast paced world. This tasty breakfast idea for brownie batter overnight protein oats is delicious and if you are in a big hurry, but forgot to prepare this the night before, it can be ready to eat in just 30 minutes!
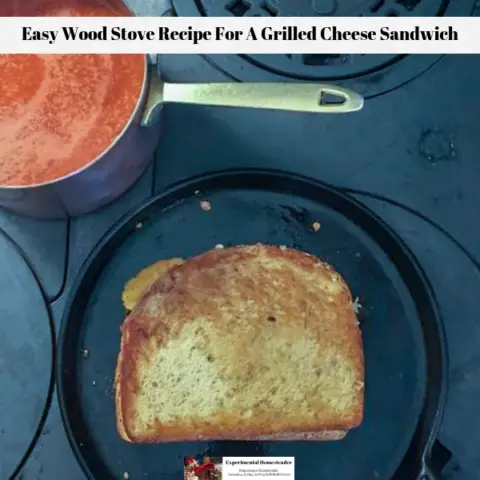
Easy Wood Stove Recipe For A Grilled Cheese Sandwich
This easy wood stove recipe for a grilled cheese sandwich paired with tomato soup is the perfect comfort food for a cold winter day.


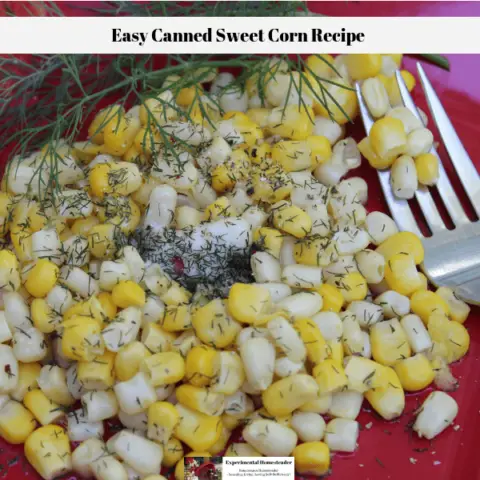
Easy Canned Sweet Corn Recipe
elppThis easy canned sweet corn recipe seasoned with butter and dill weed is the perfect side dish for meat recipes. It is a quick, easy and delicious recipe!a
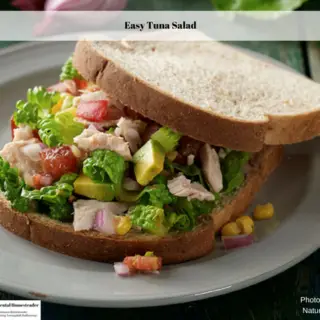
Easy Tuna Salad
This easy tuna salad recipe is quick and easy to make. It makes a total of three easy tuna sandwiches that are ideal for lunch or a quick snack!

Make This Delicious Homemade Apple Cider Recipe
It's easy to make this homemade apple cider recipe using fresh apples from your own yard or even from an apple orchard.

Schwan's Home Service Delivers Delicious Ice Cream And More Right To Your Door!
Schwan's Home Service Delivers Delicious Ice Cream And More Right To Your Door!