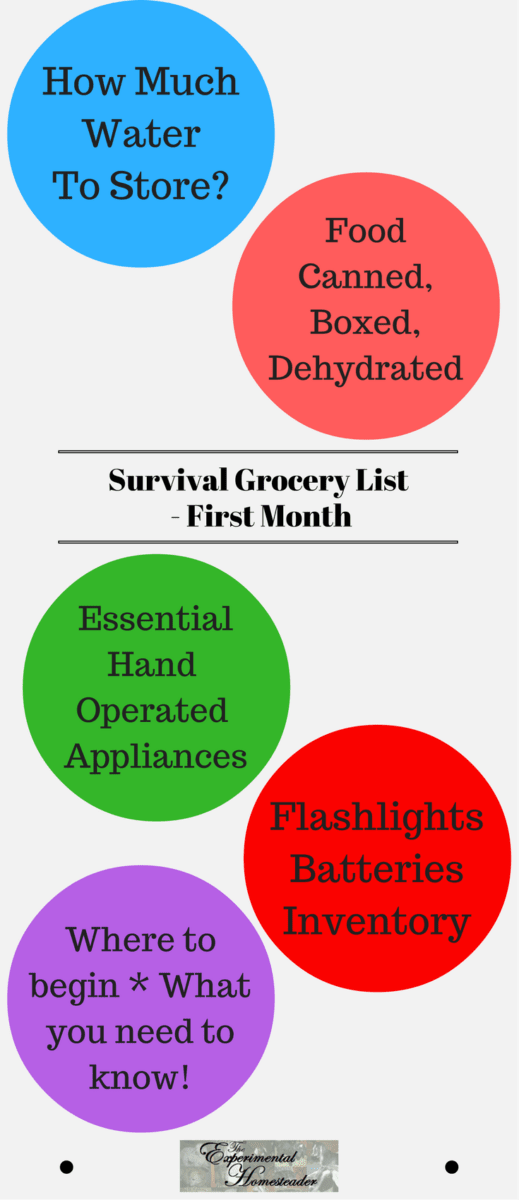
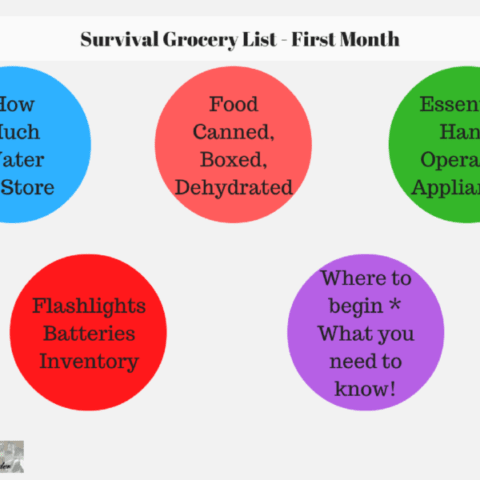
I came up with a basic survival grocery list - plus a few extra items so you know where to start stocking up for your first month.
Feel free to take as long as necessary to add these items to your pantry or bug out bag.
This is just meant to give you a starting point.
Is Stocking Up Really Necessary?
A lot of people wonder if prepping for some unknown disaster is really necessary.
I believe it is - and even if that disaster doesn't occur in our lifetime, prepping is still beneficial.
Think of it as getting ahead and being prepared.
When the weather forecasts a severe snowstorm or other natural disasters you won't have to run to the store to stock up because your pantry is already full.
No more trying to buy things like toilet paper when the store is already sold out.
No more crazy lines or watching people grab stuff just as you are getting ready to.
Anyway you look at it, being prepared means less stress and less hassle when SHTF.
Where Do I Begin?
Knowing where to start and what to buy can seem overwhelming.
The sheer cost alone is why some people avoid any type of long-term prepping - but there are ways to get around that.
Start slow.
Look for sales.
Grow your own food and herbs.
However, since this is the middle of November here in Indiana and very few people grow food during the winter - even though you can and I do - we will start the first month of prepping out by doing things that do not require you to be outside and buying items that are either on sale now or are items you may already be purchasing.
Remember that even one extra box of band-aids can get you on your way to being prepared should the need arise so do not let budget contraints stop you.
Water
Water is a great starting point - we all need it and storing it is something that just makes sense.
Think about all the times your well or city water supply goes down.
Now instead of doing without or running to the store to buy water you can have your own supply.
I prefer to store water in glass mason jars.
In fact, since I can, I have found a great way to stock up on water is to fill a canning jar to an inch from the top and seal it during the regular canning process.
This way if I only have five jars to put in my canner, I can add two of water and fill the canner up.
Some people put a drop of bleach in their canned water but if you live in town this is not necessary because your water is already treated with chlorine.
I have not done this and wonder just how safe that is.
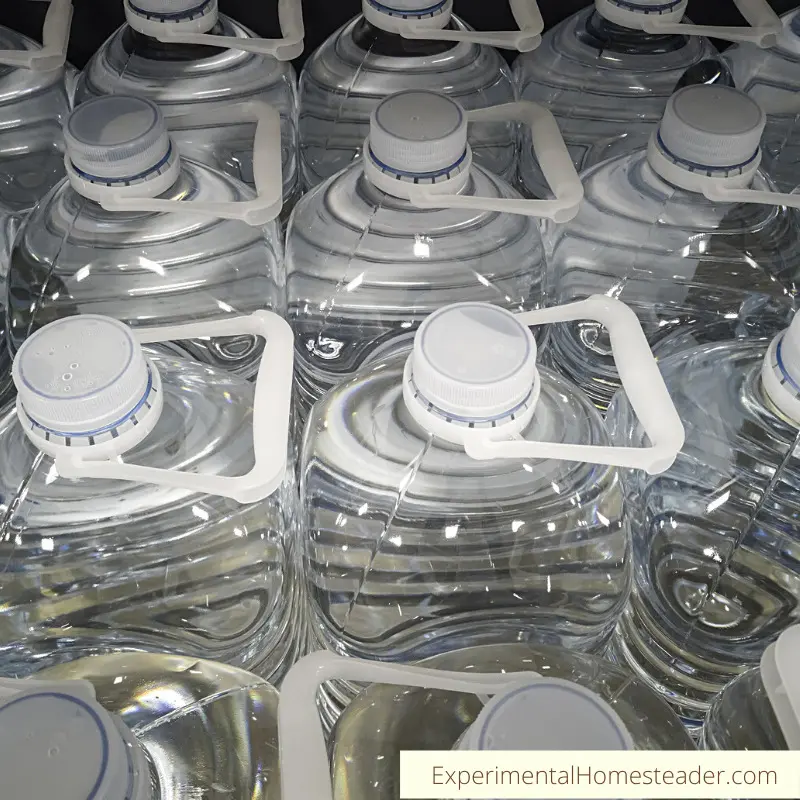
For those who do not can but want to store water, you can buy it in containers that range in size from 16 ounce bottles all the way up to 55-gallon drums.
Another option is to fill plastic pop bottles, milk jugs or other sealable containers with water.
- Be sure the containers are clean before you fill them.
- Be sure to write the date on the container so you can rotate your inventory as necessary.
How Much Water Should I Store?
The next thing you may be wondering is how much water should you store.
Let's start with 3 gallons of water per person.
Add an additional 3 gallons of water per pet unless they are large animals such as cows or horses, then save about 5 gallons of water per pet.
If you do this small amount of water every month, then at the end of a year, start using and replacing the water as needed you will end up with quite a supply that will get you and your pets through most disasters or unexpected situations.
If this seems like a lot of water, well it is and if you don't have enough room to store this much water, simply store what you can.
The best place to store water is in a basement or other cool, dark area.
Lastly, if you suspect your water was contaminated during the storage process, you can boil it before you use it.
Remember that water is a living thing and so the naturally occurring oxygen in water may disappear during storage.
Often simply stirring or swishing the water before you drink it is enough to add the oxygen back in and remove the funky taste.
Canned, Boxed Or Dehydrated Food
Canned, boxed or dehydrated food is an important consideration for any prepper.
You can dehydrate and can food yourself or buy it - whichever you prefer.
I have a combination of both in my pantry.
Fruits, vegetables and meat are the three main items you will want but don't forget about powdered eggs, butter, milk, and cheese.
I buy the powdered eggs, butter, milk, and cheese because I do not feel it is safe to dehydrate my own.
Prices on these products vary as do the sizes of the containers.
However without electricity for refrigeration, these are items I would want and need to be able to make tasty, well-balanced meals for my family.
Learning to can your own meat is a huge money saver.
It allows you to hunt or raise your own livestock or even buy things on sale, then preserve it without a freezer.
Now I admit using a freezer for meat is easier than canning it but take it from someone who lost an entire freezer of meat when they were away from home and a power outage occurred - the extra work necessary to can it will pay off sooner or later.
Another option for meat storage is dry curing or dehydrating.
I have made jerky but that is as far into meat dehydration as I have ventured.
Look For Sales!
Thanksgiving is just a few weeks away so the morning of - or the day after - is a great time to stock up on fresh turkeys at a reduced price.
We often buy large (think 20 pounds) organic turkeys on Thanksgiving morning for around $10 each.
You can't beat that price.
Many of us already grow our own fruits and vegetables.
If you've been canning those, you are ahead of the game.
If you froze them, look into what you need to do to turn some of those frozen fruits or vegetables into canned foods.
The holiday season is a great time to look for sales on fruit - both fresh and canned.
Stock up now and don't forget to go out the day after Thanksgiving or Christmas to see what canned or boxed foods you can buy at a reduced price.
Yes, items that have holiday packaging can be bought for as much as 90% off the original retail price.
Anything that has flour or sugar in, put into a freezer bag and freeze it.
Yes, I am serious.
This kills off any bug eggs that may be in the food.
It also keeps it safe from mice or other bugs that may get in your house.
The plastic freezer bag keeps it dry should the electricity go off.
If you don't have enough freezer room for long-term storage, simply freeze the items as long as you can, then move them into a cabinet for longer-term storage.
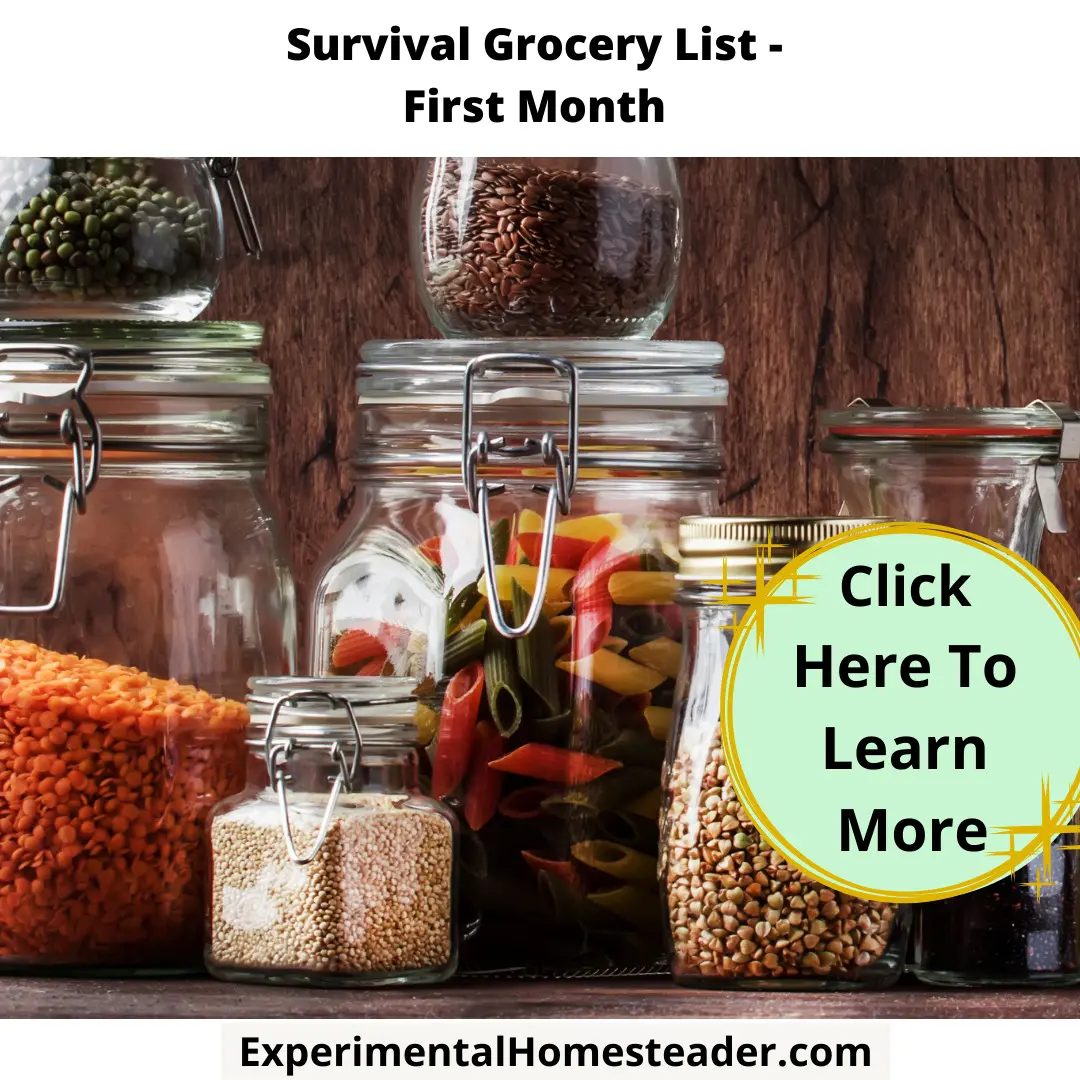
I typically remove items in boxes from the box and put them into glass jars.
Again, this just keeps mice, moisture and other critters out.
How Much To Buy
So how much canned, boxed or dehydrated food should you buy?
Let's start with 20 containers of each item - and no you do not need to buy this all at once.
Think about it like this.
You go to the store and see canned vegetables 10 cans for $5.
Go ahead and buy the 10 cans.
If you can afford 20 cans, go for it, but if not, set three of those ten cans aside.
This gives you enough canned vegetables to eat one can a day for a week - and you have three cans stored.
If you bought twenty cans, set 13 cans aside.
Now you may be thinking those cans were cheaper so why pay $2 a can now when I still have vegetables I could eat.
This is logical thinking, yes, but if you never start setting food aside for the "what if's" life throws our way, you never will.
What you want to build up to is a 6 month to one year supply of food in your pantry.
I have a one to two year supply in mine.
Some things get eaten up quickly.
Others last much longer.
I do rotate my food on a regular basis.
I also keep a list of what I use up so I know I need to replace it.
Look for sales and use coupons.
Before you know it, your pantry will be stocked.
Hand-Operated Appliances
Electrical appliances especially can openers are nice.
I admit it but I no longer use them.
I have an old-time bottle opener that was my Grandma's along with several others I have picked up along the way.
I also have a favorite hand-operated can opener and several not-s0-favorite backups just in case my favorite one breaks - and yes, they do break.
I have a hand-operated grain grinder that grinds corn, wheat and other grains, herbs, etc.
If the grid goes down, I can still grow and grind my own wheat and corn for bread, flour or cornmeal.
I am learning how to use it now so I don't panic should I ever need to use it.
I found my hand grain grinder for $6 or $7 brand-new at our local thrift shop.
I'm not kidding.
Keep an eye out and ask around.
Possibly someone you know has one that they don't want.
Keep an eye out for other non-electrical appliances.
Finding room to store them might be hard right now but if that day ever comes when SHTF you are going to be glad you have them.
Flashlights And Batteries
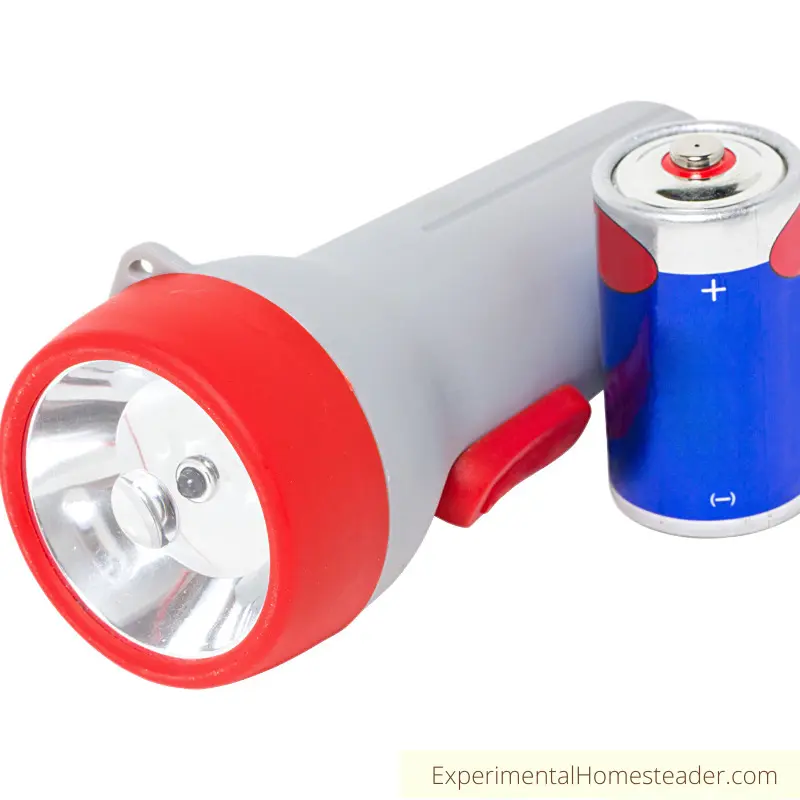
Keep at least 2 battery or hand-crank operated flashlights.
I personally have an arsenal.
I buy rechargeable batteries and recently added a #sunlabzsolar13w portable, folding solar panel to the list.
Yes, this solar panel only charges via USB cord, but hey there are USB flashlights or battery chargers you can buy.
I also suggest buying a large flashlight and a small flashlight - think pocket size.
Look into the hand-crank ones because some of those even have an emergency radio you can use.
They don't power up for a long time but you can keep cranking on them and at night that may be your only option if the batteries you are using go dead or your flashlights suddenly die.
Take Inventory Now
This last task does not require money - unless you have to buy a pad of paper to write your inventory list down on!
Start making lists of your disaster supplies, camping gear, water inventory, food inventory (this is a great time to date and rotate what you have on hand), first aid supplies, blankets, firearms or other self-defense items, cooking methods such as solar ovens, fire pits, wood stoves or charcoal grills plus the fuel necessary to operate them and clothing such as hiking boots, coats and gloves.
Add to your supplies over the next few months.
Remember to shop end-of-season sales.
This can save you a lot of money.
Buy two instead of one and set one aside instead of putting it in the normal area it would go.
A great way to store these extra items is inside 5-gallon buckets with lids.
Mark the outside of the bucket with the contents and hang them from your basement or garage rafters.
This way they are out of the way, but you know where they are "just in case."
I hope this has given you a starting point for your first month prepping.
Remember, it's never too soon to start and once you do, you will be glad you did even if you don't believe that things could go south in a heartbeat, natural disasters and snowstorms do occur all the time.
Be smart.
Be prepared.
Be safe.
Food Storage Tips
Best Things To Stock Up On For Survival Now With The Shortages
With all the supply chain shortages and more shortages expected in the future, find out the best things to stock up on for survival now.
Survival Grocery List - First Month
Find out where to start your survival grocery list. The first month lays the ground work for basic survival needs and your emergency survival food list.
Stock The Perfect Survival Freezer With These Prepper Freezer Food Storage Tips
Learn how to stock the perfect survival freezer with these prepper food storage tips. Plus learn what to do if the grid goes down.
The Best Way to Store Potatoes: Maximize Your Fresh Ingredients
Discover the best way to store potatoes with the right selection, optimal storage conditions and routine checks & maintenance.
Best Foods For A Survival Pantry
Learn what the best foods for a survival pantry are and how you can build your own effective emergency food supply.
Building Resilience Through Prepper Pantries: A Guide for Homesteaders and Preppers
Learn how to build a Prepper Pantry, address dietary needs, and maintain security. Join the preparedness conversation.
10 Home Food Storage Solutions That Will Inspire You
These 10 home food storage ideas make family food storage possible even in small apartments. Now you can stock up on essentials and hide them in plain site.
Home Food Storage Solutions
Learn about home food storage solutions that are psossible even if you have limited space as well as how to stock up on food is essential for everyone.
Home Food Storage Guidelines
Long term food storage is a great way to be prepared for an emergency. Check out these home food storage guidelines and be sure to print the handy chart!
5 steps to Start your Food Storage
Are you overwhelmed with how to start building a food storage? You want to store food, but not waste space with food you don’t know how to use or will eat? Read below for 5 steps you can take to start you food storage and make it work for you.
How to Rotate Your Food Storage
It’s so hard to remember to use food storage when it’s stored all over your house… or downstairs in the basement. I get it, our is there too. That’s why I’ve come up with 8 tips to teach you how to rotate your food storage.
Long Term Food Storage Planning
Have you built up a small food storage and are looking to grow that into a year supply? There are a few things you need to know and will want keep in mind when planning for long term food storage so you can be sure you have the quality and type of food to fit your exact families needs. Once you know exactly what you need, then you won’t be wasting money and spending hundreds on items you don’t need.
Prepper Food Storage Tips And Long Term Food Storage Ideas
These prepper food storage tips are sure to help you come up with some long term food storage ideas to help you survive during an unexpected situation.
How To Store Noodles
Learn how to store noodles including fresh homemade noodles and store bought noodles. Also learn how to store noodles long term.
How To Dry And Store Homemade Noodles
Learn how to dry homemade pasta plus the best method for storing homemade noodles so they stay fresh for up to six months!
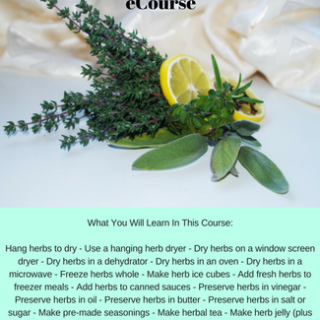
Preserving Herbs For Winter Use eCourse
Do you love fresh herbs but wonder if there is an easy way to preserve them for the winter?
Do you seek other ways to use herbs other than just as a seasoning on food?
There are so many ways to preserve herbs for winter use – from various methods of drying them to freezing them, but it doesn’t end there.
Some of the best ways to preserve herbs in right in the foods you would normally incorporate herbs into – pre-made seasonings, teas, butter or oil.
Then this is the course for you!
What You Will Learn In This Course:
Hang herbs to dry
Use a hanging herb dryer
Dry herbs on a window screen dryer
Dry herbs in a dehydrator
Dry herbs in an oven
Dry herbs in a microwave
Freeze herbs whole
Make herb ice cubes
Add fresh herbs to freezer meals
Add herbs to canned sauces
Preserve herbs in vinegar
Preserve herbs in oil
Preserve herbs in butter
Preserve herbs in salt or sugar
Make pre-made seasonings
Make herbal tea
Make herb jelly (plus tips on how to use these)


