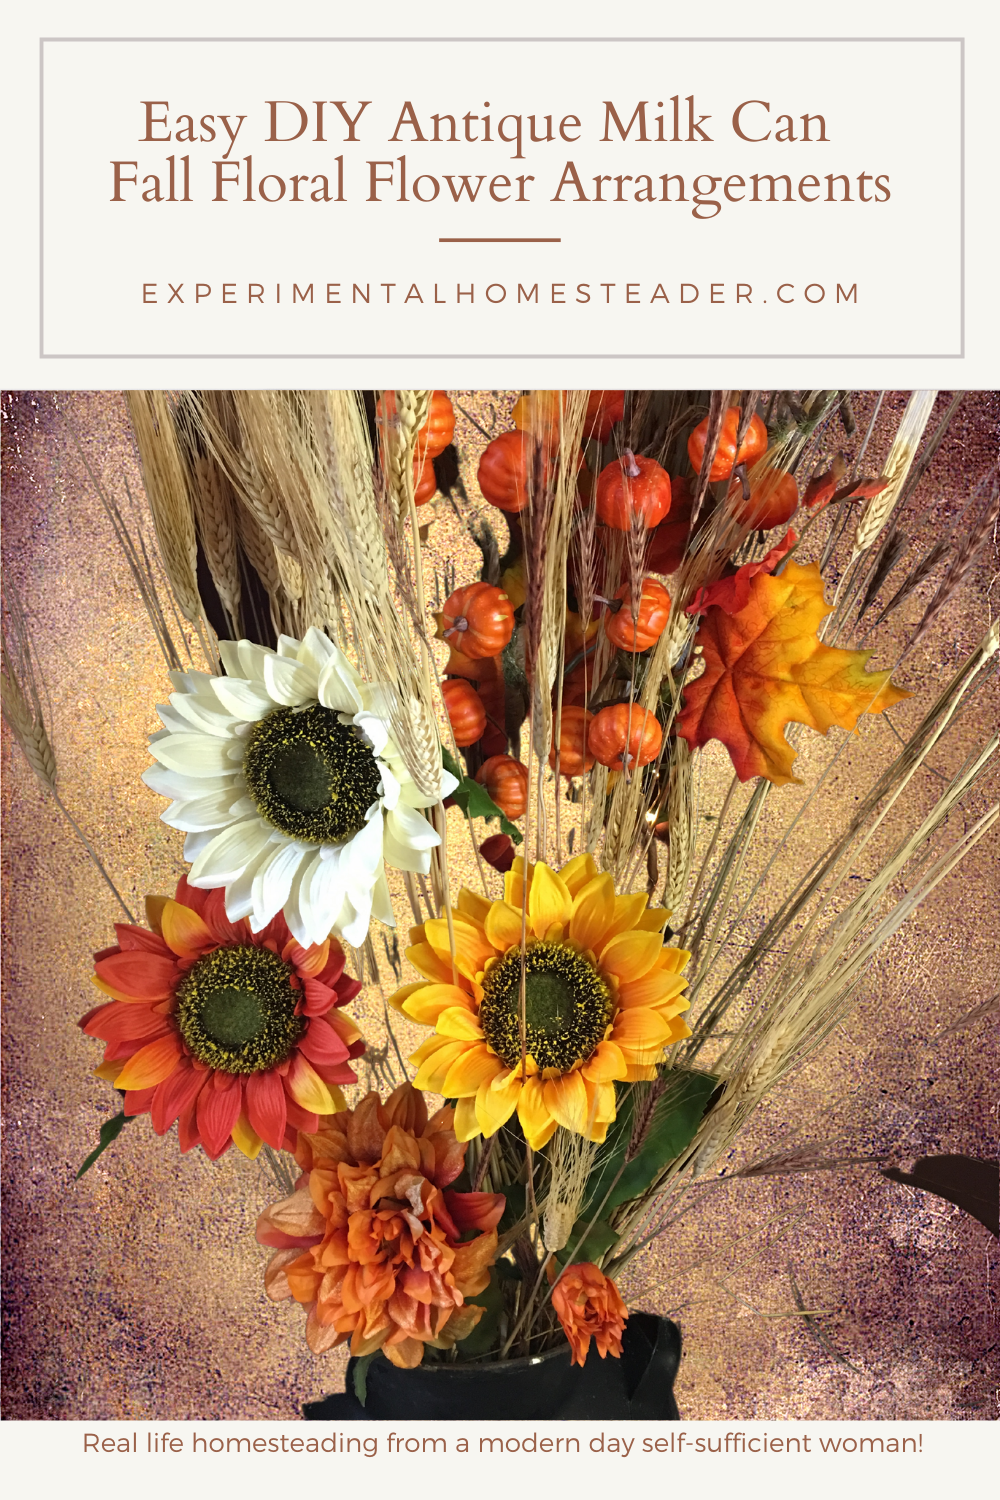
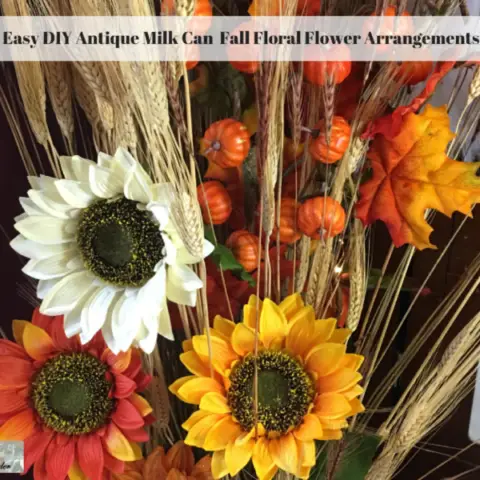
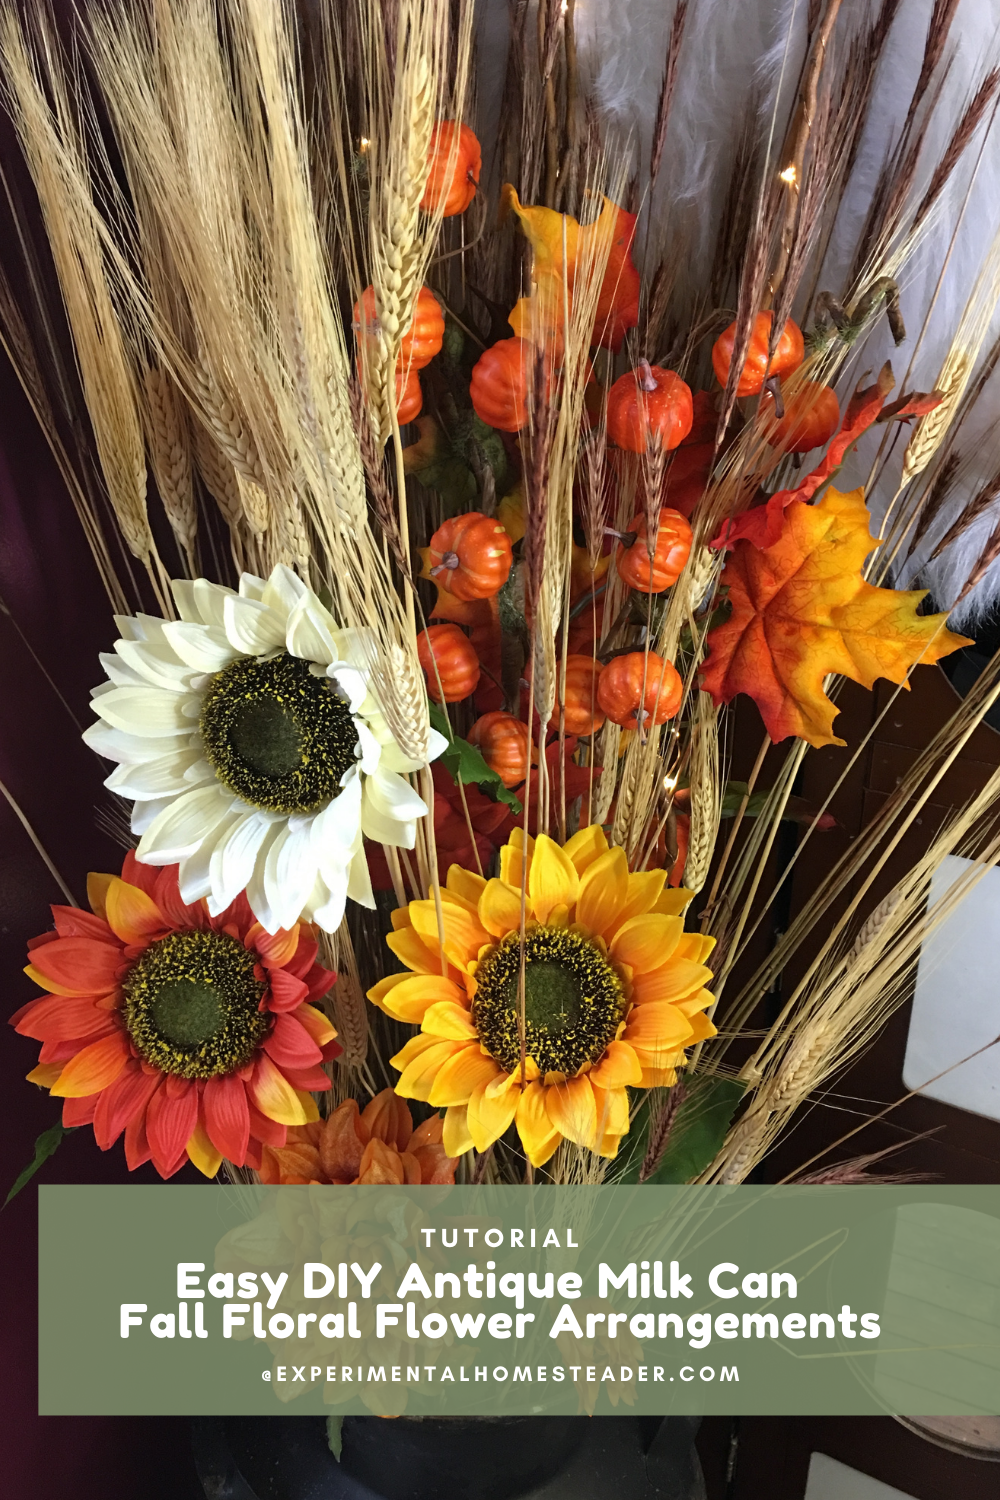
Easy DIY Antique Milk Can Fall Floral Flower Arrangements
Disclaimer: I received at least one of the items used in this design for free or at a reduced price in exchange for my honest review. All of the other items I either already owned or purchased at a discounted price. All opinions are my own.

This DIY antique milk can floral flower arrangements idea is not only easy, but you can make use of materials you might already have on hand.
There is no need to buy floral material if you are growing any of it in your garden.
Plus - if you are like me - you have at least one antique milk can laying about that really is not getting any use.
This is a great opportunity to show it off plus the country look is in!
Supplies Needed For The Floral Flower Arrangements
Here is a list of the items you need -
- 1 bunch dried wheat with long stems
- 1 bunch dried long stem flowered grass
- 3 dried or silk sunflowers with long stems
- 1 long stem mum
- 1 bunch dried or plastic pumpkins-on-a-stick
- 1 bunch leaves on a stick - silk, paper or waxed
- 1 bunch of dried twigs such as curly willow
- Fairy lights
- Floral foam
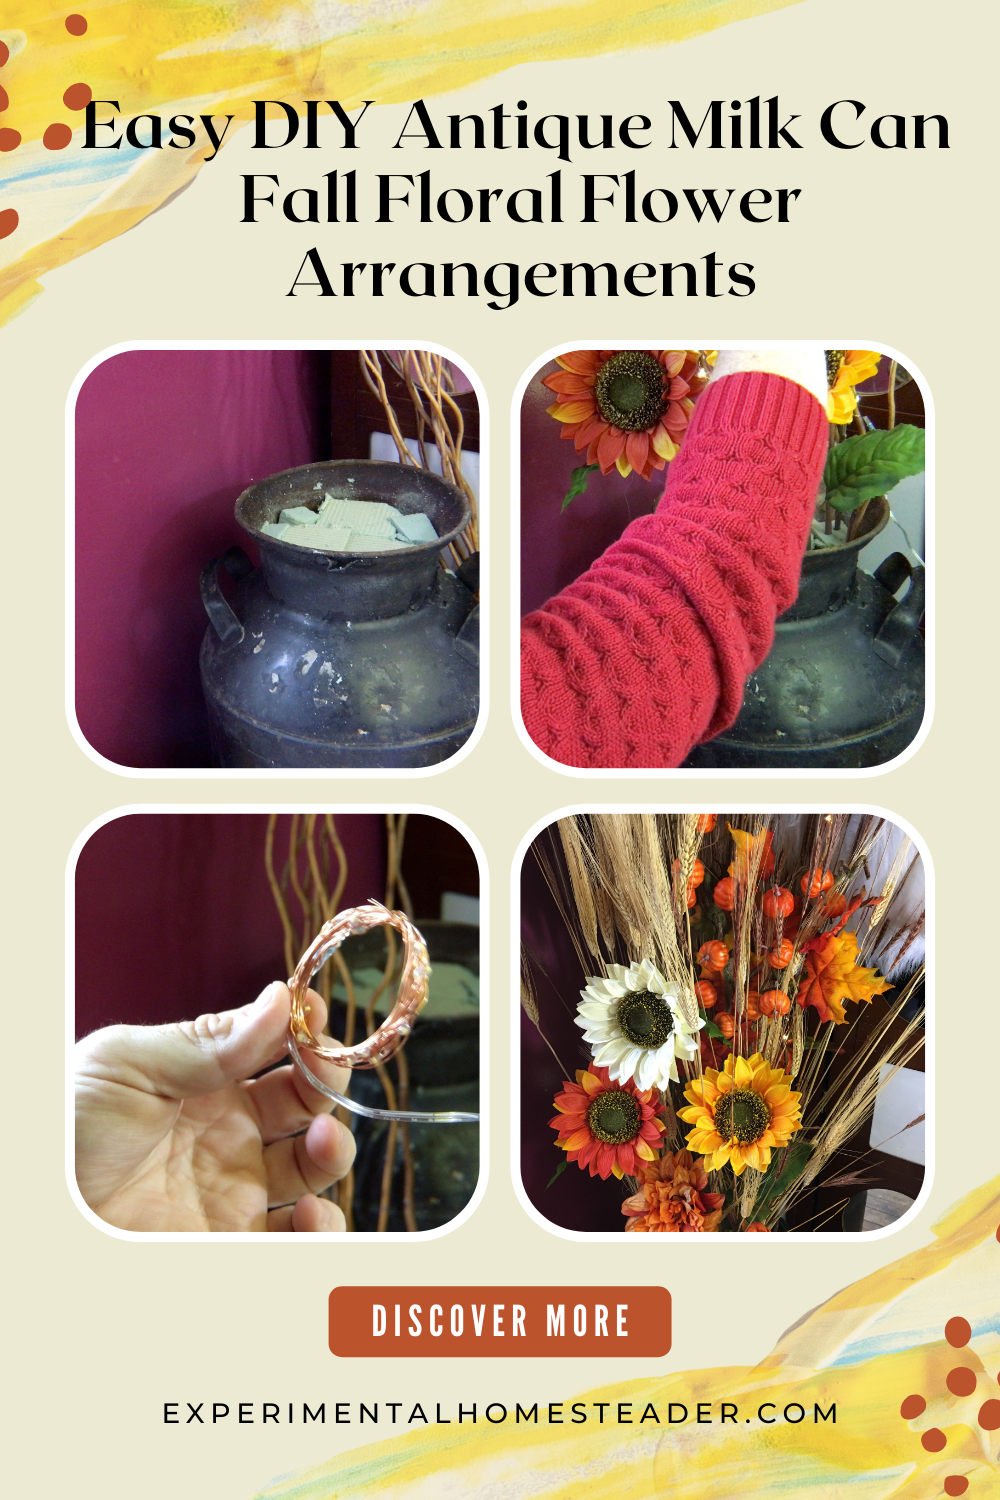
- Antique milk can - lid removed
Easy DIY Antique Milk Can Fall Floral Flower Arrangements
Materials
- 1 bunch dried wheat with long stems
- 1 bunch dried long stem flowered grass
- 3 dried or silk sunflowers with long stems
- 1 long stem mum
- 1 bunch dried or plastic pumpkins-on-a-stick
- 1 bunch leaves on a stick - silk, paper or waxed
- 1 bunch of dried twigs such as curly willow
- Fairy lights
- Floral foam
- Antique milk can - lid removed
Instructions
- Stuff the milk can full of crumpled newspaper, plastic bags or other filler material.
- Press floral foam in the neck area of the milk can. Cut some small pieces to make sure you get good coverage.
- Attach fairy lights to the twigs, then putting the lighted twigs into the floral foam.
- Next push the sunflower and mum stem into the floral foam. Be sure to vary the heights of the flowers.
- Push the pumpkins-on-a-stick and fall leaves into the floral foam towards the back and off to one side making sure they both stick up higher than the other plant material.
- Fill in the empty spaces with the dried grass and wheat. Use broken pieces to fill in the front of the arrangement.
- Once you are satisfied with the fullness of the arrangement the only thing left to do is enjoy it.
Notes
Note: The flowers are easy to save from year to year by simply removing them, rolling them in newspaper to keep them from breaking and storing in a plastic tote.
Be sure nothing heavy is laid on top of them and that the tote does not get crushed.
If you use your own dried botanical material I do suggest waxing the leaves to prevent breakage.
Final Thoughts About The Milk Can Fall Floral Flower Arrangements
All together I was able to make this arrangement for under $50.
I did have some supplies already - like the milk can.
I reviewed the lights for free or at a reduced price for review.
The other items were 50% to 60% off plus I had a coupon for an additional 25% off some of the items.
This could be done for even less if you dry your own botanical material.
DIY Decor Ideas For Fall
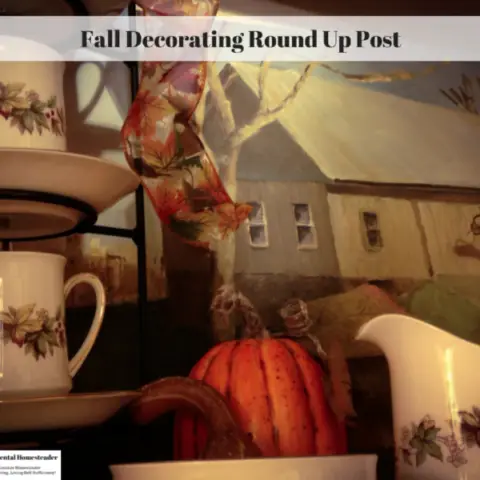
Fall Decorating Round Up Post
So many myself included like to spruce up our home decor in the fall. Sometimes we dont want the typical Halloween, Thanksgiving or Christmas decorations, but instead prefer something more neutral. Here are a few ideas.
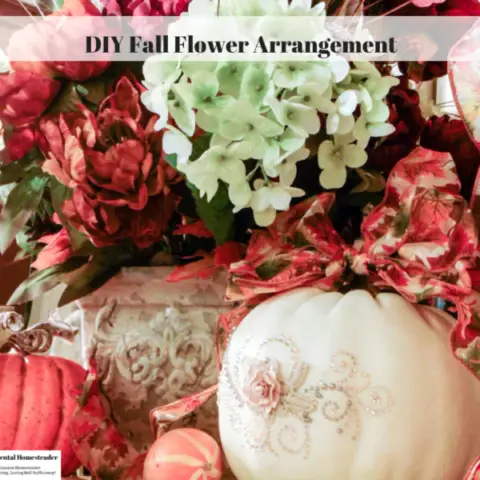
DIY Fall Flower Arrangement
Fall silk flower arrangements are easy to keep from year to year. This DIY fall flower arrangement is simple to make and fits well with autumn decor.

Refresh Your Home With Rustic Interior Decorating
These rustic interior decorating ideas include homemade bows and coasters both made with a Paris themed burlap then scented with Febreze Air Effects.

DIY Burlap Wreath Fall Arrangement
Are you looking for French decor ideas that make a great fall arrangement? Then check out this DIY French Themed Burlap Wreath!
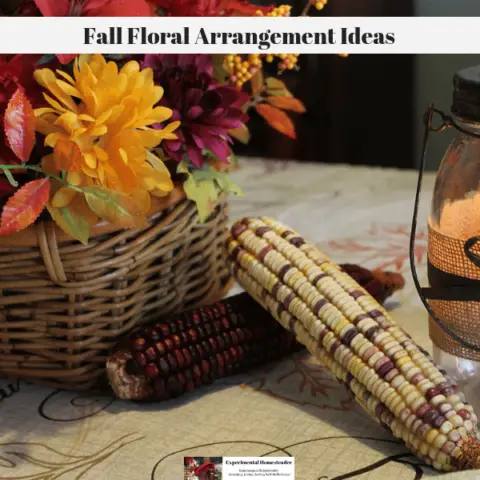
Fall Floral Arrangement Ideas
Check out these fall floral arrangement ideas for some inspiration on everything from unique floral ideas for your entryway to fall table centerpiece ideas.

DIY Fall Decorating Ideas For Your Living Room
These DIY fall decorating ideas for your living room are ideal for giving your furniture a facelift for autumn even if you don't sew!
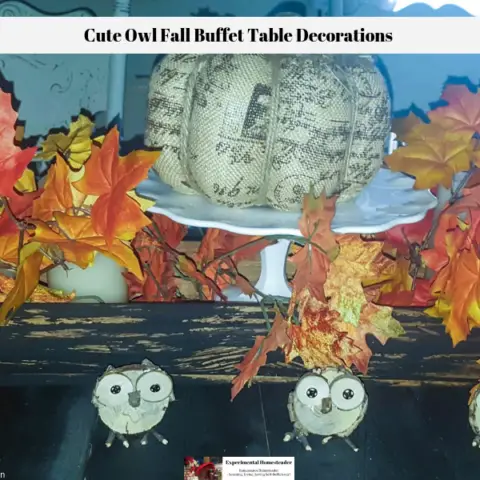
Cute Owl Fall Buffet Table Decorations
These cute owl fall buffet table decorations add a touch of nature and whimsy to your home decor. Best of all these are super easy to make!
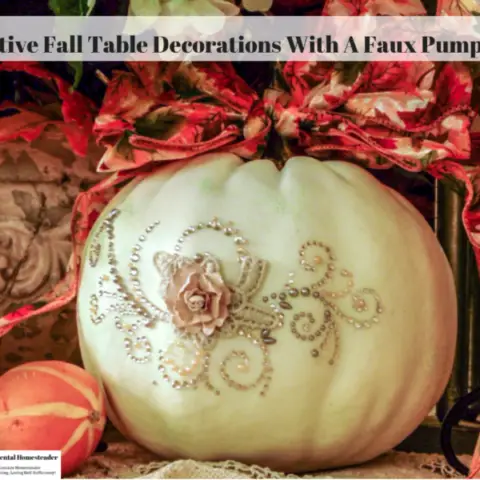
Festive Fall Table Decorations With A Faux Pumpkin
From festive centerpieces to fall table decorations faux pumpkins fit right in. Get ideas for decorating your faux pumpkins with bling and a bow.