
How To Dry And Store Homemade Noodles
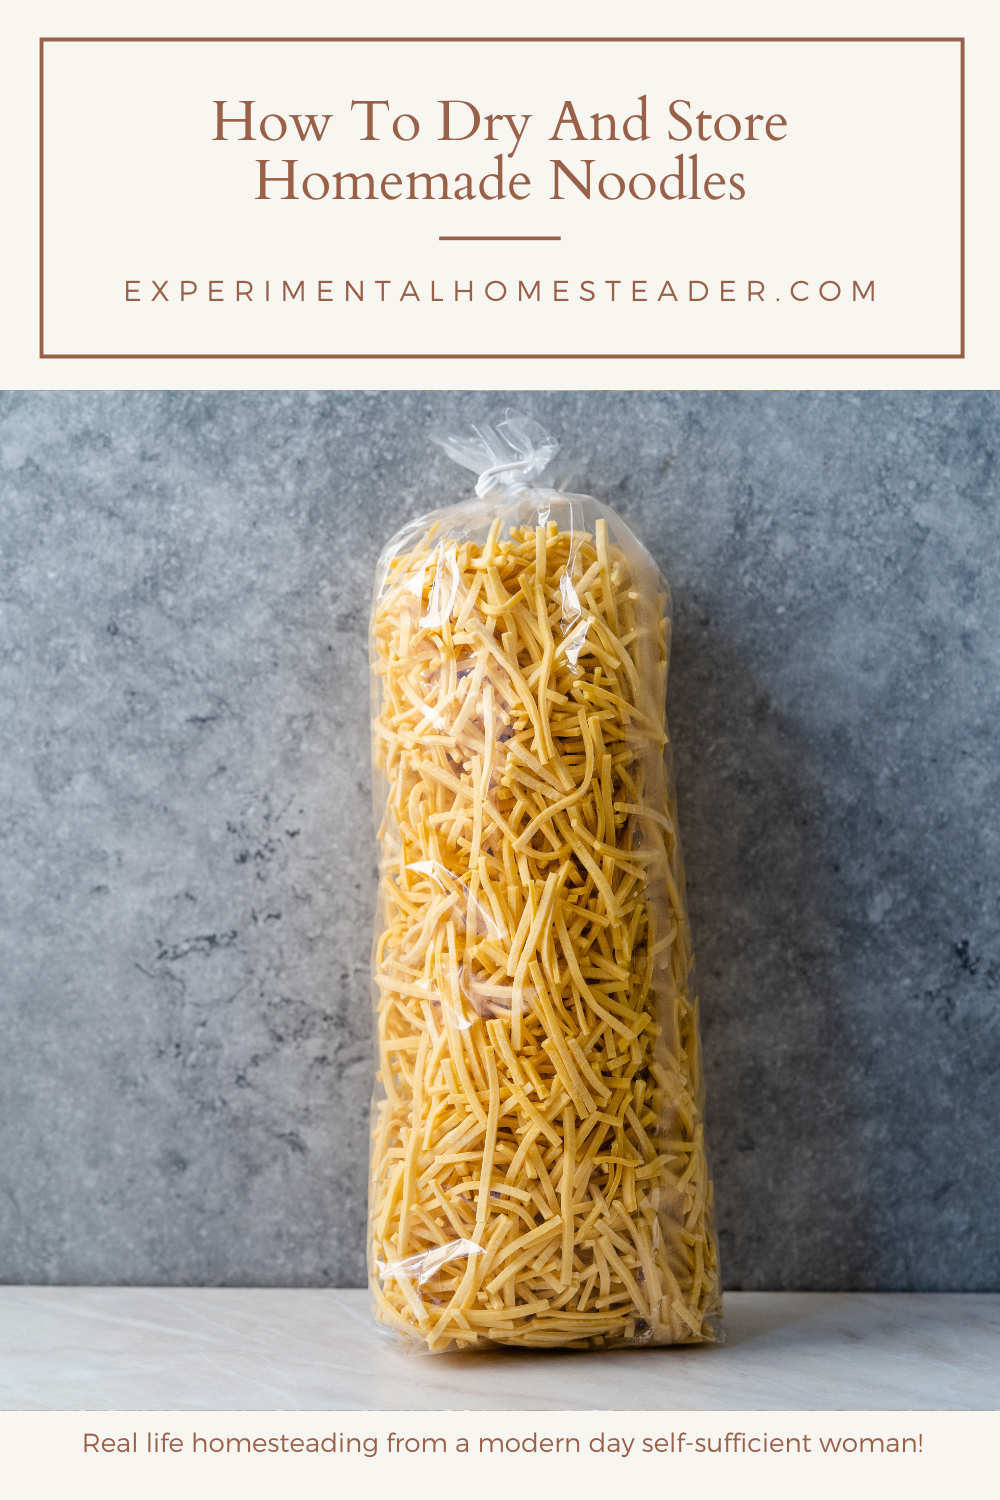
Homemade noodles are one of those foods that are worth making in a bigger batch. If I am already mixing, rolling, and cutting dough, I would rather make enough to put some back for later than start from scratch every single time.
That is where storing homemade noodles properly matters.
You can use homemade noodles fresh, freeze them, or dry them for later. The method you choose depends on how soon you plan to use them and how much storage space you have.
I have made noodles a number of different ways over the years, and I prefer methods that are practical, repeatable, and do not create more work than necessary.
This guide walks through how I dry homemade noodles, how I know when they are dry enough to store, and the storage methods I use so I can keep homemade noodles on hand without wasting a batch.
In This Article
Why I Make Homemade Noodles
I like homemade noodles because I know exactly what went into them, I can make the thickness and shape I want, and I can make enough for more than one meal.
They are also flexible. I can use them with a simple buttered dish, a hearty sauce, soup, or whatever I already have on hand.
The part that matters after making a larger batch is storage. If the noodles are not dried or packed properly, the extra work is wasted.
That is why I treat drying and storage as part of the noodle-making process, not an afterthought.
Once you have a method that works for your kitchen, it becomes much easier to keep homemade noodles ready for another meal.
Put Those Dried Noodles To Work
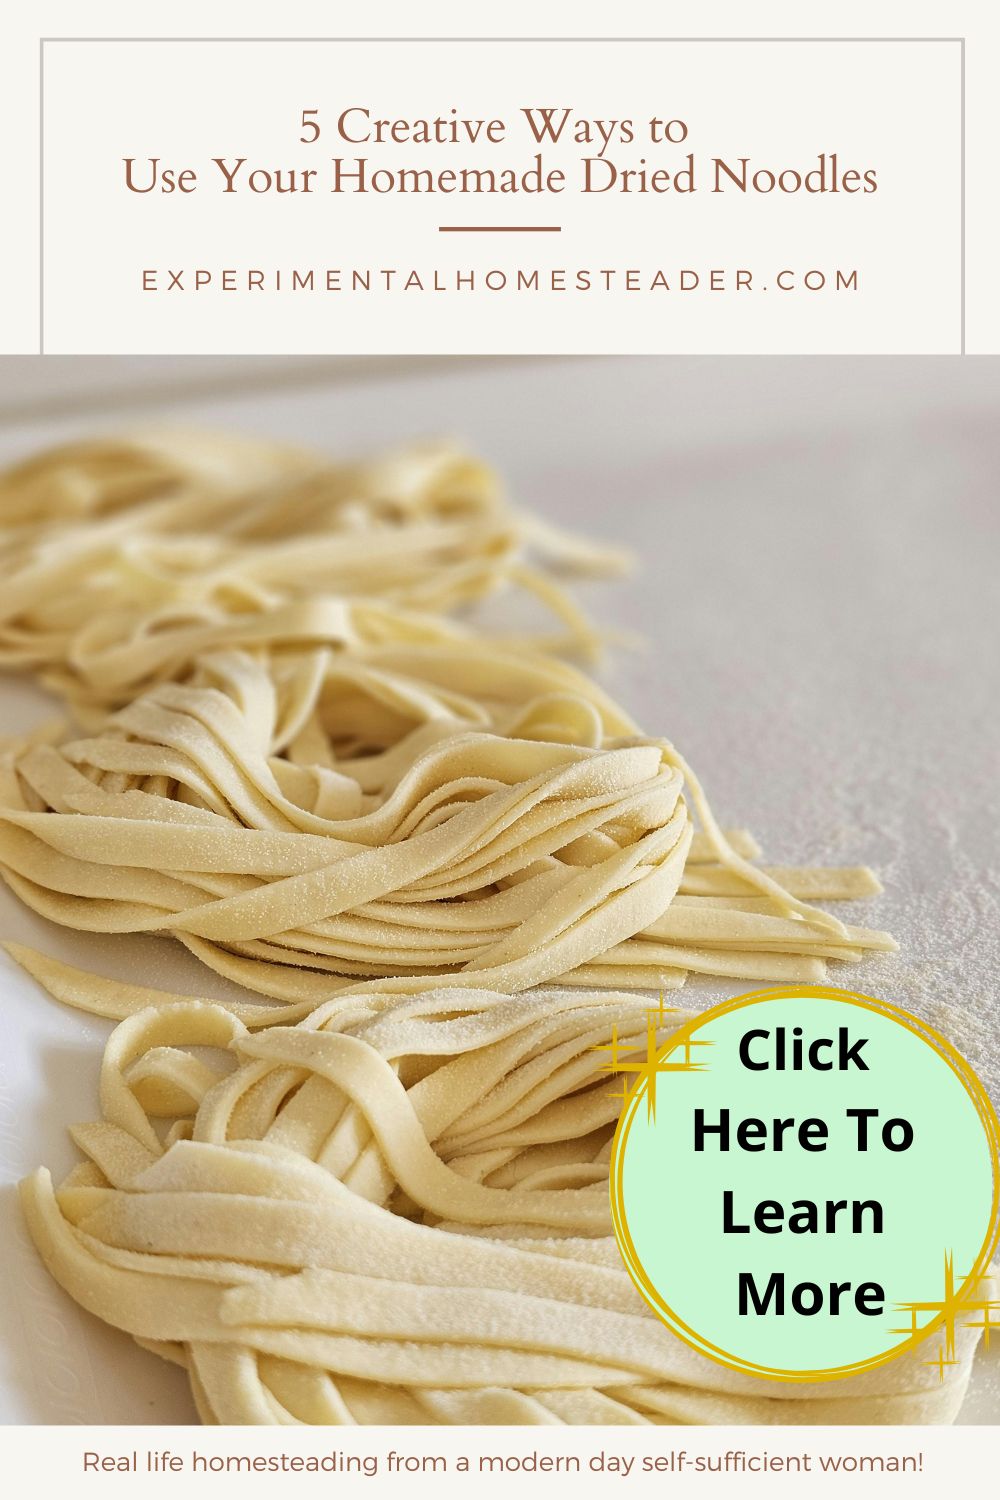
Once you have a batch stored, the next question is what to make with it. I put together five practical ways to use homemade dried noodles, including quick meals, soups, and pantry-friendly ideas.
Creative Possibilities With Homemade Noodles
Are you tired of the same old noodles every day?
Do your taste buds crave something new and exciting, only to find ingredient-less, processed foods at the grocery store that leave you unsatisfied?
There's an easy solution: make your own!
Homemade noodles open the door to endless creativity in the kitchen.
You can experiment with ingredients, adding herbs, spices, or even edible flowers to your pasta dough for a personalized touch.
Imagine the flavor boost from garlic-infused noodles or the visual appeal of vibrant herbs folded into the dough.
You also have complete control over the thickness, length, and shape of your noodles, giving you the ability to create pasta perfectly suited to your dish.
Not only is this customization fun, but it's healthier, too.
By using organic eggs and fresh ingredients, you're avoiding the ultra-processed items found in store-bought varieties.
These homemade options are packed with flavor and offer textures you won't easily find at the supermarket.
Homemade noodles are a versatile staple to keep on hand.
Pair them with veggies, a hearty sauce, or a simple drizzle of olive oil for a quick, delicious meal.
Plus, by sourcing local or organic produce whenever possible, you're not just feeding your family well-you're also supporting your community and making sustainable choices.
Why Storing Homemade Noodles Makes Sense
If you plan to store your homemade noodles for longer periods, there are some important factors to consider.
Preserving freshness and quality is crucial when making pasta from scratch, especially since most recipes yield far more noodles than a typical family can eat in one sitting.
So, what's the best way to handle leftovers?
Dehydrating your noodles while they're still fresh is a great option.
This method extends their shelf life and helps maintain their texture and flavor.
Once dried, you can package your noodles in a variety of ways, such as tightly sealed zipper bags, zip-top jars, or resealable food storage bags.
For short-term storage, an airtight container in the refrigerator works well for up to two weeks, particularly since the pasta contains eggs.
For longer storage, freezing is the best option.
Place the dried noodles in freezer-safe containers or bags to keep them fresh for up to six months.
The best part?
Frozen noodles can be cooked straight from the freezer without thawing, making meal prep quick and easy.
While I don't personally hang dry my noodles, this traditional method is another option if you prefer.
Whichever approach you choose, proper storage ensures your homemade pasta stays delicious and ready to use whenever inspiration strikes.
There Are Options On Making Noodle Dough At Home
Making noodle dough at home can be as simple or as hands-on as you like, depending on the tools you use.
For years, I relied on a bread machine to mix and knead dough, as arthritis in my hands made kneading by hand difficult.
The dough cycle on my bread machine was a lifesaver, taking the hard work out of the process and giving me consistent results.
Eventually, I came across a pasta dough-making machine at a thrift store and couldn't resist giving it a try.
It made the process even more efficient, and I loved experimenting with different noodle recipes.
Once the dough was ready, I rolled it out and cut it using a noodle maker machine.
If you prefer, you can always do this by hand with a rolling pin and a knife, though it can be more time-consuming.
More recently, I invested in the KitchenAid KSMPDX Pasta Deluxe Set, and I absolutely love it!
It's made noodle-making faster, easier, and far less messy.
I also love that I only need to clean my KitchenAid® 7 Quart Bowl-Lift Stand Mixer and its attachments, which saves me time and effort.
Plus, the noodles turn out great every time!
Whether you're using a bread machine, pasta maker, or rolling by hand, the joy of crafting your own noodles is worth it.
The KitchenAid just makes it even more fun and efficient!
Essential Tools for Making and Drying Homemade Noodles
When it comes to making homemade noodles, having the right tools can make all the difference.
One of my absolute favorites is the KitchenAid® 7 Quart Bowl-Lift Stand Mixer, which kneads dough perfectly and effortlessly handles large batches.
This has been a game-changer for saving time and reducing the physical strain of kneading by hand.
Paired with the KitchenAid KSMPEXTA Gourmet Pasta Press Attachment, which features six interchangeable pasta plates, and the KitchenAid KSMPDX Pasta Deluxe Set, I can easily create a variety of noodle shapes, from spaghetti to fusilli.
These tools bring versatility and creativity to my noodle-making process.
Once the noodles are shaped, the NESCO Gardenmaster Pro Food Dehydrator ensures even, efficient drying.
It's perfect for preparing noodles for long-term storage, preventing spoilage, and maintaining their texture and flavor.
While these tools simplify and elevate the noodle-making process, beginners can start with a rolling pin and sharp knife for a more hands-on approach.
No matter your skill level, having the right equipment makes crafting homemade noodles an enjoyable and rewarding experience.
What tools do you use for noodle-making?
Share your favorites in the comments, I'd love to hear your tips!
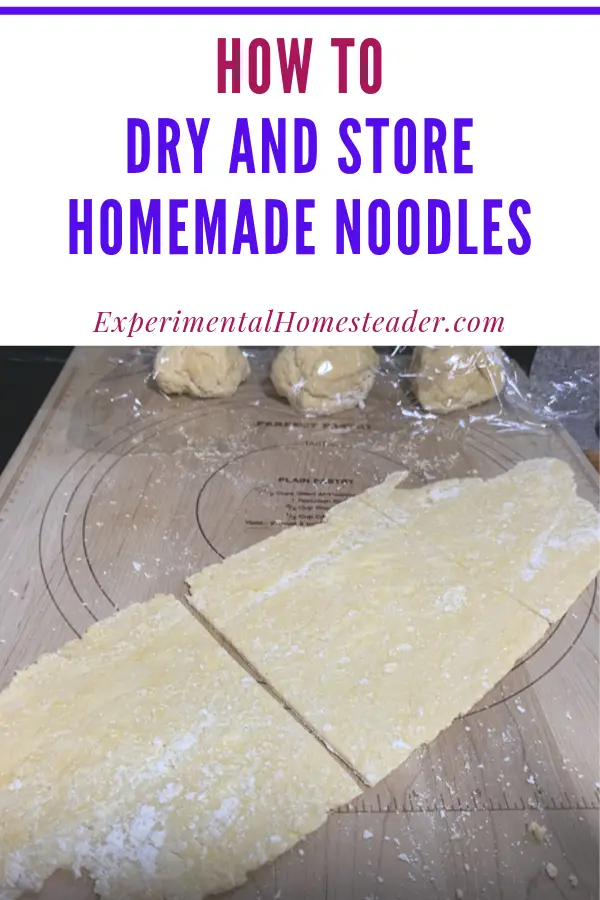
What To Do After The Homemade Noodles Are Made
Once your homemade noodles are ready, you have two great options: use them fresh right away or dry them for longer storage.
If you choose to dry them, follow these simple, step-by-step instructions to ensure they stay fresh and delicious.
1. Prepare the Noodles:
Lay the noodles in a single layer on your electric dehydrator trays, making sure they don't touch or overlap. Proper spacing is essential for even drying.
2. Set the Dehydrator:
Turn on your dehydrator and set the temperature to 135°F if it has a temperature control feature. This is the optimal temperature for drying pasta without compromising texture or flavor.
3. Monitor Drying Time:
The drying time depends on the size and thickness of your noodles, typically between 2 and 4 hours. Check periodically to ensure they're crisp enough to snap easily without bending but not overly hard or dark.
4. Cool Completely:
Once the noodles are dry, leave them on the dehydrator trays to cool completely before storing. This prevents condensation from forming in storage containers.
5. Alternative Drying Method:
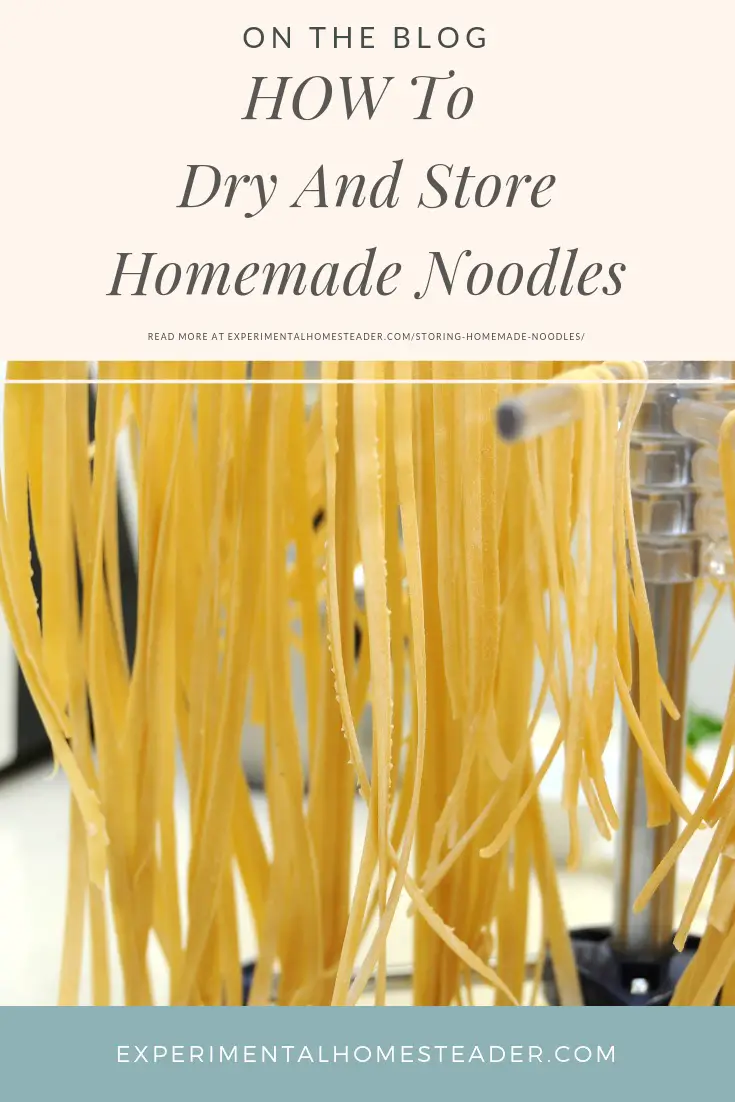
If you prefer, you can hang your noodles on a drying rack and let them air-dry naturally. This method works best in a dry, well-ventilated area and may take up to 24 hours, depending on the humidity and thickness of the pasta.
By properly drying your noodles, you'll always have fresh-tasting, homemade pasta ready for your next meal.
Experiment with these methods and enjoy the satisfaction of creating long-lasting pantry staples!
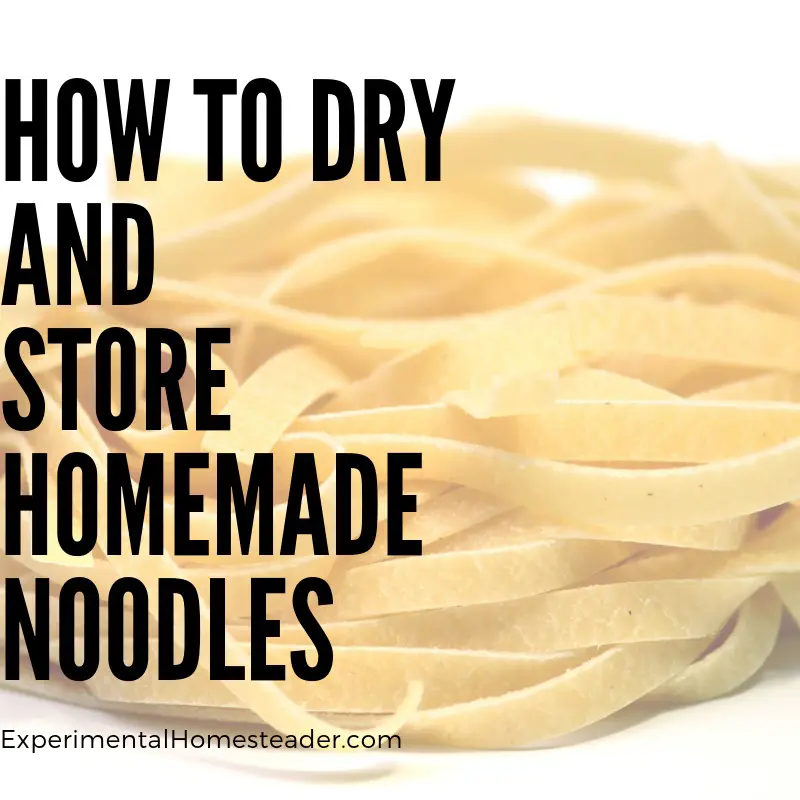
Storing Homemade Noodles And Using Them Straight From The Freezer
Once your homemade noodles are completely cool and dry, you can either use them immediately or store them for later.
For long-term storage, I recommend placing the noodles in freezer-safe containers.
This method not only keeps them fresher but also prevents them from being crushed by heavier items in the freezer.
I personally prefer storing homemade noodles in the freezer because it locks in their freshness and flavor.
Additionally, using freezer-safe containers eliminates the risk of contamination that can sometimes occur with plastic containers, especially if you live in rural areas like I do.
The best part?
Homemade noodles don't need to be thawed before cooking.
Simply take them out of the freezer, drop them directly into boiling water, and cook them as you normally would.
They're quick, convenient, and delicious!
If you don't make homemade noodles, store-bought pasta can also be frozen.
Just be sure to place the unopened package into a freezer bag or a freezer-safe container to protect it from freezer burn.
For those looking into long-term storage options for noodles, dehydrated noodles can also be kept in airtight containers or vacuum-sealed bags for an extended shelf life.
Whether frozen or stored in the pantry, homemade noodles are a versatile and convenient addition to your kitchen.
What to make next: Try five ways to use homemade dried noodles or plan another from-scratch meal with homemade dumplings. Keep track of your batches and food inventory with my Food Preservation Binder. Join my newsletter below for more kitchen and homesteading ideas.
Explore more Dehydrating and Freezing & Freezer Meals guides, or visit my Noodles, Dumplings & Doughs hub.


I love homemade noodles they are my favorite! Thanks for the great tips can't wait to get started. It's the season for this too I love chicken and noodles and beef and noodles in the fall and winter months.
You are welcome! I love chicken and noodles and beef and noodles too! It is the season indeed! I hope you will look up some of my broth recipes. Homemade broth is much tastier and actually better for you then store bought. Plus making your own broth is a great way to utilize those chicken or beef bones. I try to make a few batches every year and can broth. However it is just as easy to freeze the broth if you aren't into canning.
As a child my grandmother would roll her dough and turn a cake pan over and place dough on the upside down pan and dry them in the oven. I don’t know how long she left them in the oven or the oven temperature. Would you have any suggestions on this?
Hi Karen, my best guess is she did not turn the oven on. The oven would have been more of a way to have a place to air dry it that was out of the way. Using high heat to dry pasta can cause it to crack and become brittle. If you want to try to use heat anyway, I would suggest the lowest possible setting. I would preheat the oven and then turn it off and place the pasta inside spread out in a single layer. I would check on the pasta once an hour as well because even though the oven is off, the oven will retain some of that heat and thus the pasta might dry out faster. The difference between using a dehydrator and an oven is the temperature goes lower on a dehydrator.
I came to read this article and can’t see half of the page due to the subscribe button at the top, share buttons for all social media on the side and all the ads at the bottom that you can’t click out of. I wish I could attach a screenshot of what I’m seeing.
@Kristin, what browser are you using? What kind of device are you on? You should be able to close the subscribe button. The social share buttons are not meant to be closed and I don't control the size of those. The ads should also be able to be closed. I will have my ad network look into that issue as there is nothing I can do on my end about that. I am sorry you had a bad experience.
@Sheri Ann Richerson, The same thing happened to me. The amount of ads look like I clicked on a spam site. I wish I could just read the blog without being all of the popups.
@Megan, while I would love to have an ad free site, no one wants to donate to read the articles. I have put up numerous donation options and nothing has worked. I work very hard to keep this site going. It takes hours to photograph, write and test recipes or crafts, not to mention money for supplies. Google and my ad network control the ads on the site. The subscriber pop-up box is the only way I can get people to subscribe to my email list, which is the best way to get pop-up free content that is not part of the site itself. I also do not like to have every post sponsored, which is another option for income, however I do not want large corporations that my readers may not align with or that I do not like owning the content on the site, which is what happens with sponsorships. I do hope you were able to read the article and get some good information out of it.
Too many ads so many that it makes it impossible to read. I'm sure the article might have been a good read but.....
I appreciate your feedback and understand that ads can sometimes be frustrating. Unfortunately, running a website comes with costs such as hosting, maintenance, and the time spent creating content — all of which add up. Ads help cover these expenses so I can continue providing free content. I do my best to balance ads with readability, but I’ll take your feedback into consideration. Thanks for taking the time to visit!