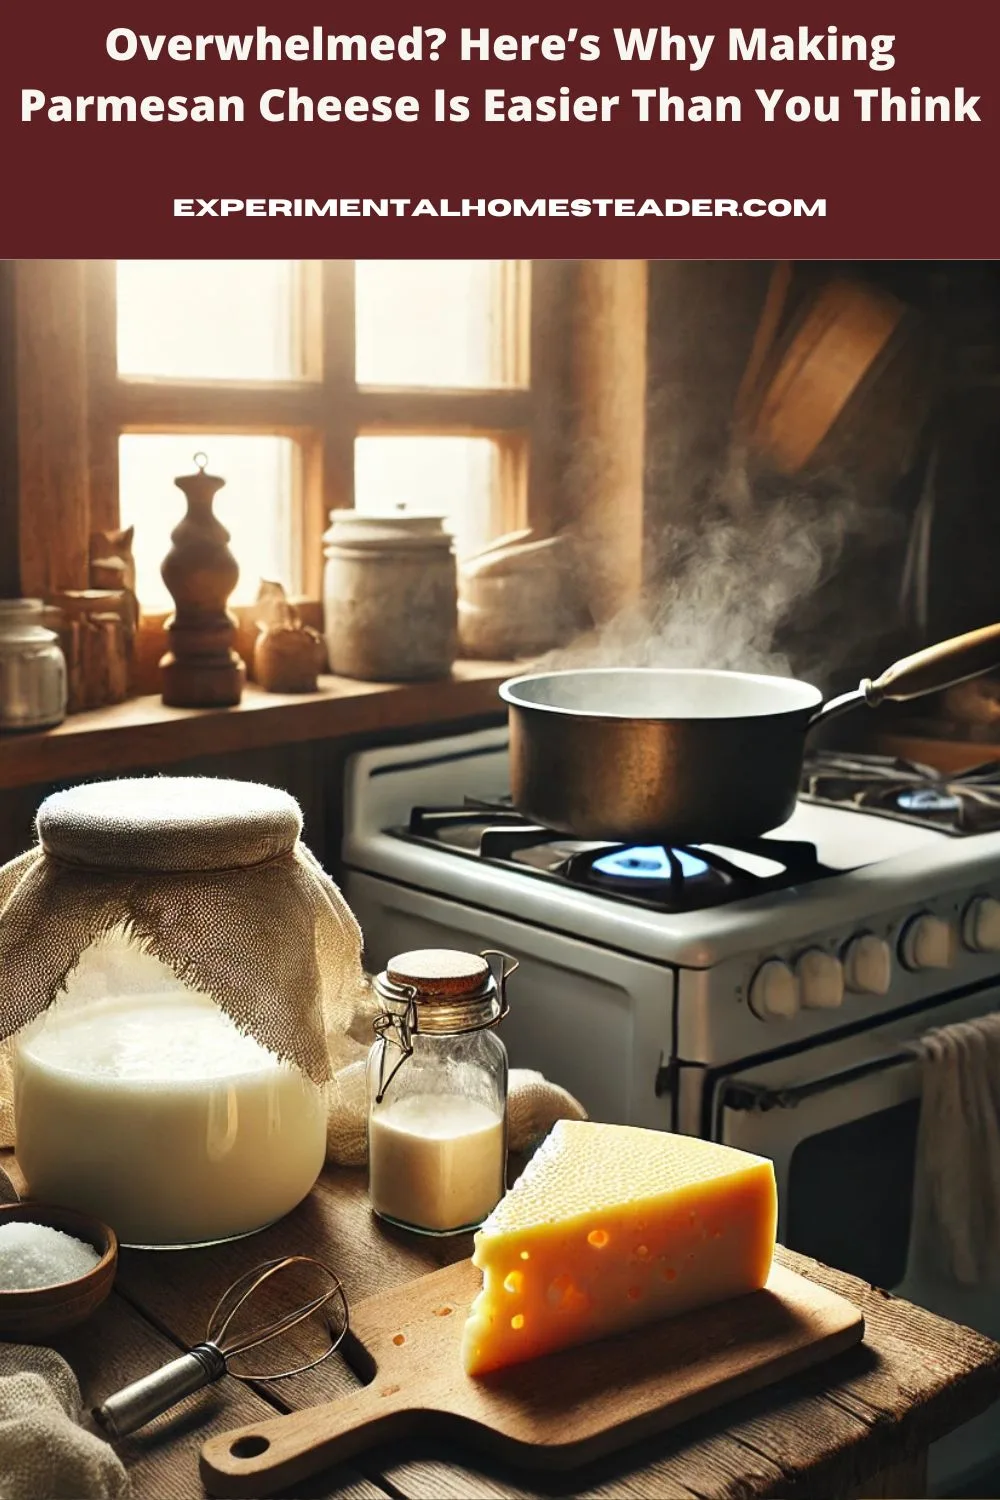
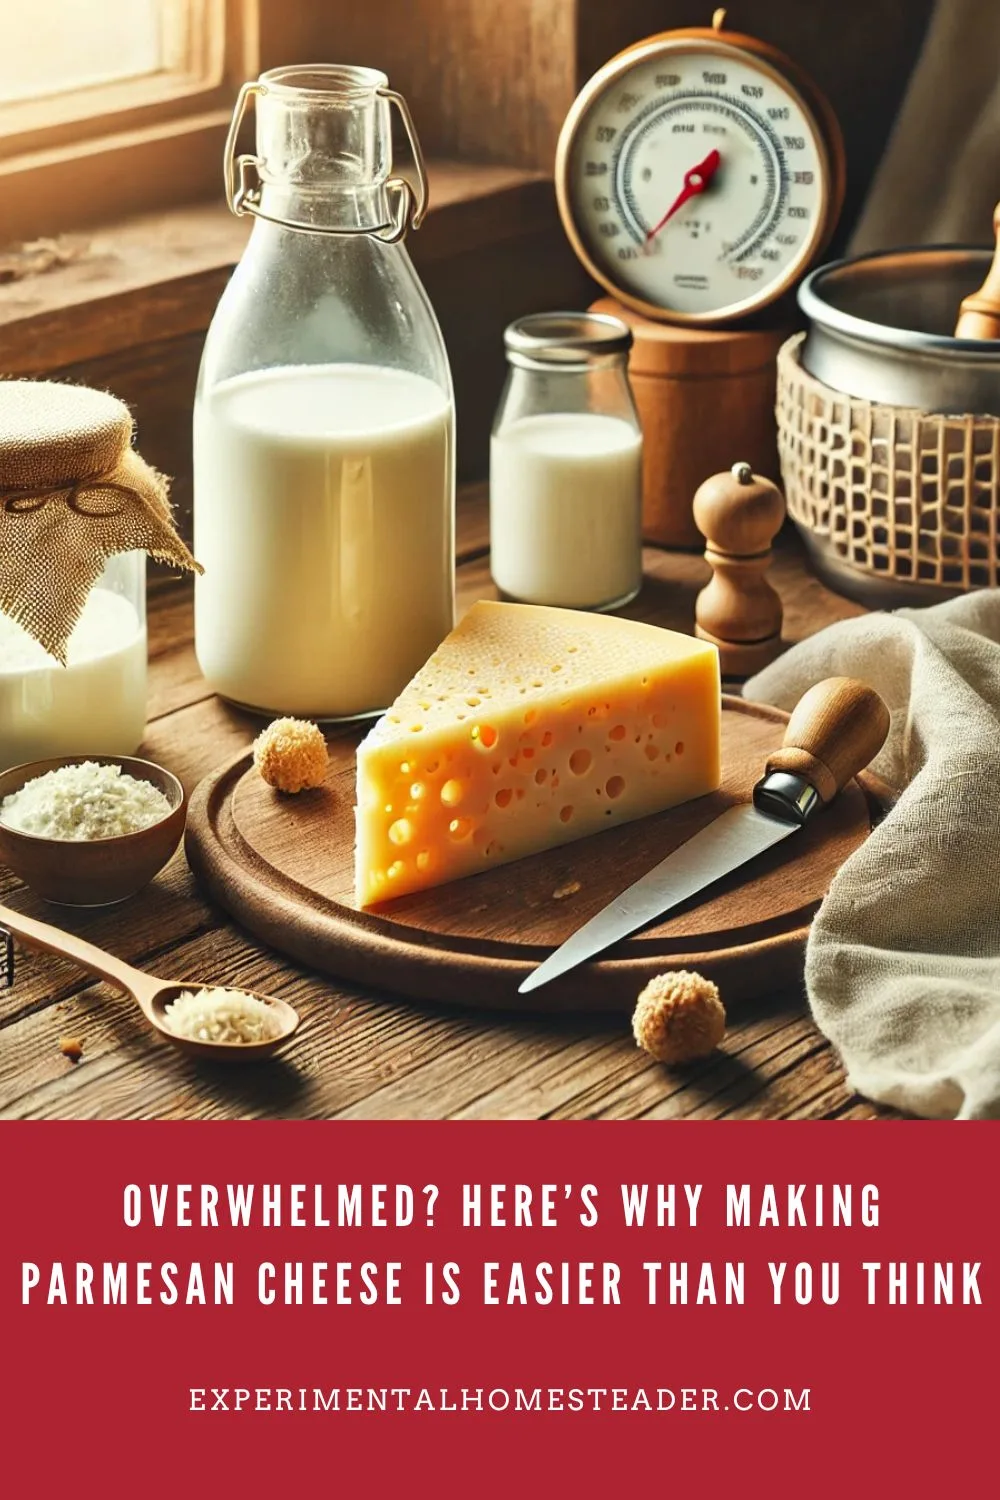
Making Parmesan cheese is easier than you think, even if you’re new to homesteading or cheese-making.
I know the idea of crafting your own Parmesan at home might feel like an intimidating, labor-intensive project, but let me assure you—it doesn’t have to be.
With a handful of simple ingredients and a few tools (most of which you probably already have in your kitchen), you can make a delicious cheese that rivals anything store-bought.
Don’t let the myths of needing fancy molds or perfect techniques stop you.
The key to success isn’t perfection; it’s taking the first step, breaking the process into small, manageable pieces, and embracing the journey.
Whether it’s your first attempt or your tenth, each batch is a chance to learn and grow.
Stick with me, and I’ll show you why this process is more approachable than you’d expect.
Why Make Parmesan Cheese at Home?
Homesteaders are all about self-sufficiency, and what’s more satisfying than creating your own food from scratch?
Parmesan cheese, with its rich flavor and versatility, is a staple in many kitchens.
By making it yourself, you control the quality of ingredients, avoid unnecessary additives, and save money in the long run.
Plus, there’s something deeply rewarding about cutting into a wheel of cheese you made with your own hands.
Store-bought Parmesan is often expensive and may not even be the real deal.
Some products labeled as “Parmesan” aren’t authentic or aged properly, which affects the flavor and texture.
Making your own ensures authenticity and lets you experiment with flavor profiles that suit your preferences.
Breaking the Process into Manageable Steps
One reason making Parmesan cheese is easier than you think is that it’s a step-by-step process.
Here’s a simple breakdown:
- Prepare Your Ingredients: You’ll need milk, starter culture, rennet, and salt. That’s it! These basic ingredients are easy to source and affordable.
- Heat the Milk: Slowly bring your milk to the right temperature. This is an easy, hands-on step that doesn’t require special skills.
- Add Starter Culture and Rennet: Stir in the starter culture and rennet, and let the magic happen. The milk will start to form curds, which is the foundation of your cheese.
- Cut the Curds: Use a knife or spatula to cut the curds into small, uniform pieces. This step helps release whey and is surprisingly satisfying.
- Cook and Stir: Heat the curds gently while stirring to achieve the perfect texture. It’s a meditative process that lets you connect with your food.
- Drain and Press: Pour the curds into a cheese mold or a simple colander lined with cheesecloth. Press the cheese with a makeshift weight, like a heavy pot or cans of food.
- Salt and Age: Rub salt on the cheese and let it age in a cool, dry place. Over time, the flavors develop into that signature Parmesan taste.
Each step is straightforward and manageable.
Don’t worry about being perfect; cheese-making is a craft that gets better with practice.
If you want the exact directions, check out my Easy Homemade Parmesan Cheese Recipe for a detailed guide.
Tools You Probably Already Have
You might think you need expensive tools to make Parmesan, but that’s not true.
Many homesteaders use what they already have on hand. For example:
- A large pot for heating milk
- A thermometer to monitor temperature (a basic one works fine)
- A colander or strainer for draining curds
- Cheesecloth, which is affordable and reusable
- A heavy pot, bricks or even canned goods as a makeshift press
While specialized molds and presses can be helpful, they’re not essential for beginners.
Start simple and upgrade as you gain confidence.
Embrace Imperfection
If you’re feeling overwhelmed, remember that your first batch of Parmesan doesn’t have to be perfect.
Like any new skill, cheese-making takes time to master.
The first wheel might have an uneven rind or a slightly crumbly texture, but that’s okay.
Each attempt teaches you something new, and even the “flawed” results are usually delicious.
When I first started making Parmesan, I worried about every little detail.
But over time, I learned to let go of perfectionism and focus on the joy of the process.
My early attempts weren’t perfect, but they were mine, and that made them special.
Focus on the Journey
Cheese-making is more than just a means to an end; it’s an experience.
There’s something magical about watching milk transform into curds, pressing it into a wheel, and waiting as it ages into something truly unique.
It’s a reminder to slow down, appreciate the process, and take pride in your work.
For overwhelmed homesteaders, this mindset shift can make all the difference.
Instead of stressing over the outcome, focus on enjoying each step.
The journey is just as rewarding as the final product.
Pro Tips for Success
To help you feel even more confident, here are a few tips:
- Start Small: Make a half-batch if you’re nervous. It’s less intimidating and uses fewer resources.
- Take Notes: Keep a cheese-making journal to track what works and what doesn’t. This will help you improve over time.
- Ask for Help: Join online forums or local homesteading groups. The cheese-making community is welcoming and full of advice.
- Be Patient: Parmesan needs time to age, but it’s worth the wait. Use the aging period to experiment with other cheeses or projects.
Your Next Steps
Ready to give it a try?
Gather your ingredients, clear a little time in your schedule, and dive in.
Remember, making Parmesan cheese is easier than you think, and you’re capable of more than you realize.
Start small, embrace the learning process, and enjoy the journey.
Have you tried making Parmesan cheese at home?
Share your experience in the comments—I’d love to hear how it went!
Continue Your Homesteading Cheese-Making Journey With These Posts:
- Easy Homemade Parmesan Cheese Recipe
- Top 10 Ways to Use Homemade Parmesan in Everyday Recipes
- Mastering Parmesan Cheese-Making as a Homesteading Skill
- Is Mold On Parmesan Cheese Harmful?
- The Science Behind Parmesan Cheese: What Makes It So Special?
Cheese Recipes And Taste Testings
Chocolate Cheese And Blueberry Cheese
I had never heard of chocolate cheese and blueberry cheese until the day I bought them. Come hear what I thought of these unique cheeses.
The Science Behind Parmesan Cheese: What Makes It So Special?
Uncover the fascinating science behind Parmesan cheese-making and discover how each step contributes to its distinct flavor and texture.
Mastering Parmesan Cheese-Making as a Homesteading Skill
Discover how Parmesan cheese-making as a homesteading skill connects you to self-sufficiency, sustainability, and intentional living.
Is Mold On Parmesan Cheese Harmful?
Learn how to handle mold on Parmesan cheese safely, prevent spoilage, and enhance storage with expert homesteading tips.
Top 10 Ways to Use Homemade Parmesan in Everyday Recipes
Discover creative ways to use homemade Parmesan in everyday recipes, from pasta to soups, cheese boards, and more!
The Ultimate Guide to Parmesan Cheese: Your One-Stop Hub for Everything Parmesan
Discover the ultimate guide to Parmesan cheese: recipes, tips, and insights to master cheesemaking and elevate your cooking.
Italian Herb Gorgonzola Leaf Bites Tutorial
Making these Italian Herb Gorgonzola Leaf Bites is super easy and they are a delicious snack as well as a dazzling holiday appetizer.


