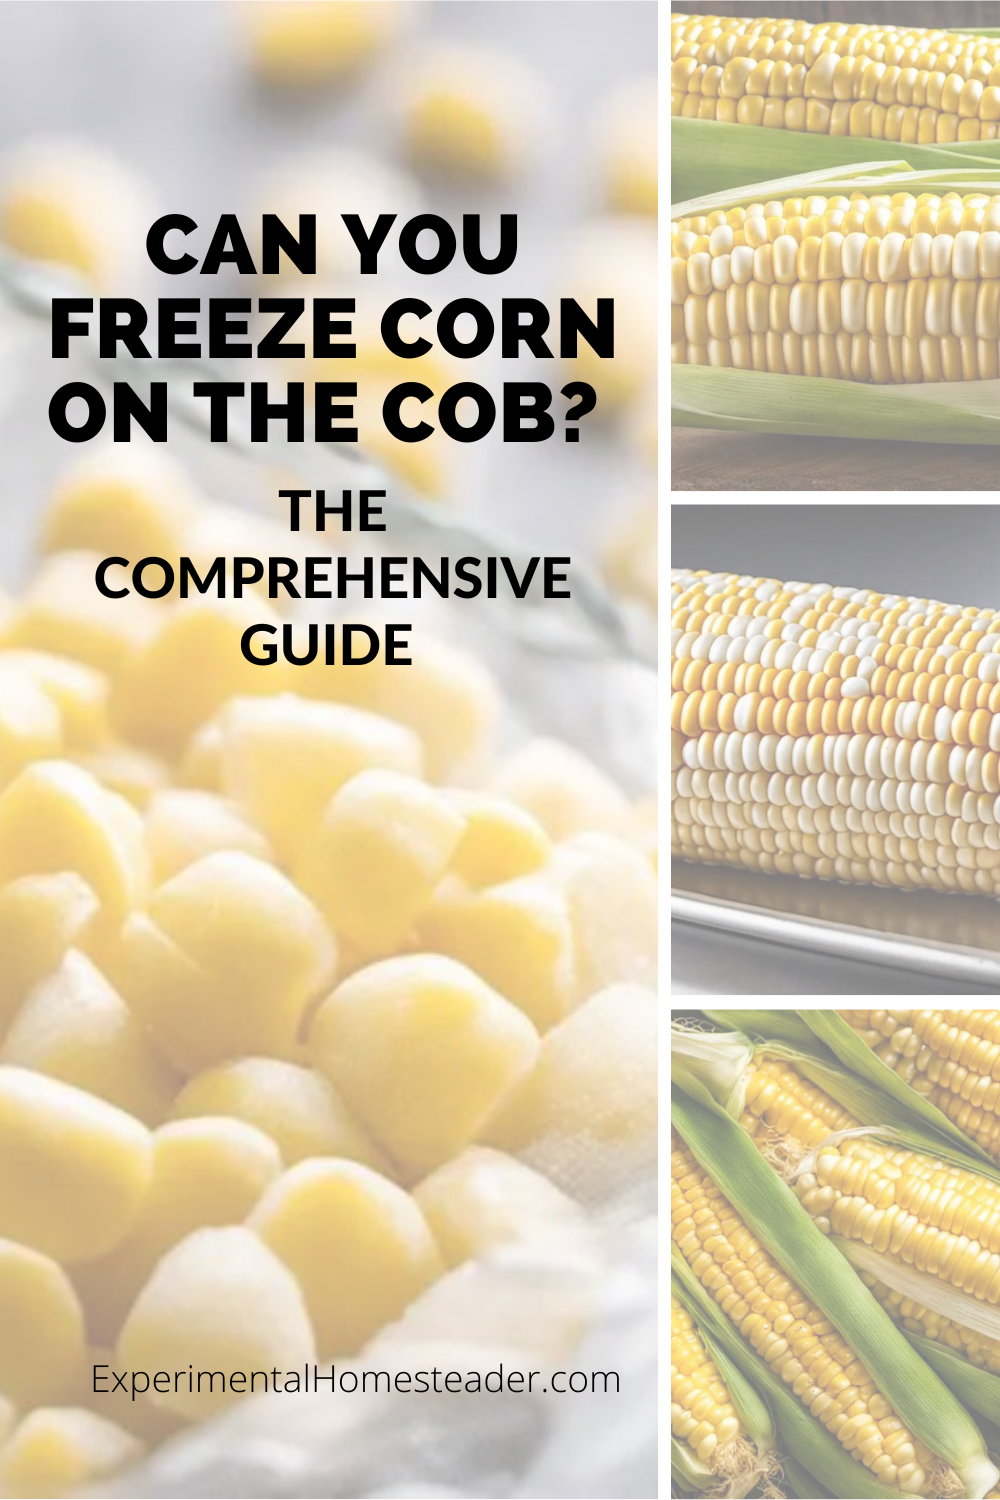
Can You Freeze Corn on the Cob? The Comprehensive Guide
Imagine savoring a luscious, juicy ear of corn in the middle of a cold winter, transported back to the height of summer with every delicious bite.

The good news is that you can experience this joy with just a little preparation and planning.
Can you freeze corn on the cob?
Absolutely!
Freezing corn on the cob allows you the freedom to delight in this quintessential summer veggie all year round.
This comprehensive guide will walk you through each step to get there; starting with how to select and prep your cobs, then taking an in-depth look at the crucial blanching process, and finally tackling best practices for storing and freezing your corn to maintain its prime quality over time.
It's all about preserving that summer essence, and with the right approach, you can enjoy the flavors of the season no matter the time of year.
From selecting the finest ears of corn to mastering the blanching process and ensuring proper storage, this guide is your key to a year-round supply of farm-fresh, delicious corn on the cob.
If you're as passionate about savoring the best of each season as I am, this guide will be an essential tool in your kitchen.
So, let's dive into the world of corn preservation and keep that summer feeling alive in every meal!

Corn Selection and Preparation
Freezing corn at home is a fabulous way to capture that fresh-off-the-stalk flavor for use throughout the year.
Fresh corn, whether on the cob or off, can be thrown right into the freezer!
Premium taste, however, requires a tad bit more effort, but it's totally worth it.
Selecting the Perfect Corn
First things first, the best type of corn for freezing is the sweet corn variety.
Sweet corn freezes well because of its high sugar content, which helps to preserve the texture and flavor during the freezing and thawing process.
Ideal types would be yellow, bi-color, or white sweet corn.
Always go for freshly harvested corn as it will have the best flavor and texture.
The next step is selecting the right ears of corn.
Look for those that have bright green, snug husks with silky, golden tassels.
The kernels should feel plump and firm when you press through the husk.
Preparing Your Corn
After selection comes the preparation process.
Begin by husking the corn, making sure to remove all the silk.
If you wish to freeze it on the cob, remember to cut off both ends.
Blanching Corn: Step by Step
Whether you prefer it on the cob or off, it's recommended to blanch the corn before freezing.
This step, though it may sound fancy, is just plunging the corn into boiling water briefly, then into cold water to stop the cooking process.
Blanching helps to preserve the color, flavor, and nutritional value during freezing.
Here's how you do it:
- Bring a large pot of water to a rolling boil.
- Drop your corn in, making sure it's completely submerged. The water might stop boiling once the corn is added, so wait for it to boil once again.
- Then start timing: For whole ears, blanch for 4 minutes; for cut kernels, blanch for 2 minutes.
- After the blanching time, immediately remove the corn and plunge into a large bowl or sink of ice water. This stops the cooking process and cools the corn quickly.
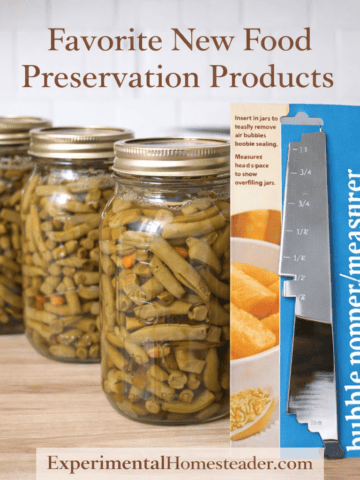
Packaging for Freezing
Once the corn has completely cooled, you're ready to freeze the corn.
You can simply slide the entire cob into freezer bags or you can cut the kernels off the cob.
If you choose to cut off the kernels, using a bundt cake pan is a neat trick to collect the kernels.
Stand the cob upright in the center hole of the bundt pan and slice down the sides.
The pan catches all the kernels.
Labeling and Storing Your Corn
From there, pack the kernels into freezer bags.
Remember to push out as much air as possible from the bags to prevent freezer burn.
Then seal the bags, label them with the date, and pop them into the freezer.
The corn will be best if used within nine to 14 months.
And just like that, you have successfully preserved the delightful flavor of summer corn.
Now, isn't that an amazing homesteading kitchen hack worth sharing?
Creating something from scratch and sharing your lifestyle with others can be so rewarding, not just for you, but for everyone involved.
In homesteading, it's all about those little victories.
And knowing you've preserved the best corn in the best way possible - that's one golden victory, right there!
Perfecting the Blanching Process for Delectable Frozen Corn-on-the-Cob
Imagine the delight of relishing summer's sweet corn right in the heart of winter.
Wouldn't it be incredible to replicate this dreamy sensation at home?
Well, with the magic of blanching corn-on-the-cob, it's no longer just a figment of your imagination.
Perfecting this method before freezing can preserve the corn's vibrant color, its captivating taste, and its rich nutritional value.
Mastering the Art of Blanching
Timing Matters
When it comes to blanching corn, let's focus on two key aspects: timing and rapid cooling.
Proper timing ensures that the corn retains its trademark sweetness.
For whole cobs, a four-minute blanching time is ideal, while half-cobs require just two minutes.
Following these times diligently prevents overcooking and ensures perfect corn.
Rapid Cooling for Optimal Texture
The second key aspect is rapid cooling, which is vital to halt the cooking process.
Once your corn is blanched, it should be swiftly transferred into ice-cold water for the same duration as the blanching.
This quick shift from boiling hot to freezing cold stops the cooking process, preserving that sought-after crunchy texture.
Freezing Corn: Whole Cob or Cut Kernels?
Versatile Freezing Options
You have two choices for freezing: whole cob or cut kernels.
While the latter might seem a bit tricky, it offers convenient, bite-sized pieces of corn.
To achieve this, all you need are a sharp knife and a sturdy chopping board.
Packaging Your Perfectly Prepared Corn
Eliminating Air for Quality
Once your corn is blanched and cooled, it's ready for packaging.
Whether you opt for vacuum-sealer bags, plastic wrap, or freezer-safe containers, it's essential to eliminate as much air as possible.
This step prevents freezer burn and preserves the corn's taste and texture.
Labeling for Organization
A labeling system is your best friend, indicating the date of freezing and specifying the type of corn (whole or cut).
This system helps immensely with tracking and rotating your supplies for easy access.
Reaping the Rewards
It's Worth the Effort
The process may seem like a lot of work, but the joy of witnessing your loved ones savor those delectable corn kernels more than compensates for the effort.
Imagine their surprise when they realize they can enjoy perfect summer corn even in the bitter cold of winter.
Homemade Corn Freezing Satisfaction
Freezing corn at home, when done correctly, offers immense satisfaction.
Each stage, from selecting the freshest ears of corn to packing them for the freezer, adds to the joy.
Additionally, it secures a supply of sweet, delicious corn that can last all year round, enhancing hearty winter dishes and making a vibrant addition to any veggie mix.
No More Settling for Less
Say goodbye to long supermarket lines and settling for less-than-stellar off-season corn.
Your freezer now holds the key to enjoying a piece of summer, all year round.
The rewards of homemade corn freezing are truly priceless.
Storing and Freezing Corn-on-the-Cob
After the meticulous process of selecting, preparing, blanching, and packaging corn on the cob, it's essential to ensure that it is stored appropriately to maintain its flavor and texture.
If done correctly, the sweet and succulent flavor of the corn will still be present even when thawed and cooked later.
Whether it's stored whole or as cut kernels, the same principles apply.
Preserving Flavor and Texture
Begin by ensuring your freezer is set to the recommended temperature for storing vegetables, which is 0 degrees Fahrenheit or below.
Temperatures above this can result in loss of quality and nutritional value over time.
Make certain that the corn is stored in a part of the freezer where the temperature remains consistent.
Avoid spots near the door or defrost cycle heaters, as frequent temperature fluctuations can degrade the corn's quality.
In terms of storing the corn, always opt for a heavy-duty, airtight freezer bag or container.
The goal is to keep out moisture and prevent freezer burn, which can negatively impact the corn's flavor and texture.
Be sure to squeeze out as much air as possible from the bag before sealing it or use a vacuum sealer for the best results.
In containers, keep the corn below the maximum fill line to allow for expansion once it freezes.
Efficient Freezer Organization
When freezing multiple bags or containers, it's essential to stack them properly to ensure even freezing.
Arrange them in a single layer with some space between each one until they are fully frozen.
Once frozen, they can be stacked more efficiently for long-term storage.
Labeling each package of corn is key to maintaining a well-organized freezer inventory.
Be sure to include the date of freezing on the label.
While frozen corn can be safely stored indefinitely, its quality may begin to deteriorate after 12 months.
Therefore, it's a good idea to consume it within a year for optimal flavor and texture.
A first-in-first-out strategy will ensure older packages are used first.
Maintaining Quality Over Time
Finally, to defrost the corn, place it in the refrigerator until fully thawed.
For quicker thawing, you can also immerse the packages in cold water.
Avoid using warm or hot water as it can cause the corn to lose flavor and texture.
Once thawed, cook the corn as desired, remembering that it has already been partially cooked through the blanching process so it won't require a long cooking time.
There's real satisfaction in opening up your freezer on a chilly winter day to find beautifully preserved and delicious summer corn.
By carefully storing and freezing corn on the cob, you can extend its seasonal freshness and enjoy its sweet, savory taste all year round.
It's a little bit of sunshine packed into each golden kernel, ready to brighten up any meal.
So, give this a try today and savor the bounty of summer all-year-round with the help of these tricks!
Print
Can You Freeze Corn on the Cob? The Comprehensive Guide
Preserve the taste of summer with this easy corn freezing recipe. Capture the sweet, farm-fresh flavor to enjoy all year long. Follow these steps to store your corn the right way.
- Total Time: 22 minutes
- Yield: 1 ear 1x
Instructions
Corn Selection and Preparation:
Step 1: Selecting the Right Corn
- Opt for sweet corn, ideally yellow, bi-color, or white varieties, as their high sugar content preserves flavor and texture during freezing.
- Choose freshly harvested corn for the best flavor and texture.
- Look for ears with bright green husks and golden tassels. The kernels should feel plump and firm.
Step 2: Husking and Preparing the Corn
- Remove the husks and all silk from the corn.
- If you want to freeze it on the cob, cut off both ends.
- Regardless of the freezing method, blanch the corn to preserve color, flavor, and nutrition.
Step 3: Blanching Corn
- Bring a large pot of water to a rolling boil.
- Submerge the corn in the boiling water, and wait for it to boil again.
- For whole ears, blanch for 4 minutes; for cut kernels, blanch for 2 minutes.
- Immediately transfer the corn to a bowl of ice water to cool it quickly.
Step 4: Packaging and Freezing
- Once the corn has cooled, you can either freeze the entire cob or cut off the kernels.
- For cutting the kernels, use a bundt cake pan to catch them.
- Pack the kernels into freezer bags, removing as much air as possible to prevent freezer burn.
- Label the bags with the date and store in the freezer for 9 to 14 months.
Perfecting the Blanching Process for Delectable Frozen Corn-on-the-Cob:
Step 1: Blanching Duration
- For whole cobs, blanch for 4 minutes; for half cobs, blanch for 2 minutes.
- Strictly follow these timings to preserve the corn's sweetness.
Step 2: Rapid Cooling
- Immediately transfer the blanched corn into ice-cold water for the same duration as blanching.
- This rapid cooling process preserves the corn's crunchy texture.
Step 3: Freezing Options
- You can freeze corn as a whole cob or cut kernels.
- Use a sharp knife and chopping board for cutting.
Step 4: Packaging for Freezing
- Whether using vacuum-sealer bags, plastic wrap, or containers, eliminate as much air as possible.
- Label the packages with the date and type of corn (whole or cut) for tracking.
Storing and Freezing Corn-on-the-Cob:
Step 1: Optimal Freezer Conditions
- Ensure your freezer is set at or below 0 degrees Fahrenheit for storing vegetables.
- Store corn in a part of the freezer with consistent temperature to maintain quality.
Step 2: Packaging
- Use a heavy-duty, airtight freezer bag or container to prevent moisture and freezer burn.
- Squeeze out as much air as possible from the bag before sealing or use a vacuum sealer.
- Keep corn below the maximum fill line in containers to allow for expansion when freezing.
Step 3: Stacking and Labeling
- Stack packages in a single layer with space between them until fully frozen.
- Label each package with the date of freezing for organization.
- Consume frozen corn within a year for optimal flavor and texture.
Step 4: Thawing and Cooking
- Prep Time: 16 minutes
- Cook Time: 6 minutes
Preserve Summer's Bounty: Your Guide to Locking in Freshness and Nutrition
By taking the time to carefully select, prepare, blanch, and store your corn, you're locking in not just the fresh, sweet flavors of summer, but also the nutrients that make corn a healthy dietary choice.
The steps outlined in these sections are straightforward and easily achievable, ensuring your freezer is stocked with sunshine-soaked corn on the cob for whenever you need a delicious reminder of warmer times.
Remember, the key to successful freezing is preparation, quality produce, and careful storage.
So, what are you waiting for?
Bring out those cobs, prep your kitchen, and get ready for a bounty of frozen corn on the cob that's just a thaw away from your dinner table.
FAQ: Freezing Corn on the Cob - Your Questions Answered
Q. Can I freeze corn on the cob without blanching it?
A. Blanching is recommended to preserve the flavor and texture of corn, but you can freeze it without blanching. However, the quality may not be as good.
Q. What's the best type of corn to freeze?
A. Sweet corn with high sugar content, like yellow, bi-color, or white sweet corn, is ideal for freezing.
Q. How long does frozen corn on the cob last in the freezer?
A. Frozen corn on the cob can be stored for up to 9 to 14 months without significant quality loss.
Q. Can I freeze whole cobs and cut kernels from the same batch of corn?
A. Yes, you can freeze both whole cobs and cut kernels from the same batch of corn.
Q. What's the recommended temperature for freezer storage?
A. Store corn at 0 degrees Fahrenheit or below to maintain its quality and nutritional value.
Q. Should I use vacuum-sealer bags or containers for freezing corn?
A. Both options work well. Choose the one that suits your storage preferences.
Q. Can I refreeze corn on the cob after it's been thawed?
A. It's not recommended to refreeze corn after it has thawed, as it can affect the quality.
Q. How should I thaw frozen corn on the cob?
A. Thaw corn in the refrigerator or by immersing the packages in cold water.
Q. Can I store frozen corn on the cob in the same freezer as other foods?
A. Yes, you can store corn with other foods, but be sure to package it properly to prevent cross-contamination.
Q. Is it necessary to label the frozen corn with the date of freezing?
A. Labeling is essential for keeping track of freshness, especially if you plan to store it for an extended period.
Q. Can I use frozen corn directly in recipes, or should I cook it separately first?
A. You can use frozen corn directly in recipes without pre-cooking it separately.
Q. Can I freeze corn that's already been cooked in a dish, like corn casserole or soup?
A. Yes, you can freeze dishes with corn, but the texture may change upon reheating.
Q. Is there any difference in freezing white, yellow, or bi-color corn?
A. The freezing process is similar, but the choice depends on your preference.
Q. Can I freeze corn on the cob if it's been stored in the fridge for a few days?
A. It's best to freeze corn on the cob shortly after harvesting for optimal flavor and texture.
Q. What's the best way to prevent freezer burn on frozen corn?
A. Squeeze out as much air as possible from the bags or use a vacuum sealer to prevent freezer burn.
Q. Can I use frozen corn on the cob for making cornmeal or corn flour?
A. Frozen corn on the cob is not typically used for making cornmeal or corn flour; it's more suitable for direct consumption.
Q. Is there a specific type of corn that's best for freezing cornmeal or corn flour?
A. Dent corn, often used for grinding into cornmeal, is a suitable choice.
Q. Can I freeze corn on the cob if it has blemishes or imperfections on the kernels?
A. It's best to freeze corn with intact and healthy kernels for the best results.
Q. Can I freeze corn on the cob that's been seasoned or flavored?
A. Seasoned or flavored corn can be frozen, but the flavor may intensify during freezing.
Q. What's the ideal container size for freezing corn on the cob?
A. Choose containers or bags that accommodate the portion of corn you intend to use for each meal. Alternatively, separate the corn so you can easily take out the desired quantity, while allowing some room for expansion.
How To Freeze Food

How To Determine The Best Fruits And Vegetables To Store
Learn how to determine the best fruits and vegetables to store for winter use plus get tips on how to store them for the best results.
36 Of The Best Freezer Friendly Fruits And Vegetables
Save money on your grocery bill by knowing the best freezer friendly fruits and vegetables so you can stock up when they are on sale!
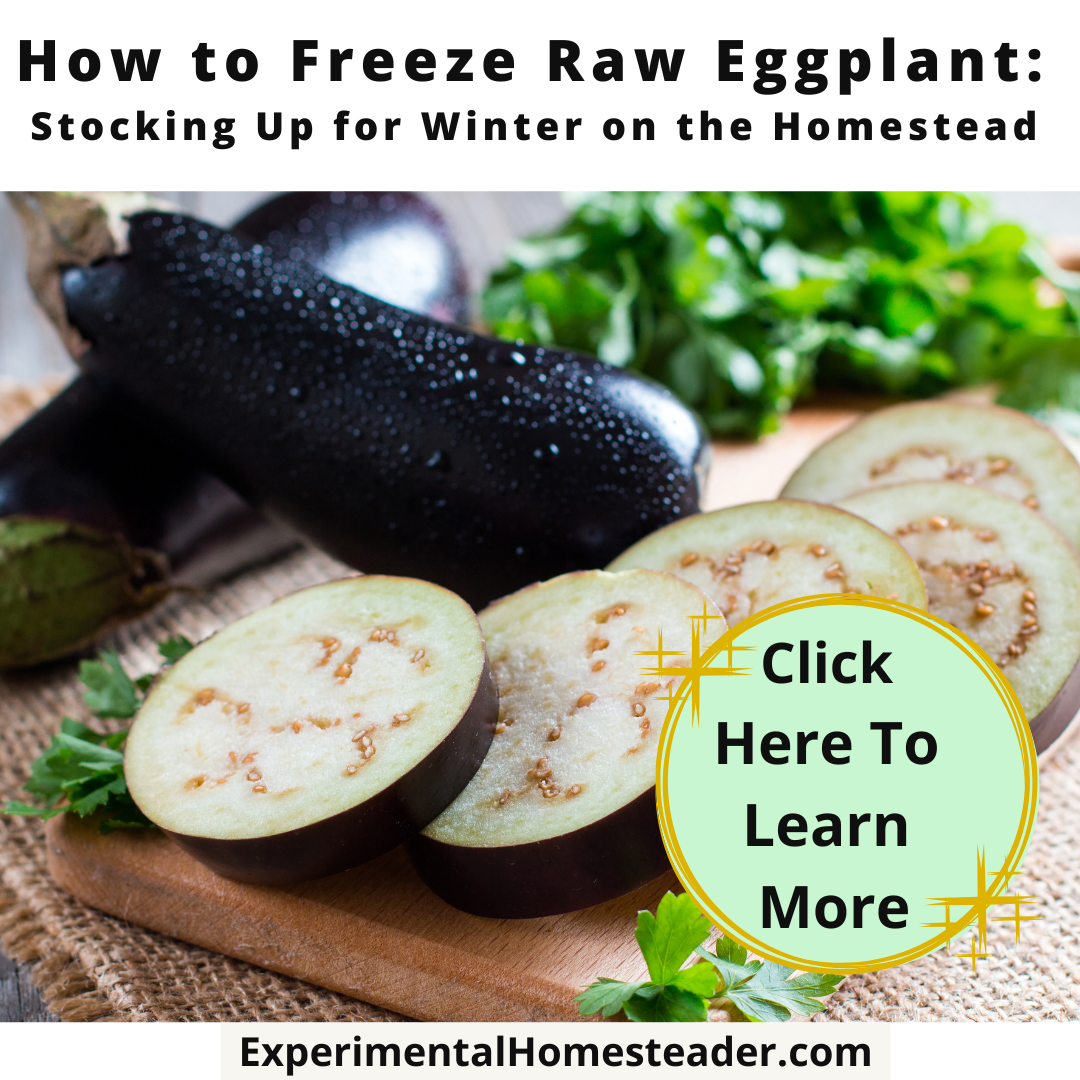
How to Freeze Raw Eggplant: Stocking Up for Winter on the Homestead
Preserve the fresh flavor and nutritional value of raw eggplant by learning how to freeze it. A game-changer for homesteaders and gardeners.

You Don’t Have to Do It All: How to Freeze One Eggplant for Beginners
Learn how to freeze one eggplant for beginners with this simple guide to start your food preservation journey today.

Preserving Citrus Fruits
Preserving citrus fruits is something you want to know how to do if you grow your own, buy in bulk or have citrus fruits given to you.
Save Time By Using Freeze-Ahead Sauces And Meals For Tonight
Save time by pre-preparing freeze-ahead sauces and meals for tonight or any night when you need something delicious and nutritious but simply don't have time to cook.

How To Make Delicious Batch Cooking Freezer Recipes
Learn how to make delicious batch cooking freezer recipes. Buying in bulk saves money. Preparing the meals ahead of time saves time.
Freezing Goats Meat
Freezing goats meat is as easy as freezing any other type of meat. If you raise goats or have a goat meat store close by this is an easy way to stock up.
How To Start Freezing Goat Milk
Freezing goat milk is the best way to preserve it for use when your goats are not in milk. Drink it fresh or use it in many goat milk recipes.
What Is The Best Method For Preserving Eggs? Find Out Now
Are you wondering how to store eggs? Learn the various techniques you can easily use at home for preserving eggs fresh from your poultry.

How To Dry And Store Homemade Noodles
Learn how to dry homemade pasta plus the best method for storing homemade noodles so they stay fresh for up to six months!
Freezer Recipe: Poached Pears In Wine Sauce
Made with Asian pears and two different types of honey wine, this poached pears in wine sauce freezer recipe is an easy way to preserve fall's bounty.

Four Factors That Affect Food Storage
Understanding the four factors that affect food storage is essential for keeping your food safe, especially if you intend to store it long term.
Canning Broccoli Is No Longer Safe But You Can Still Preserve It
Although canning broccoli was once considered safe, times have changed thus freezing, dehydrating or freee drying broccoli is recommended.

Can You Freeze Fudge? Exploring the Sweet Secret of Fudge Preservation
The holidays are a busy time. Can you freeze fudge to make homemade creations easier? Learn the art of preserving fudge here!

Souper Cubes: Making Freezer Meal Prep Easier Than Ever
Save time and freeze with ease - Souper Cubes is revolutionizing freezer meal prep. Learn about the amazing features of Souper Cubes now!
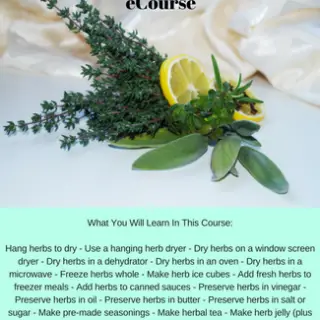
Preserving Herbs For Winter Use eCourse
Do you love fresh herbs but wonder if there is an easy way to preserve them for the winter?
Do you seek other ways to use herbs other than just as a seasoning on food?
There are so many ways to preserve herbs for winter use – from various methods of drying them to freezing them, but it doesn’t end there.
Some of the best ways to preserve herbs in right in the foods you would normally incorporate herbs into – pre-made seasonings, teas, butter or oil.
Then this is the course for you!
What You Will Learn In This Course:
Hang herbs to dry
Use a hanging herb dryer
Dry herbs on a window screen dryer
Dry herbs in a dehydrator
Dry herbs in an oven
Dry herbs in a microwave
Freeze herbs whole
Make herb ice cubes
Add fresh herbs to freezer meals
Add herbs to canned sauces
Preserve herbs in vinegar
Preserve herbs in oil
Preserve herbs in butter
Preserve herbs in salt or sugar
Make pre-made seasonings
Make herbal tea
Make herb jelly (plus tips on how to use these)
Freezing Apples Recipe
This freezing apples recipe is super simple. It is a great way to preserve the bounty of fall apples for winter use.