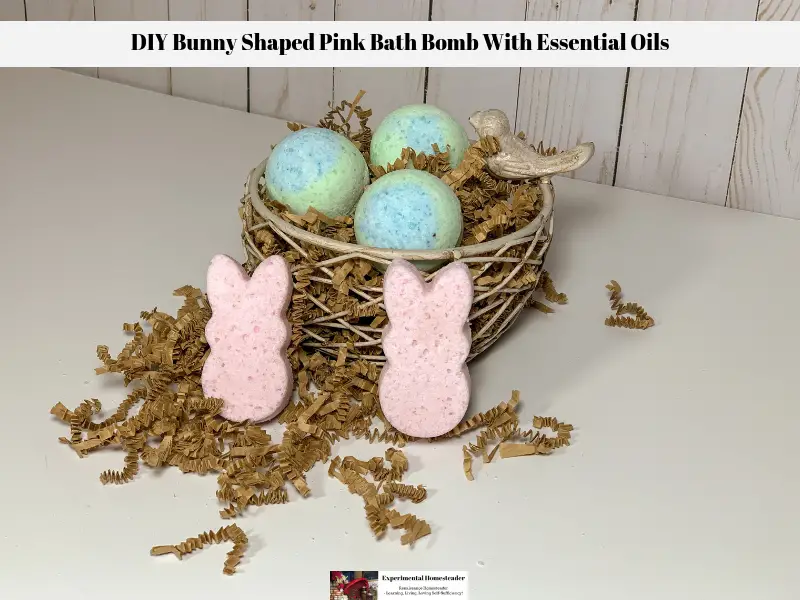
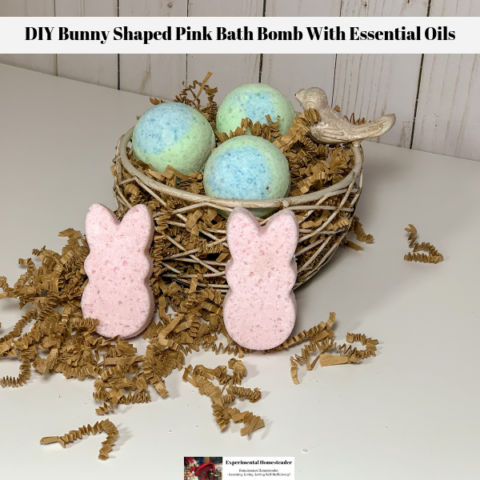
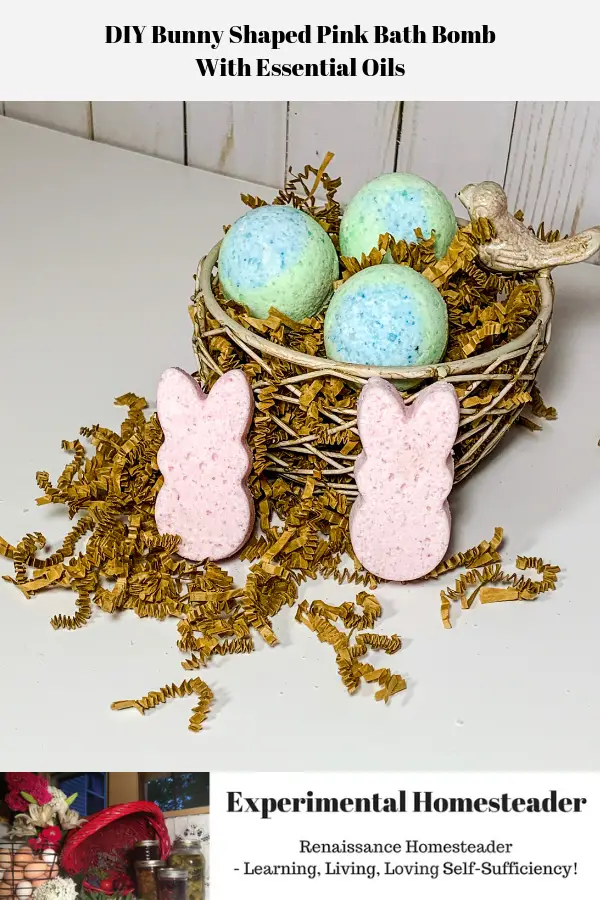
DIY Bunny Shaped Pink Bath Bomb With Essential Oils
This bunny shaped pink bath bomb is ideal for spring and best of all, it is scented with essential oils.
Why This Pink Bath Bomb Is Perfect For Spring
The combination of lavender and magnolia essential oils combine perfectly to give these bath bombs a wonderful spring scent you are sure to love.
Not to mention these bunny shaped pink bath bombs are downright cute, seasonally appropriate and make perfect gifts for Easter Baskets for older kids.
Homemade bath bombs are a wonderful gift for new mothers, ideal to add to a spa gift basket or even a personal care gift basket filled with DIY bath and body products.
Seasonal shaped bath bombs are a lot of fun to make and are perfect to add to matching seasonal DIY gift baskets.
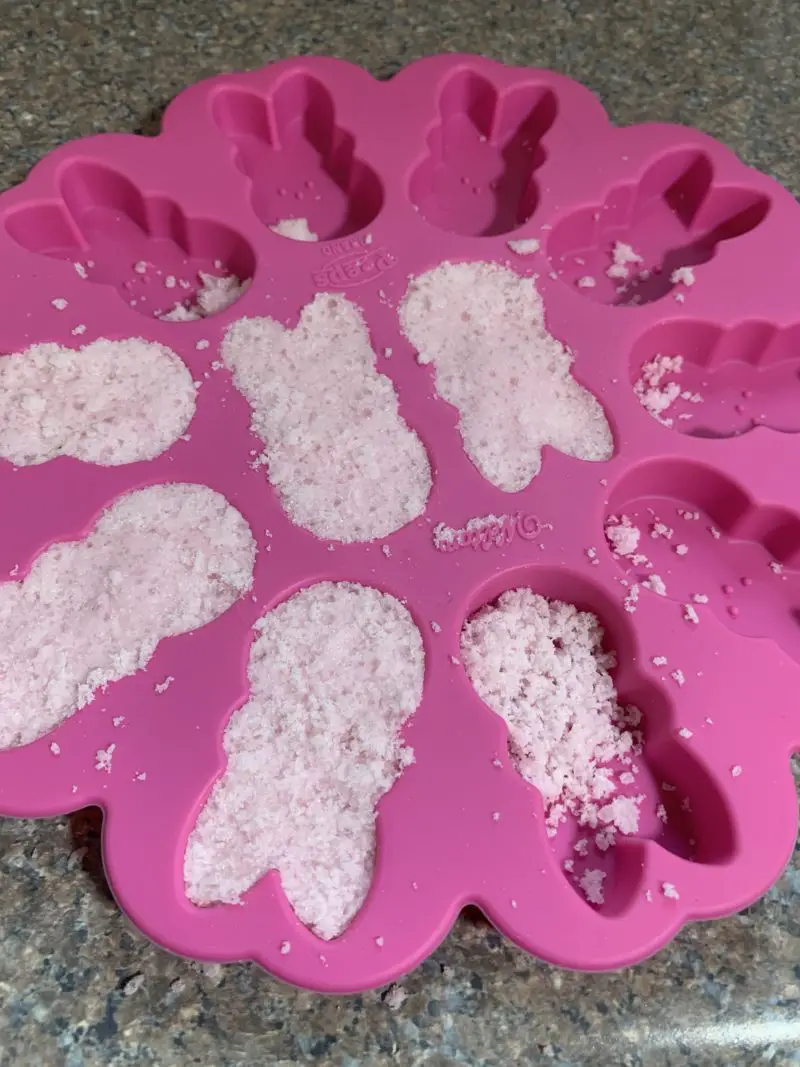
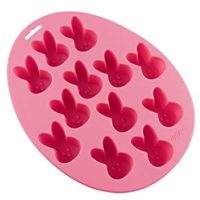
I used an actual Peeps Silicone Mold that I found at JoAnn Fabrics And Crafts, but I was unable to find the exact mold online, however this bunny mold will work.
Here is the recipe for this bunny shaped pink bath bomb.
DIY Bunny Shaped Pink Bath Bomb With Essential Oils
Materials
- Dry Ingredients:
- 1 pound baking soda
- ½ pound citric acid, fine grain
- ½ pound Epsom salt, fine grain
- .5 ounce kaolin clay
- 1 ounce Sodium Lauryl Sulfoacetate (SLSA)
- ¼ to ½ teaspoon micas – in your preferred color
- Wet Ingredients:
- 1 ounce sweet almond oil
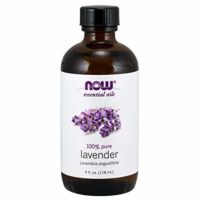
- ½ ounce lavender essential oil
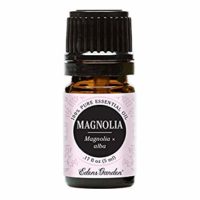
- ½ ounce magnolia essential oil
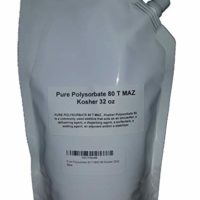
- .5 ounce Poly 80 (for micas)
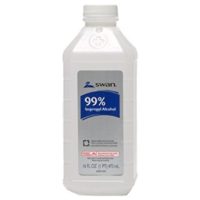
- ¼ to 1 ounce Isopropyl alcohol
Instructions
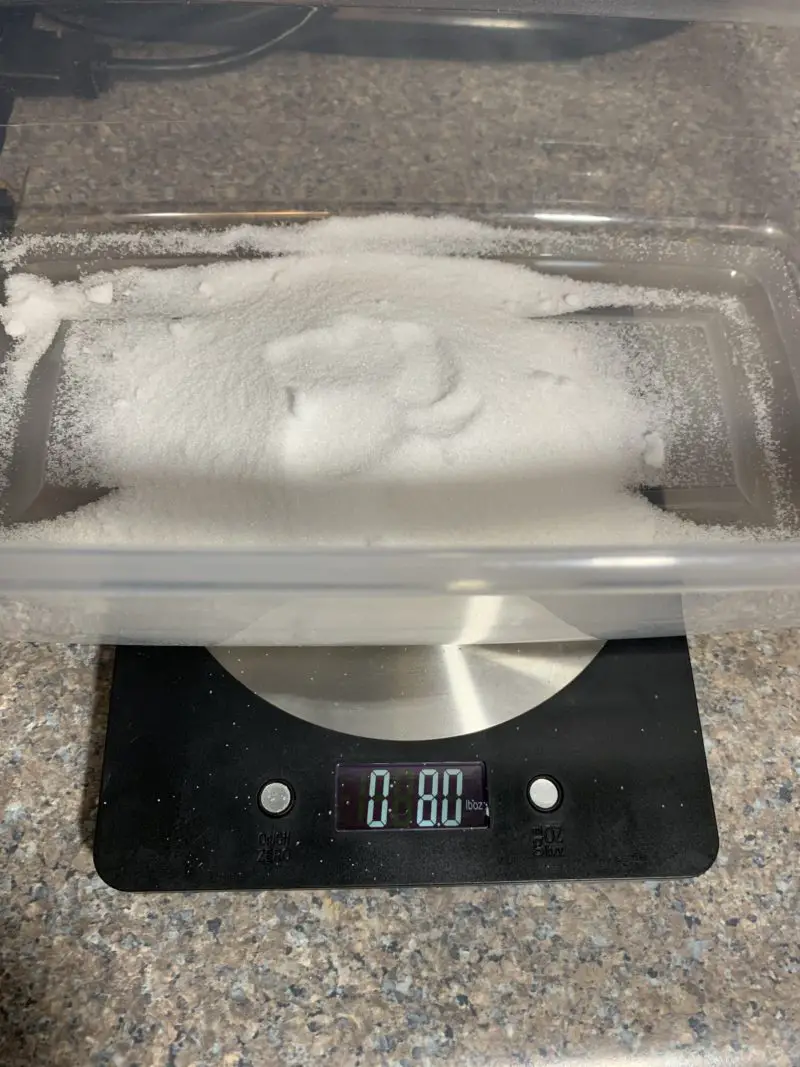
- Measure out the dry ingredients in a container.

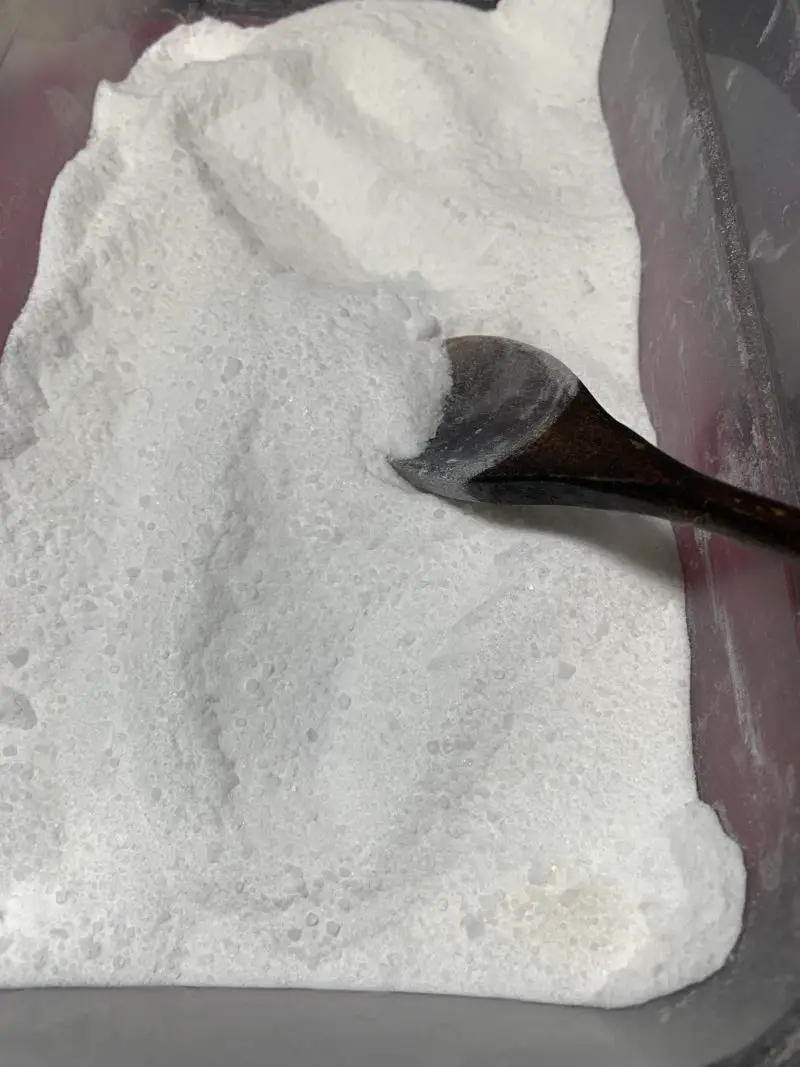
- Stir the dry ingredients to combine them.
- Measure the essential oil, poly 80 and sweet almond oil, one at a time and put them in a glass container.
- Stir the liquids to combine them.
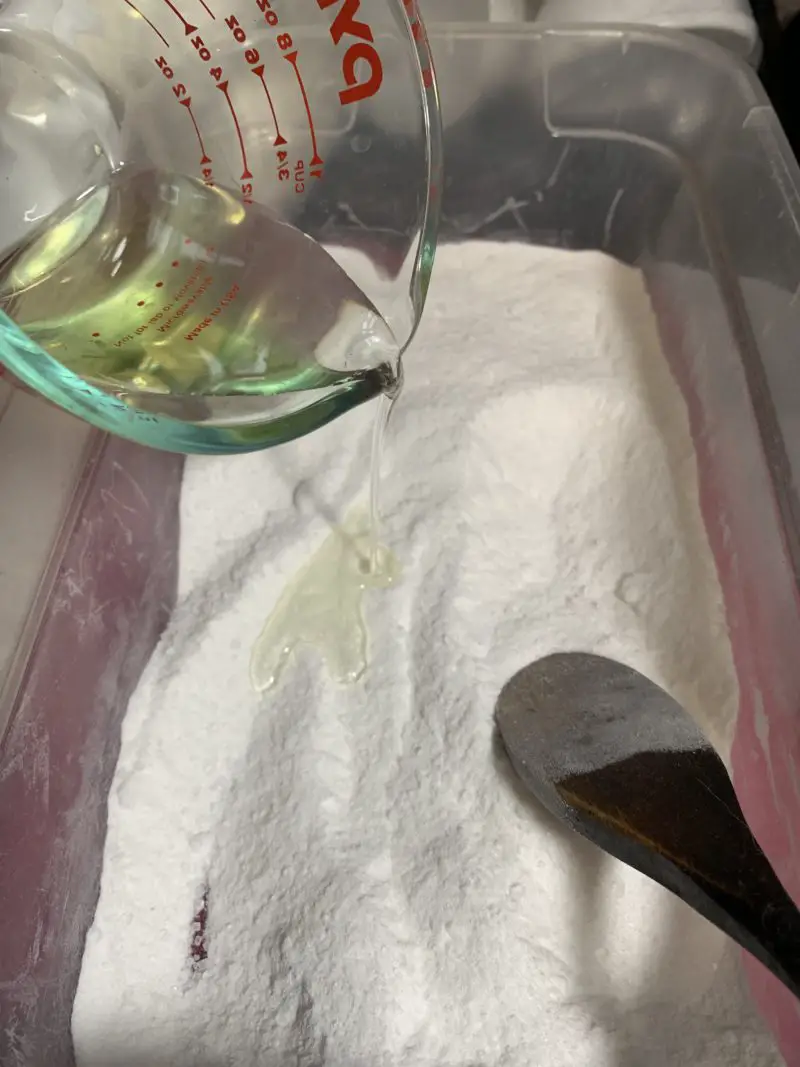
- Slowly pour the wet mixture into the dry ingredients, stirring the mixture as you pour.
- Once the wet and dry ingredients are combined add the mica powderuntil you are satisfied with the color of the bath bomb mixture.
- Then add the alcohol to the mixture ¼ ounce at a time.
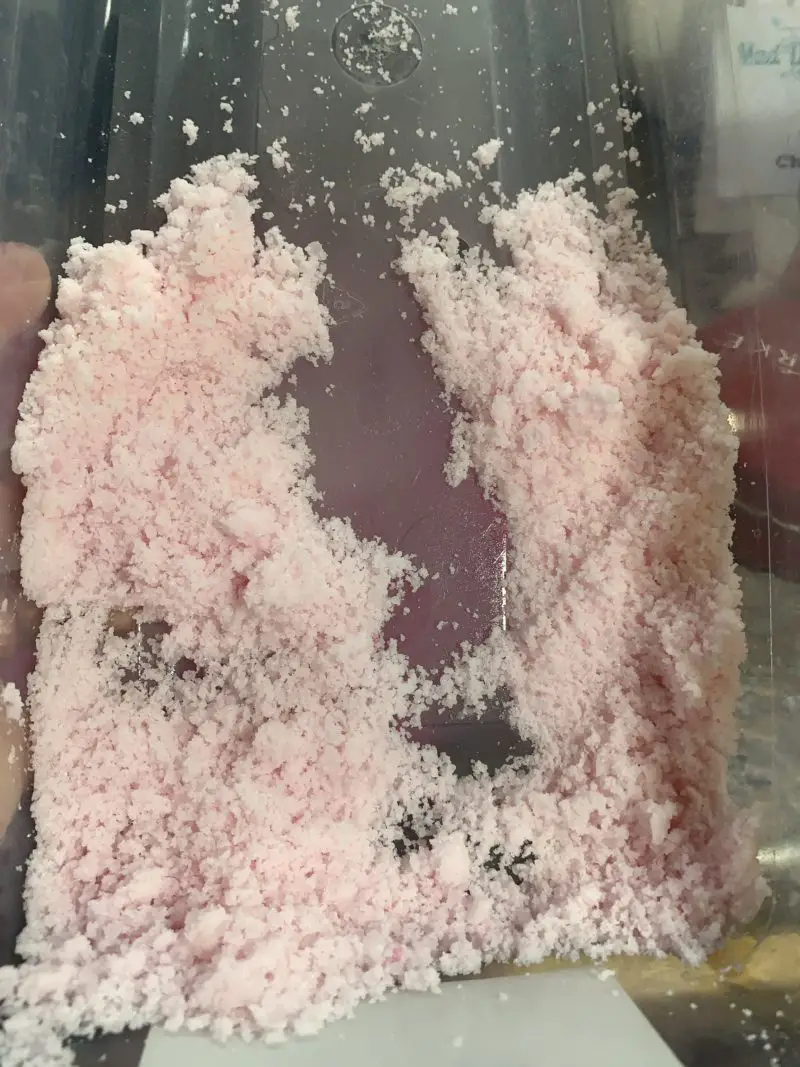
- Stir the alcohol into the mix after each addition and continue adding more alcohol until the mixture looks like wet sand.
- Once the mixture looks like wet sand, take a handful of the bath bomb mix and squeeze it together to make a ball shape.
- Hold the ball above the bowl and drop the ball into the bowl. If the ball stays together, the mixture is ready to press into the molds and if not, add a little bit more alcohol until the mixture holds together when it is dropped.
- Once the bath bomb mixture is ready, press it into the mold making sure to use enough bath bomb mixture to fill the mold, but do not overfill it.*
- If you are using a flat shape, just press it in. If you are using a rounded shape, be sure to add a little extra to the center of the mold so when you press the mold together both sides will adhere to one another.
- Allow the bath bombs to dry overnight in the mold, then remove one side of the mold if you are using a two sided mold, but leave the other side of the bath bomb in the mold. If you are using a one sided mold, just leave the bath bomb in the mold.
- Set the mold with the bath bomb in it aside and let it dry for two to three days, then remove it from the mold.
- Your bath bomb is now ready to use or if you are not ready to use it, wrap it in plastic wrap and store it away from moisture and sunlight.


Recommended Products
Sheri Ann Richerson is a participant in the Amazon Services LLC Associates Program, an affiliate advertising program designed to provide a means for sites to earn advertising fees by advertising and linking to Amazon.com.

-
 Arm & Hammer Baking Soda - Net Wt 1 lb - (Pack Of 2)
 -
Milliard Citric Acid 10 Pound - 100% Pure Food Grade NON-GMO Project VERIFIED (10 Pound)
-
Milliard Epsom Salt 3lbs. Magnesium Sulfate BULK Bag - Made in USA
-
KAOLIN CLAY White Cosmetic NATURAL POWDER Facial Masks Spot Treatments 1 lb (2 bags - 32 oz total)
-
Sodium Lauryl Sulfoacetate (11 oz (0.69 lb)) (Multiple Sizes)(Bath Bomb additive)(Gentle on Skin)
-
Mica powder – Soap Making Kit – Powdered Pigments Set – Soap making dye – 24 coloring - Hand Soap Making Supplies - Resin Dye - Mica Powder Organic for Soap Molds - Bath Bomb Dye Colorant – Makeup Dye
-
Pure Body Naturals - Sweet Almond Oil, Super Triple A Grade Quality, 100% Pure and Natural from Spain, Cold Pressed, Massage Oil 16 fl oz.
-
NOW Foods Lavender Oil (Liquid), 4 oz
-
Magnolia Essential Oil (100% Pure, Undiluted Therapeutic/Best Grade) Premium Aromatherapy Oils by Edens Garden- 5 ml
-
Pure Polysorbate 80 T MAZ 80 Kosher 32oz
-
Swan Isopropyl Alcohol, 99 percent, Pint, 16 OZ (Pack of 2)
-
2105-5760 Wilton Easter Bunny Shaped Silicone Treat Mold

Final Thoughts About This Bunny Shaped Pink Bath Bomb
Making bath bombs is a lot of fun and the customization options are endless!
You can easily change the color of the bath bombs or even create multi-colored bath bombs such as the bird egg bath bombs in the photo just by changing the micas you use.
The scent is also quite customizable.
The recommended amount of essential oil remains the same, but the exact combination of essential oils you use is up to you.
I hope you have a lot of fun making these bath bombs!
Easter Recipes, Crafts + DIY
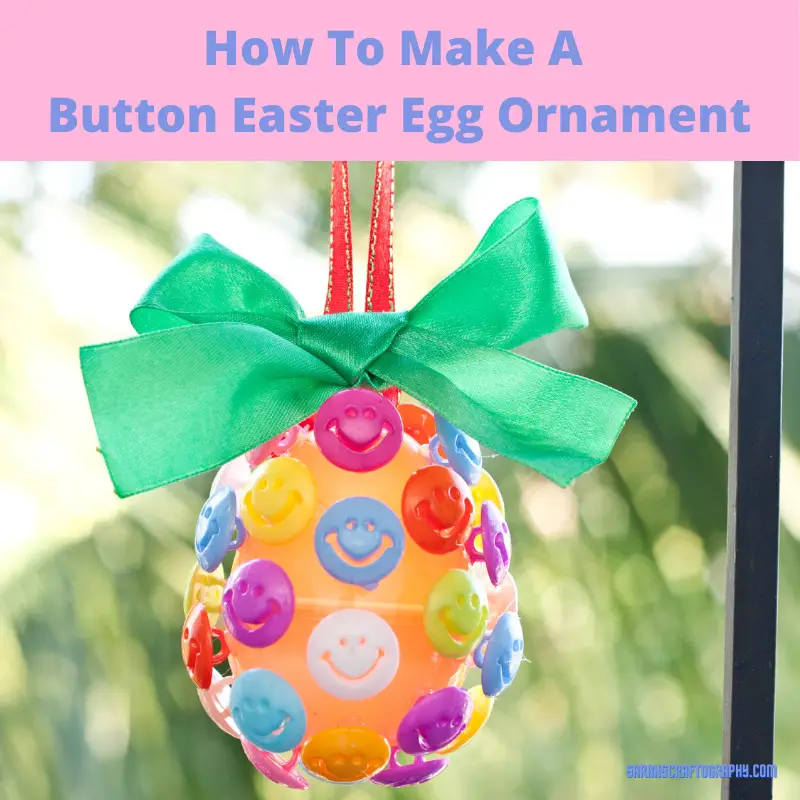
How To Make A Button Easter Egg Ornament
Are you looking for a cute and easy decoration for Easter? This cute button Easter Egg ornament is perfect for the whole family!
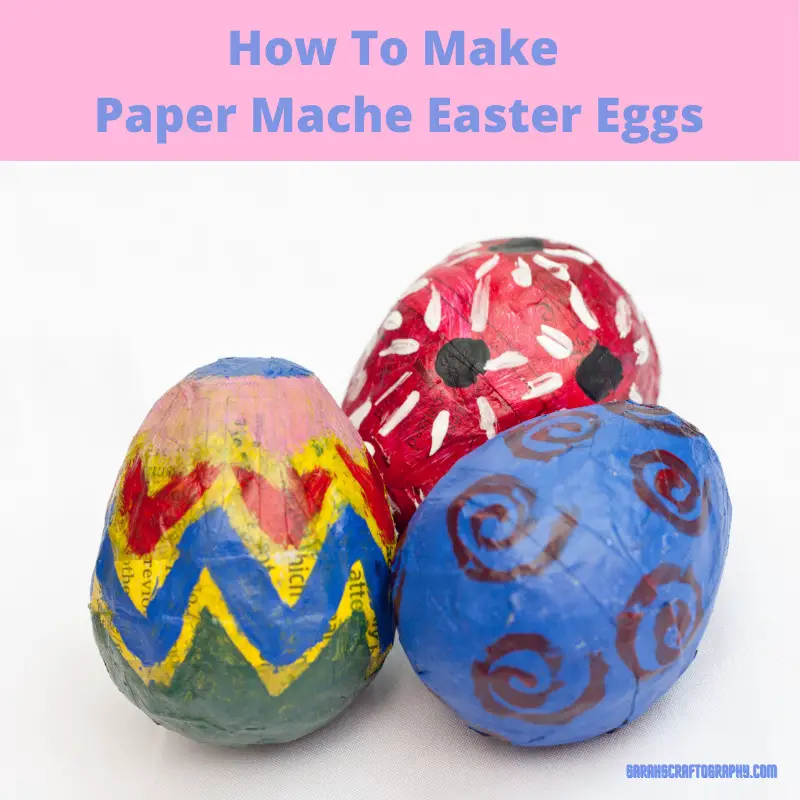
How To Make Paper Mache Easter Eggs
Learn how to make paper mache Easter Eggs, a brief history of the Easter Egg and how to incorporate your project into your Easter celebration.
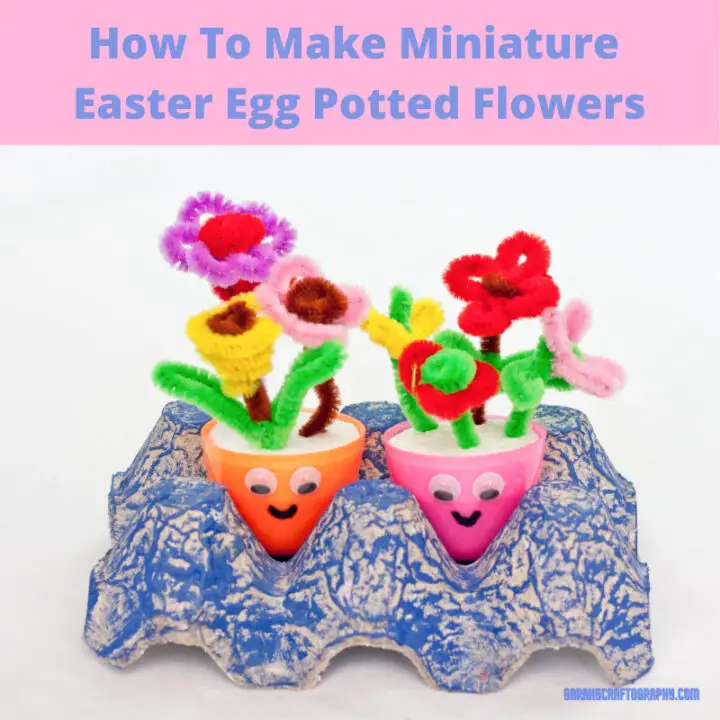
How To Make Miniature Easter Egg Potted Flowers
Learn how to make miniature Easter egg potted flowers for gift giving and home decor that will last for many holidays to come.
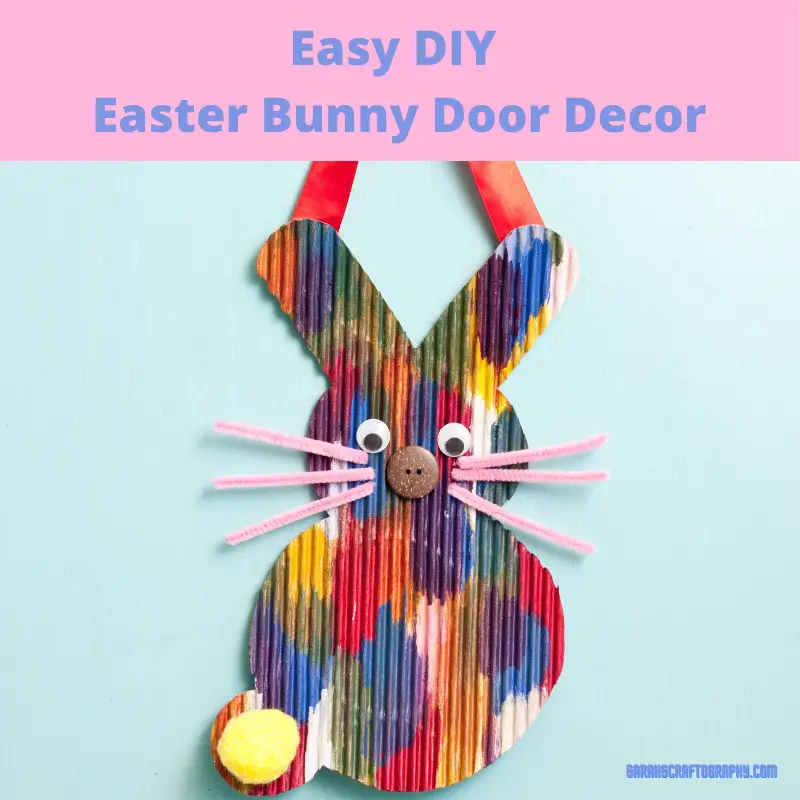
Easy DIY Easter Bunny Door Decor
This easy corrugated cardboard Easter Bunny Door Decor is a great way to let your kids help create Easter Decorations for your home.
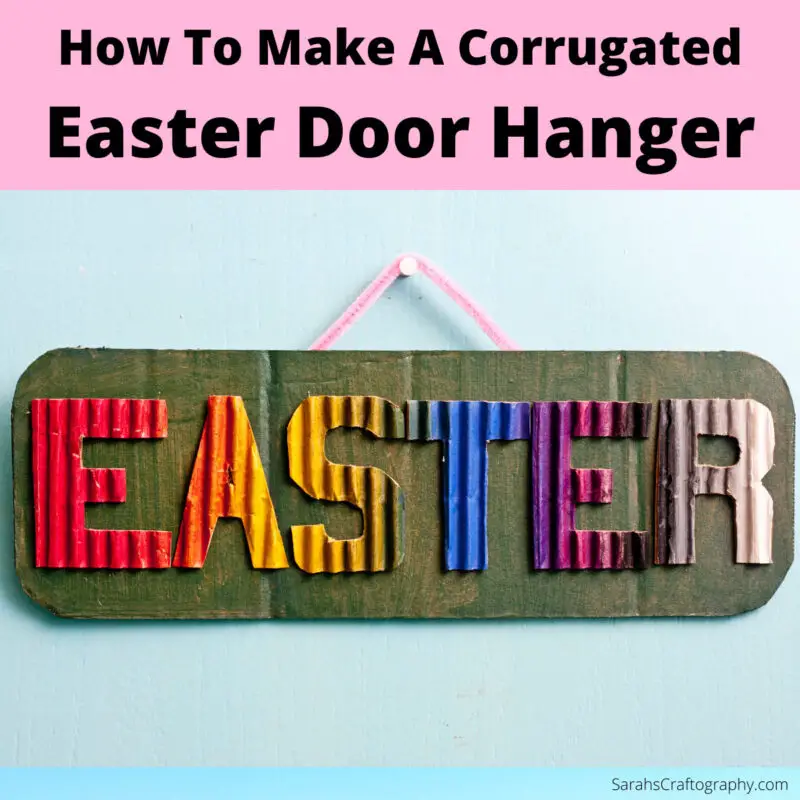
How To Make A Corrugated Easter Door Hanger
This DIY corrugated Easter door hanger is a fun project for kids and ideal for hanging on your front door during the Easter Holidays.
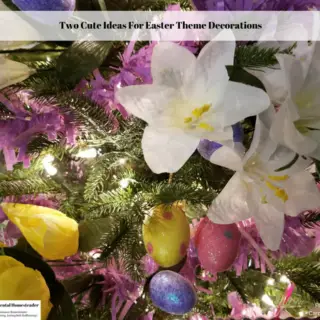
Two Cute Ideas For Easter Theme Decorations
Check out these ideas for Easter theme decorations. Make your own Easter tree ornaments or repurpose items you already own to make your own unique Easter tree decorations! You are sure to love these Easter tree ideas!
DIY Bunny Shaped Pink Bath Bomb With Essential Oils
This DIY bunny shaped pink bath bomb is scented with lavender and magnolia essential oils making it perfect for spring. They also make a great Easter gift!
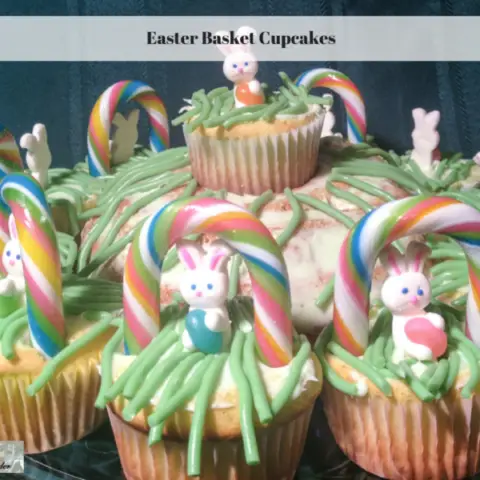
Easter Basket Cupcakes
This Keylime cupcake cake recipe makes a gorgeous centerpiece. These Easter basket cupcakes make perfect Easter desserts for kids of all ages!
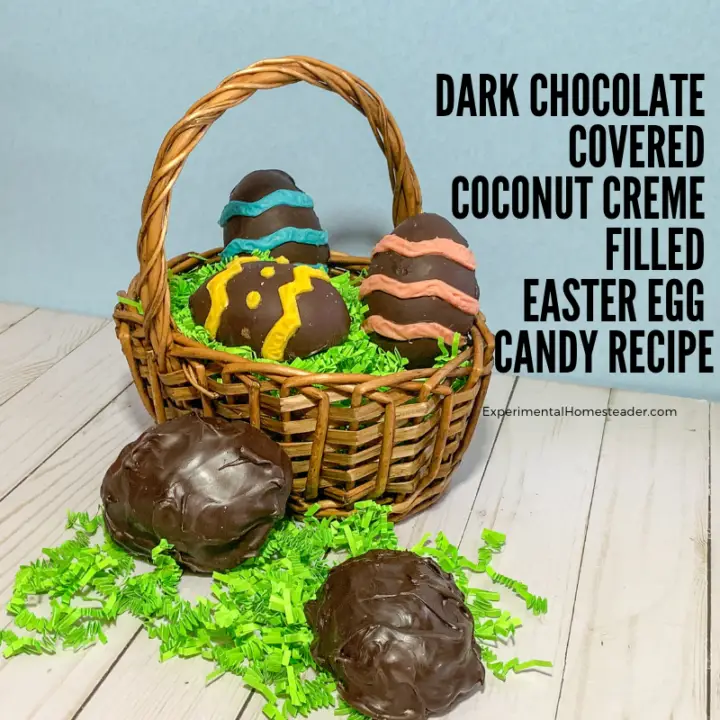
Dark Chocolate Covered Coconut Creme Filled Easter Egg Candy Recipe
Discover two different ways to make this delicious dark chocolate covered coconut creme filled Easter egg candy recipe. It's a lot easier than it looks!
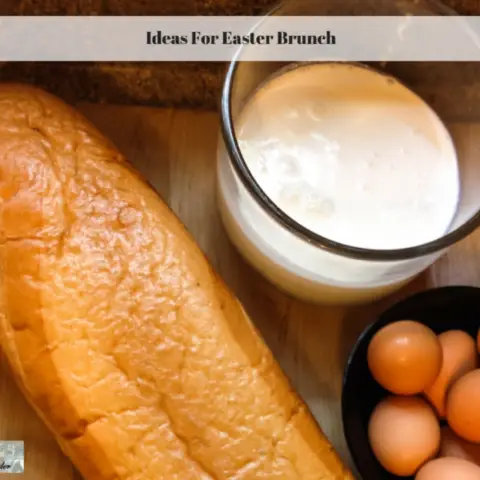
Ideas For Easter Brunch
Check out these ideas for Easter Brunch. These Easter Brunch menu ideas are ones you can make ahead of time or are quick and easy to prepare.
Frugal Fun Easter Basket Ideas
When it comes to finding cute cheap Easter Basket ideas be sure what you choose are items kids enjoy! Check out these fun Easter Basket ideas!
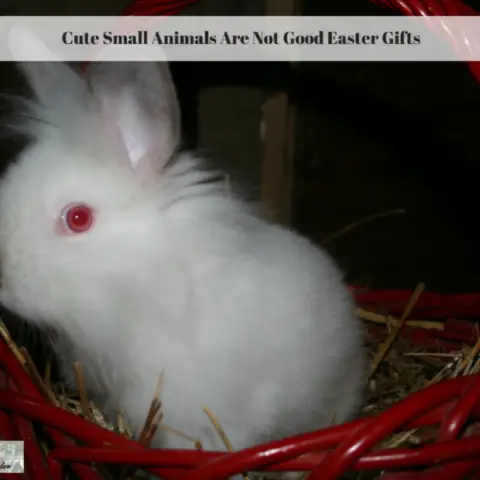
Cute Small Animals Are Not Good Easter Gifts
Cute small animals are often brought home as Easter gifts. Consider the animal welfare issues before doing this and remember cute small animals grow up.