How To Make The Best Homemade Bath Bombs
I've made a lot of bath bomb recipes in my life, but these are the best homemade bath bombs I have ever made.


Why This Recipe Makes The Best Homemade Bath Bombs
All of the homemade bath bombs I have made have held together and worked, however not all of them have foamed.
I love that these foam as well as fizz.
I think it adds that little "extra" to the bath bomb.
Now if you use bubble bath, you might not notice the foam because it will blend into the bubbles.
However if you take your bath using just plain water, the foam is obvious.
I also love that these bath bombs are softening to the skin without making the tub slippery.
This is a real plus because let's face it, some bath bombs make getting out of the tub downright dangerous because of all the oils left behind.
I also love that this recipe molds really well and holds its shape without cracking after it is removed from the mold.
Here is my recipe for what I now consider the best homemade bath bombs I have ever made.
Print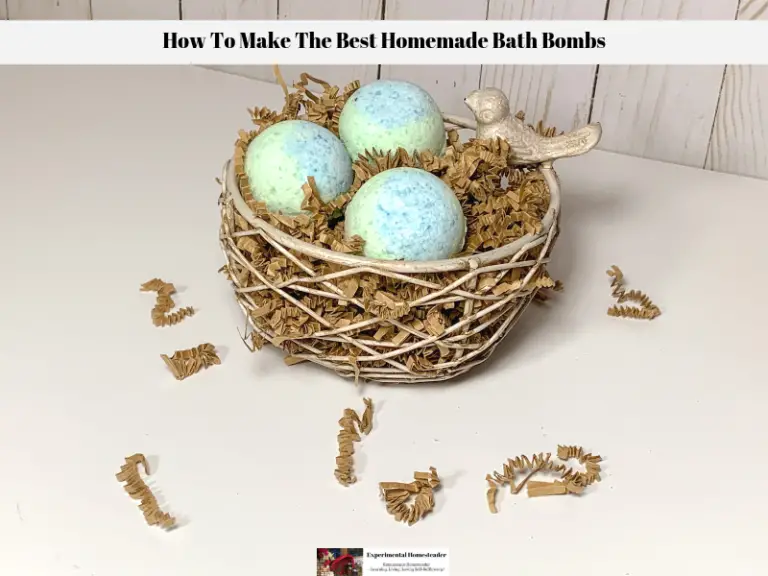
How To Make The Best Homemade Bath Bombs
Ingredients
- 1 pound baking soda
- ½ pound citric acid, fine grain
- ½ pound Epsom salt, fine grain
- .5 ounce kaolin clay
- 1 ounce Sodium Lauryl Sulfoacetate (SLSA)
- ½ teaspoon green mica powder
- ¼ teaspoon blue mica powder
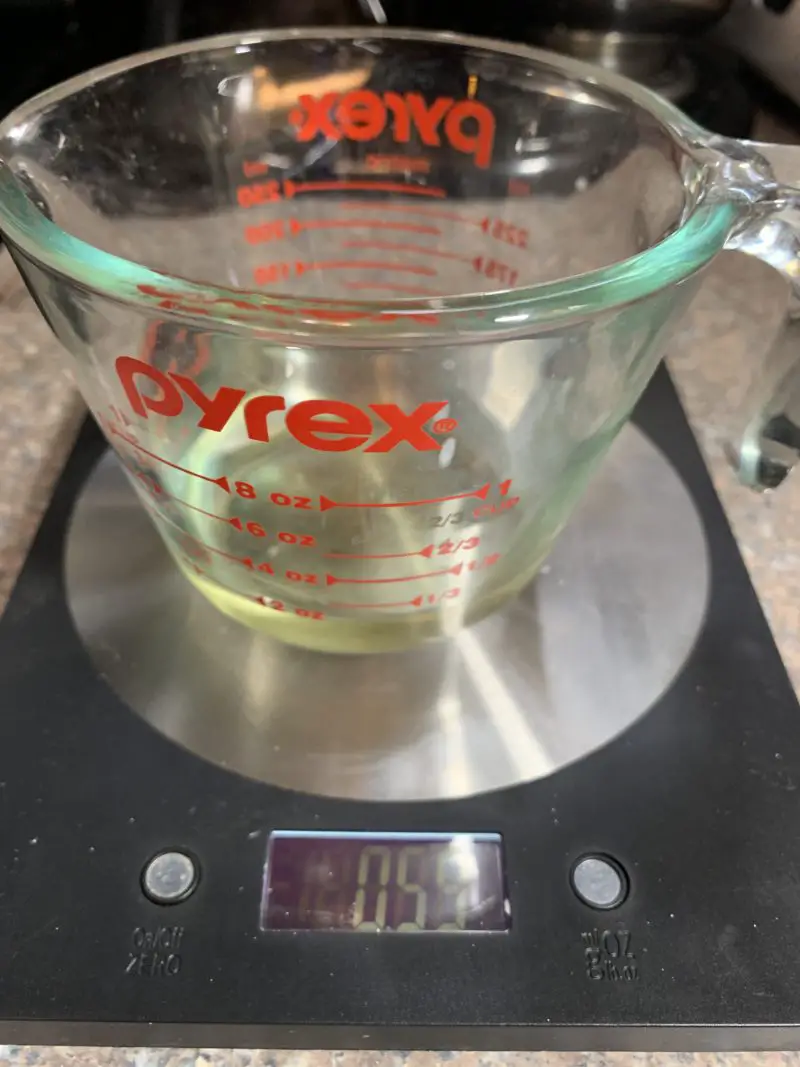
- 1 ounce sweet almond oil
- 2 teaspoons peppermint essential oil
- 2 teaspoons rosemary essential oil
- 2 teaspoons eucalyptus essential oil
- .5 ounce Poly 80 (for micas)
- ¼ to 1 ounce Isopropyl Alcohol
Instructions
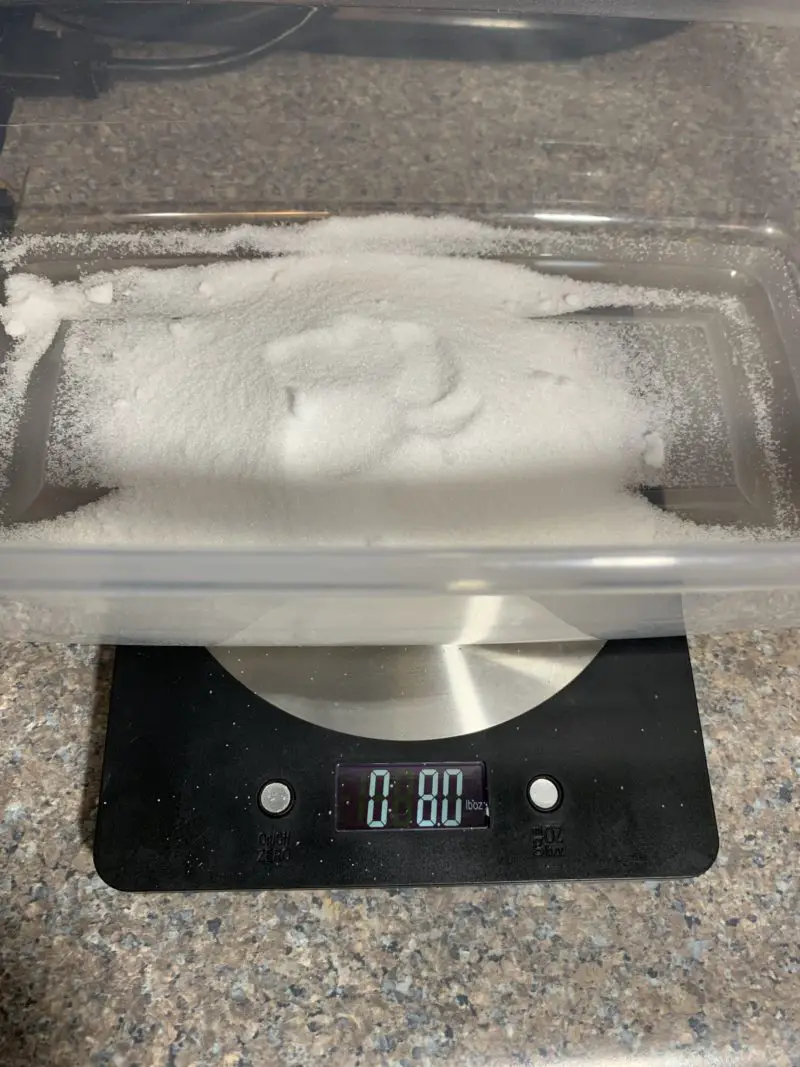
- Measure out the dry ingredients in a container except for the mica powders. A plastic shoe box works well for this.

- Mix the ingredients well.
- Combine the essential oil, poly 80 and sweet almond oil in a glass container and stir to combine. If the scent seems too light, add a little bit more essential oil, but not a lot because essential oils do contain medicinal properties and you can overdo it.
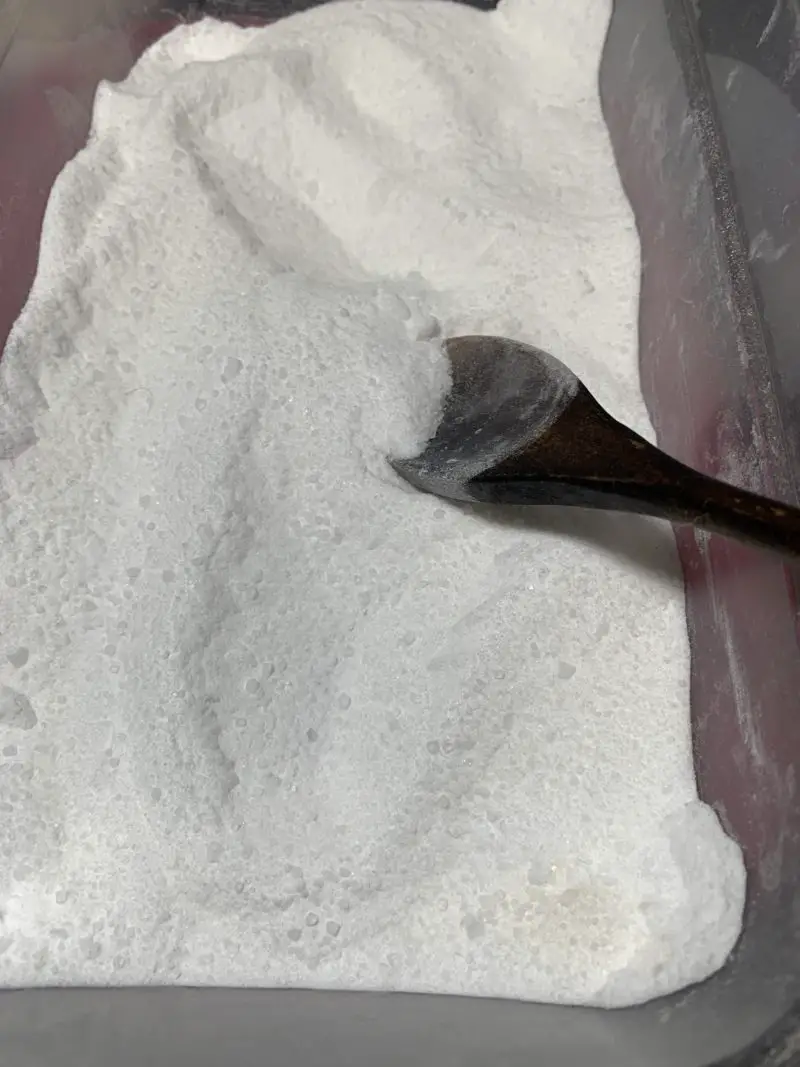
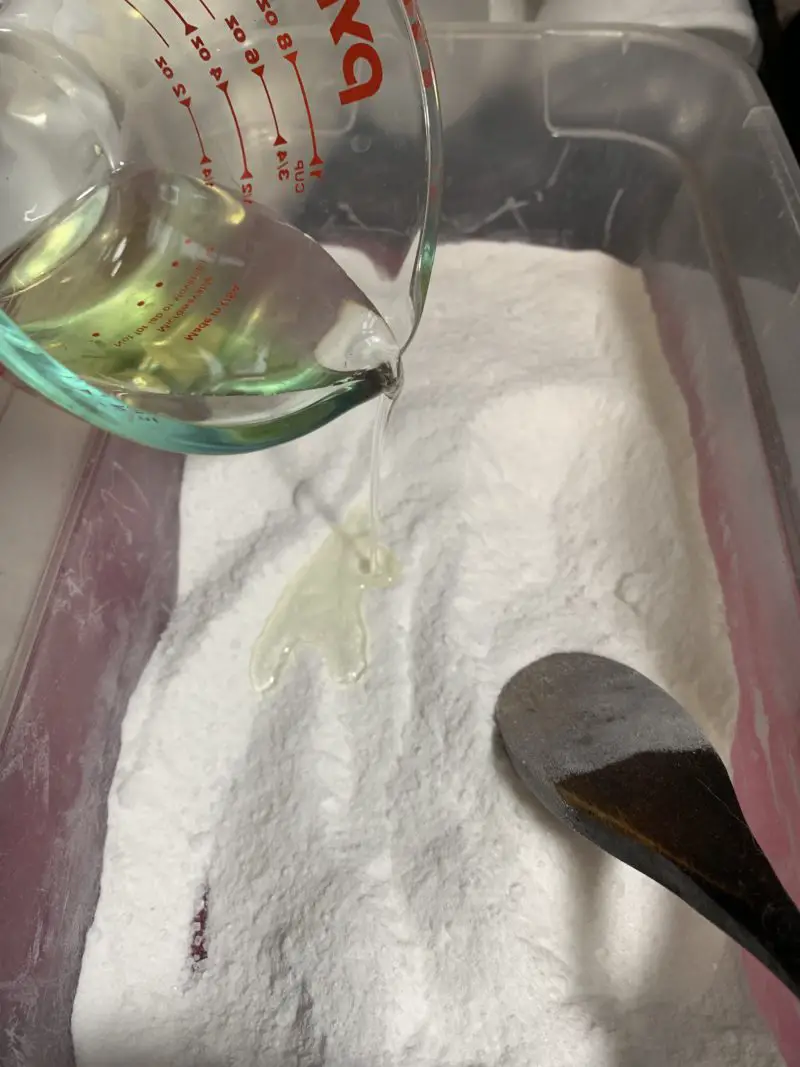
- Pour the scented mixture into the dry ingredients, a little at a time and mix well with a spoon or a gloved hand.
- Add the alcohol to the mixture ¼ ounce at a time.
- Mix well after each addition, again using a spoon or gloved hand.
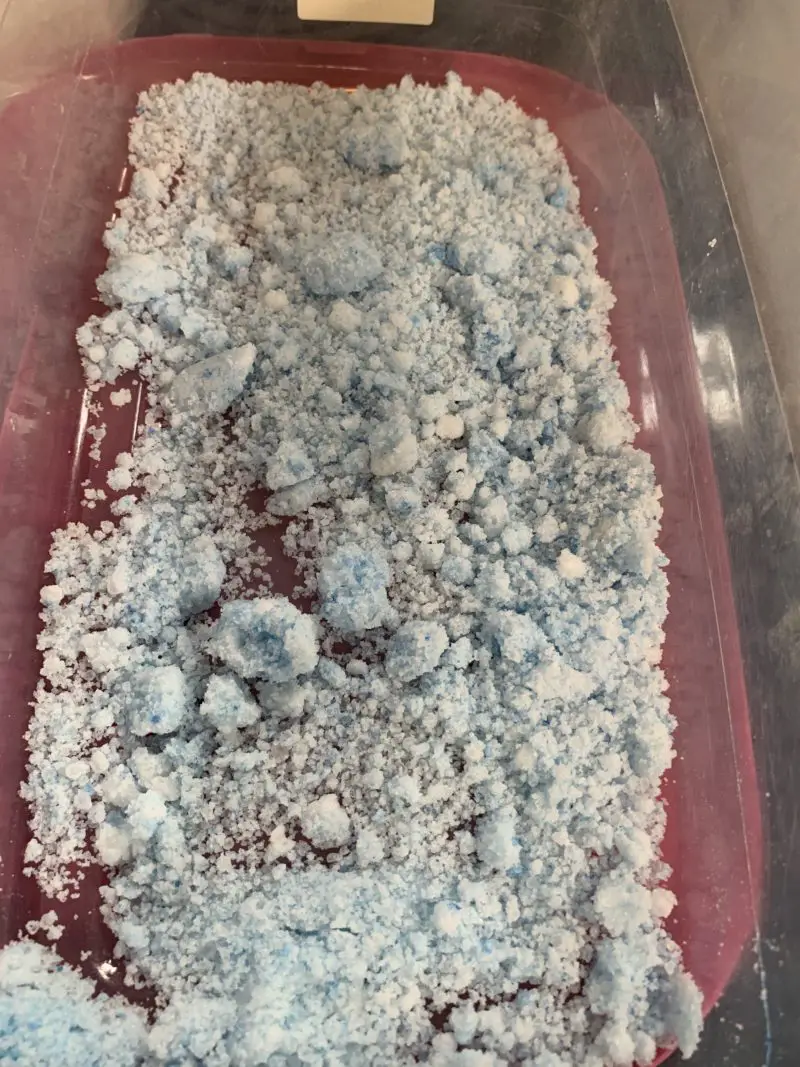
- Continue adding the alcohol ¼ ounce at a time until the mixture looks like wet sand. Normally one ounce is plenty, but if the mixture is still too dry, add a little more alcohol.
- Once the mixture looks like wet sand, pick up a handful of the mixture and squeeze it together to make a ball shape. If it does not hold together, there is not enough moisture in the mix.
- If the ball holds together, hold the ball above six inches above the bottom of the bowl and drop the bath bomb ball into the bowl. If it stays together, the mixture is ready to press into the molds and if not, add a little bit more alcohol until the mixture holds together.
- Remove approximately ¼ of the mixture and put it in a second container.
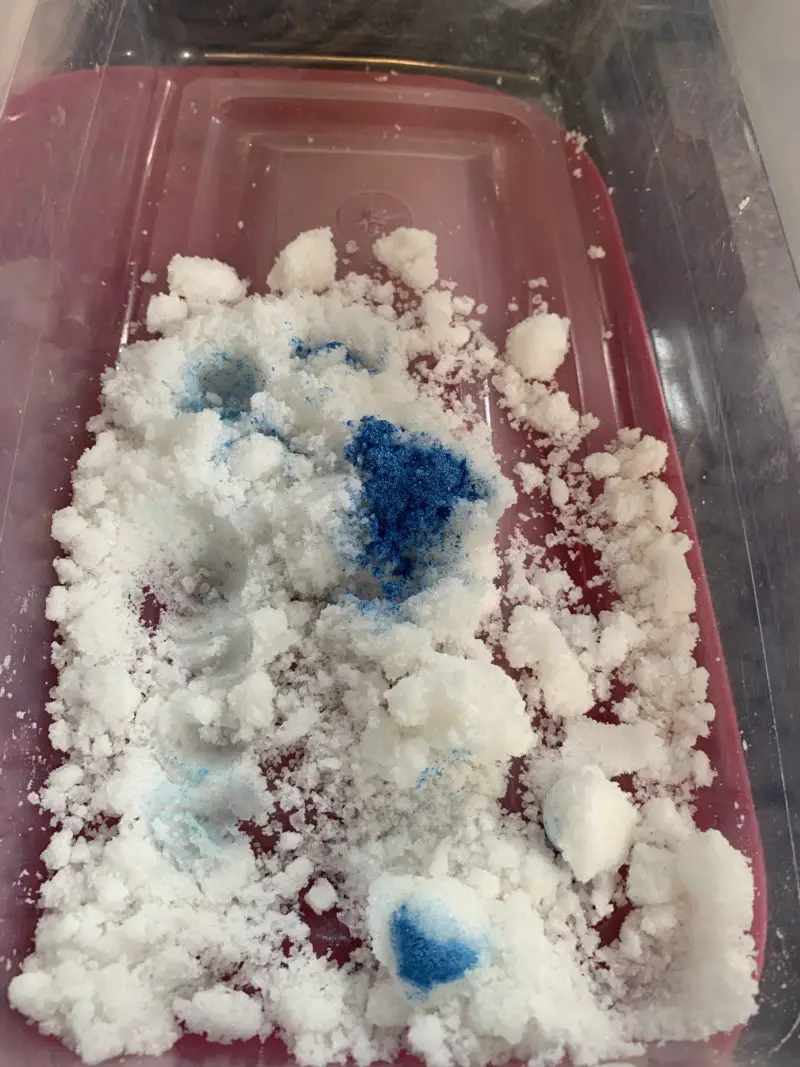
- Measure the blue mica powder and add it to the new container.
- Stir or use a gloved hand to combine the mica powder with the mixture.
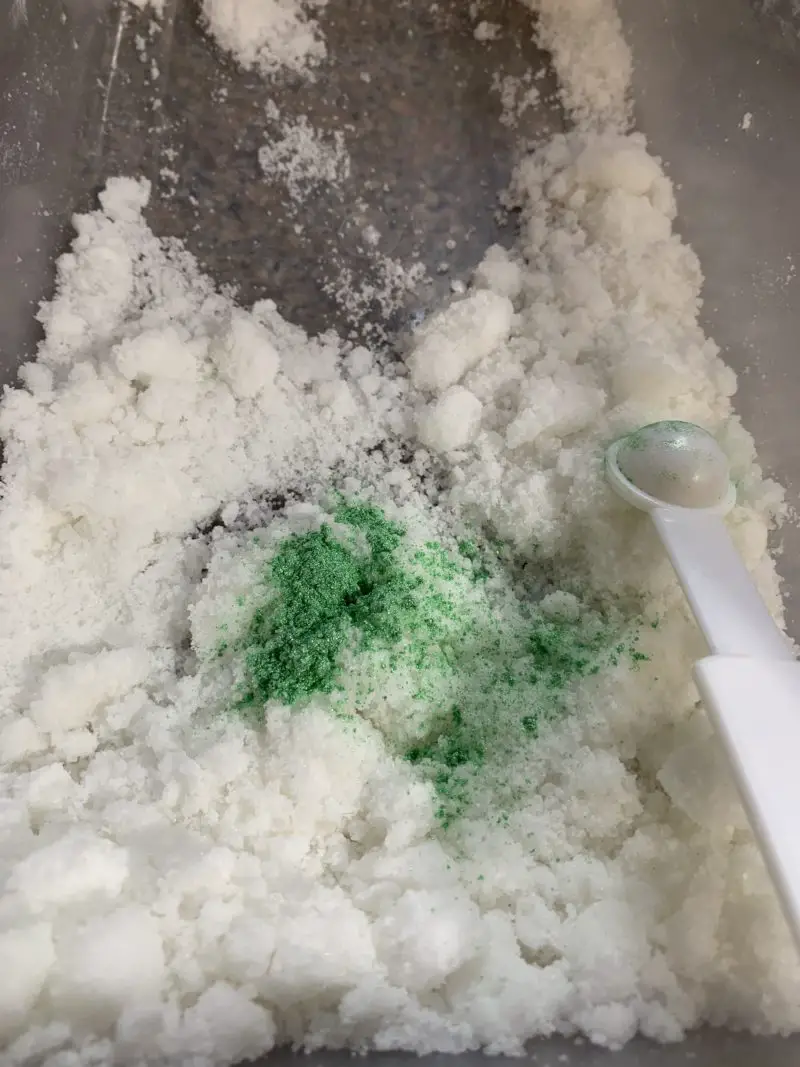
- Now add the green mica powder to the container with the larger amount of bath bomb mixture in it.
- Stir or use a gloved hand to combine the mica powder with the mixture.
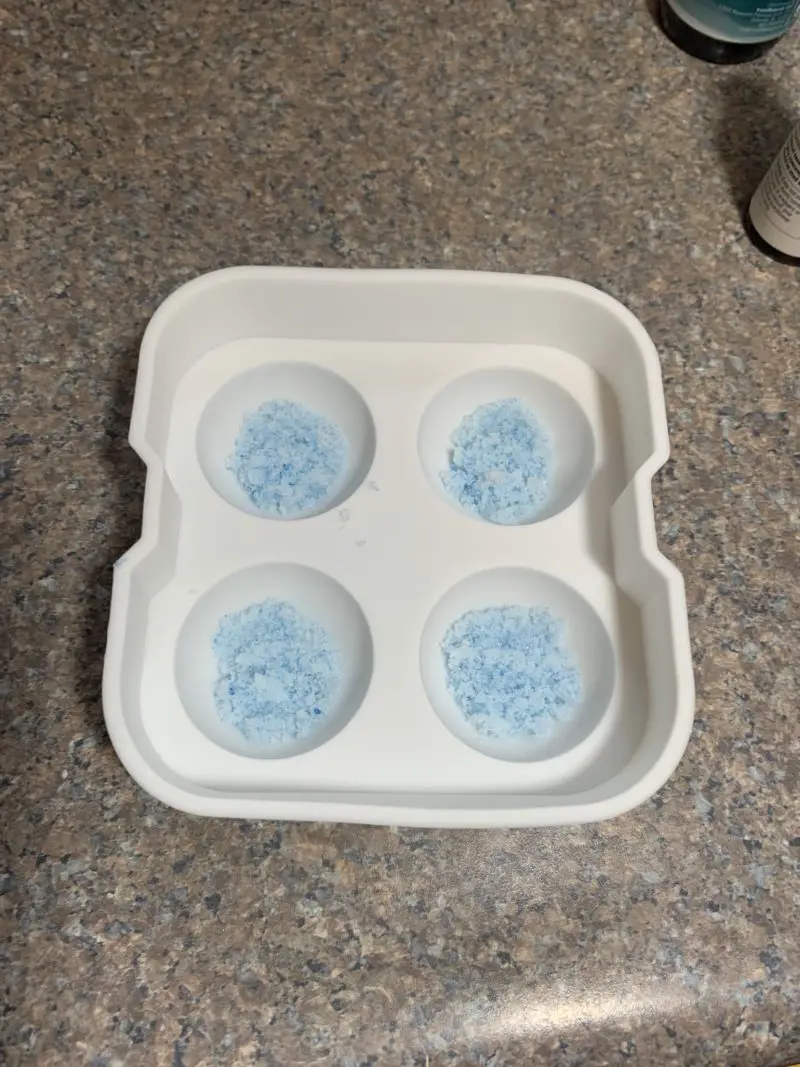
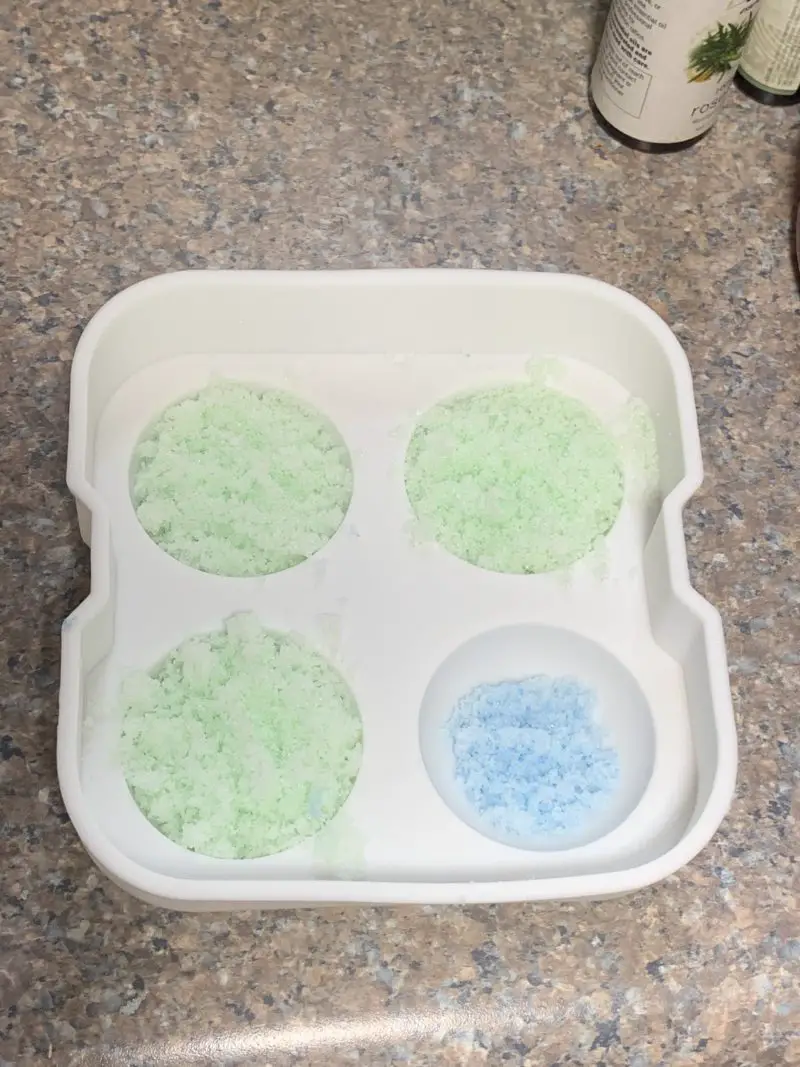
- When both mixtures are ready, place a small amount of the blue mixture into the bottom of the mold.
- Finish filling the mold with the green bath bomb mixture.
- Make sure to use enough bath bomb mixture to fill the mold, but do not overfill it*.
- Now fill the other side of the mold with the green bath bomb mixture.
- Be sure to add a little extra to the center of the mold so when you press the mold together both sides will adhere to one another.
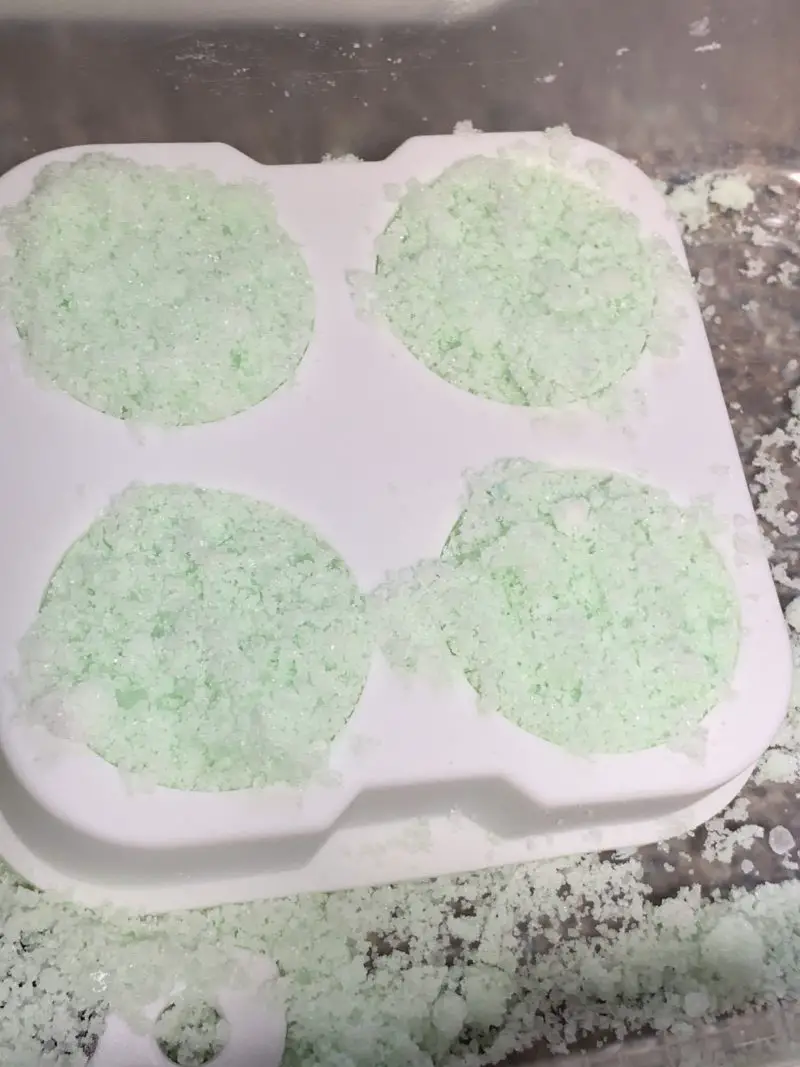
- Allow the bath bombs to dry overnight in the mold, then remove one side of the mold so air can circulate around the bath bomb.

- Leave the other side of the bath bomb in the mold. It is ok to remove it just for a moment and then put it back if you are worried about the bath bomb not releasing from the mold.
- Set the mold containing the bath bomb aside and let it dry for two to three days, then remove it from the mold.
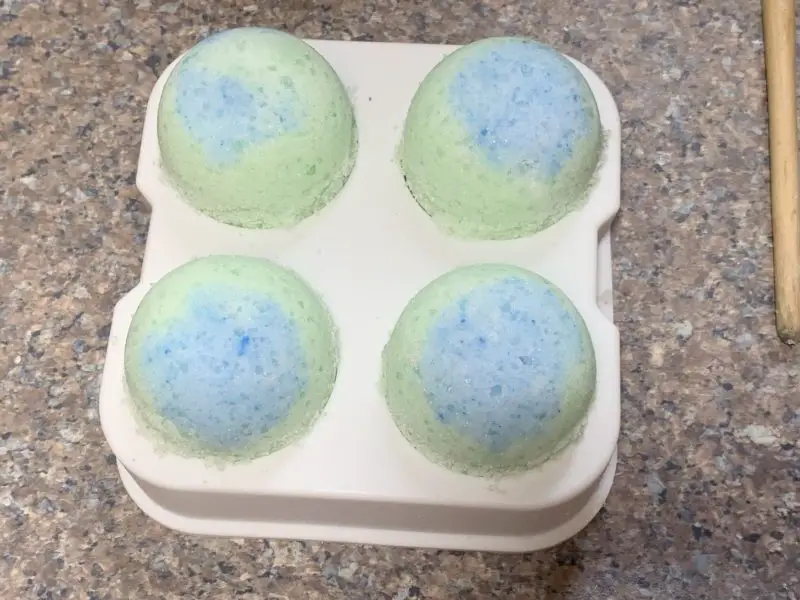
- Your bath bomb is now ready to use or if you are not ready to use it, wrap it in plastic wrap and store it away from moisture and sunlight.
Notes
*The key to getting a bath bomb to float is to use just enough of the mix to fill the mold, but not to pack it so tightly that the bath bomb ends up too heavy to float. This takes practice.
Final Thoughts About The Best Homemade Bath Bombs
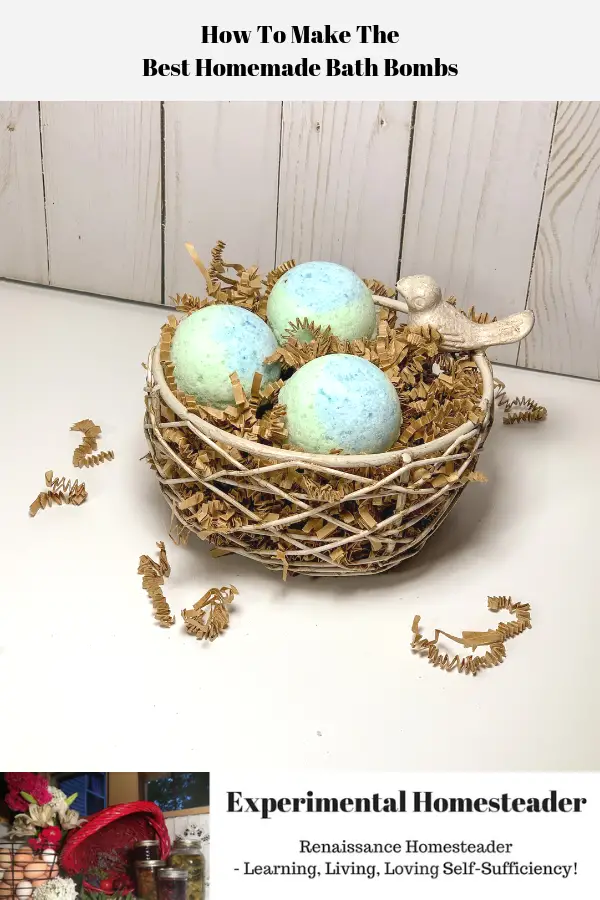
When I removed these bath bombs from the mold, I thought they looked like bird eggs!
I added them to this bird nest container I had thinking this would be an ideal spring display for the bathroom or even a great DIY gift I could shrink wrap to protect the bath bombs from moisture and keep the display looking pretty.
Learning how to make bath bombs is an art that takes practice and even after years of making them it is possible to get some that float and some that sink.
This is ok because they still work.
The key is to learn how to make bath bombs successfully and find a recipe you love.
Once you decide on the recipe that best suits you, then you can have fun making all kinds of bath bombs such as this DIY Halloween Bath Bomb Recipe that has a skeleton hid inside the cauldron.
As the bath bomb dissolves, the skeleton pops out of the cauldron.
There are bath bombs that have jewelry inside them or small toys.
There are hand painted bath bombs too.
In fact, you can use this recipe to to encase items inside the mixture as long as you have a mold large enough to let you do that.
You can also paint on them by waiting until they are dry, mixing a little of the mica powder with alcohol and painting with that just like you would acrylic or oil paints.
I hope you have fun with this recipe and I would love to see some of your bath bomb creations.
Feel free to comment below and share your thoughts or bath bomb photos!
I highly recommend the following articles:
- How To Make The Ultimate DIY Bath And Body Product Gift Basket Plus Giveaway
- How To Use Hydrosols
- Herbal Bath Ideas For A More Natural Life
- How To Make Bath Bombs
- DIY Halloween Bath Bomb Recipe
Use the buttons on the right hand side of the screen to share this article with friends or family who might find it useful. Pin the picture below to your pinboard on Pinterest for future reference.