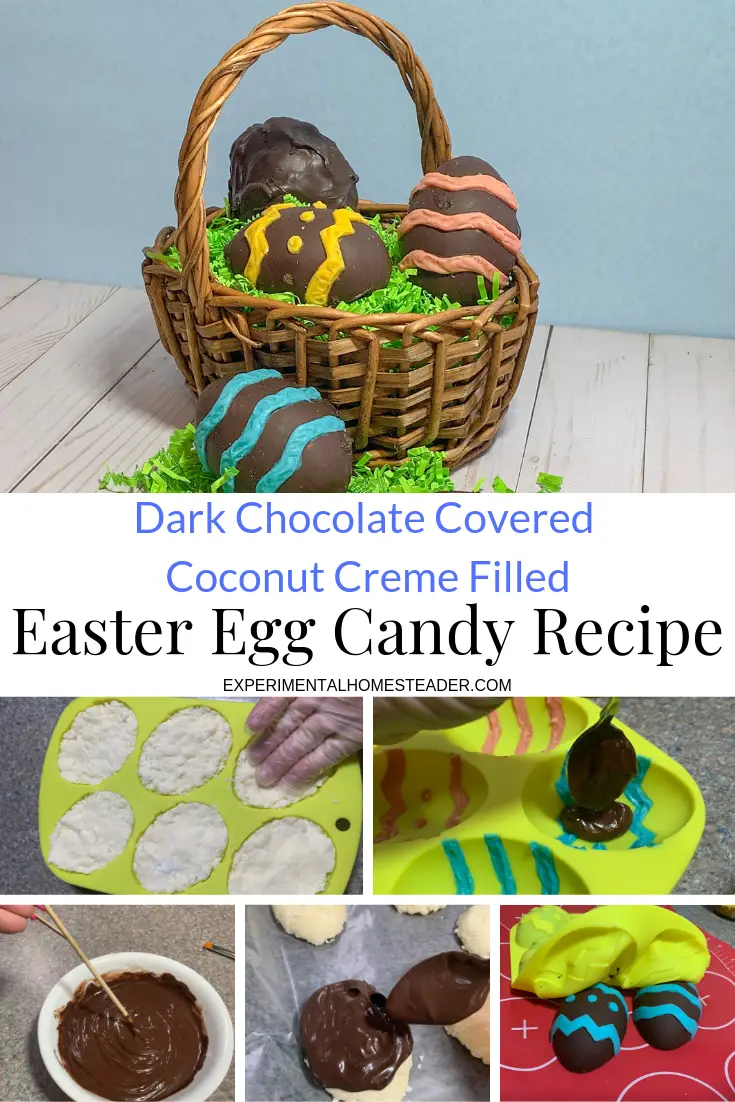
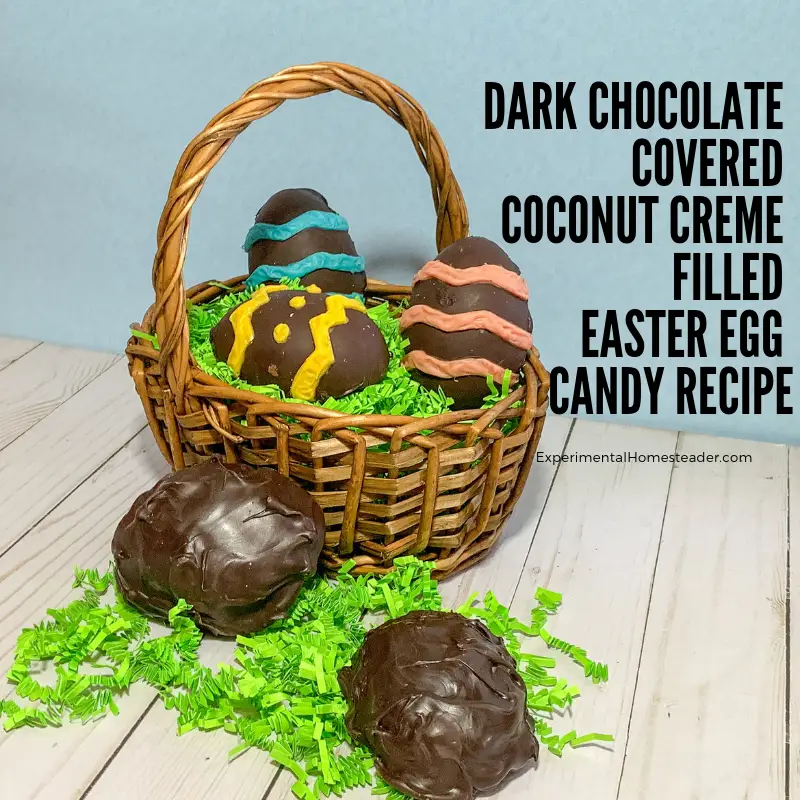
Dark Chocolate Covered Coconut Creme Filled Easter Egg Candy Recipe
This dark chocolate coconut filled Easter egg candy recipe is made two different ways, so even if you don't want to spend a lot of time painting your eggs, you can still make the recipe.

Plan to make this Easter egg candy recipe at least two days ahead of when you actually want them, because the coconut centers need to be refrigerated overnight for the best results.
This Is The Best Coconut Cream Easter Egg Recipe
Once they are made, keep the coconut creme filled eggs refrigerated to keep the centers hard.
For those who prefer a softer center, remove the coconut creme filled eggs from the refrigerator and allow them to sit at room temperature for three to fours hours minimum.
These make great gifts and are perfect to put into Easter Baskets, plus the cost of making a batch of these is a lot less then if you were to buy them individually at the store.
Simply put each egg in it's own small zippered plastic bag or wrap each egg in Saran Wrap.
I used the large jewelry bags available at my local craft store.

How To Make This Easter Egg Candy Recipe
Here are both ways to make this dark chocolate covered coconut creme filled Easter egg candy recipe.
Be sure to read through all the instructions for both styles of creme filled Easter eggs to make sure you completely understand how to make these.
Print
Dark Chocolate Covered Coconut Creme Filled Easter Egg Candy Recipe
- Total Time: 25 hours 25 minutes
Ingredients
- 4 bags Wilton Candy Melts - Dark Cocoa
- 1 bag Wilton Candy Melts in pink
- 1 bag Wilton Candy Melts in blue
- 1 bag Wilton Candy Melts in green
- ½ cup butter
- 1 teaspoon vanilla extract
- ⅔ cup sweetened condensed milk
- 6 cups confectioners sugar
- ¾ cup coconut
- Silicone shaped egg mold
- Food grade paint brushes
Instructions
Directions for the coconut creme filling: 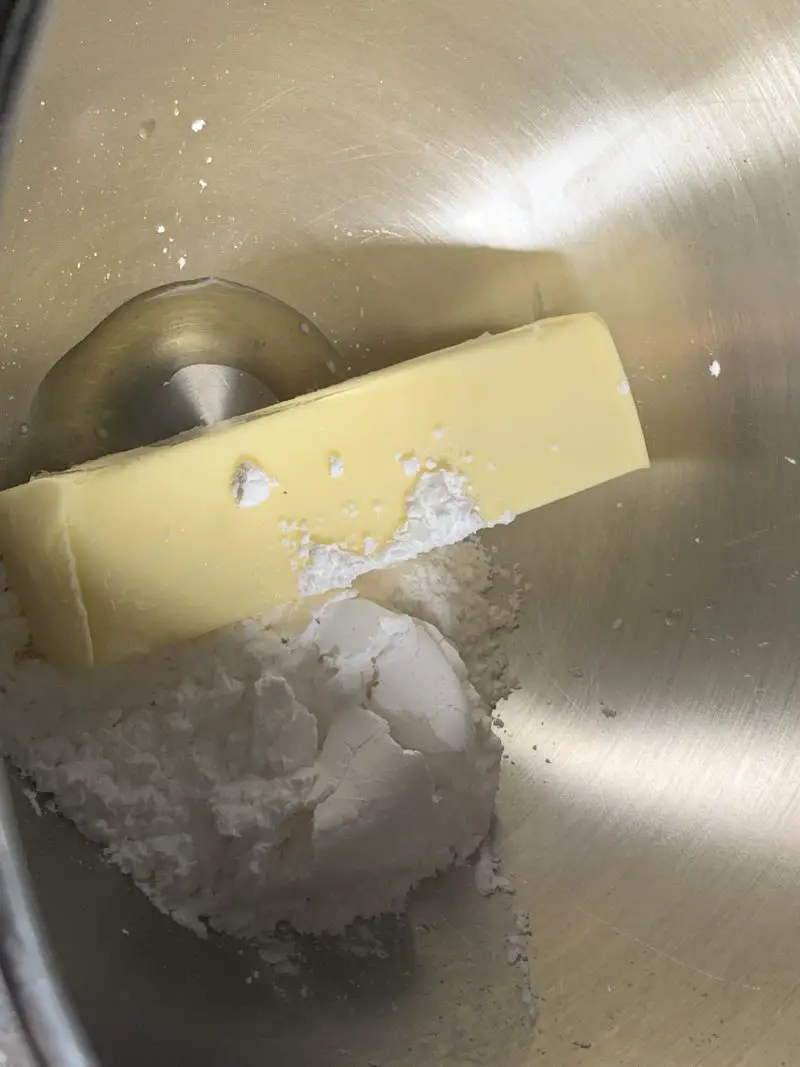
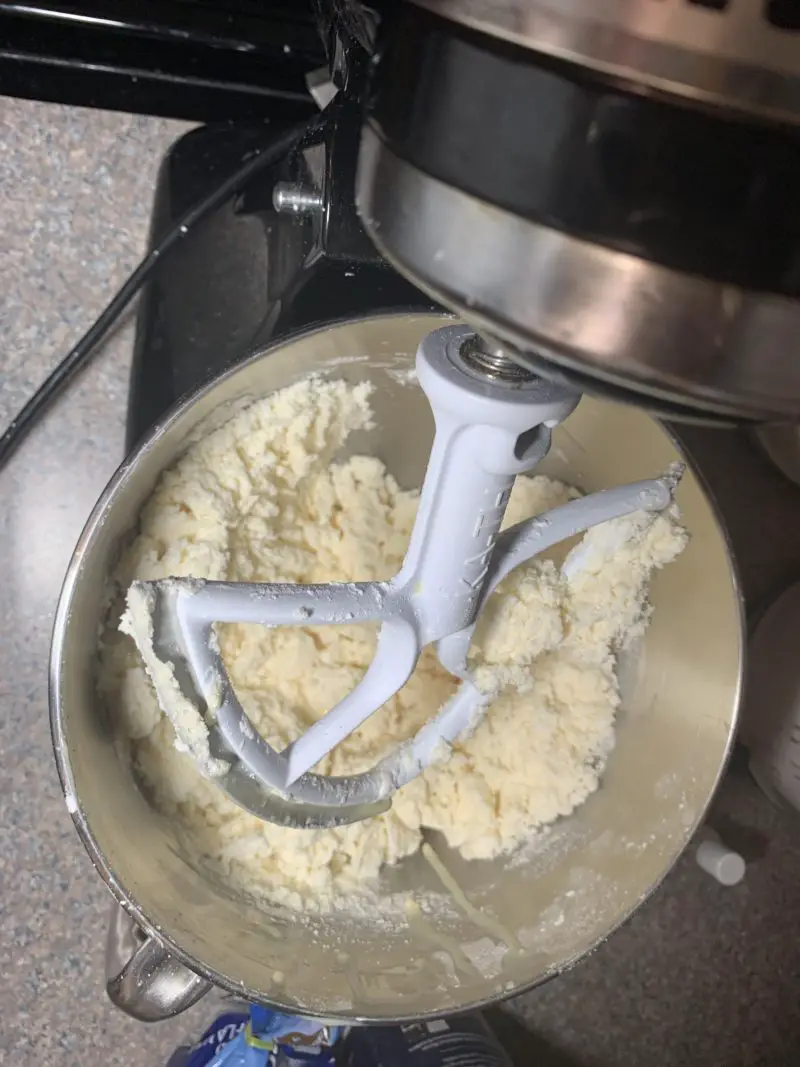
- Place the butter, vanilla, salt and ½ cup of the confectioners’ sugar in a large bowl.

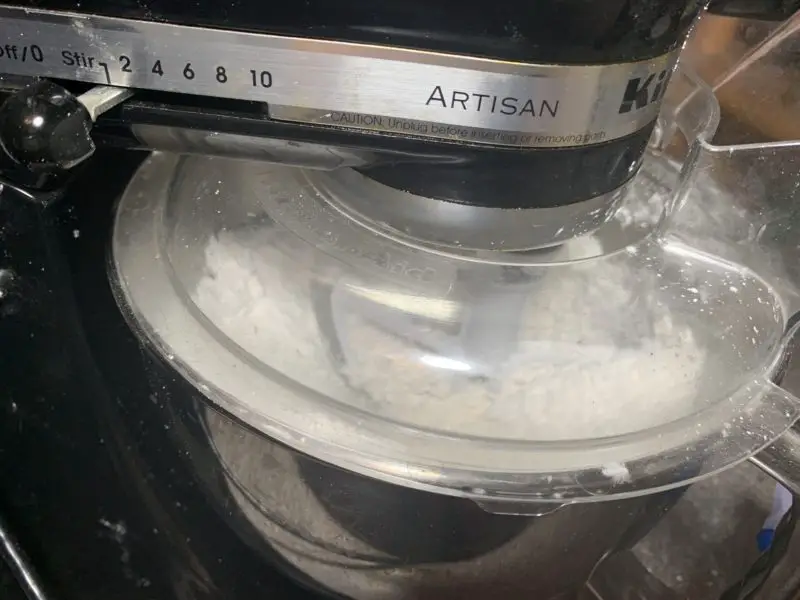
- Turn the mixer on to a medium setting and cream the ingredients.
- Alternate the milk and the rest of the confectioners’ sugar and beat after each addition.

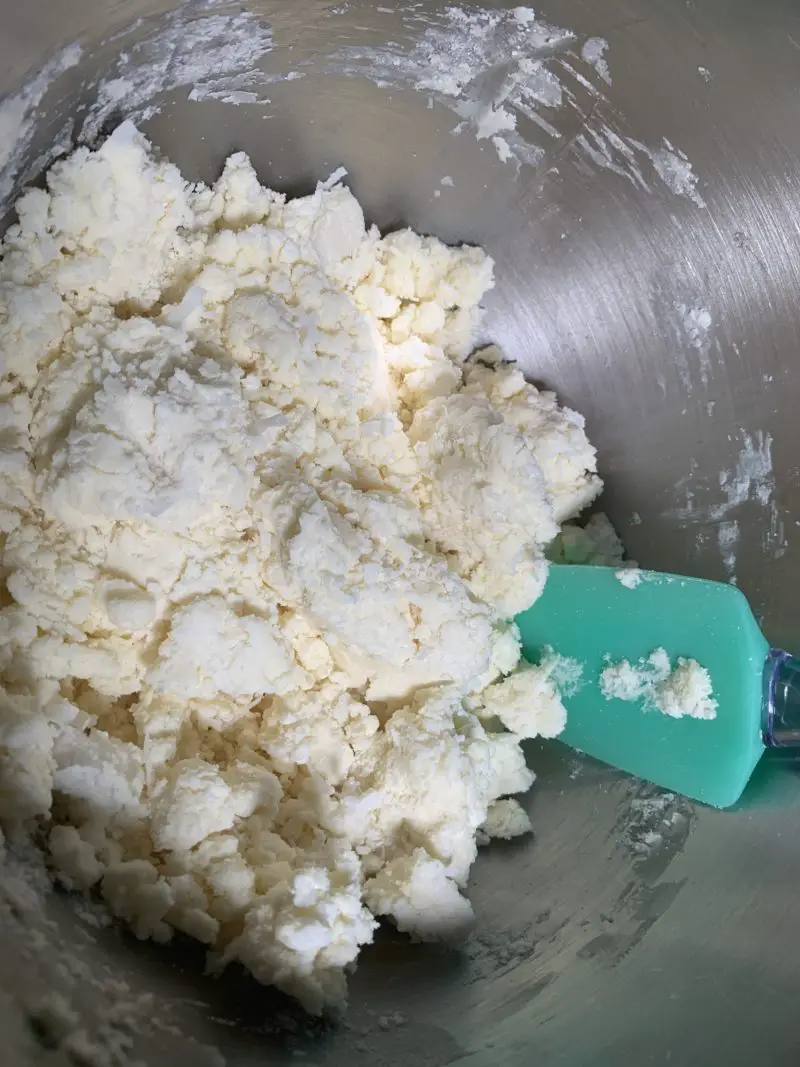
- Continue beating the mixture until it is smooth.
- Add the coconut to the mix and blend it in.
Directions for plain chocolate covered coconut Easter eggs: 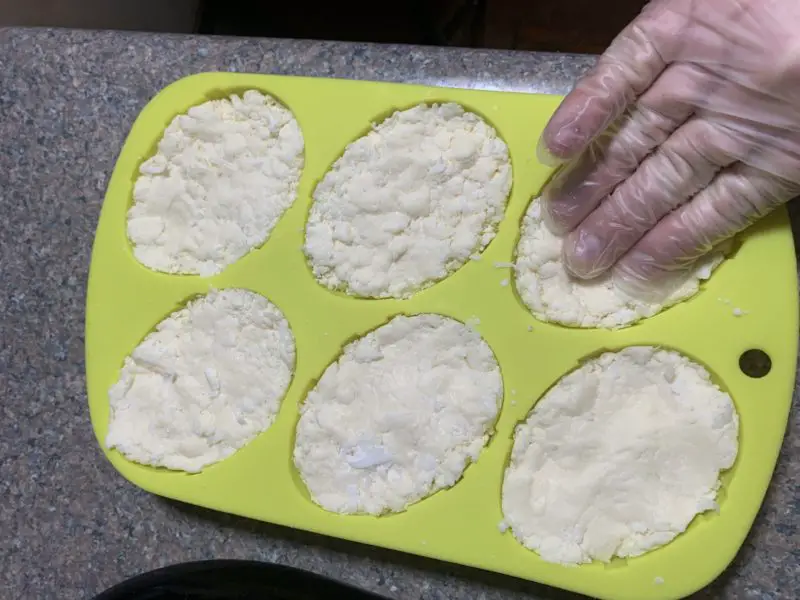
- If you plan to spoon the chocolate over the coconut filling, then press the mixture into the silicone shaped egg mold. If you do not have a mold, you can shape the eggs by hand.
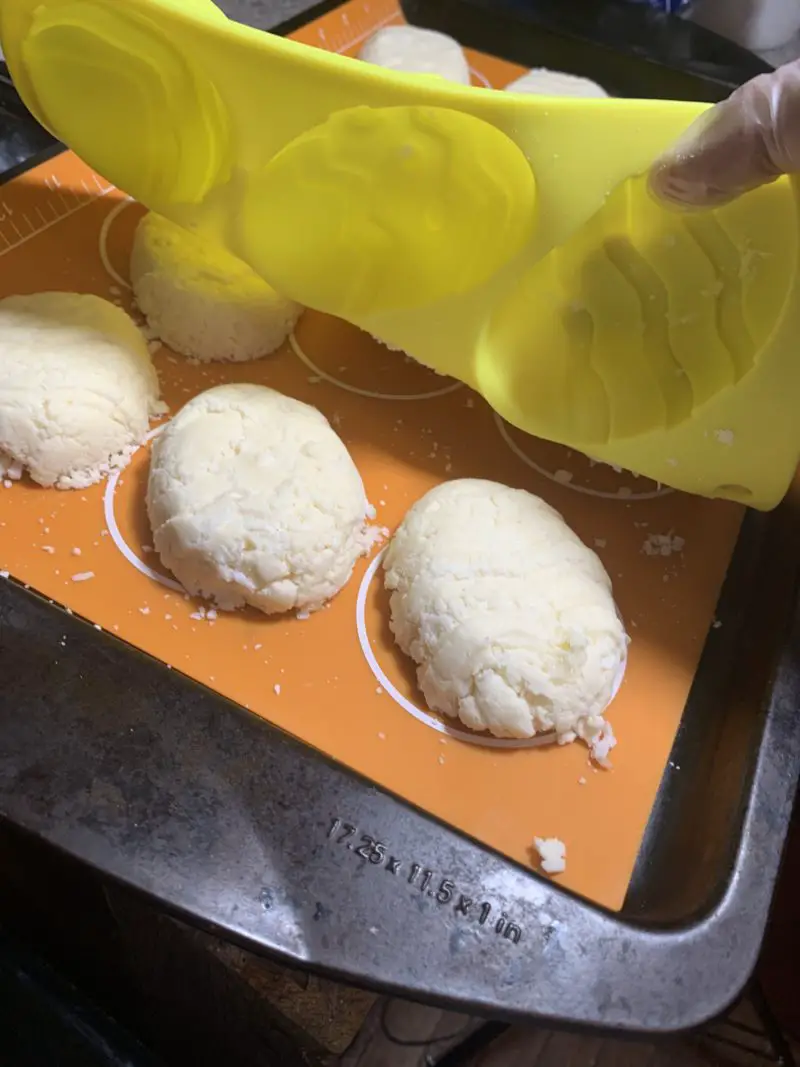
- Once the eggs are shaped, refrigerate for 20 minutes and then remove the eggs from the mold.
- Place the shaped eggs on a wax paper covered cookie sheet, cover with Saran Wrap and refrigerate overnight.
- The next day remove the coconut eggs from the refrigerator, remove the Saran Wrap and set the eggs on wax paper.
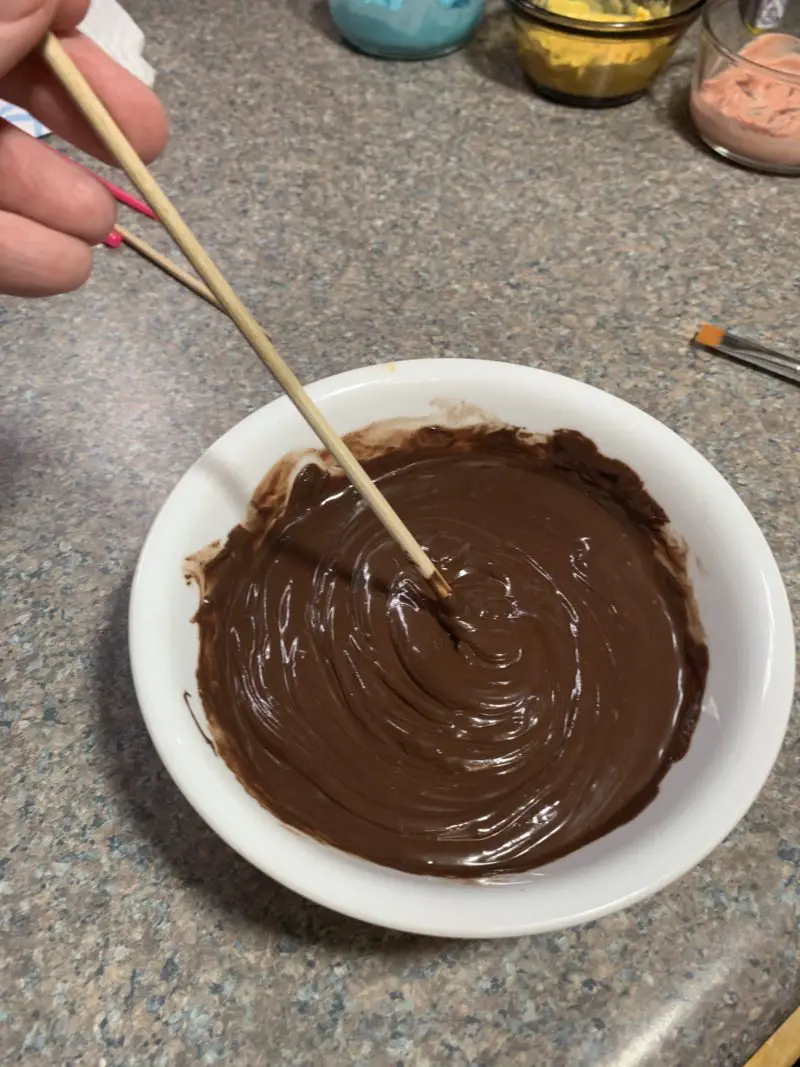
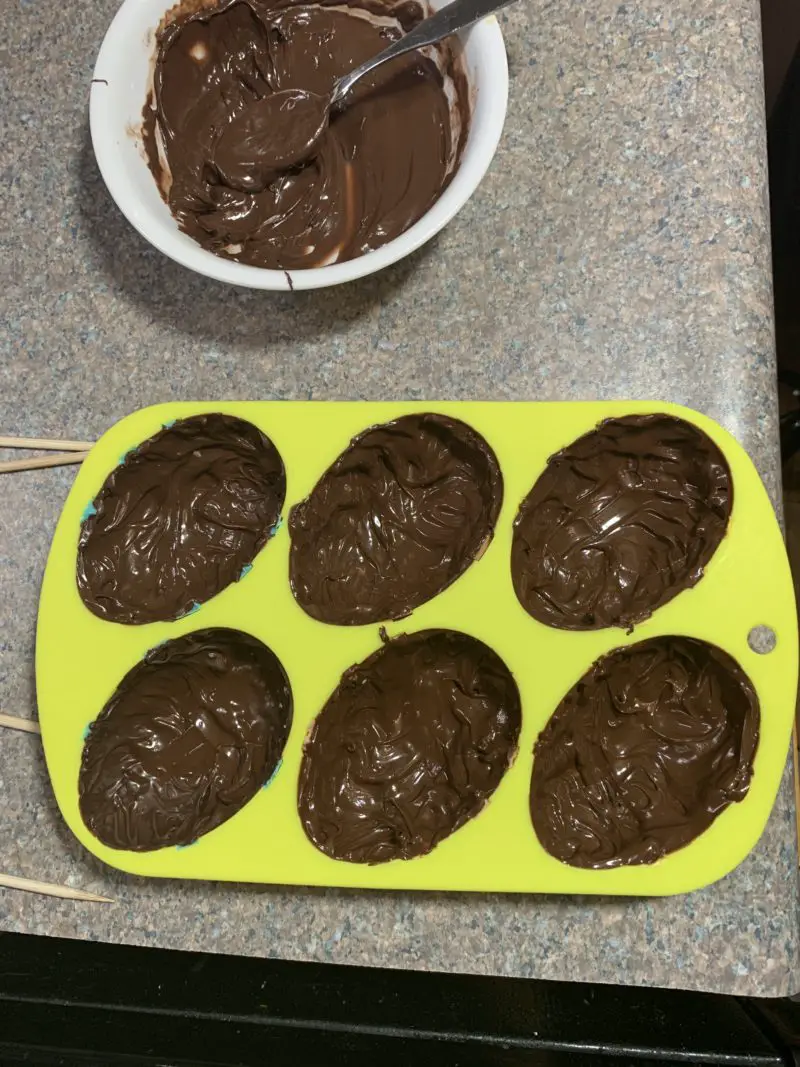
- Melt the dark cocoa candy melts in the microwave according to the package directions.
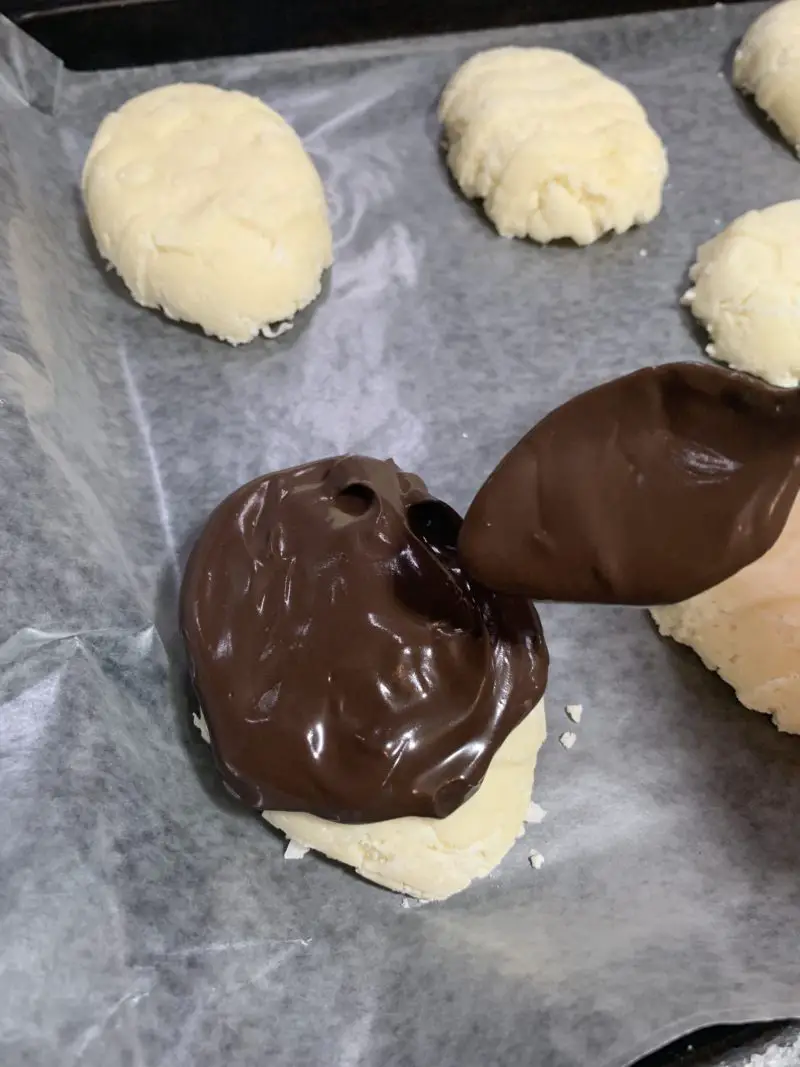
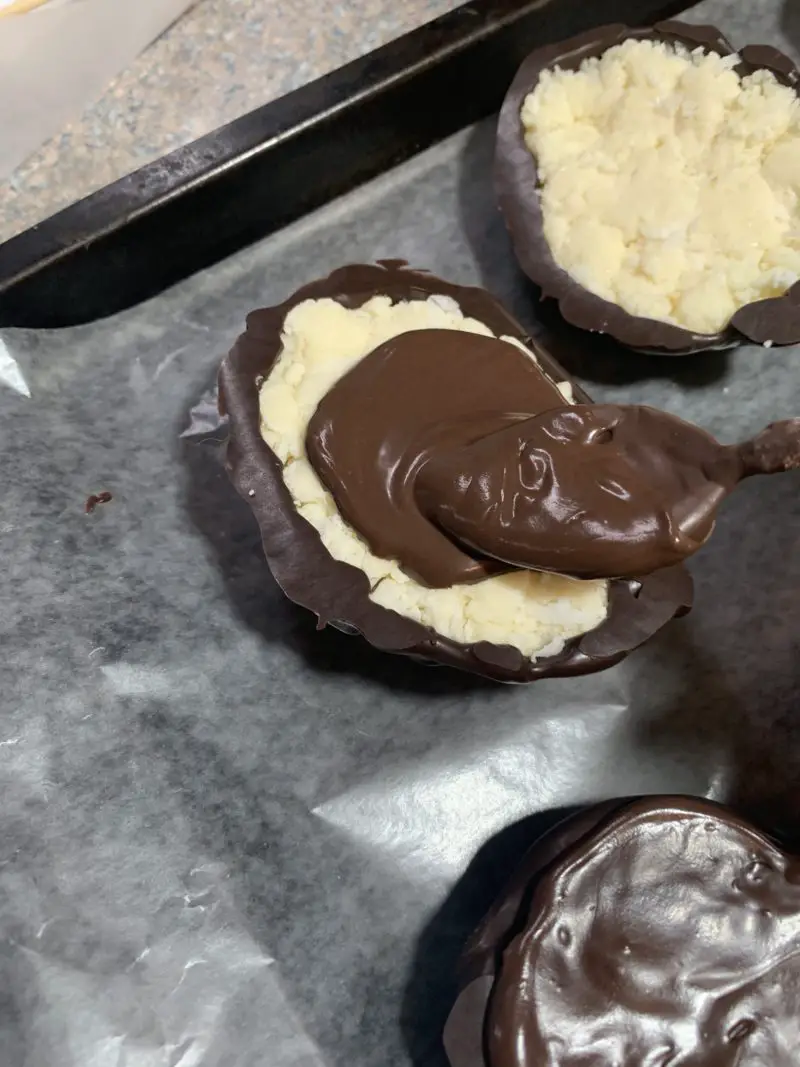
- Spoon some chocolate on top of the coconut creme egg.
- Spread it around with a spoon so it falls over the edges of the coconut creme egg.
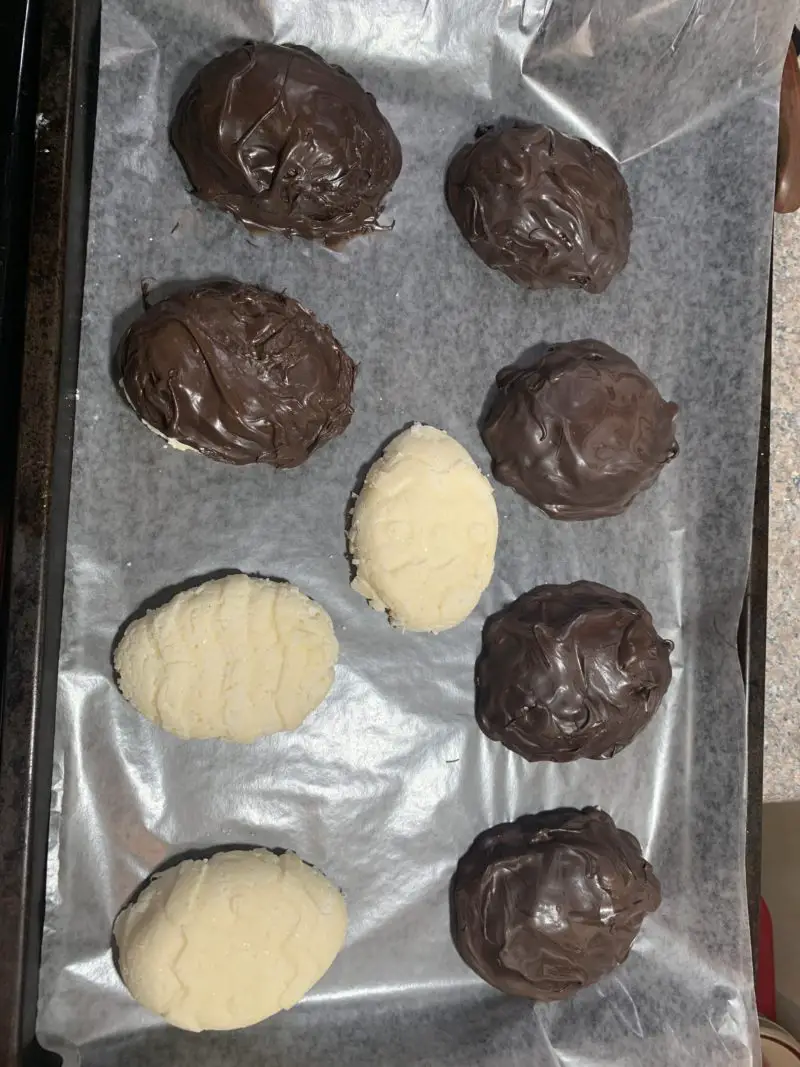
- Once the first egg is completely covered minus the bottom, move on to the next egg.
- Once all the eggs are covered on top and on the sides with chocolate, place the cookie sheet back in the refrigerator for 20 minutes.
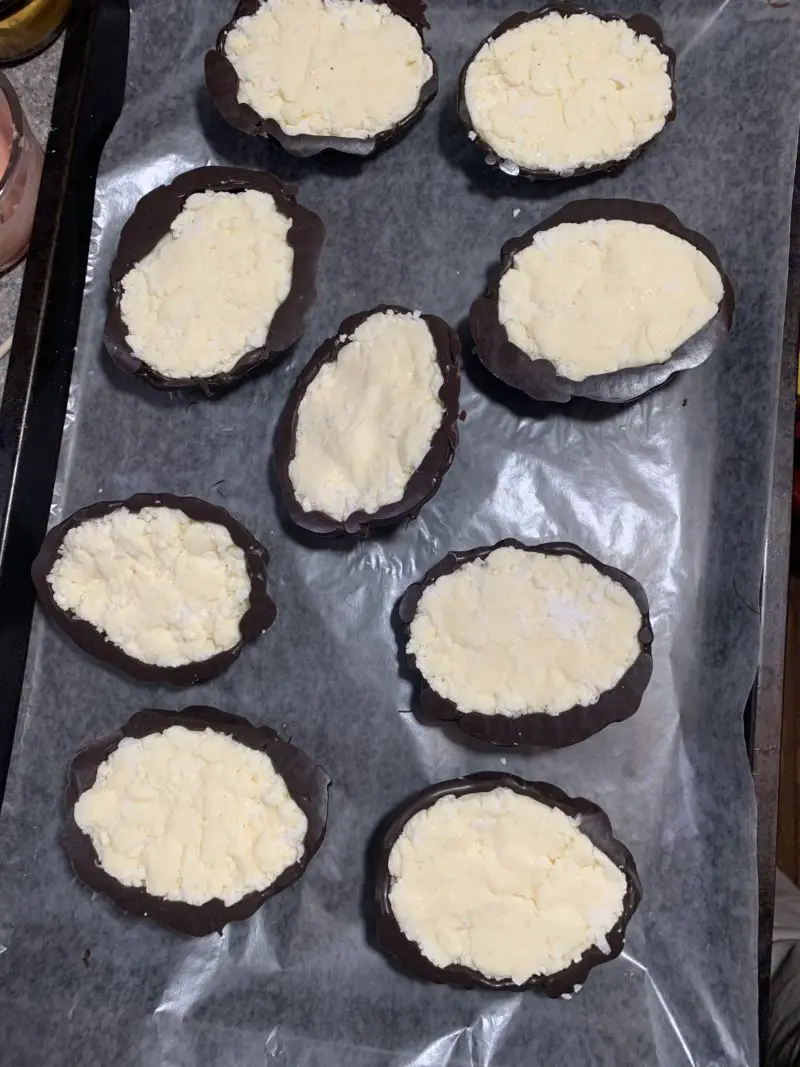
- When the timer goes off, remove the eggs from the refrigerator and turn them upside down on the cookie sheet so the coconut bottoms are facing up.
- Spoon some of the dark cocoa candy melts on the top of the coconut filling and use the spoon or an icing spatula to smooth the candy melts out. You might need more than one spoonful to completely cover the backs.
- Place the eggs back in the refrigerator for 20 more minutes to allow the chocolate to harden.
- Inspect the eggs to see if there are any areas on them you need to touch up with some freshly melted candy melts. If there is, use the paint brush to do that.
- You can now eat them or decorate them, whatever you choose.

Directions for decorated chocolate covered coconut Easter eggs: 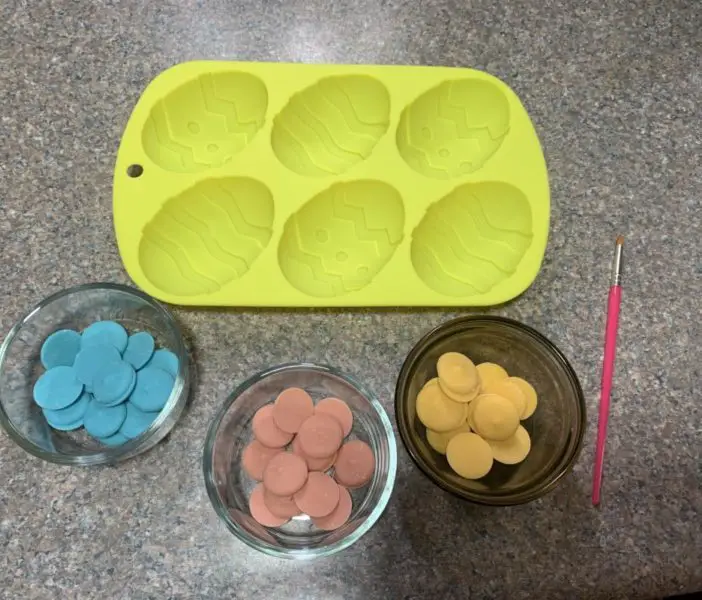
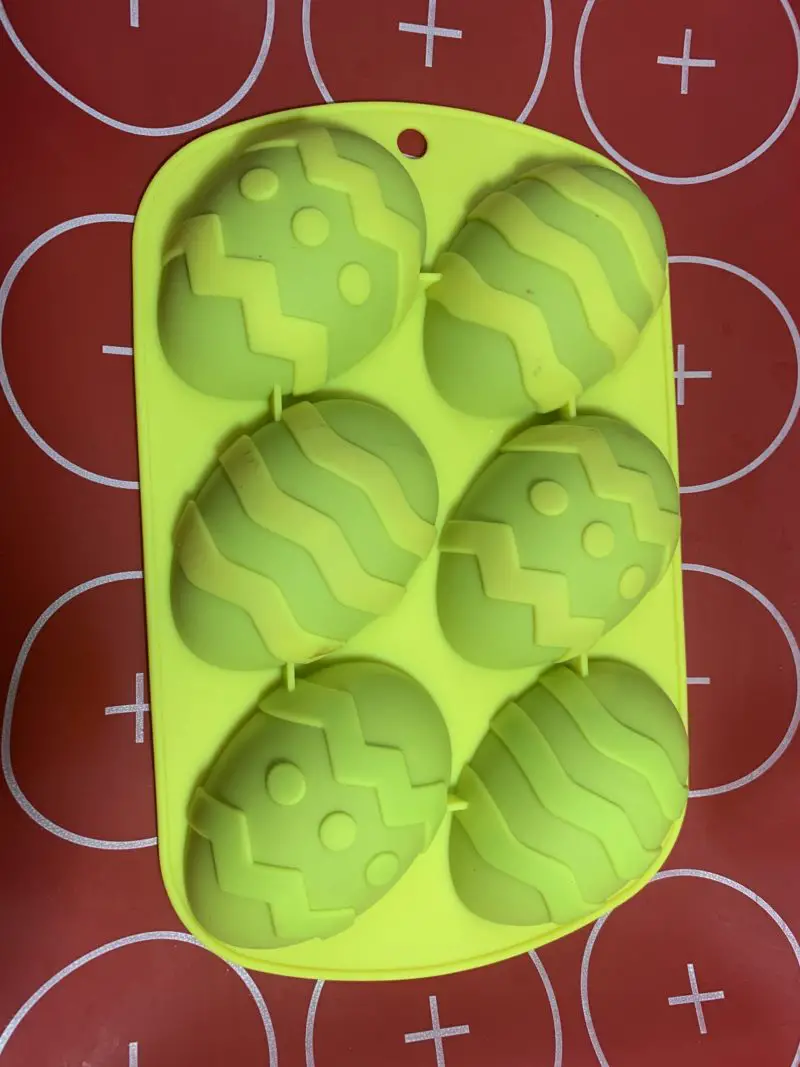
- If you plan to make the chocolate covered eggs with the pretty designs, then separate the pink, blue and green candy melts into separate dishes.
- Microwave one color of candy melts according to the package directions until they are melted. Do not melt them all at once.
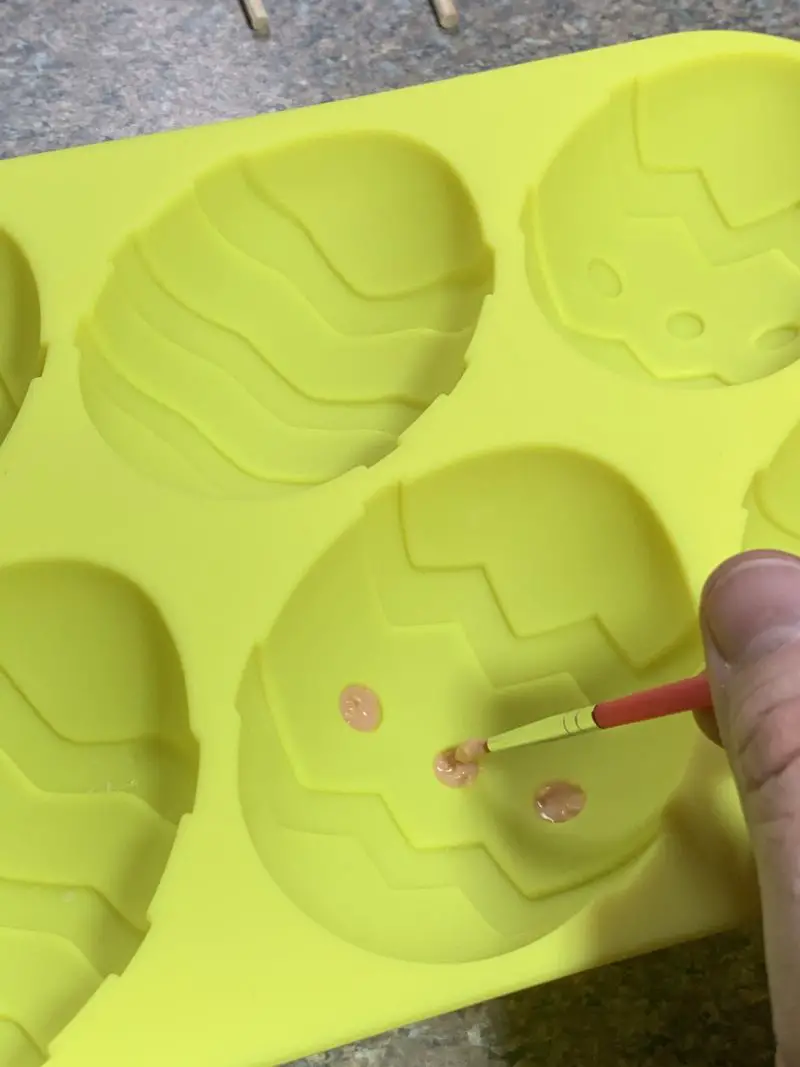
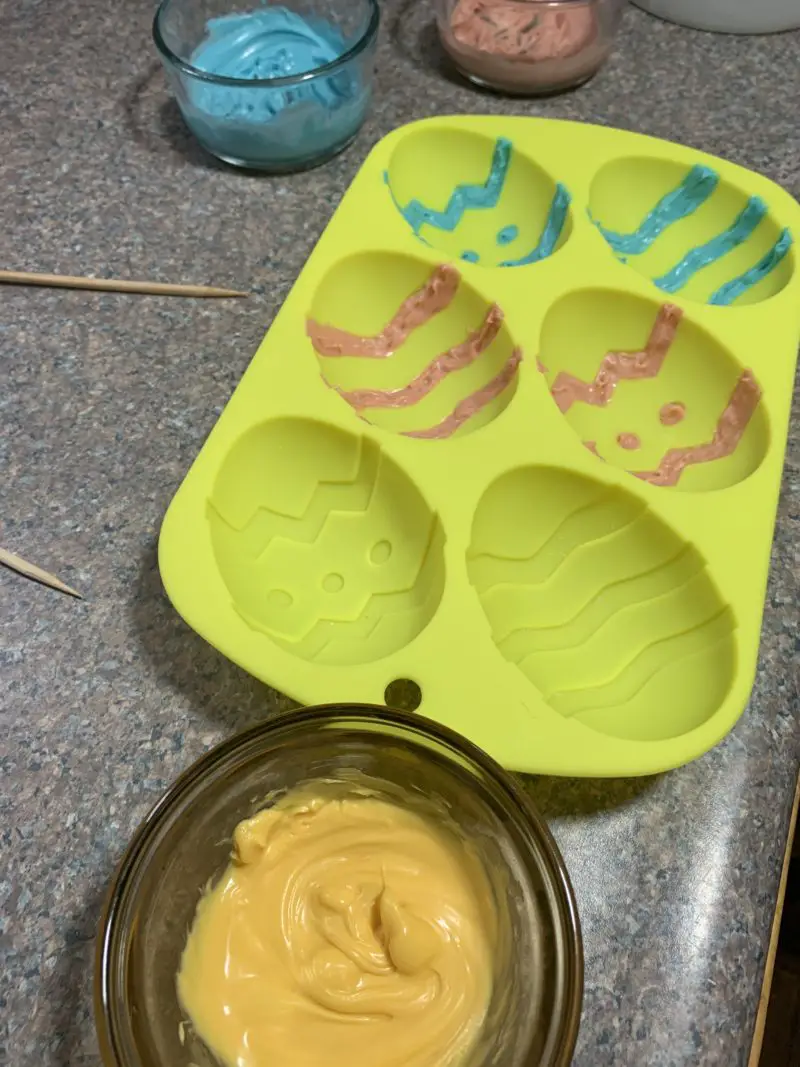
- Pick up the silicone mold and carefully paint the outlines with one color of candy melts. The paint needs to be fairly thick or it will potentially crack before you are ready to finish the chocolate egg covering.
- Repeat step 9 with the next color of candy melts.
- Now repeat step 10.
- Repeat steps 9 and 10 with the last color of candy melts.
- Now place the mold on a cookie sheet and refrigerate the mold for five minutes.
- Before you remove the mold from the refrigerator, go ahead and melt the dark cocoa candy melts.
- Now remove the mold from the refrigerator and place a spoonful of the melted dark cocoa candy melts in the bottom of one of the eggs.
- Use the paintbrush to spread the candy melts all over the bottom and sides of the eggs making sure to cover the colored chocolate as well.
- Now place the mold back on the cookie sheet and refrigerate for 20 minutes.
- When the timer goes off, remove the mold from the refrigerator and fill it with the coconut filling and refrigerate the filled eggs overnight.
- The next day, remove the filled eggs from the refrigerator.
- Now melt more of the dark cocoa candy melts in the microwave.
- Spoon some of the dark cocoa candy melts on the top of the coconut filling and use the spoon or an icing spatula to smooth the candy melts out. You might need more than one spoonful to completely cover the backs.
- Repeat step 15 until all the backs of the eggs are covered with chocolate.
- Place the eggs in the refrigerator for 20 minutes to allow the chocolate to fully harden.
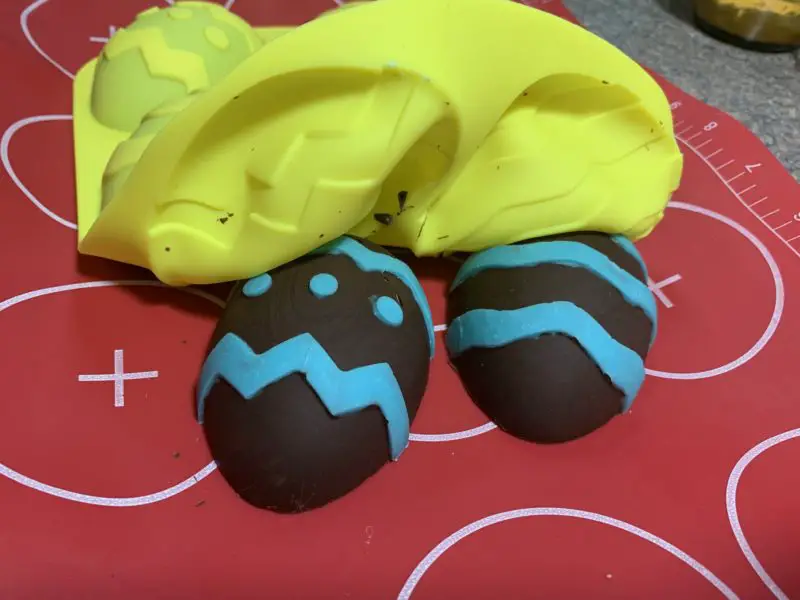
- Place a wax paper or silicone mat covered cookie sheet on top of the mold.
- Now flip the mold over making sure the cookie sheet remains on top of the mold.
- Gently lift the edges of the silicone mold back to the chocolate egg shell is released without breaking.
- Look each egg over and if you see any bare spots, melt the dark cocoa again and touch the egg up using the paint brush.
- Finally look over the colored chocolate and use the paint brush and some freshly melted candy melts to touch those areas up or create a texture effect if you wish to.
- Then refrigerate the eggs for another 20 minutes to make sure all the chocolate is hard.
- Now they are ready to eat.

This Easter Egg Candy Recipe Is Easy To Make And Delicious
While the instructions might seem complicated if you have never made coconut creme filled candy before, this is a really easy recipe to make.
The hardest part for me was deciding how many painted eggs I wanted.
The chocolate covered eggs are less tedious to make for sure and would be great for kids to try their hands at.
Plus you could let them paint on the eggs with the melted chocolate candy or even use decorating tips and melted chocolate to create a decorated egg.
The key is to make sure to refrigerate the eggs long enough for both the creme filling and the chocolate to harden.
I really hope you enjoy this recipe and do let me know if you have any questions in the comment section below.
Easter Recipes, Crafts + DIY
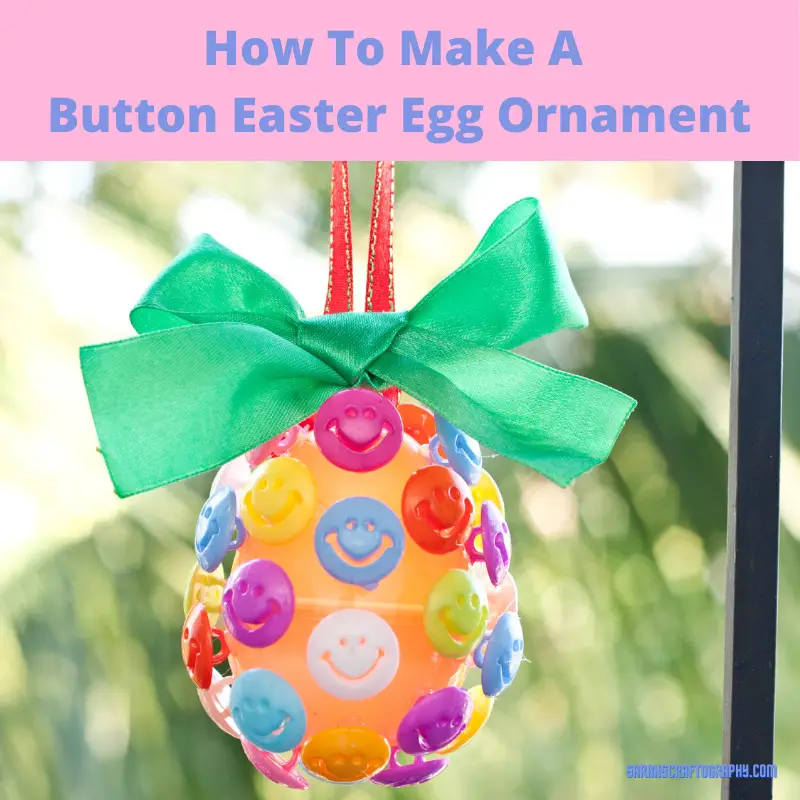
How To Make A Button Easter Egg Ornament
Are you looking for a cute and easy decoration for Easter? This cute button Easter Egg ornament is perfect for the whole family!
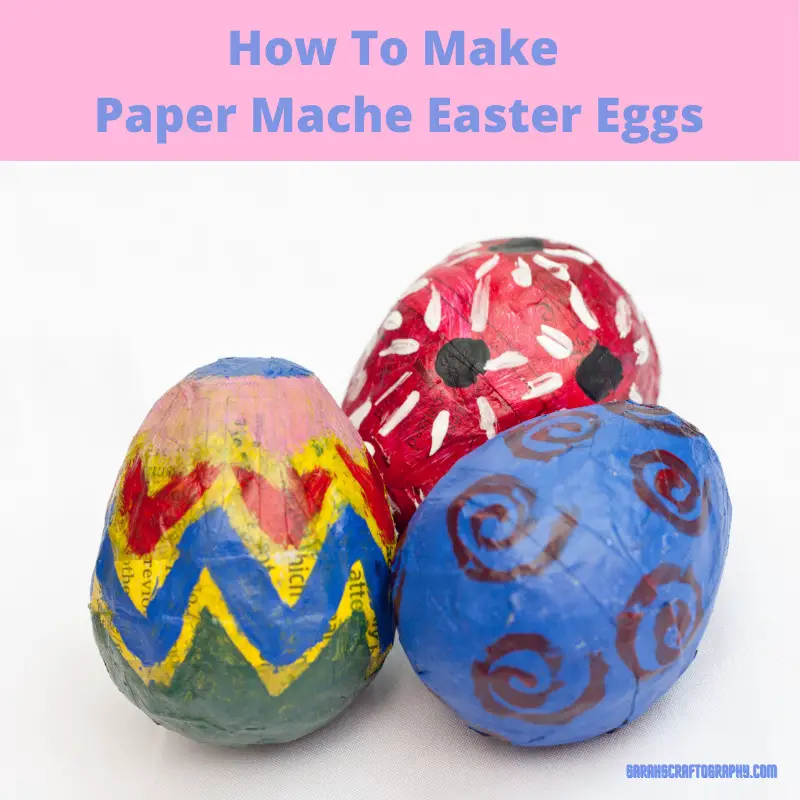
How To Make Paper Mache Easter Eggs
Learn how to make paper mache Easter Eggs, a brief history of the Easter Egg and how to incorporate your project into your Easter celebration.
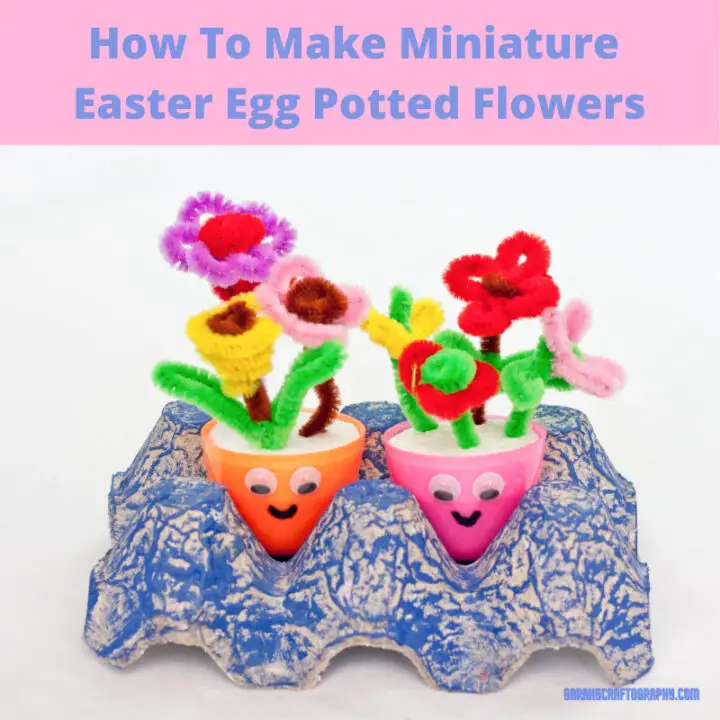
How To Make Miniature Easter Egg Potted Flowers
Learn how to make miniature Easter egg potted flowers for gift giving and home decor that will last for many holidays to come.

Easy DIY Easter Bunny Door Decor
This easy corrugated cardboard Easter Bunny Door Decor is a great way to let your kids help create Easter Decorations for your home.
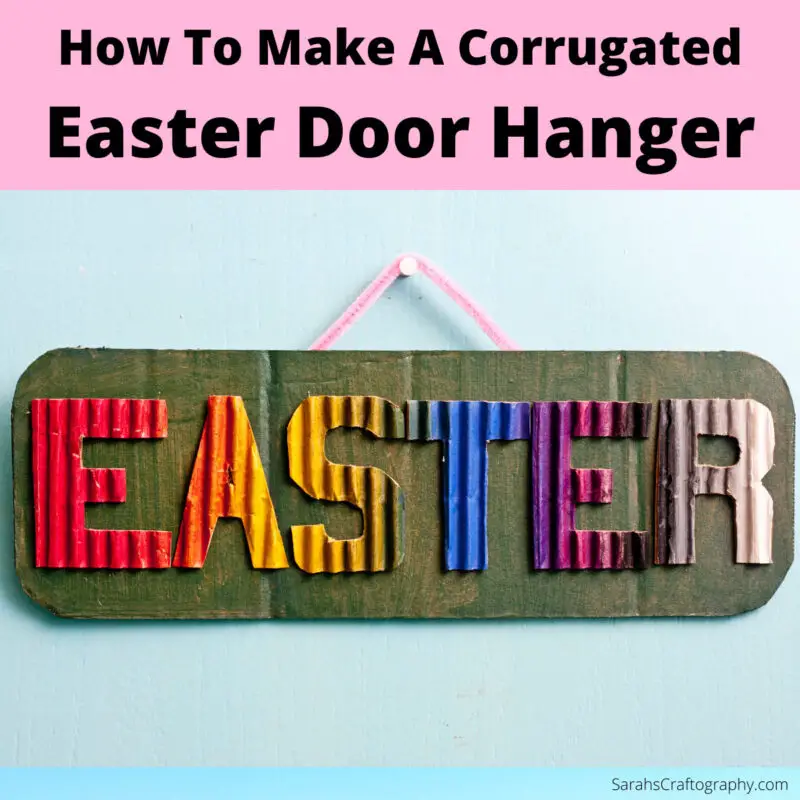
How To Make A Corrugated Easter Door Hanger
This DIY corrugated Easter door hanger is a fun project for kids and ideal for hanging on your front door during the Easter Holidays.

Two Cute Ideas For Easter Theme Decorations
Check out these ideas for Easter theme decorations. Make your own Easter tree ornaments or repurpose items you already own to make your own unique Easter tree decorations! You are sure to love these Easter tree ideas!
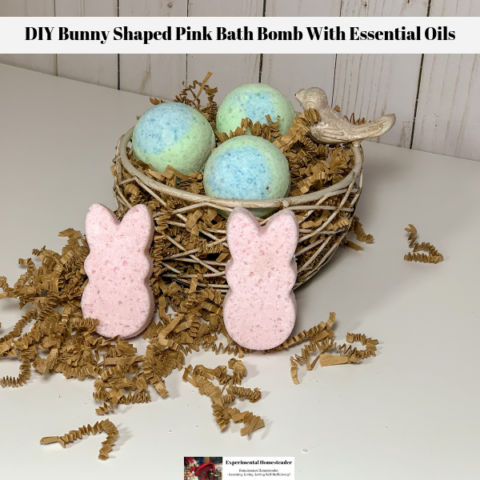
DIY Bunny Shaped Pink Bath Bomb With Essential Oils
This DIY bunny shaped pink bath bomb is scented with lavender and magnolia essential oils making it perfect for spring. They also make a great Easter gift!
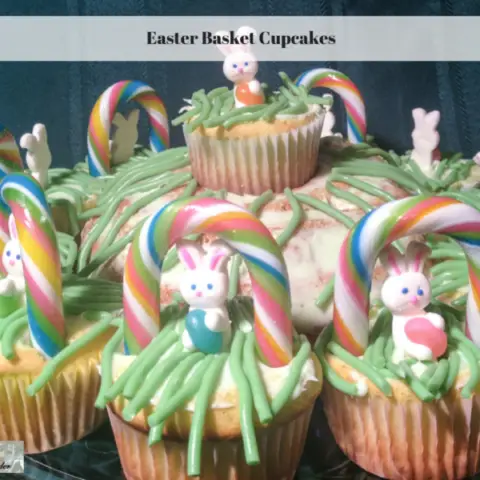
Easter Basket Cupcakes
This Keylime cupcake cake recipe makes a gorgeous centerpiece. These Easter basket cupcakes make perfect Easter desserts for kids of all ages!
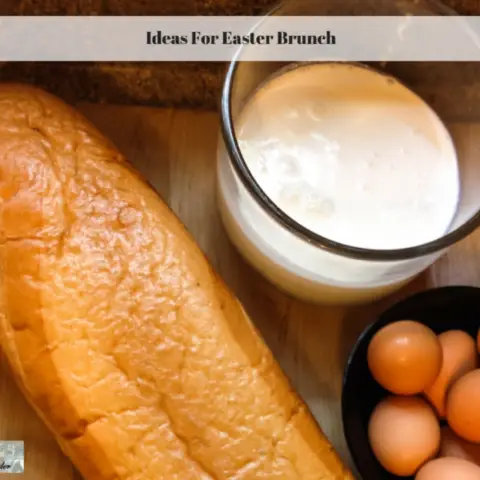
Ideas For Easter Brunch
Check out these ideas for Easter Brunch. These Easter Brunch menu ideas are ones you can make ahead of time or are quick and easy to prepare.
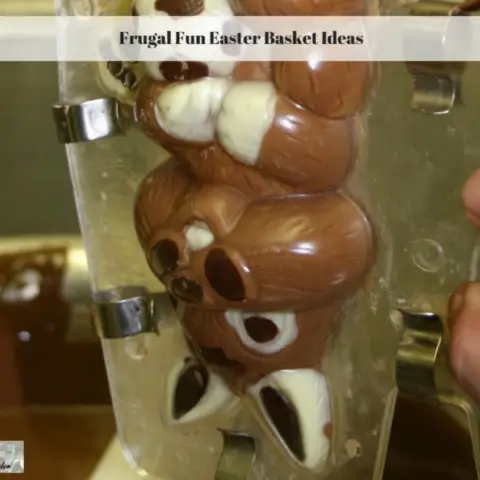
Frugal Fun Easter Basket Ideas
When it comes to finding cute cheap Easter Basket ideas be sure what you choose are items kids enjoy! Check out these fun Easter Basket ideas!

Cute Small Animals Are Not Good Easter Gifts
Cute small animals are often brought home as Easter gifts. Consider the animal welfare issues before doing this and remember cute small animals grow up.