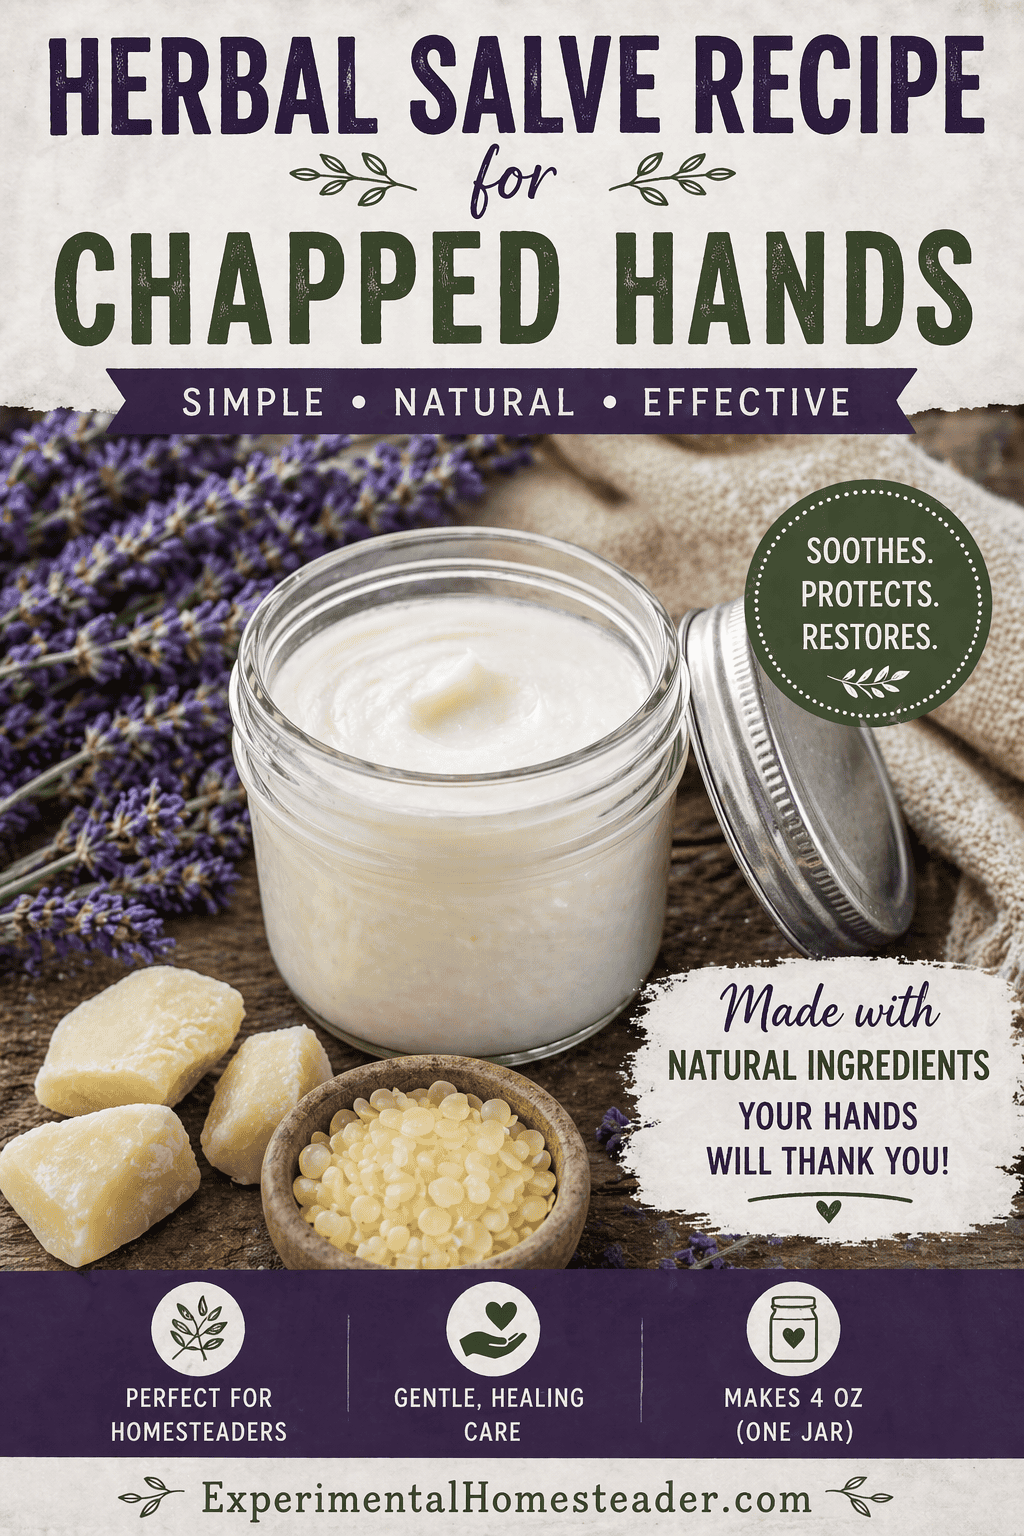
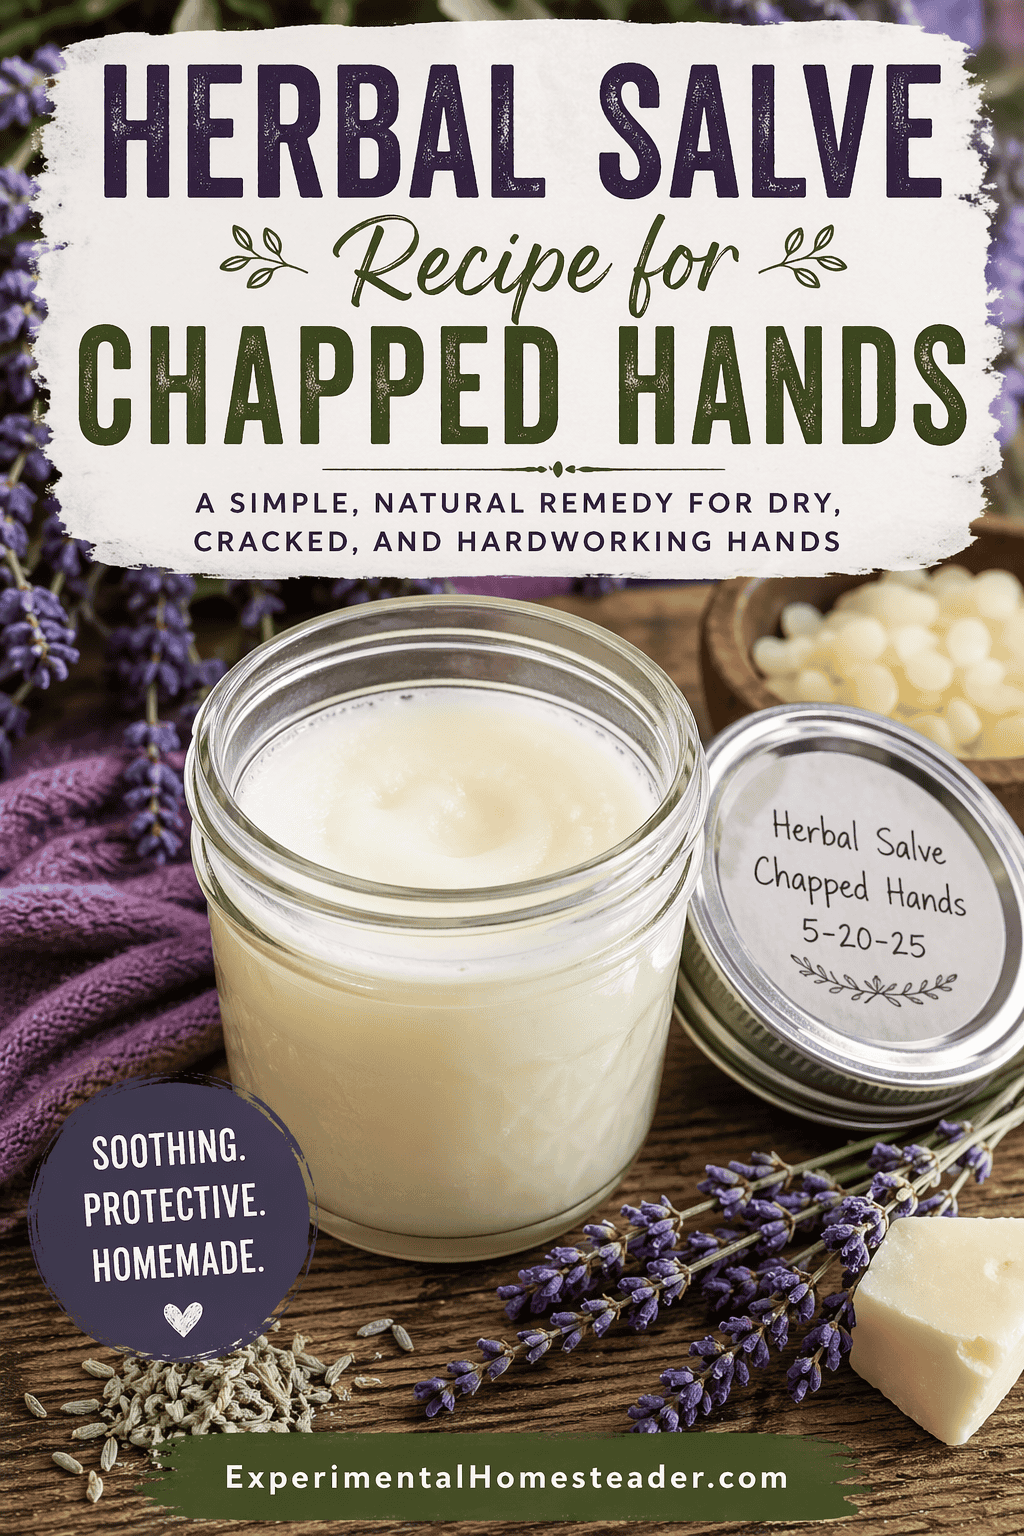
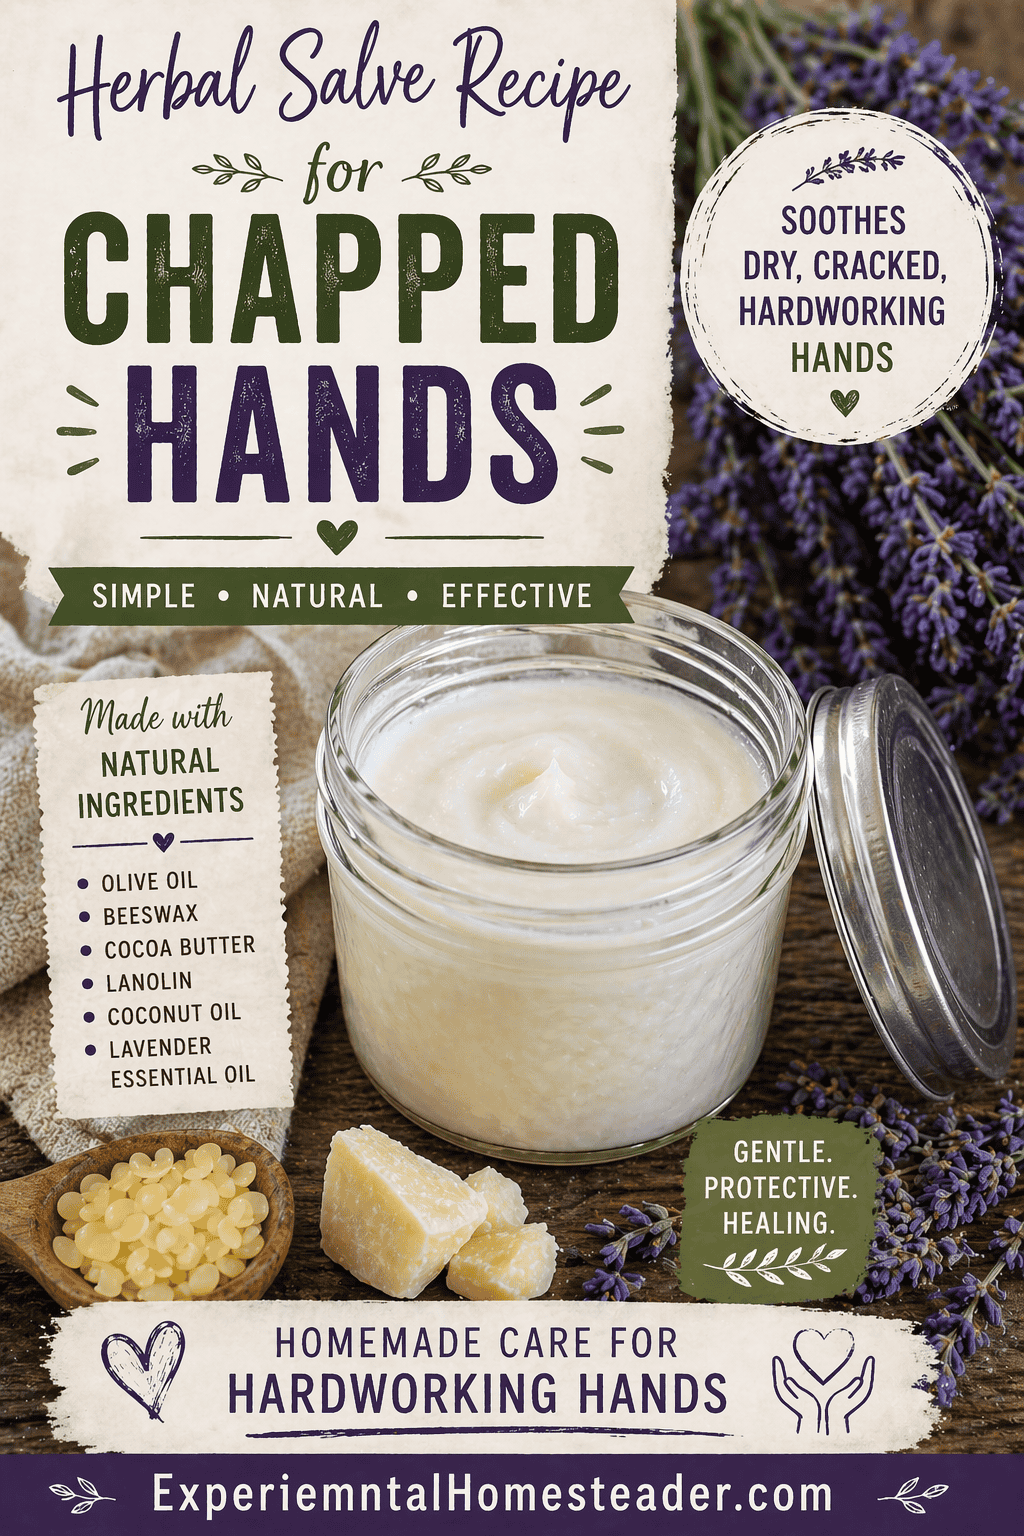
Herbal Salve Recipe for Chapped Hands
A homemade herbal salve recipe for chapped hands is one of those things I didn't think much about years ago - until I realized just how rough homesteading life can be on my skin.

Between milking, gardening, hauling feed, washing dishes, and just being outside in all kinds of weather, my hands go through a lot.
There have been winters where my skin was so dry it actually hurt, and store-bought lotions just didn't cut it.
That's really what pushed me to start making my own salves.
I wanted something simple, effective, and made with ingredients I trusted - and honestly, this recipe has never let me down.
Original Herbal Salve Recipe for Chapped Hands
This is the original version of the recipe exactly as I've made it for years, and it's still the one I come back to again and again because it just works.

Original Herbal Salve Recipe for Chapped Hands
Materials
- 4 tablespoons olive or almond oil
- 4 tablespoons beeswax
- 3 teaspoons cocoa butter
- 2 teaspoon lanolin
- 1 teaspoon coconut oil
Instructions
- Combine the olive or almond oil, beeswax, cocoa butter and lanolin.
- Heat this mixture in the top of a double boiler, stirring constantly.
- When the mixture is melted, remove the top pan from the heat and add the coconut oil and lavender essential oil. Stir the mixture briskly.
- It will begin to thicken as it cools. Once the salve is thick enough to suit you, pour it into the glass jars that were prepared ahead of time.
- Leave the jar sit overnight, uncovered so the salve can cool.
- The next day, put a lid on the jar, label it with the name of the salve, the ingredients in the salve and the date.
- This can be stored at room temperature for up to a year. If the salve begins to smell rancid, toss it and make a new batch.
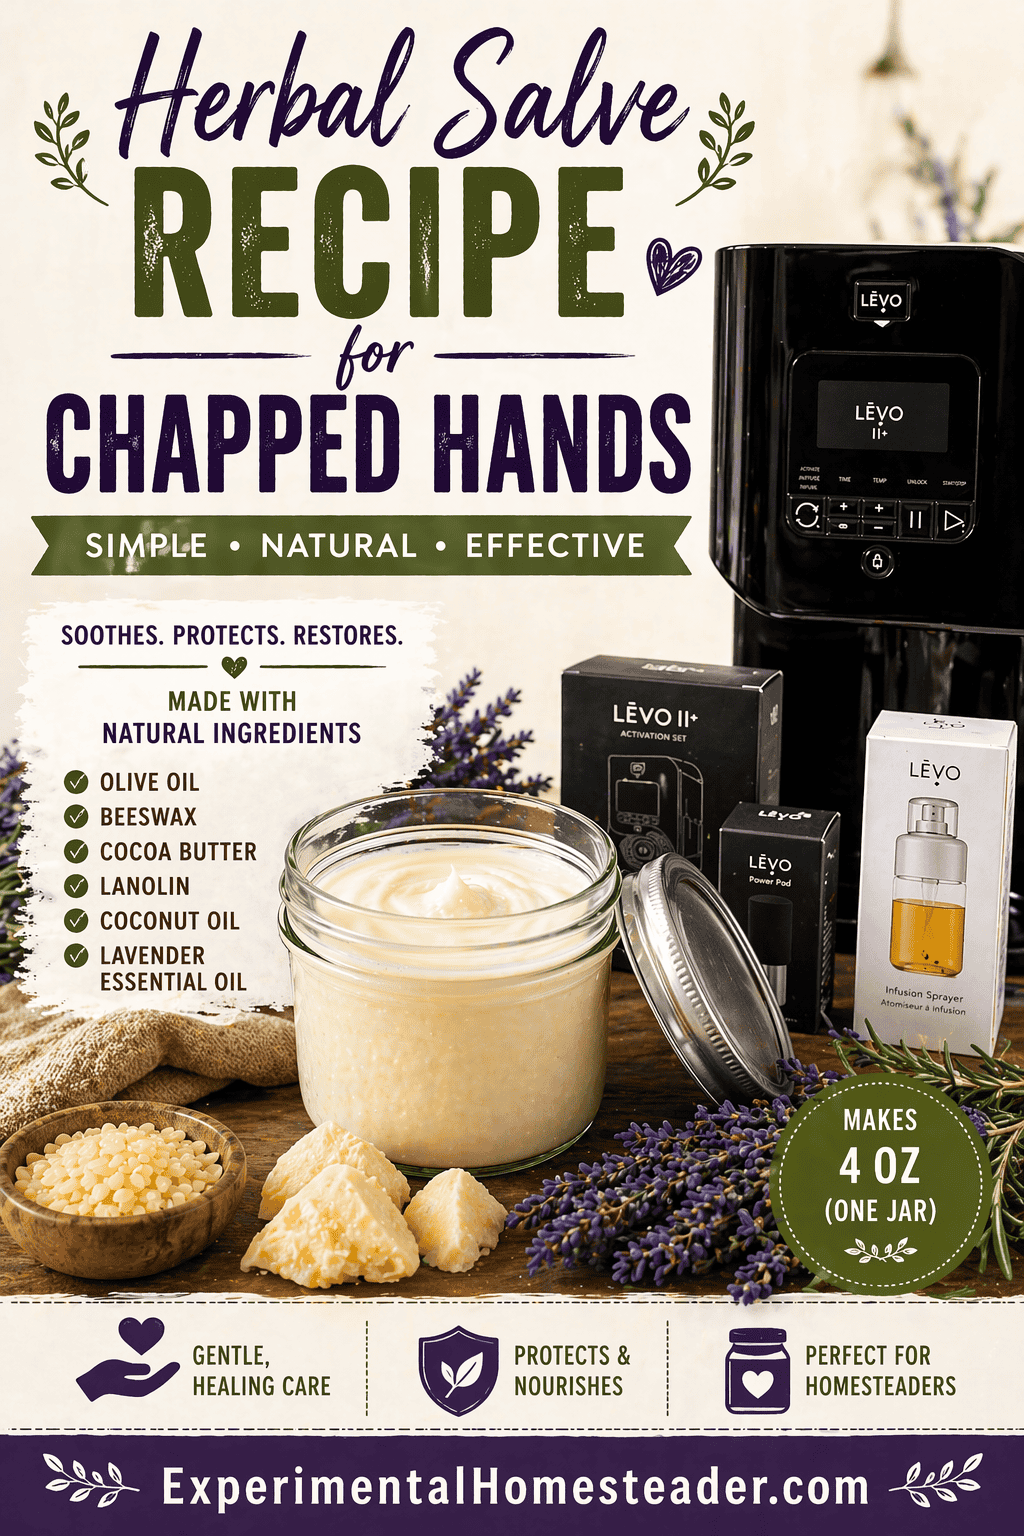
A Faster Option Using the LEVO II+
Disclosure: This is a paid partnership with LĒVO. They sent me this bundle for free so I could test it and share my experience. This is my honest LĒVO II+ review after using it every day in my homestead kitchen. Regardless of being a #LEVOPartner, all opinions are my own and based on my actual experience.
I've made this the traditional way for a long time, and there's absolutely nothing wrong with that method.
But I'll be honest, there are days when I'm already tired from chores and the last thing I want to do is stand over the stove watching a double boiler and stirring constantly.
That's where the LEVO II+ Infusion Machine has really changed things for me.
The Levo II+ bundle was gifted to me, and I didn't expect to use it for something like this at first, but once I tried it, I realized how much easier it made the process.
What I like most is that I can infuse my oils without babysitting them.
The temperature stays consistent, I don't have to worry about scorching anything, and I can walk away and take care of something else while it does its job.
I still combine everything at the end like I always have, but that infusion step - the one that really determines how nourishing the salve is - feels so much simpler now.
The Levo II+ doesn't mean you can't do it the old fashion way, but when I want a faster option that still gives me a quality result, this has been a good solution so far.
👉 If you've been wanting to try one of these, you can check current pricing here using my affiliate link: https://levooil.com/SHERIANNRICHERSON
How I Used the LEVO II+ for This Salve
When I used the LEVO II+ Infusion Machine for this herbal salve recipe for chapped hands, I kept it simple and followed the process that worked best for me.
First, I added my dried lavender to the herb reservoir. I don't pack it tight - I just fill it loosely so everything can infuse properly.
But don't worry, if you have fresh lavender, be sure to use the dry cycle first to dry your lavender before you infuse it.
After that, I added my oil (I used olive oil) directly into the reservoir.
From there, I set the machine to infuse for 1 hour at 165°F.
That temperature and time worked really well for pulling out the properties of the herbs without overdoing it.
It's one of those things you can tweak depending on what you're making, but this was a good balance for a salve like this.
If you're unsure about time and temperature, LĒVO actually has a time and temperature calculator on their website, which is really helpful when you're first getting started or trying something new.
I've found myself checking it more than once just to make sure I'm in the right range.
Once the infusion was done, I pressed a button and dispensed the oil into the container moved on to the same process I've always used - stirring in melted beeswax, cocoa butter, and lanolin.
That part didn't change at all.
What did change is how hands-off the process felt.
I didn't have to stand there watching a double boiler or worry about overheating anything. I could go do chores, come back, and it was ready to go - which, on a busy homestead day, makes a bigger difference than you'd think.
Why This Salve Works So Well
Over time, I've come to appreciate why this combination of ingredients works so well, especially for those of us living a hands-on lifestyle.
Beeswax helps lock in moisture and creates a protective barrier on the skin, which is incredibly important when your hands are constantly exposed to the elements.
Olive or almond oil nourishes and softens, while cocoa butter adds richness and helps repair dry, rough areas.
Lanolin is one of my favorite ingredients in this recipe because it closely mimics the natural oils in our skin, making it especially helpful for cracked hands.
Coconut oil adds another layer of hydration, and the lavender essential oil gives it a soothing feel and a light, calming scent.
This isn't just something that sits on the surface of your skin - it actually helps your hands recover.
I've used it after long days in the garden, after working in cold weather, and even after handling rough materials, and it consistently makes a difference.
Tips From My Own Experience
After making this recipe so many times, I've learned a few things that make the process smoother.
If your house is on the cooler side, the salve will thicken faster than you expect, so it helps to have your canning jars ready to go before you start pouring.
If your finished salve feels too soft, you can re-melt it and add a little more beeswax.
If it's too firm, just add a bit more oil next time.
Labeling your jars might seem like a small thing, but it really does save confusion later on, especially if you're making multiple salves at once.
One of the best habits I've gotten into is keeping a jar by my bed so I remember to use it at night, which is when it seems to work the best.
The biggest thing I've learned, though, is that it doesn't have to be perfect.
You can adjust it to suit your needs, and that's part of what makes homemade products so valuable.
Frequently Asked Questions About Herbal Salves
Q. What is the best oil to use for a herbal salve recipe for chapped hands?
A. Olive oil is the most common because it's affordable and effective, but almond oil is a great option if you prefer something lighter.
Q. Can I make this salve without beeswax?
A. You can, but it won't have the same firmness or protective qualities. Beeswax is what gives salve its structure.
Q. How long does homemade salve last?
A. Typically up to one year if stored properly at room temperature.
Q. How do I know if my salve has gone bad?
A. If it smells rancid or off, it's time to throw it out and make a fresh batch.
Q. Why is my salve too soft?
A. It likely needs more beeswax. You can re-melt it and adjust.
Q. Why is my salve too hard?
A. That usually means there's too much beeswax. Add more oil next time.
Q. Can I use this salve on other parts of my body?
A. Yes, it works well on elbows, feet, and other dry areas.
Q. Do I have to use essential oils?
A. No, they're optional. The salve will still work without them.
Q. Can I use fresh herbs in this recipe?
A. It's better to use dried herbs or infused oils because fresh herbs contain moisture that can cause spoilage.
Q. What's the difference between a salve and a balm?
A. They're very similar, though balms tend to be a bit softer. The terms are often used interchangeably.
Q. How often should I apply salve?
A. As often as needed, but applying it at night tends to give the best results.
Q. Is this safe for sensitive skin?
A. Generally yes, but it's always a good idea to do a small patch test first.
Q. Can I use this on cracked skin?
A. Yes for dry, cracked areas, but avoid applying it to open wounds.
Q. Can I make larger batches?
A. Yes, just keep the ingredient ratios the same.
Q. Is the LEVO II+ necessary for making salve?
A. No, the traditional method works perfectly fine, but it can save time and make the process easier if you use it often.