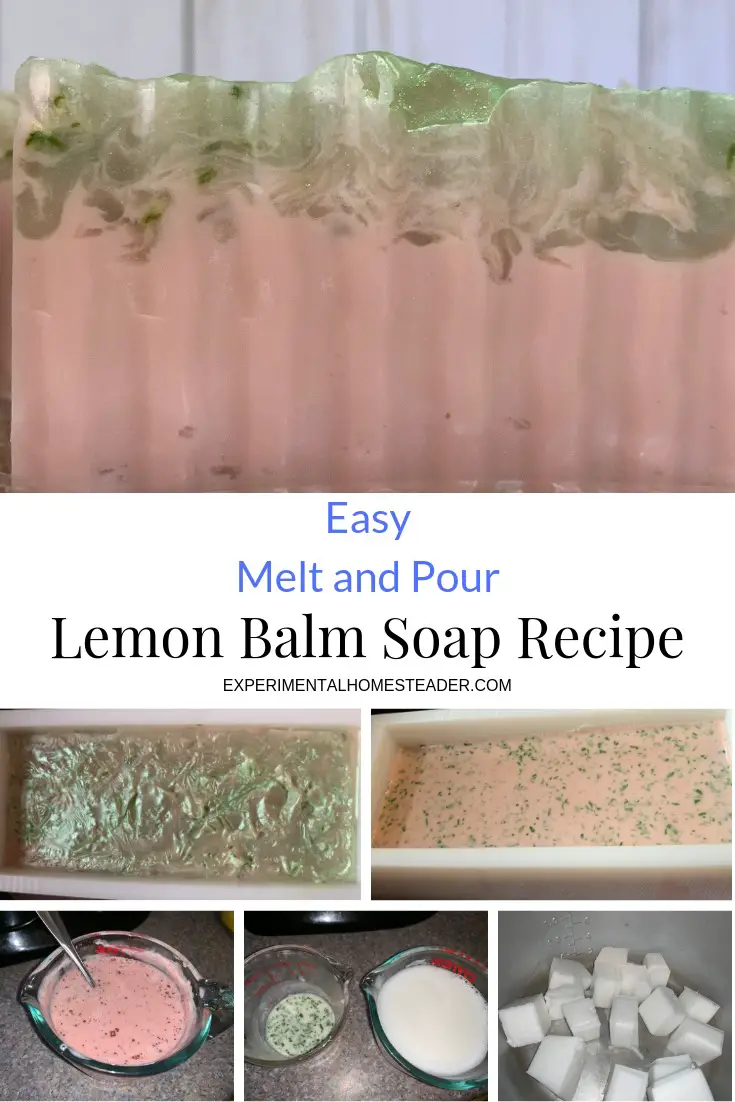
Easy Melt And Pour Lemon Balm Soap Recipe
This easy melt and pour lemon balm soap recipe is perfect for the beginning soap maker or for anyone who doesn't want to handle lye but wants to incorporate plants from their own garden into their soaps.

Lemon balm has such as stimulating yet calming lemon scent with just a hint of mint that it is ideal for soaps.
Plus the fact that lemon balm is known for its anti-viral properties making it a great herb to add to soaps.
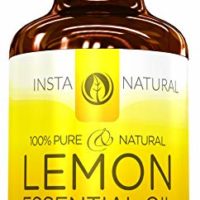
Pair that with lemon essential oil and you end up with a soap that is refreshing, invigorating and ideal for washing dirty hands or bodies with.
Easy Melt And Pour Lemon Balm Soap Recipe
Using a melt and pour soap base is one of the easiest ways to make soap, in part because you literally do not do anything except melt the pre-made soap and add your favorite essential oils or other additives to it.
Then you just pour the melted soap into the molds and let it dry.
This lemon balm soap recipe is ready to use as soon as the soaps come out of the molds, but for the best results, I highly suggest allowing it to cure for up to six weeks.
In my own tests, I have found that the longer the soap cures, the longer it lasts once you do start to use it.
This particular recipe produces a soap that lathers quite well and also contains quite a bit of glycerin.
What this means is the soap may end up with dots of glycerin on the outside of the soap as it is curing.
This does not hurt anything, however I do encourage you to use paper towels to wipe the glycerin off and then spray it with rubbing alcohol then allow it to dry before wrapping the finished bars of soap in plastic wrap.
Dried glycerin is white and is often confused for mold.
Here is my lemon balm soap recipe.
Easy Melt And Pour Lemon Balm Soap Recipe
This easy melt and pour lemon balm soap recipe is a great way to use up some of that lemon balm you are growing. It's also an easy recipe for beginners.
Materials
Tools
Soap Making Tools
Instructions
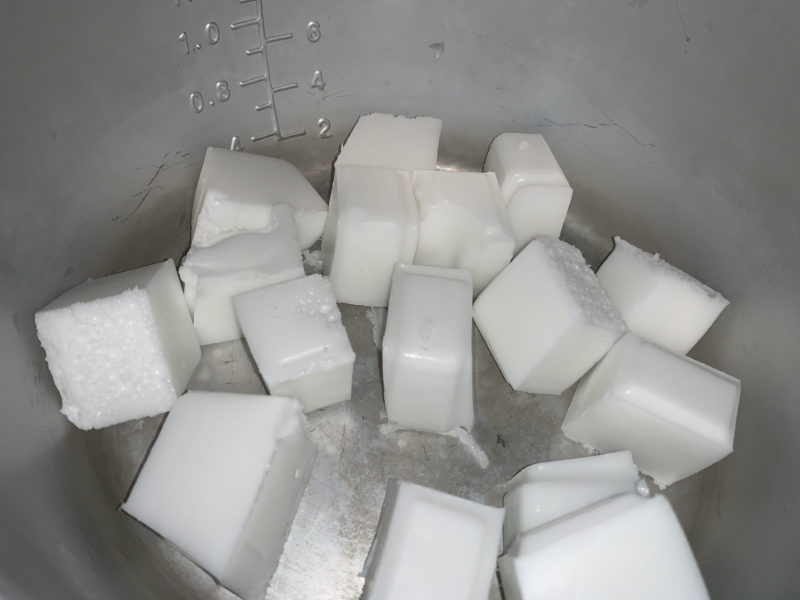
- Cut the white glyercin melt and pour base on the score lines.

- Place the soap cubes into a double boiler or a soap melting pot if you have one.
- Heat the soap just long enough to melt it. If you are using a soap melting pot, it should automatically switch from melt too warm. If it does not, do it manually. If you are using a double boiler, turn the heat to the lowest possible setting once the soap is melted.
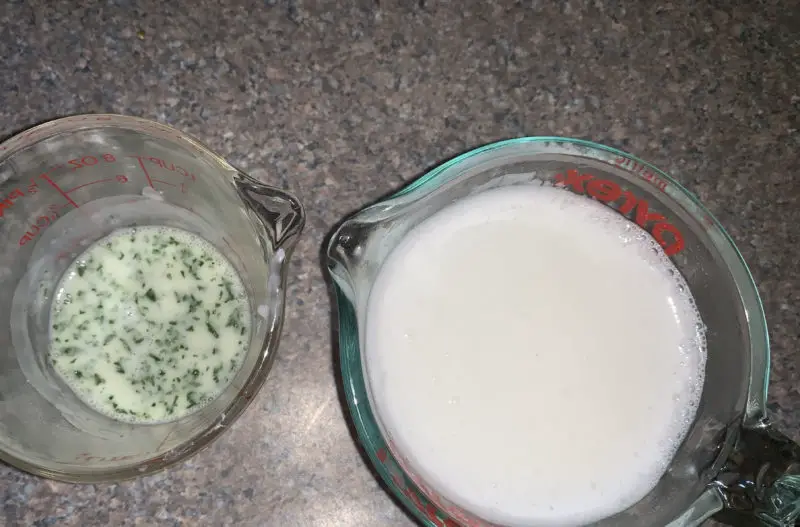
- Place some of the melted soap in two separate glass measuring cups.

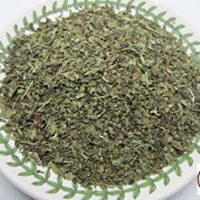
- Add the crushed lemon balm leaves to the soap in one of the measuring cups and stir to combine the two ingredients.
- Set this aside.

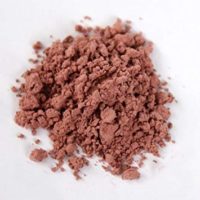
- Add the rose kaolin clay to the soap in the other measuring cup and stir until the clay is fully incorporated into the soap. This takes some time.
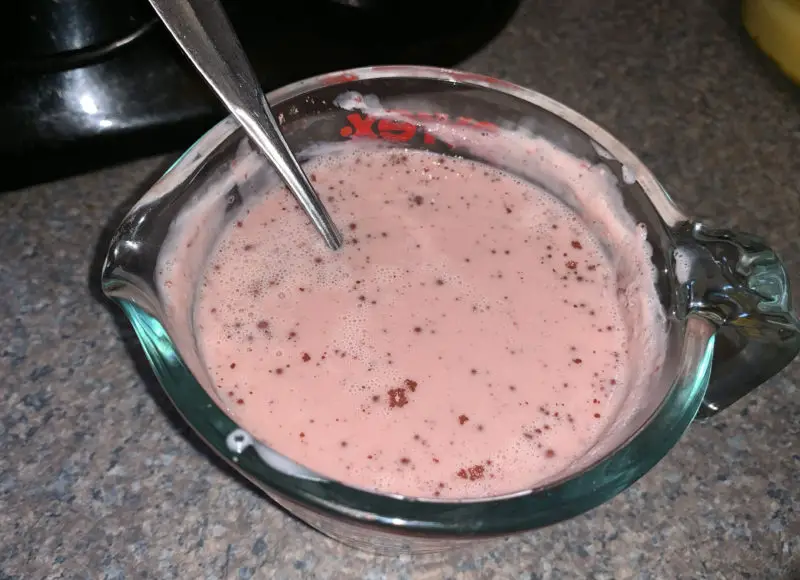
- Pour the rose kaolin clay soap mixture back into the soap that is still in the double boiler or soap melting pot and stir to combine.
- Pour the lemon balm soap mixture back into the double boil or soap melting pot.
- If necessary, turn the heat up to melt the soap mixtures you just added back.
- Be sure to stir the soap well to make sure the soap is all one color and that the lemon balm leaves are evenly distributed throughout the soap.
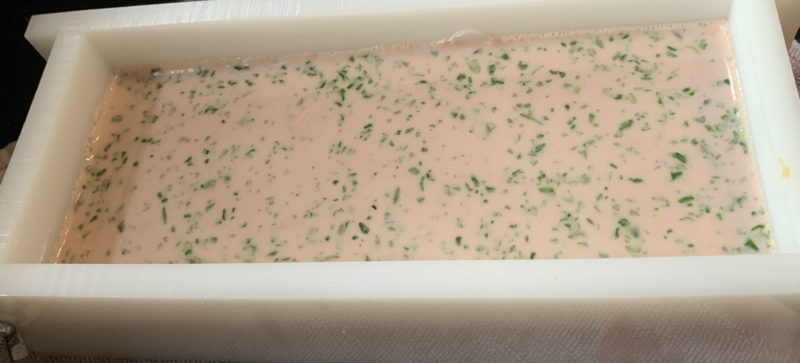
- Now remove the soap from the heat and pour it directly into the rectangle mold.
- Allow the soap to cool slightly.
- Stir in the lemon essential oil. If you do this when the soap is too hot, some of the scent will evaporate.
- Spray the top of the soap with the rubbing alcohol to remove the bubbles.

- Set the soap mold aside.
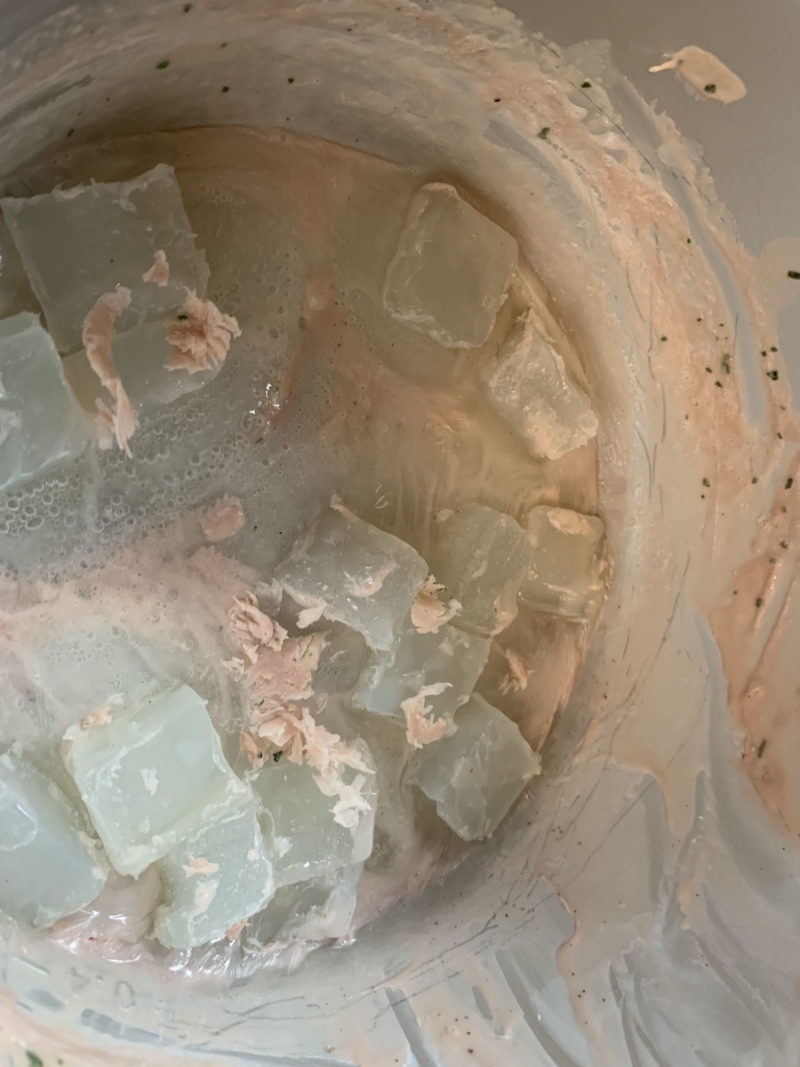
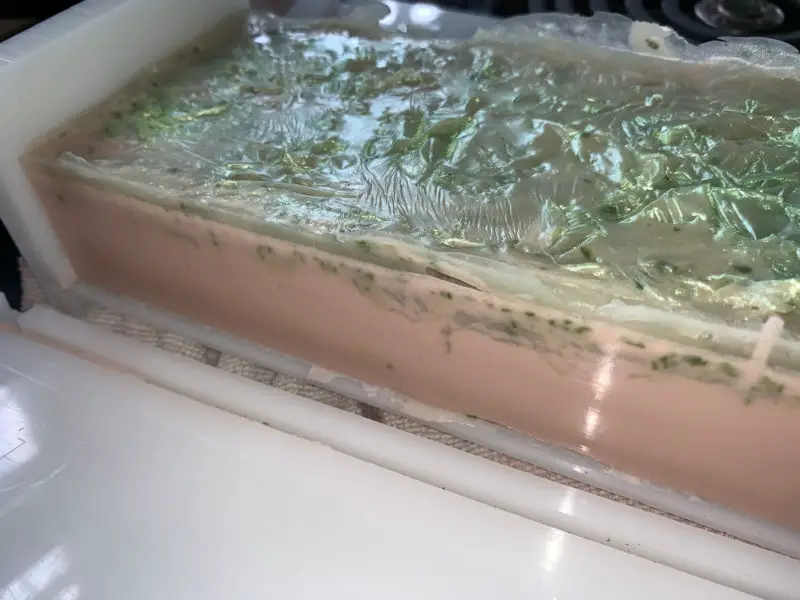
- Cut up the olive oil melt and pour soap base following the scoring lines.
- Measure out ½ pound of the cut up soap base.

- Place the olive oil melt and pour soap base into the same pot the other soap came out of. The remaining soap residue from the pink soap is ok to be in there.
- Melt the olive oil melt and pour soap base.
- Stir it so the other soap base is incorporated into the olive oil soap base.
- Now spray the top of the soap in the mold with the rubbing alcohol.
- Immediately pour the melted olive oil soap base on top of the soap in the mold.
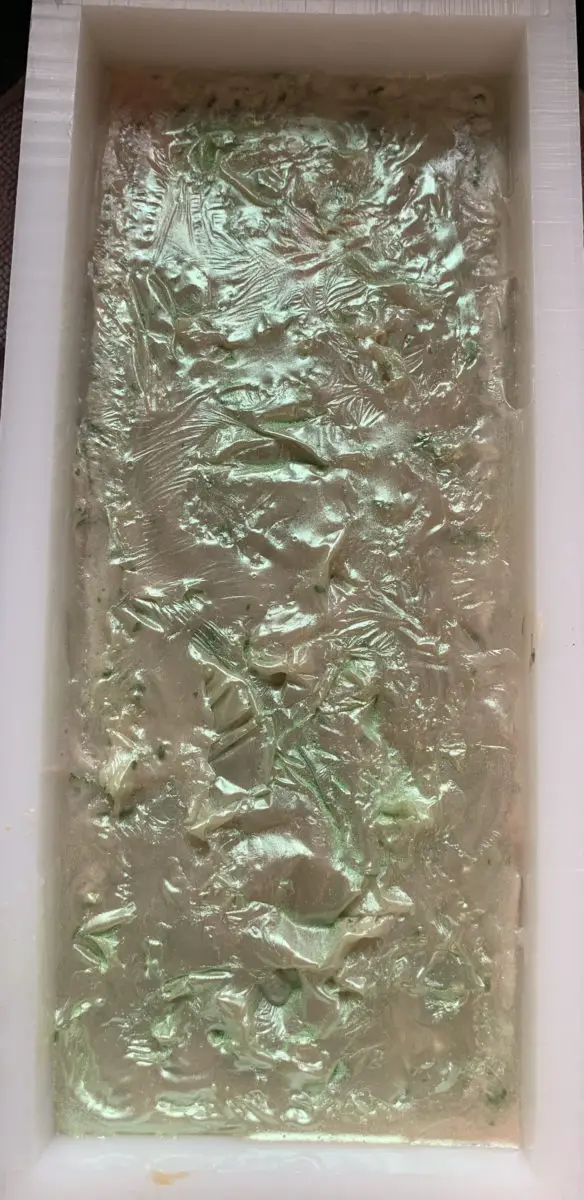
- Allow it to cool slightly, then use a spoon to create waves.

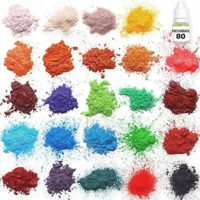
- Once you are happy with the way the top of the soap looks, use the two green micas and a paint brush to paint the top of the soap.
- Allow the soap to cool completely.
- Once the soap is cool, remove it from the mold.
- Cut the soap into bars and set it on a paper towel lined cooling rack to finish curing.
- When you are happy with how long it has cured*, wrap it in plastic wrap and store it in an airtight container such as a plastic shoe box in a cool, dark place until you are ready to use it.
Notes
*I recommend allowing the soap to cure for at least six weeks before wrapping it.
Recommended Products
Sheri Ann Richerson is a participant in the Amazon Services LLC Associates Program, an affiliate advertising program designed to provide a means for sites to earn advertising fees by advertising and linking to Amazon.com.
-
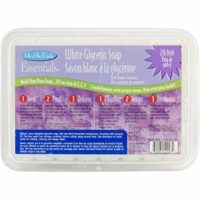
 Life of the Party White Glycerin Soap Base, 2 lb, 52007
 -
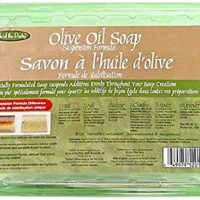
Life of the Party Olive Oil Suspension Soap Base, 2 lb., 52018
-
InstaNatural Lemon Essential Oil - 100% Pure & Natural for Premium Oil Diffusers - Best Aromatherapy & Cleaning Aid for Any Living Space - Great for Skincare Recipes Large 4 OZ Bottle with Dropper
-
Bulk Herbs: Clay, Rose
-
Organic Lemon Balm - Melissa officinalis Dried Loose Leaf by Nature Tea (2 oz)
-
Epoxy Resin Dye – Mica Powder – 24 Powdered Pigments Set – Soap Dye – Hand Soap Making Supplies – Eyeshadow and Lips Makeup Dye – Slime Pigment
-
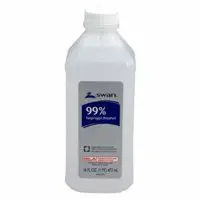
Swan M314 Isopropyl Alcohol, 99%, 16 oz.
-
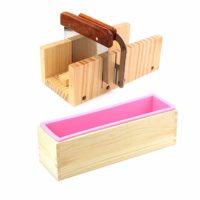
ESA Supplies Wooden Soap Loaf Cutter Mold and Soap Cutter Set + 1 pc Rectangle Silicone Mold with Wood Box + 1 pc Straight Cutter + 1 pc Wavy Cutter
-
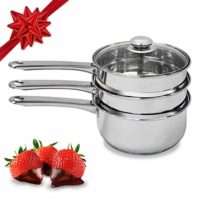
Double Boiler & Steam Pots for Melting Chocolate, Candle Making and more - Stainless Steel Steamer with Tempered Glass Lid for Clear View while Cooking, Dishwasher & Oven Safe - 3 Qts & 4 Pieces
-
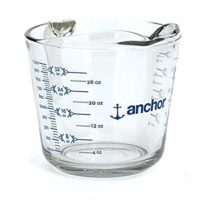
Anchor Hocking 4 Cup Measuring Cup w/ Blueberry Infusion,32 oz
-
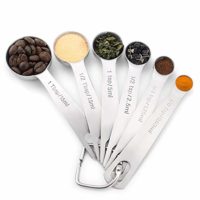
1Easylife 18/8 Stainless Steel Measuring Spoons, Set of 6 for Measuring Dry and Liquid Ingredients
-
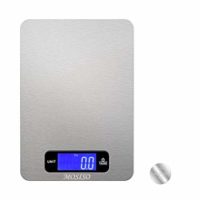
MOSISO Digital Kitchen Scale in Refined Stainless Steel Multifunction with Fingerprint Resistant Coating (11 lbs Edition)
-
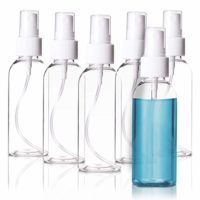
Juvale 20-Pack Fine Mist Mini Plastic 2.7-Ounce Spray Bottles with Atomizer Pumps for Essential Oils, Aromatherapy, and Travel, Empty, Clear, Refillable and Reusable
-
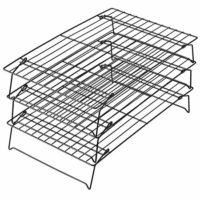
Wilton Excelle Elite 3-Tier Cooling Rack for Cookies, Cakes and More
-
Seventh Generation Paper Towels Regular Roll, 140 Sheets, White, 1 Pack

Tips For Incorporating Plant Material Into This Lemon Balm Soap Recipe
To prevent mold or other possible issues it is important to always use throughly dried plant material in melt and pour soap.
The reason for this is the saponification process has already taken place before the soap was packaged.
This is why you do not need to handle lye with melt and pour soap bases.
It's already in there!
You can dry lemon balm by laying it out on a screen, in the oven, in the microwave or even in a dehydrator.
Make sure the lemon balm is crunchy enough to easily break apart.
It should still be green and smell like lemon balm when it is sufficiently dry.
Melt And Pour Soap Making Recipes
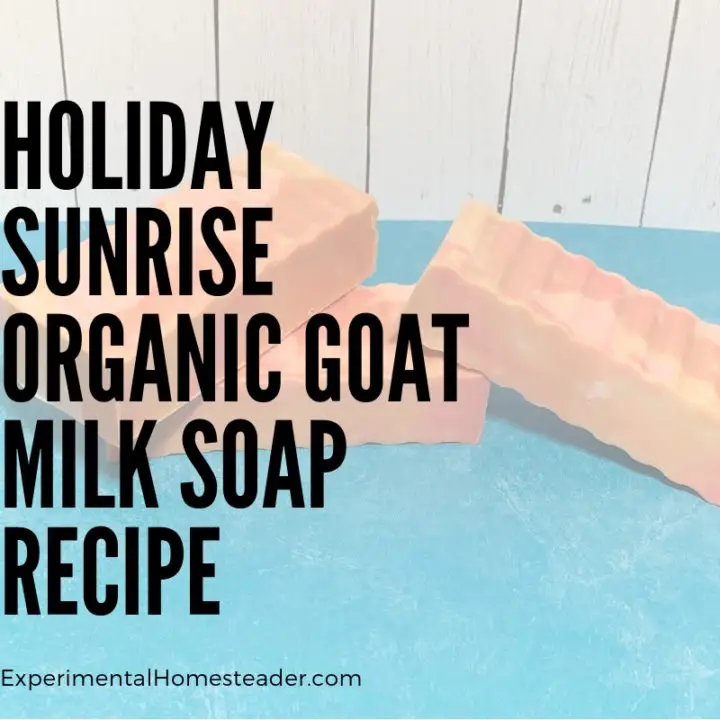
Holiday Sunrise Organic Goat Milk Soap Recipe
This organic goat milk soap recipe was easy to make using a combination of a melt and pour soap base, essential oils, honey and mica powders!
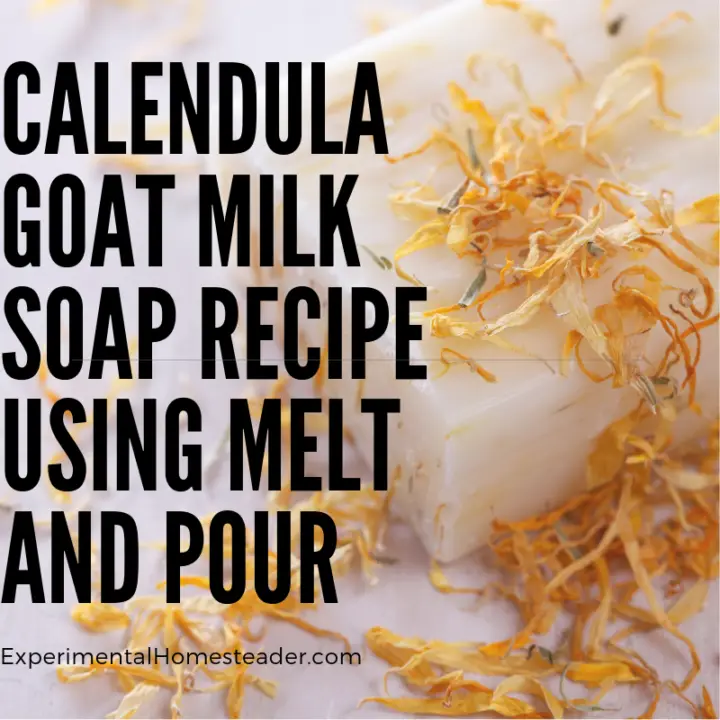
Calendula Goat Milk Soap Recipe Using Melt And Pour
Make your own soap for dry skin at home with this easy goat milk soap recipe using melt and pour soap base, dried calendula flowers and calendula oil.
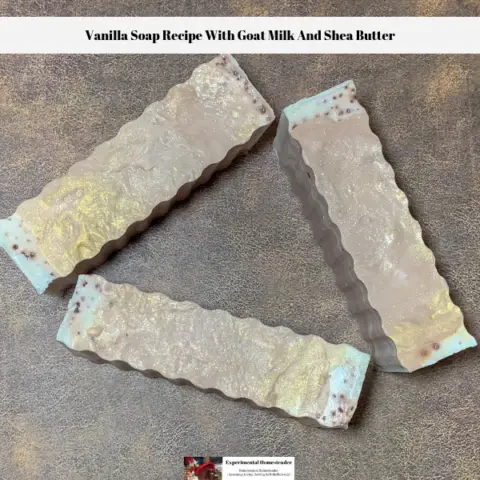
Vanilla Soap Recipe With Goat Milk And Shea Butter
This melt and pour vanilla soap recipe contains goat milk and shea butter. It lathers well, it's ideal for dry senstitive skin and is easy to make!

Melt And Pour Goat Milk Soap Recipe
This melt and pour goat milk soap recipe is easy enough for a beginner to create, but can also be made using a homemade soap base if you prefer.