
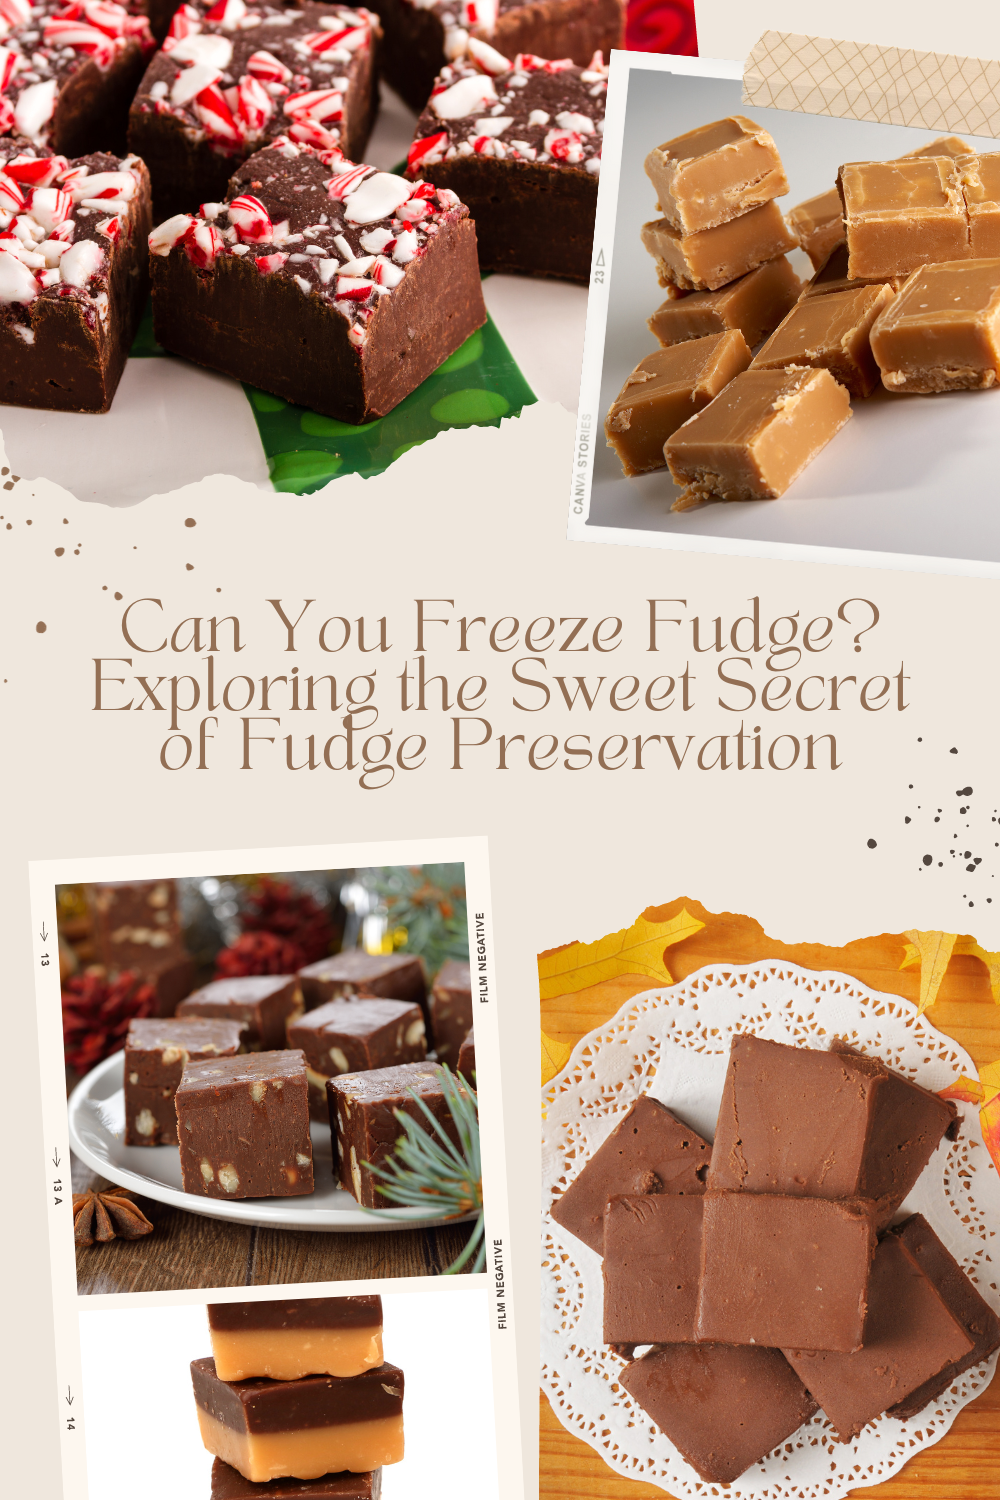
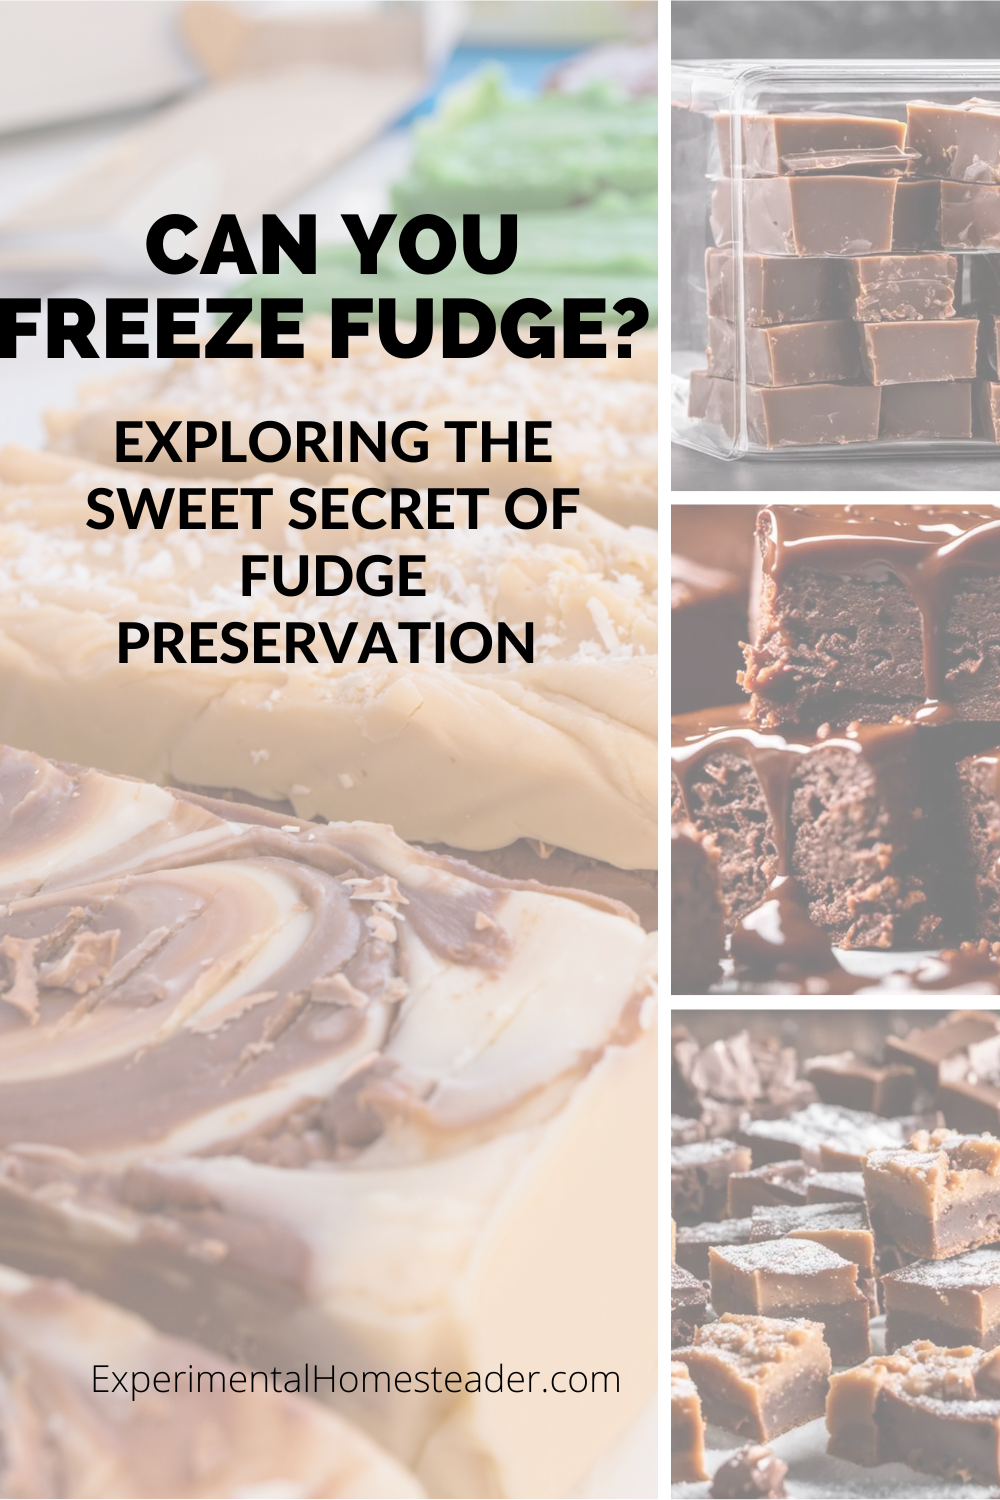
Can you freeze fudge?
That's the golden question for homesteaders who are gearing up for the upcoming holiday season and looking for smart ways to save time in the kitchen.

As we embark on a journey through the art of making and preserving homemade fudge, we're not only exploring the delicious realm of fudge creation but also uncovering a time-saving secret.
Homesteaders, especially during the busy holiday season, understand the value of efficiency.
Whether you're an experienced baker or someone who loves to dabble in the culinary arts, mastering the art of fudge-making can be a true joy.
From selecting the right ingredients to crafting creative recipe variations, it's all about ensuring you get the most from your efforts.
But here's the exciting twist we're diving into today: Can you freeze fudge to preserve its delightful goodness?
Proper freezing and storage can be a homesteader's best friend when it comes to holiday prep.
It's about extending the life of your homemade fudge without compromising its quality, texture, or flavor.
I'm absolutely thrilled to guide you through this aspect of fudge-making.
Freezing fudge can be a game-changer, especially when you're juggling holiday preparations.
In the upcoming sections, we'll dive deeper into the art of freezing fudge and explore some practical tips and tricks that will make your holiday season a breeze.
So, let's roll up our sleeves and uncover the secrets to perfectly frozen fudge for your homesteading holidays.

Creating Divine Homemade Fudge
Fudge, a remarkably delightful confection, boasts a rich, intense flavor that can be overwhelming in the best way possible.
This heavenly treat may sound daunting to fabricate at home, but fear not!
All it takes is a bit of courage to explore, a dash of patience, and an adherence to recipe precision.
Despite its decadent appearance, making homemade fudge is a much simpler venture than most anticipate.
- Gather Your Ingredients: First things first, gather all the necessary fudge-making ingredients. A traditional chocolate fudge requires just five essential components: sugar, butter, chocolate, evaporated milk and vanilla extract. Have them all arranged in your promising kitchen, eagerly waiting to blend into a mosaic of sweetness.
- Prepare Your Cookware: Fudge isn’t finicky when it comes to your choice of cookware. A sizable saucepan and a standard 8x8 baking dish will do. The trick, however, is to diligently butter the baking dish in preparation for that glorious mix you're about to make.
- The Sugar Symphony: Begin by introducing the sugar, butter and evaporated milk into your saucepan. A medium heat will suffice for these ingredients to dance and merge into an enticing blend. Stir gently and consistently.
- Maintain the Boil: Next, the boiling commences. Allow the pot's contents to boil for about five minutes. A candy thermometer would be a useful sidekick during this stage. Aim to maintain a temperature around 234-240°F, falling in the soft-ball candy stage. Here's the secret, though: never let your boiling mixture feel neglected—constant stirring is key.
- Indulge in Chocolate: When the correct temperature is achieved, remove saucepan from heat and swiftly blend in the chocolate. As the chocolate enters the mixture, the symphony of ingredients reaches a crescendo.
- Introducing Vanilla: Just when you thought the melody couldn't get any richer, there's the vanilla extract. Add it to your delightfully combined mixture and stir until smooth.
- Pour and Cool: The final act of our fudge festivity requires a delicate pour of the mixture into your buttered baking dish. Evenly distribute, promoting utmost balance in this culinary composition. Let it cool undisturbed - patience at this stage will be rewarded with fabulously firm fudge.
- Cut and Serve: Once completely cool, carve it into modest servings ready to captivate your taste buds. Whether savored alone or shared with friends, each bite promises an unforgettable fusion of sweetness.
There you have it: a delicious homemade fudge, made from scratch with love and care.
It's time to satisfy your sweet tooth and fill your home with the joy of creating this heartwarming treat.
After all, it's more than just fudge; it's an experience, a connection - a sweet journey toward culinary excitement.
So roll up those sleeves, gather your utensils and get ready to dive in!
In creating fudge, every kernel of sugar, drop of evaporation and hunk of chocolate provides a chapter in your story as a food enthusiast.

Proper Fudge Cooling and Cutting
Spectacularly glossy and devilishly sweet, homemade fudge is often the star of the show at family gatherings, potluck dinners, or a simple dessert for a night in.
After mastering the art of creating the perfect fudge from scratch, there are a few additional steps that can elevate the experience to sublime gastronomic delight.
This article focuses on two critical factors: the proper cooling and cutting of this heavenly confection, which often goes overlooked but can greatly enrich the overall outcome.
Once the luscious mixture of your fudge is prepared, it's time to allow it to cool — the first step to seal the taste and texture.
While one might think to rush this step, patience is key.
Here are a few tips on the best way to cool and cut fudge:
- Fudge should be cooled at room temperature and not in the refrigerator or other artificially cold environments.
- Rushed cooling can result in a grainy texture and crumbly cuts.
- Cooling at room temperature enables the concoction to fix itself gently, allowing the flavors to mingle and the consistency to solidify perfectly.
- The process typically takes a couple of hours.
- Once the fudge has set satisfactorily, not a moment earlier or later, comes the part that signifies the transformation from a warm, unified blend into the individual pieces that are savored: reinventing it into delightful, bite-sized goodness.
- The best way to cut your fudge is by using a long, sharp knife.
- Before cutting the fudge, hold the knife under running hot water and lightly dry it.
This technique allows the fudge to be trimmed neatly without abruptly breaking or crumbling, preserving the texture and professional look.
Cutting the fudge into squares is traditional, but don't let that limit you!
Feel free to release your creativity and experiment with shapes and sizes, as long as easy nibbling is allowed.
Remember, culinary experimentation is what makes the process unique, personal, and above all, fun.
With these tips, it's possible to enhance what is already a spectacular dessert.
The best homemade fudge goes beyond the ingredients and techniques employed in making them, it's about perfecting the final touches, like cooling and cutting.


Freezing and Storing Fudge
Now that the fudge-making journey is complete, a whole new adventure begins in preserving this delightful treat.
After all, one of the greatest joys in the food realm is preserving the treasured delicacies you've created so you can continue to relish them for an extended period.
In this context, let's discuss the preservation of fudge - freezing and storing.
Freezing fudge can extend its shelf life to unimaginably long durations while also maintaining its delicious taste and texture.
Typically, fudge can be frozen for about 2 to 3 months.
However, with meticulous preparation and correct storage methods, you might prolong its life up to a year, allowing you to savor these bite-size miracles in a more leisurely fashion.
- Initial wrapping of the fudge is the first and crucial step in the freezing process. Opt for plastic wrap or aluminum foil, which are both incredible allies in the kitchen. They assist in retaining the freshness of your fudge and preventing unwanted flavors from invading the sweet haven you've created. Wrap each piece individually for optimum freshness, keeping them snug and tight, yet not too tight to alter the shape or squeeze out the delightful softness.
- A second layer of protection from freezer burn and flavor contamination comes in the form of an airtight container or a freezer-safe zip-lock bag. Label and date these containers so you keep track of their storage time. Although your fudge can last up to a year in the freezer, consuming it within the first few months still ensures the best experience.
- Defrosting the fudge before consumption is as important as its preservation. Due to its high sugar content, fudge doesn't freeze solid; it retains a certain softness even when frozen. To thaw frozen fudge, simply remove the desired amount from the freezer and let it sit at room temperature. Avoid using heat or the microwave to defrost as this can result in uneven melting and compromise the texture.
Much like a homesteader's daily tasks, the art of crafting delicious food is a rhythmic dance.
It's about embracing the ebb and flow, knowing when to slow down and when to savor the journey.
Freezing and thawing fudge?
It's one of those moments where your culinary instincts shine.
Just raising goats or chickens, sometimes, it's all about patience.
So, as we venture into the world of freezing and storing fudge, remember to trust the process.
Let each step unfurl in its sweet time, much like the changing seasons on your homestead.
The caring process of freezing and storing isn't just about preserving the fudge; it's about extending the joy of your culinary adventure.
It's about making the rewards of your hard work last longer, just like the fruits of your labor on the homestead.
And remember, every bite of your fudge is a celebration of your effort, talent, and culinary invention.
Your homesteader's touch makes it all the more special.
Preserving the Sweet Magic
Delving into this journey of making homemade fudge has hopefully offered valuable insights into the intricacy of the process.
For busy homesteaders who often find themselves doing "too much" during the holidays, this journey holds a key to time-saving solutions.
From the basics of creating this delicacy, adjusting it to fit your preferences, to the essential steps of cooling and cutting, each element is a testament to the beauty of this craft.
But here's the real game-changer: the final, equally critical segment deals with the art of proper freezing and storage.
The importance of these steps extends beyond merely preserving the fudge; it's about prolonging the sensory delight that each piece brings, and it's a lifesaver for homesteaders overwhelmed by holiday preparations.
Perfectly stored fudge can recreate the same overwhelming first-taste experience every time, giving you more time to enjoy the festivities.
Here's to many more delicious adventures with homemade fudge and a stress-free holiday season!
How To Freeze Food


How To Determine The Best Fruits And Vegetables To Store
Learn how to determine the best fruits and vegetables to store for winter use plus get tips on how to store them for the best results.


36 Of The Best Freezer Friendly Fruits And Vegetables
Save money on your grocery bill by knowing the best freezer friendly fruits and vegetables so you can stock up when they are on sale!
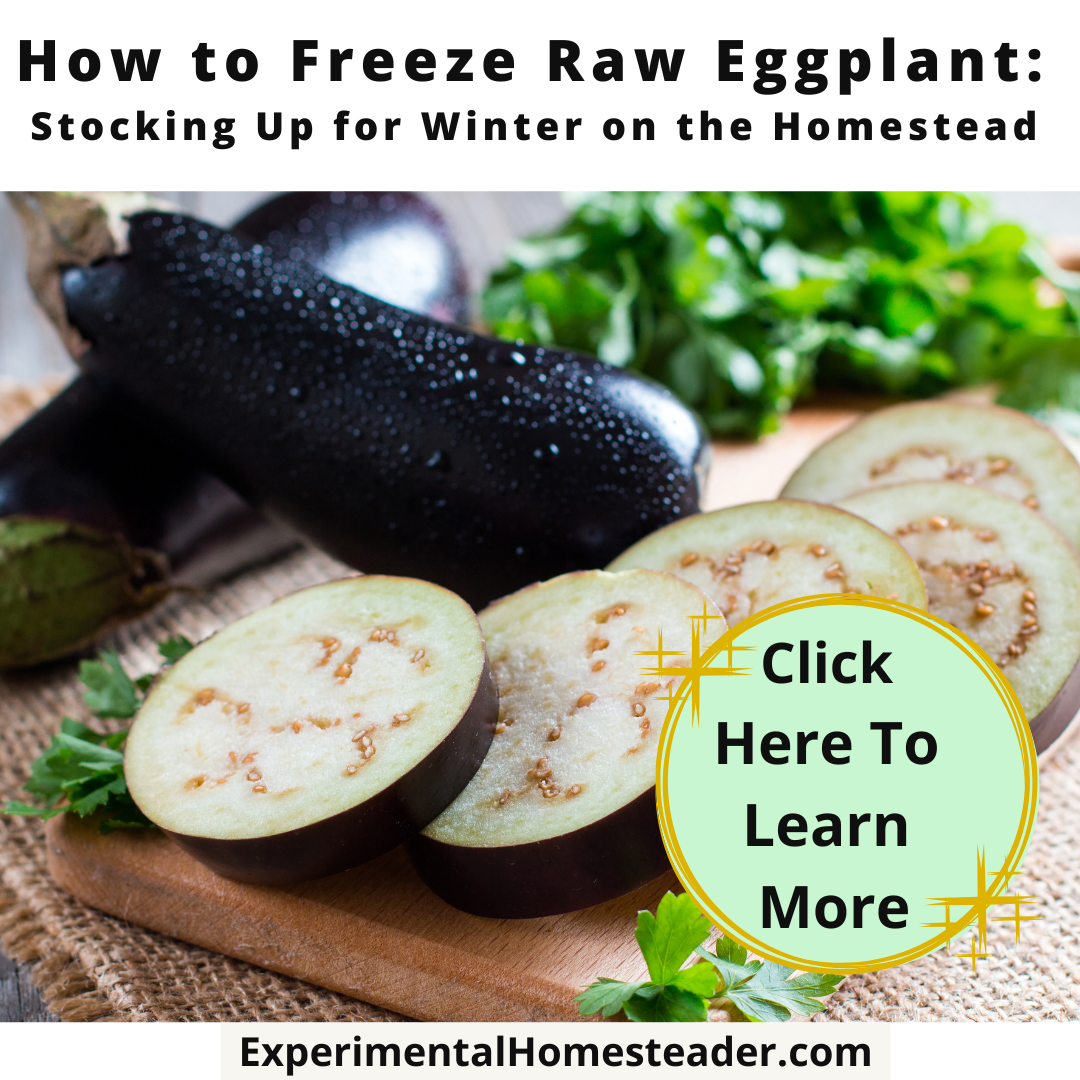

How to Freeze Raw Eggplant: Stocking Up for Winter on the Homestead
Preserve the fresh flavor and nutritional value of raw eggplant by learning how to freeze it. A game-changer for homesteaders and gardeners.


You Don’t Have to Do It All: How to Freeze One Eggplant for Beginners
Learn how to freeze one eggplant for beginners with this simple guide to start your food preservation journey today.


Can You Freeze Corn on the Cob? The Comprehensive Guide
Can you freeze corn on the cob? Discover the secrets to preserving that fresh, sweet summer flavor all year.


Preserving Citrus Fruits
Preserving citrus fruits is something you want to know how to do if you grow your own, buy in bulk or have citrus fruits given to you.

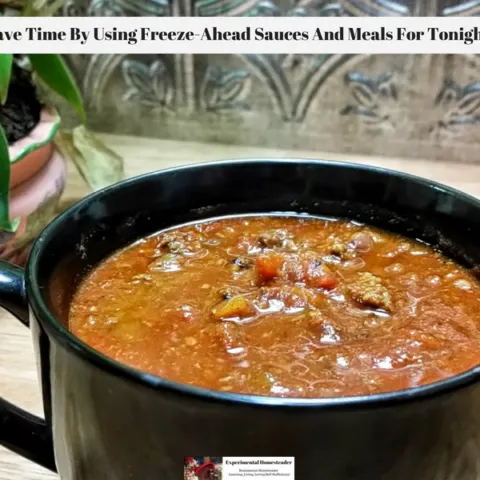
Save Time By Using Freeze-Ahead Sauces And Meals For Tonight
Save time by pre-preparing freeze-ahead sauces and meals for tonight or any night when you need something delicious and nutritious but simply don't have time to cook.


How To Make Delicious Batch Cooking Freezer Recipes
Learn how to make delicious batch cooking freezer recipes. Buying in bulk saves money. Preparing the meals ahead of time saves time.


Freezing Goats Meat
Freezing goats meat is as easy as freezing any other type of meat. If you raise goats or have a goat meat store close by this is an easy way to stock up.


How To Start Freezing Goat Milk
Freezing goat milk is the best way to preserve it for use when your goats are not in milk. Drink it fresh or use it in many goat milk recipes.

What Is The Best Method For Preserving Eggs? Find Out Now
Are you wondering how to store eggs? Learn the various techniques you can easily use at home for preserving eggs fresh from your poultry.


How To Dry And Store Homemade Noodles
Learn how to dry homemade pasta plus the best method for storing homemade noodles so they stay fresh for up to six months!

Freezer Recipe: Poached Pears In Wine Sauce
Made with Asian pears and two different types of honey wine, this poached pears in wine sauce freezer recipe is an easy way to preserve fall's bounty.


Four Factors That Affect Food Storage
Understanding the four factors that affect food storage is essential for keeping your food safe, especially if you intend to store it long term.


Canning Broccoli Is No Longer Safe But You Can Still Preserve It
Although canning broccoli was once considered safe, times have changed thus freezing, dehydrating or freee drying broccoli is recommended.


Souper Cubes: Making Freezer Meal Prep Easier Than Ever
Save time and freeze with ease - Souper Cubes is revolutionizing freezer meal prep. Learn about the amazing features of Souper Cubes now!
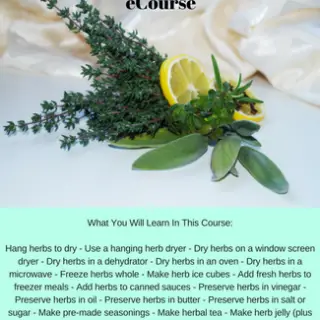
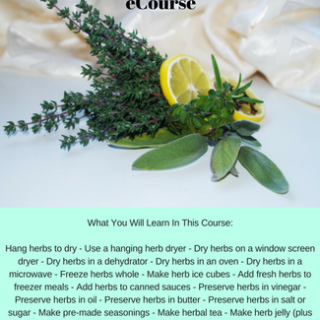
Preserving Herbs For Winter Use eCourse
Do you love fresh herbs but wonder if there is an easy way to preserve them for the winter?
Do you seek other ways to use herbs other than just as a seasoning on food?
There are so many ways to preserve herbs for winter use – from various methods of drying them to freezing them, but it doesn’t end there.
Some of the best ways to preserve herbs in right in the foods you would normally incorporate herbs into – pre-made seasonings, teas, butter or oil.
Then this is the course for you!
What You Will Learn In This Course:
Hang herbs to dry
Use a hanging herb dryer
Dry herbs on a window screen dryer
Dry herbs in a dehydrator
Dry herbs in an oven
Dry herbs in a microwave
Freeze herbs whole
Make herb ice cubes
Add fresh herbs to freezer meals
Add herbs to canned sauces
Preserve herbs in vinegar
Preserve herbs in oil
Preserve herbs in butter
Preserve herbs in salt or sugar
Make pre-made seasonings
Make herbal tea
Make herb jelly (plus tips on how to use these)


Freezing Apples Recipe
This freezing apples recipe is super simple. It is a great way to preserve the bounty of fall apples for winter use.


