These quick DIY tips for self-sufficiency empower you to save money, reduce waste, and foster independence.
Imagine transforming an old jar into a stylish planter or creating homemade cleaners that leave your home sparkling without harsh chemicals.
These simple, practical projects not only make life more sustainable but also build confidence and inspire bigger accomplishments.
Starting small—like growing herbs on your windowsill or upcycling containers for storage—can set the foundation for a more self-reliant lifestyle.
Each project helps reduce reliance on store-bought items and encourages creativity.
From making compost to repairing household items or even building raised garden beds, these DIY skills pave the way for a more resourceful and eco-friendly life.
Take one quick DIY tip and give it a try today.
With each step, you’ll grow closer to a sustainable, fulfilling way of living while gaining valuable skills along the way.

Tip 1: Start Small with Herb Gardening
Growing herbs is one of the easiest and most rewarding ways to take the first steps toward self-sufficiency.
Herbs are versatile, requiring minimal space and effort to grow, making them ideal for beginners or those with limited room.
By cultivating your own herbs, you reduce dependence on store-bought varieties, which can be costly and may lack the freshness and flavor of homegrown options.
Additionally, growing herbs allows you to have a steady supply of essential ingredients for cooking, natural remedies, or DIY projects, such as homemade teas and cleaners.
This small act of self-reliance can inspire confidence, motivate you to tackle bigger projects, and give you the satisfaction of knowing you’re taking control of your resources.
Plus, herb gardening contributes to sustainability by reducing packaging waste and the carbon footprint associated with transporting store-bought herbs.
How to Do It:
- Choose Beginner-Friendly Herbs: Start with easy-to-grow herbs like basil, mint, parsley, or chives. These thrive in small spaces and are forgiving if you miss a watering or two.
- Pick the Right Spot: Find a sunny windowsill or a well-lit corner in your home that gets at least 4-6 hours of sunlight daily. If natural light is limited, consider using a small grow light.
- Select Simple Containers: Use small pots with drainage holes or even repurposed jars with pebbles at the bottom for drainage.
- Plant and Water: Fill your container with potting soil, plant your herb seeds or starter plants, and water gently. Keep the soil moist but not soggy.
Rotate your containers occasionally to ensure even sunlight exposure, and snip leaves regularly to encourage growth.
Even a single thriving herb plant can boost your confidence and reduce reliance on store-bought options.
To stay organized with your gardening projects, check out my Garden Planning Bundle—it’s perfect for tracking garden layouts, planting schedules, and more!
Tip 2: Upcycle Jars and Containers
Repurposing everyday jars and containers is a simple and impactful way to reduce waste, save money, and add practical solutions to your home.
Instead of discarding used jars, give them a second life by transforming them into versatile storage or decor options.
Not only does this approach help minimize environmental waste, but it also encourages creativity and resourcefulness.
Think of the possibilities: an old pasta sauce jar can become a charming storage solution for pantry staples like beans or rice, while smaller jars can hold seeds or spices.
By reusing what you already have, you avoid buying new containers, reducing clutter and saving money.
Plus, this eco-friendly practice contributes to a more sustainable lifestyle by lowering your reliance on single-use packaging.
With a little creativity, those forgotten jars can become functional and beautiful additions to your home, proving that small efforts can make a big difference.
How to Do It:
- Clean and Sterilize: Start by washing your jars with warm soapy water. Rinse them thoroughly and, if you’re using them for food storage, sterilize by placing them in a pot of boiling water for 10 minutes. This step ensures your jars are clean and safe to use.
- Try These Simple Uses:
- Store Pantry Staples: Use jars to hold dry goods like flour, beans, rice, or even homemade seasoning mixes.
- Organize Small Items: Perfect for sorting buttons, screws, or other small DIY materials.
- Start Plants: Turn jars into mini greenhouses for seedlings by planting seeds and covering the top with plastic wrap poked with a few holes.
- Decorate and Label: Add a touch of creativity! Wrap twine around the necks, paint the jars, or add cute labels to keep everything neat and visually appealing.
Don’t overthink it—start with one jar and see how you can use it.
These small projects make your home more resourceful and organized, proving that self-sufficiency begins with simple changes.
Be sure to check out my favorite upcycling and organization tools that make these projects simple and fun!
Tip 3: Make DIY Cleaning Products
Eco-friendly cleaners not only reduce chemical exposure but also save money and support a healthier home environment.
Conventional cleaning products are often filled with harsh chemicals that can irritate skin, eyes, and respiratory systems, and their strong fragrances can trigger allergies.
By making your own cleaners, you control the ingredients, ensuring they’re safe for your family, pets, and even the planet.
Additionally, DIY cleaners are cost-effective since they use affordable, everyday ingredients like vinegar, baking soda, and essential oils.
This helps cut down on the frequent purchase of expensive store-bought cleaners.
Eco-friendly cleaners are also better for the environment because they reduce packaging waste and prevent harmful chemicals from entering waterways.
Taking the time to make your own cleaning products is a small but impactful step toward self-sufficiency, giving you the confidence and satisfaction of maintaining a cleaner, greener home.
How to Do It:
- Make Your Own All-Purpose Cleaner: Start with an easy mix of 1 part white vinegar to 1 part water in a reusable spray bottle. Add a teaspoon of baking soda for extra cleaning power and a few drops of your favorite essential oil (like lemon or lavender) for a pleasant scent.
- Infuse Vinegar with Lemon Peels: For an even fresher, non-toxic cleaner, save lemon peels and soak them in vinegar for 1-2 weeks. Strain the mixture and use it to clean surfaces, glass, and more.
- Customize Your Cleaners: Adjust the scent or strength of your cleaner to suit your needs. For tougher grime, mix baking soda with water to create a scrubbing paste.
DIY cleaners are not only cheaper but also healthier for your home and the planet.
Plus, using reusable bottles reduces waste and keeps your kitchen eco-friendly.
Ready to make cleaning even easier?
Check out my favorite sustainable kitchen gadgets, including reusable spray bottles and eco-friendly accessories!
Related Blog Posts to Explore:
Tip 4: Repair Don’t Replace
Learning to repair items not only extends their life but also significantly reduces waste, saving you money and benefiting the environment.
Instead of throwing away clothes with small tears, furniture with loose joints, or appliances that stop working, simple repairs can breathe new life into these items.
This reduces the volume of waste sent to landfills and lessens the demand for new products, which require energy and resources to produce.
Repairing also promotes a more self-reliant and sustainable mindset, empowering you to take control of your belongings rather than relying on replacements.
It’s a skill that grows with practice—starting with small fixes like sewing a button or patching a hole in a shirt can eventually lead to tackling larger household repairs.
The sense of accomplishment from restoring something yourself is incredibly rewarding, and every successful repair contributes to a more sustainable and resourceful lifestyle.
How to Do It:
- Start Small: Begin with easy repairs like sewing a loose button onto a shirt or patching a small hole in your favorite pair of jeans. These are quick fixes that don’t require special tools or skills.
- Get Guidance: Don’t know where to start? Look for online tutorials or videos that walk you through basic household repairs step by step. There are guides for everything from fixing a leaky faucet to repairing a wobbly chair.
- Build Confidence: As you complete simple projects, you’ll gain the confidence to take on bigger tasks over time.
Every repair you make is a win for your wallet, helping you avoid costly replacements, and a win for the planet, keeping items out of landfills.
Small efforts like these can lead to big changes in how you manage your home.
Keep track of your repair projects and plan your next DIY goals with my Homestead Planning Binder—the perfect tool for staying organized and resourceful!
Tip 5: Preserve the Harvest
Food preservation is a valuable skill that allows you to enjoy your harvest year-round while significantly reducing waste.
By preserving fresh fruits, vegetables, and herbs at their peak, you capture their flavor, nutrients, and quality for later use.
This means no more watching your garden produce go to waste because you can’t eat it all in time.
Instead, you can enjoy summer’s ripe tomatoes in winter soups or your fall apple harvest in spring desserts.
Preserving food also gives you a sense of security and independence.
Knowing you have a pantry stocked with home-preserved goods can reduce your reliance on store-bought items, which are often more expensive and filled with preservatives.
There are many beginner-friendly methods, like freezing, dehydrating, or water bath canning, that allow you to start small and grow your skills.
Whether it’s turning fresh berries into jam, freezing extra zucchini, or drying herbs, food preservation helps stretch your harvest, save money, and reduce food waste, making it a key part of sustainable living.
How to Do It:
- Start Simple with Water Bath Canning: Water bath canning is one of the easiest ways to preserve food and perfect for beginners. Try beginner-friendly recipes like jams or pickles, and use my downloadable canning labels (free when you sign up for our email newsletter) to give your jars a personalized touch—they’re both practical and stylish! All you need is a large pot, jars, and some basic ingredients.
- Freeze Your Surplus: Have extra veggies or fruits? Freezing is super easy and requires no special equipment beyond freezer bags or containers. Just wash, chop, and store! You can even blanch veggies like green beans or broccoli first to keep them fresh-tasting. For easy organization, my Food Preservation Binder can help you keep track of your frozen goods and other preserved foods so nothing goes to waste.
- Dehydrate Herbs for Year-Round Flavor: If you’ve got an herb garden, drying your own herbs is simple. Tie small bunches together and hang them in a dry, airy spot, or use a dehydrator. Crumble them into jars for homemade seasoning blends. If you’re just starting to grow your own herbs and veggies, check out these beginner-friendly seed starter kits I love—they make it so easy to grow your first garden!
You don’t need fancy tools or years of experience to start preserving food.
Begin with just one small project—like freezing a bag of berries or canning a batch of jam—and you’ll see how easy and rewarding it is.
Before you know it, you’ll have a pantry full of homemade goodies to enjoy all year!
Tip 6: Build Raised Garden Beds
Raised beds are easier to maintain and can significantly improve plant health, making them a favorite choice for both beginner and experienced gardeners.
With raised beds, you can control the quality of the soil, ensuring it’s rich in nutrients and free from weeds or pests that might lurk in the ground.
The elevated design also improves drainage, preventing water from pooling around your plants' roots, which reduces the risk of rot and other water-related issues.
Additionally, because the soil in raised beds warms up faster in the spring, you can start planting earlier in the season, giving your crops a head start.
Maintenance is also much simpler with raised beds.
Their defined borders keep weeds at bay, and their height makes gardening tasks like planting, weeding, and harvesting less strenuous on your back and knees.
This makes raised beds especially beneficial for gardeners with mobility challenges or those who want to reduce physical strain.
Another advantage is better pest control.
You can easily add barriers like netting or covers to protect your plants from animals or insects.
Raised beds also allow for creative solutions, such as using salvaged materials for construction, making them an eco-friendly and budget-friendly gardening option.
Overall, raised beds provide a controlled environment where plants can thrive, making gardening more productive and enjoyable.
Whether you’re growing vegetables, flowers, or herbs, raised beds offer a practical and effective way to maximize your garden’s potential.
How to Do It:
- Choose Your Materials: You don’t need fancy supplies to build a raised bed. Look around for items you already have, like salvaged wood, cinder blocks, or even large containers. Raised beds can be as simple or creative as you want!
- Build Your Bed: Arrange your chosen materials into a rectangle or square on level ground. Make the bed at least 6-12 inches deep to give plants plenty of room to grow.
- Fill with Nutrient-Rich Soil: Add a mix of quality garden soil and compost to create the perfect growing environment for your plants. If you don’t have compost yet, bagged options work just fine to get started.
- Start Planting: Choose easy-to-grow crops like lettuce, radishes, or herbs to build your confidence and enjoy quick results.
Building a raised bed is a fun, beginner-friendly project that makes gardening more accessible and manageable.
It keeps weeds at bay, improves drainage, and provides a designated space for your plants to thrive.
Plus, there’s nothing more rewarding than harvesting your first homegrown veggies!
Need the right tools to make your gardening experience easier? Check out my favorite must-have garden tools—perfect for planting, maintaining, and enjoying your raised bed garden!
Tip 7: Make Compost
Composting enriches soil and reduces food and yard waste, making it one of the most impactful and eco-friendly practices for gardeners and homesteaders.
By turning kitchen scraps, yard clippings, and other organic materials into nutrient-rich compost, you create a natural fertilizer that improves soil structure, boosts plant health, and increases water retention.
Composting not only reduces the need for chemical fertilizers but also diverts organic waste from landfills, where it would otherwise contribute to harmful greenhouse gas emissions.
It’s a simple way to close the loop in your household’s waste cycle.
Instead of throwing away fruit peels, coffee grounds, eggshells, or grass clippings, you can repurpose them into "black gold" that revitalizes your garden.
Compost adds essential nutrients back into the soil, creating a healthy foundation for growing fruits, vegetables, and flowers.
It also fosters beneficial microorganisms that improve soil health and help plants thrive.
For beginners, composting can start small with a simple bin or pile in the backyard.
As you learn what materials work best—such as combining "greens" like kitchen scraps with "browns" like dried leaves—you’ll find it easy to maintain.
Over time, composting becomes a rewarding habit that not only saves money on soil amendments but also contributes to a more sustainable, waste-free lifestyle.
How to Do It:
- Start Small: Find a spot in your backyard or use a compost bin to contain your pile. Don’t worry—composting doesn’t have to be messy or complicated!
- Combine Greens and Browns: Add "greens," like fruit peels, vegetable scraps, and coffee grounds, for nitrogen. Mix them with "browns," such as dried leaves, grass clippings, or shredded paper, for carbon. A good balance keeps your compost healthy and odor-free.
- Turn It Regularly: Stir or turn your compost every week or two with a pitchfork or shovel. This adds oxygen, which helps the materials break down faster.
- Be Patient: Composting takes time, but you’ll soon notice it transforming into rich, dark, earthy soil perfect for your garden.
Don’t be intimidated—composting is a simple, low-maintenance way to turn kitchen waste into a valuable garden resource.
Every banana peel or handful of leaves you add is a step toward healthier plants and a more sustainable lifestyle!
Want an easy way to get started?
Check out my favorite composting systems in my must-have garden tools list on Amazon —perfect for beginners looking to make nutrient-rich compost with minimal effort!
Tip 8: Create a DIY Solar Oven
Harnessing solar energy is both cost-effective and eco-friendly, making it an excellent choice for anyone looking to live more sustainably while reducing utility expenses.
Solar energy taps into the power of the sun, a renewable resource that’s available to everyone.
By utilizing solar energy, you can lower your reliance on traditional energy sources, which often rely on fossil fuels and contribute to pollution and greenhouse gas emissions.
The cost savings over time are significant as well.
Once you’ve invested in a solar solution—whether it’s a solar oven, panels, or small solar-powered devices—you can enjoy free energy without worrying about rising electricity bills.
For example, a simple DIY solar oven allows you to cook or dehydrate food using only sunlight, saving energy and money.
Additionally, solar energy systems are incredibly versatile and scalable.
You can start small, such as with a solar-powered phone charger or garden lights, and gradually expand to larger systems like powering your home or irrigation setup.
It’s also a great way to develop self-sufficiency since solar systems can operate off-grid, providing reliable energy during power outages or in remote locations.
By choosing solar energy, you’re making a positive impact on the environment while gaining independence from traditional energy systems.
It’s a sustainable step toward a greener, more resource-efficient future.
How to Do It:
- Build Your Solar Oven: You can create a simple solar oven using items you likely already have at home—grab a cardboard box, line the inside with aluminum foil to reflect sunlight, and cover the top with plastic wrap to trap heat. It’s a quick and fun DIY project that’s perfect for sunny days. For step-by-step instructions, check out my detailed blog post: How to Make a Solar Oven.
- Experiment with Solar Cooking: Once your oven is ready, try dehydrating fruit, baking cookies, or even cooking small meals. Solar cooking is not only sustainable but also a great way to explore renewable energy. If you need inspiration, I’ve got a blog post filled with Easy Desserts for Solar Cooking to get you started!
- Explore Advanced Options: Ready to take it to the next level? Watch my YouTube video on the Total SurvivalPortable Solar Cooker or see how I cooked carrot sticks in the Sunflair Portable Solar Oven. These products are beginner-friendly and perfect for anyone curious about solar cooking!
Solar cooking is an exciting and eco-friendly way to embrace renewable energy.
Want to See Solar Cooking in Action?
Curious about how a portable solar cooker works?
Watch my video below, where I demonstrate the Total Survival Portable Solar Cooker for the very first time.
I’ll show you how I used it to boil and sterilize water—a crucial skill for emergencies or sustainable living.
As a beginner, I found that solar cooking takes time and practice to perfect, but it’s an incredibly rewarding skill to learn.
Whether you’re a homesteader, prepper, or just curious about renewable energy, this tool is a fantastic starting point.
Click play to join me on my solar cooking journey and see how easy it is to get started:
A Learning Experience with Solar Cooking
In my second solar cooking experiment, I decided to try making carrots in the Sunflair Portable Solar Oven.
While the process was exciting, I quickly realized that solar cooking isn’t just about setting up the oven—it’s also about timing and weather conditions.
Although the carrots began to cook in the solar oven, I brought them inside to finish because they needed a little more time than I anticipated.
Solar cooking is a skill that takes patience and practice, and I’m learning as I go!
If you’re new to solar cooking, don’t be discouraged if everything doesn’t go perfectly the first time.
Each attempt teaches you something new about how to optimize your setup and adjust for the sun’s intensity.
Check out the video below to see how the carrots turned out!
Want to skip the DIY and dive straight into solar cooking?
Check out the Portable Solar Cooker or the Sunflair Portable Solar Oven—perfect for boiling water, sterilizing, and cooking delicious meals with just the power of the sun!
Tip 9: Harvest Rainwater
Collecting rainwater is a simple yet highly effective way to conserve natural resources, lower your water bill, and promote sustainability.
By capturing rainwater, you can take advantage of a free and renewable resource that would otherwise go to waste as runoff.
This practice is particularly useful during dry seasons or in areas where water usage restrictions are in place, as it provides an alternative supply for non-potable uses like gardening, cleaning, or even flushing toilets.
Using rainwater helps reduce the strain on municipal water systems and groundwater supplies, which is especially important in regions experiencing drought or water scarcity.
It’s also better for your plants and soil, as rainwater is free from the chemicals and additives often found in tap water.
Your garden will thrive with the added benefit of nature’s pure hydration!
Additionally, collecting rainwater is a cost-effective solution.
By installing a simple rain barrel system under a downspout, you can significantly cut down on water usage, translating to noticeable savings on your water bill over time.
For those looking to take it a step further, larger rainwater harvesting systems can store enough water to supply various household needs.
Overall, rainwater harvesting is an accessible, eco-friendly practice that supports self-sufficiency and helps you make the most of what nature provides.
How to Do It:
- Set Up a Rain Barrel: Start with a simple rain barrel system. Place the barrel under a downspout to collect rainwater from your roof. Many barrels come with spigots, so you can easily attach a hose or fill a watering can. If you’re unsure how to set it up, don’t worry—it’s quick and requires minimal tools.
- Put Your Water to Work: Use the collected rainwater to hydrate your garden, clean outdoor tools, or even rinse off muddy boots. It’s a great way to make every drop count without using tap water.
- Keep It Simple: To prevent debris from entering your barrel, add a mesh screen over the opening. This keeps the water clean and discourages mosquitoes from breeding.
Rainwater harvesting is one of the easiest ways to start living sustainably.
It’s affordable, eco-friendly, and a fantastic step toward self-sufficiency.
Every little bit you collect helps conserve resources and reduces your water bill!
Want more guidance?
My Rainwater Harvesting Basics Guide walks you through everything you need to know to get started, from setup to usage tips.
It’s perfect for beginners looking to dive into sustainable living!
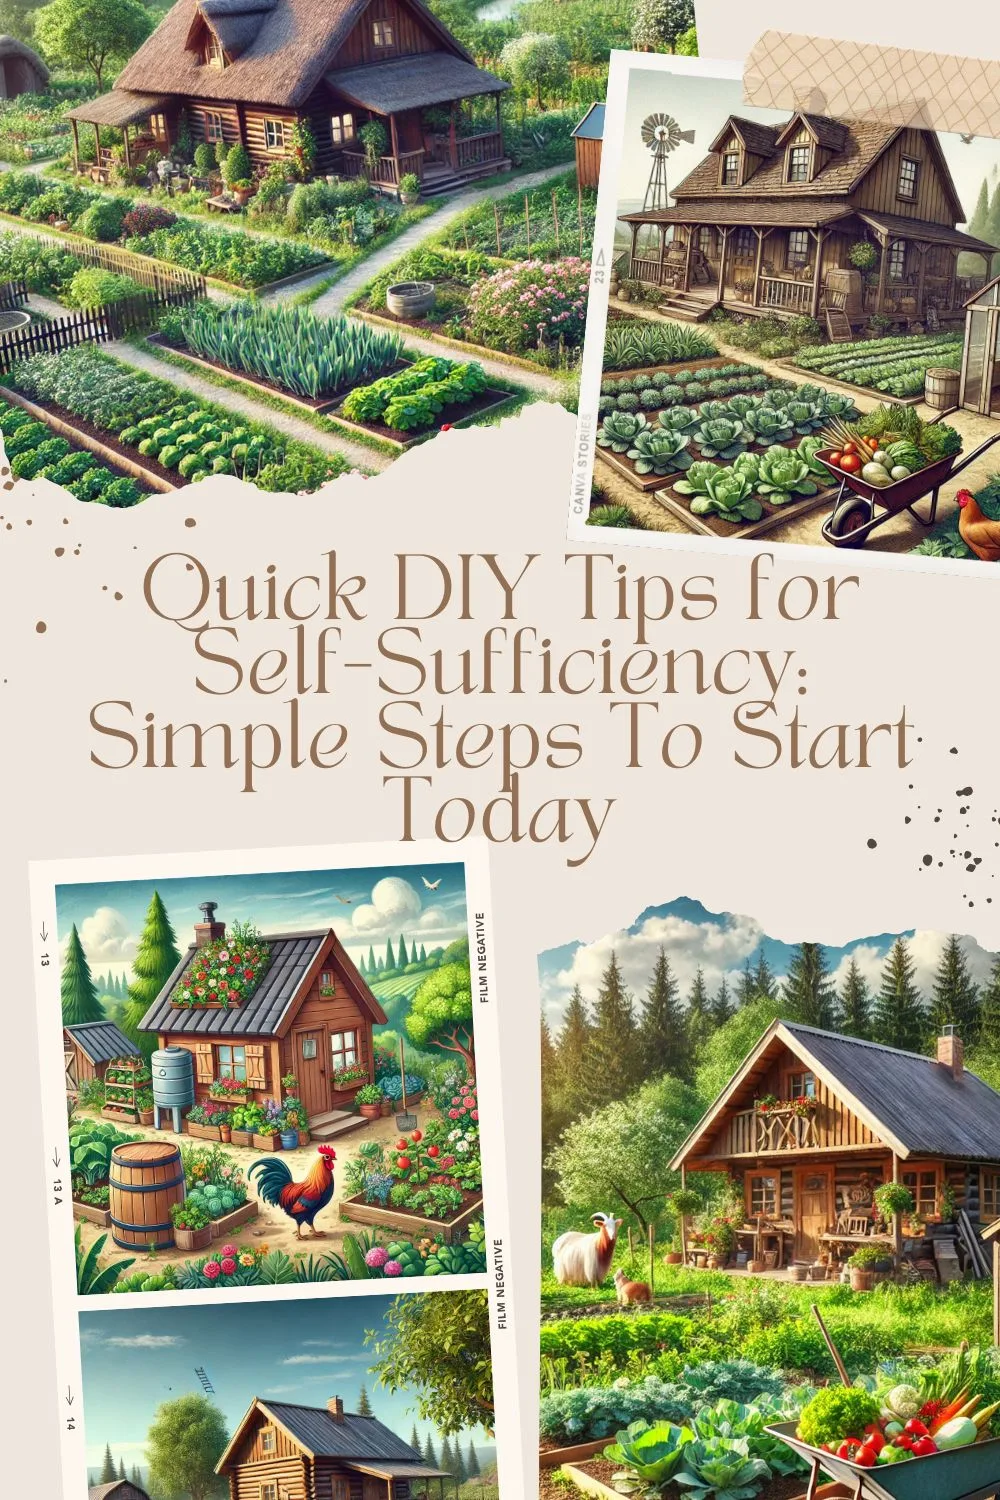
Small Steps Lead to Big Changes
Achieving self-sufficiency doesn’t happen overnight, but it begins with small, meaningful DIY projects like the ones we’ve shared.
Starting an herb garden, building a compost pile, or upcycling jars might seem simple, but these steps lay the foundation for a more independent and sustainable lifestyle.
Each project you take on builds your confidence, teaches you valuable skills, and makes you more resourceful.
Remember, the key is progress, not perfection.
Choose one tip to try today—whether it’s preserving food, growing your first plant, or experimenting with solar energy—and see how it fits into your journey.
Over time, these small changes add up, leading to a life that’s not only more self-reliant but also deeply fulfilling.
We’d love to hear from you!
What’s your favorite DIY project for self-sufficiency?
Share it in the comments below and inspire others to take their first steps.
Don’t stop here—explore more ways to embrace sustainable living in Thriving Through Self-Sufficiency: A Journey to a Balanced Life.
It’s packed with insights and ideas to help you grow your skills even further.
Homestead Lifestyle
Discover the joys and challenges of homesteading with our Homestead Lifestyle collection of posts. From growing your own food and raising animals to crafting DIY solutions and embracing sustainable living, these articles provide practical tips, inspiration, and insights to help you build a more self-reliant life. Whether you're starting small in your backyard or managing a larger homestead, you'll find everything you need to simplify, thrive, and reconnect with nature. Explore topics like gardening, food preservation, animal husbandry, and more to create a homestead lifestyle that works for you.
Cooking By Kerosene Lamp
There are many reasons you might find yourself cooking by kerosene lamp. Kerosene lamps have advantages over candles.
Homesteading Recipe Sharing: Connect, Preserve, and Inspire Through Your Favorite Recipes
Explore the significance of homesteading recipe sharing: from preserving traditions to connecting with others and sparking new ideas.
Diligence & Your First Homestead Property: An Essential Guide
Make your first homestead property a reality. Learn why diligence and a personal visit to the property are the foundations of success
Sow, Grow, and Glow: The Journey of a 1 Acre Self Sustaining Homestead
Create a thriving, 1 acre self sustaining homestead. Learn how to plan, design, grow food, and more with this guide!
Make Your Own Maple Syrup with the Maple Tapping Tree Kit
Discover the joy of maple tapping with the Maple Tapping Tree Kit. Elevate your homesteading with this practical kit.
Mastering the Art of Homesteading: Skills and Crafts
Explore the world of homesteading skills and crafts, from self-sufficiency to survival, and discover the art of self-reliant living.
DIY Guide: Building Your Goat Milk Stand
This guide will ensure you create a functional and comfortable milking platform for your goats.
Homestead Chicken Coop Tips
Check out these basic chicken coop ideas to help you get your homestead chicken coop set up right the first time and keep your chickens safe. #homesteadchickencoop #chickencoop #chickencoopideas #backyardchickens
From Dream to Reality: Start a Homestead with Zero Funds
Start a homestead with zero funds! Discover practical strategies for a budget-friendly, self-reliant lifestyle.
8 Things To Consider For A Survival Homesteading Property
If you're considering a survival homesteading property, here are the 8 factors to help you determine if it's right for your household.
Thriving Through Self-Sufficiency: A Journey to a Balanced Life
Learn how to thrive through self-sufficiency: slow down, live intentionally, and find balance for a healthier and more sustainable lifestyle.
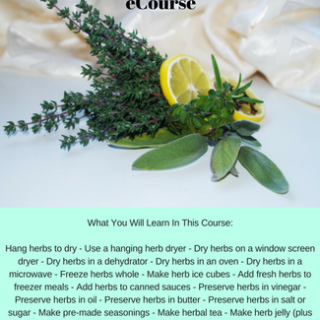
Preserving Herbs For Winter Use eCourse
Do you love fresh herbs but wonder if there is an easy way to preserve them for the winter?
Do you seek other ways to use herbs other than just as a seasoning on food?
There are so many ways to preserve herbs for winter use – from various methods of drying them to freezing them, but it doesn’t end there.
Some of the best ways to preserve herbs in right in the foods you would normally incorporate herbs into – pre-made seasonings, teas, butter or oil.
Then this is the course for you!
What You Will Learn In This Course:
Hang herbs to dry
Use a hanging herb dryer
Dry herbs on a window screen dryer
Dry herbs in a dehydrator
Dry herbs in an oven
Dry herbs in a microwave
Freeze herbs whole
Make herb ice cubes
Add fresh herbs to freezer meals
Add herbs to canned sauces
Preserve herbs in vinegar
Preserve herbs in oil
Preserve herbs in butter
Preserve herbs in salt or sugar
Make pre-made seasonings
Make herbal tea
Make herb jelly (plus tips on how to use these)
Harley-Davidson Motorcycle History How Legendary Harley Motorcycles Originated & Developed, Since 1903
The Harley-Davidson Company has a long history here in the United States. Learn how they originated and how they have been used.


