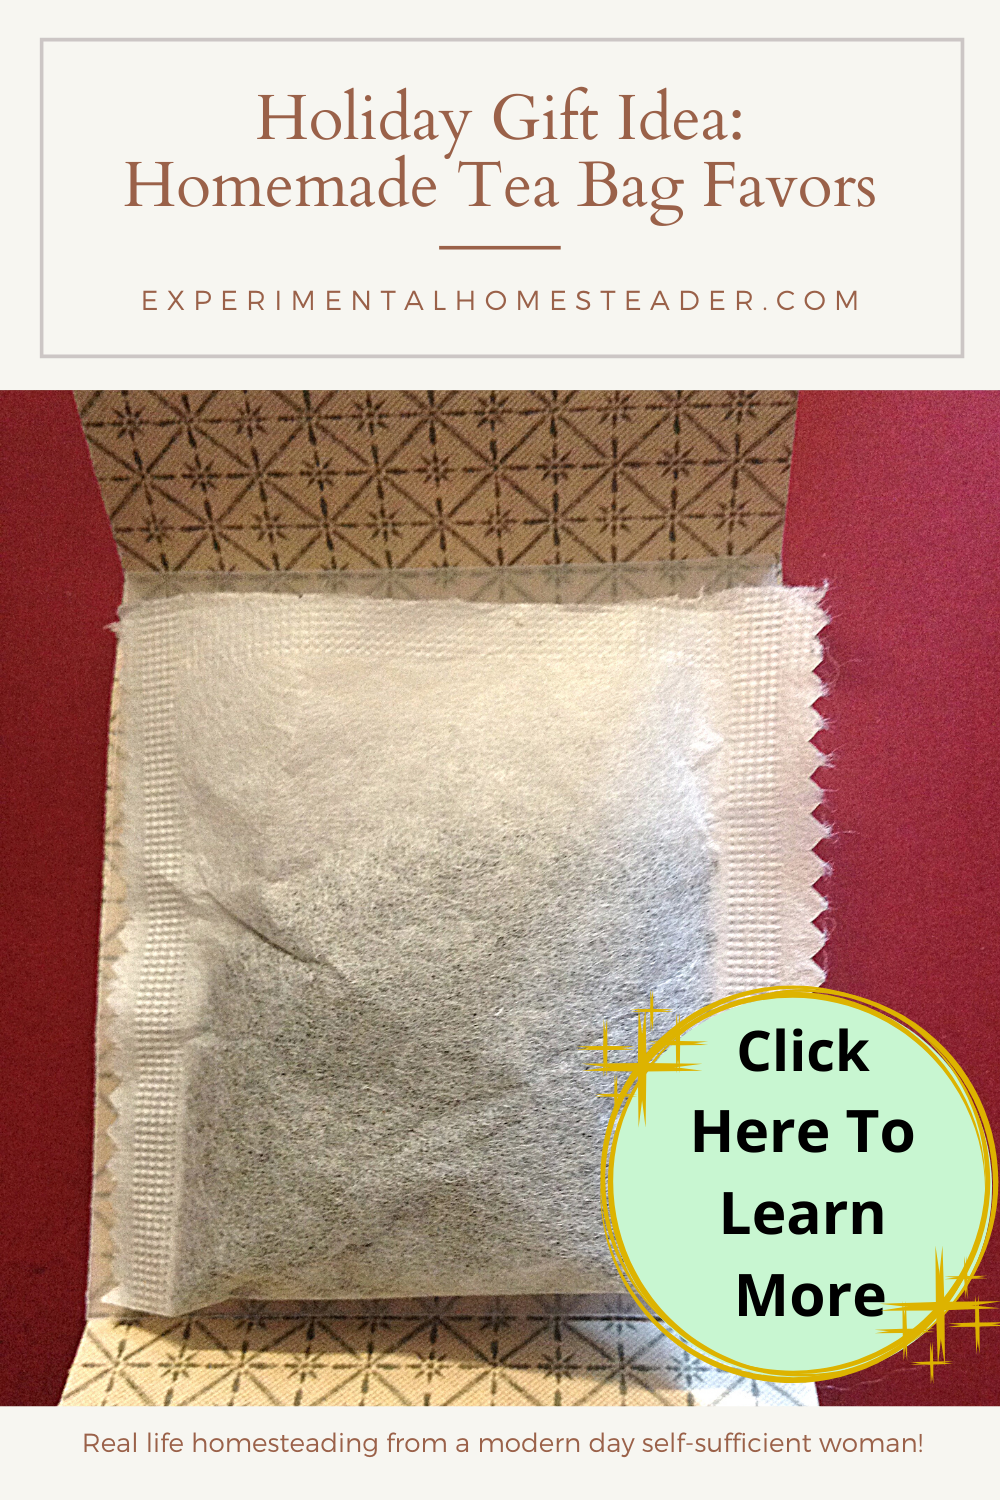
Holiday Gift Idea: Homemade Tea Bag Favors
These homemade tea bag favors are the perfect way to create a super easy DIY gift idea or special treat for yourself.

There is no better way to share your love of the garden than to give gifts made from products that you grew in that garden for the holidays.
Dried flowers, herbs, barks and berries combine beautifully to create a variety of unique teas sure to satisfy the taste buds.
Recipes are everywhere, but why not create your own unique blends using equal parts of some of your favorite flavor combinations?
Find out the simple steps to make tea bag favors right at home and get some ideas on what to put inside them.
Homemade Tea Bag Favors
I really like these environmentally friendly favors.
Some of my favorite combinations are spearmint and chocolate mint; passionfruit, spearmint and raspberry leaves; raspberry leaves and spearmint and - my very favorite - rose scented geranium, lemon balm, black stem peppermint and pineapple sage.
I usually use equal parts of each ingredient but that is not a hard-and-fast rule.
You can use the ingredients in any amounts you prefer.
Taste test your combinations, keep accurate notes and see what you prefer.
You can also share teas such as Matcha Green Tea or even the Organic Black Matcha Tea with others who might not buy a whole container, but would like to try it out.
How To Make Tea Bag Favors
Once you know what ingredients you are going to combine, go ahead and grind the dried leaves up.
Put them into a canning jar with a lid.
For those who prefer not to make their own tea, you can buy pre-made tea bags that will work with the tea bag favors or buy pre-combined tea leaves and scoop them into your own bags.
The next step is to create the outer shell of the tea bag favor.
All you need is paper and glue.
You can be as creative as you want and add ribbons, glitter, whatever suits your fancy.
Here is how I created mine.

Homemade Tea Bag Favors
Materials
- Scrapbook paper
- Glue
- Glitter
- Ribbons
Tools
- Scissors
- Die Cutting Machine (Cuttlebug, etc.)
- Dies (for the machine)
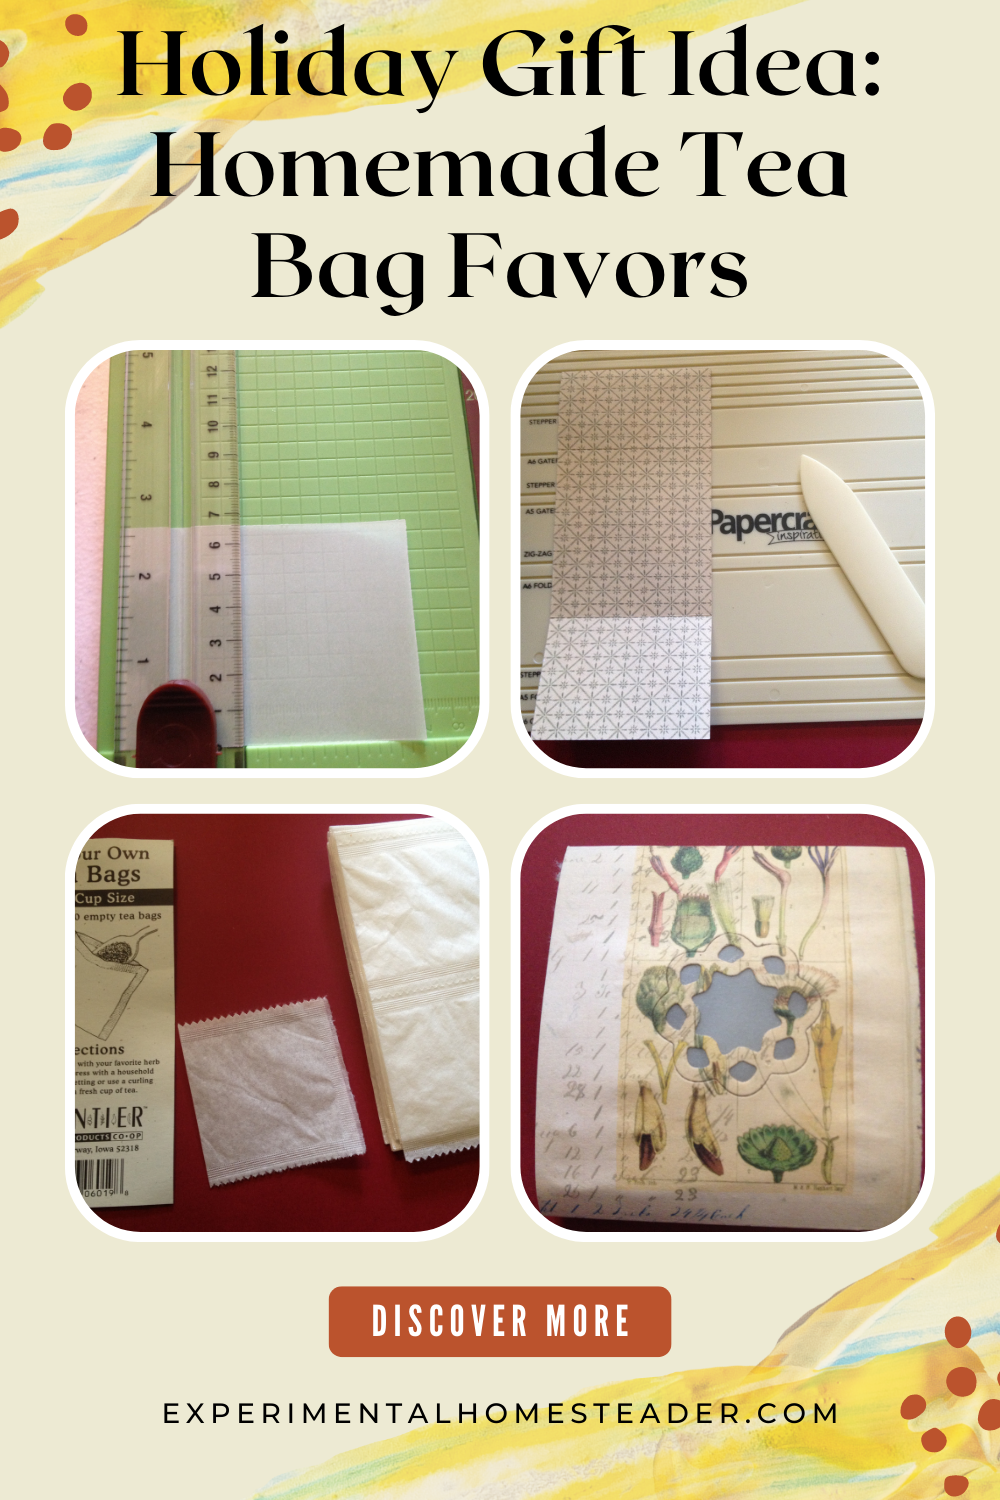
Instructions
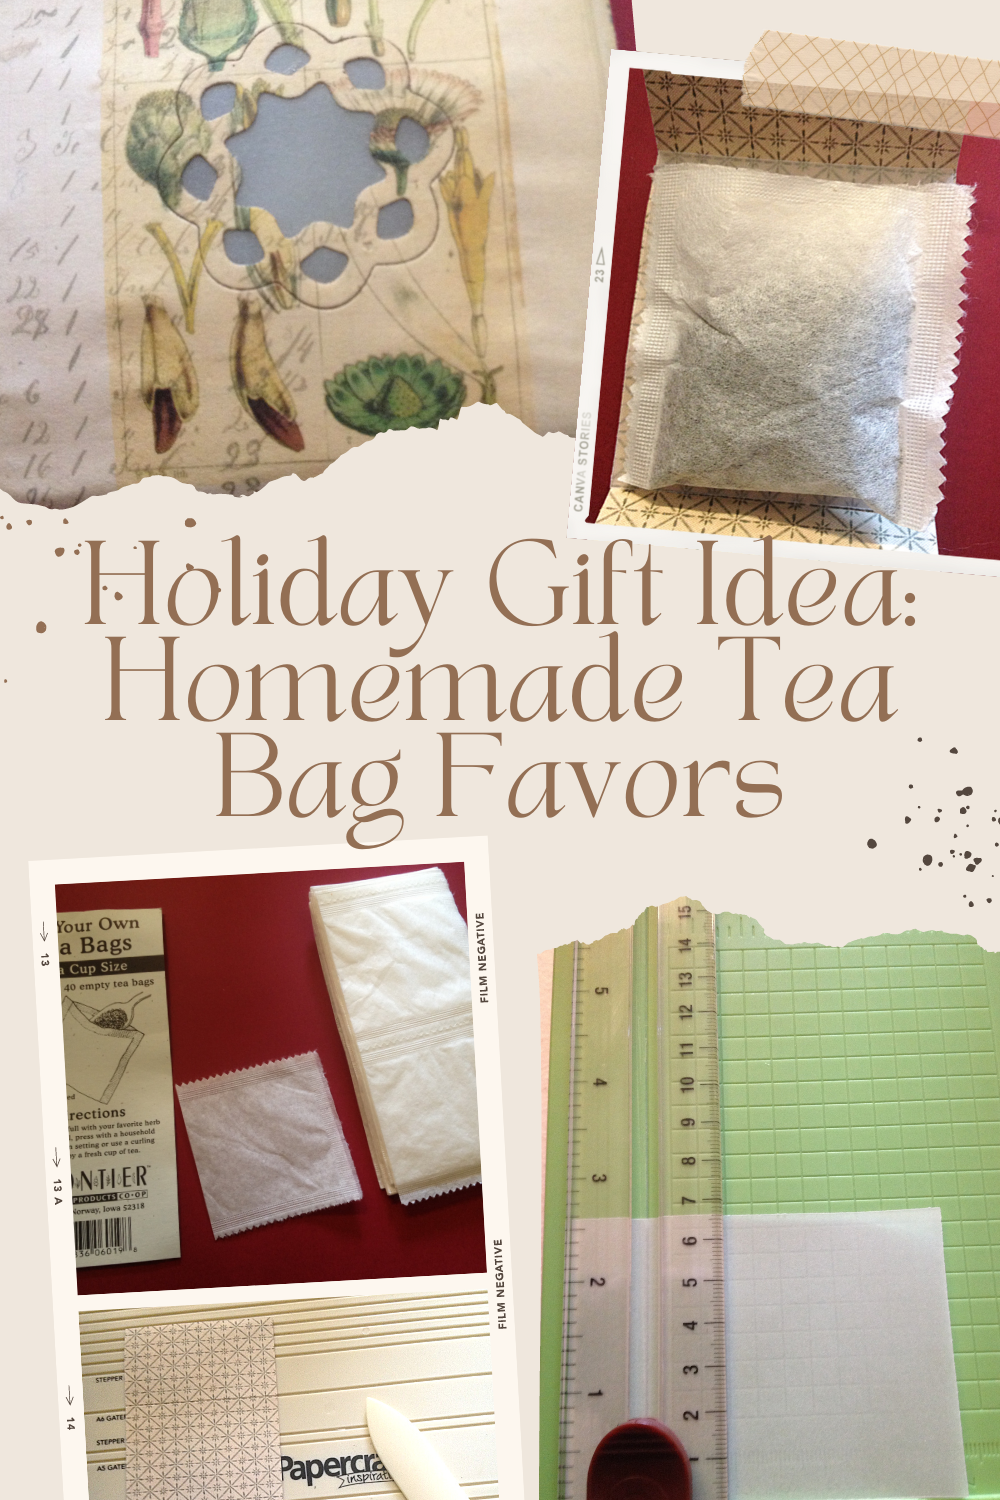
- First, I chose my paper and cut it down to size using my handy Cricut paper cutter. This way all the edges were perfectly straight. I chose to cut all the paper to size first.
- Once the paper was cut, I need to create folds at the top and bottom of the paper that would go on the outside of the tea bag.
- To make sure I chose the right places to fold, I laid the tea bag inside the paper where I wanted it to lay when I was finished.
- My paper was marked inside too, so that made it easy to use my finger on one side to mark the spot where the crease would go.
- Once the creases were made, I folded the paper and made sure the tea bag would fit before I moved on to the next step.
- Next I wanted to create an opening in the middle of the paper so the tea inside the tea bag was visible. To do this, I used a Spellbinder die in my Cuttlebug machine. This particular die created a large opening and a lacy stand alone piece.
- I knew right away that I wanted that piece added back to the front of the tea bag for the overall effect.
- I turned the paper over and glued a piece of vellum paper to the inside of the tea bag favor. Then I turned it right side up and glued the cut-out lacy piece back in place making sure the markings on the paper all lined up. I then set the entire piece aside and allowed it to completely dry.
- During this time, I filled and sealed the tea bag.
- Once the glue was dry, I put the tea bag inside and folded the bottom flap up, then folded the top flap down.
- I chose a butterfly sticker that looked good with the paper to secure the flaps. You could use a sticker, ribbon, tape or whatever you wanted as long as the flaps remained closed. I found that my tea bag favor held the tea bag tight enough that I did not need anything on the sides of the favor to keep the tea bag from falling out.
- This may not always be the case, so be sure to turn your tea bag favor from side-to-side to make sure you do not lose your tea bag.
How To Create Storage For Your Tea Bag Favor
Storing tea isn't hard at all and it doesn't really go bad, however it can loose its strength over time.
When storing tea, separate strong smelling teas from more delicate teas and store each type in its own airtight container.
Never store tea in a humid area because it could absorb the moisture and go bad.
The best place to store tea is in a cool, dark, dry place such as a pantry or cupboard.
For those who want a fancier way to store their tea, there are many types of tea storage containers from clear plastic ones to fancier wood ones.
Personally I recommend the wood ones because they will allow less light to get to your tea.
Ways To Use Or Give Tea Bag Favors
There are so many ways to use or give these homemade tea bag favors.
I think that these would be a great homemade Christmas gift, a fun housewarming gift, or great environmentally friendly wedding favors as well!
These also work great for afternoon teas, selling at craft bazaars or taking to your local garden club meeting.
After all, it is easy to make an herbal tea in 20 minutes or less.
Another great idea, if you subscribe to a subscription box such as the Simple Loose Leaf Tea Monthly Gift Box, you can use those herbal tea blends in these cute tea bag favors.

Simple Homesteading Tips for Tea Bag Favors
Living on a homestead often means growing a variety of plants that tea can be made from.
Camellia, raspberry and of course, herbs.
One of my favorite herbal teas this lemon balm and lavender herbal tea recipe.
If you don't already, try making some of your own herbal tea blends, then using them in your tea bag favors.
This is a great way to give a unique gift and share your homesteading journey with others.
Have fun with this project and do feel free to share photos of your homemade tea bag favors.
I would love to see them!
Unique Gift Ideas

Product Review: Custom Photo Blanket
Have you ever thought about creating a custom photo blanket? Then be sure to check out this collage.com blanket review.