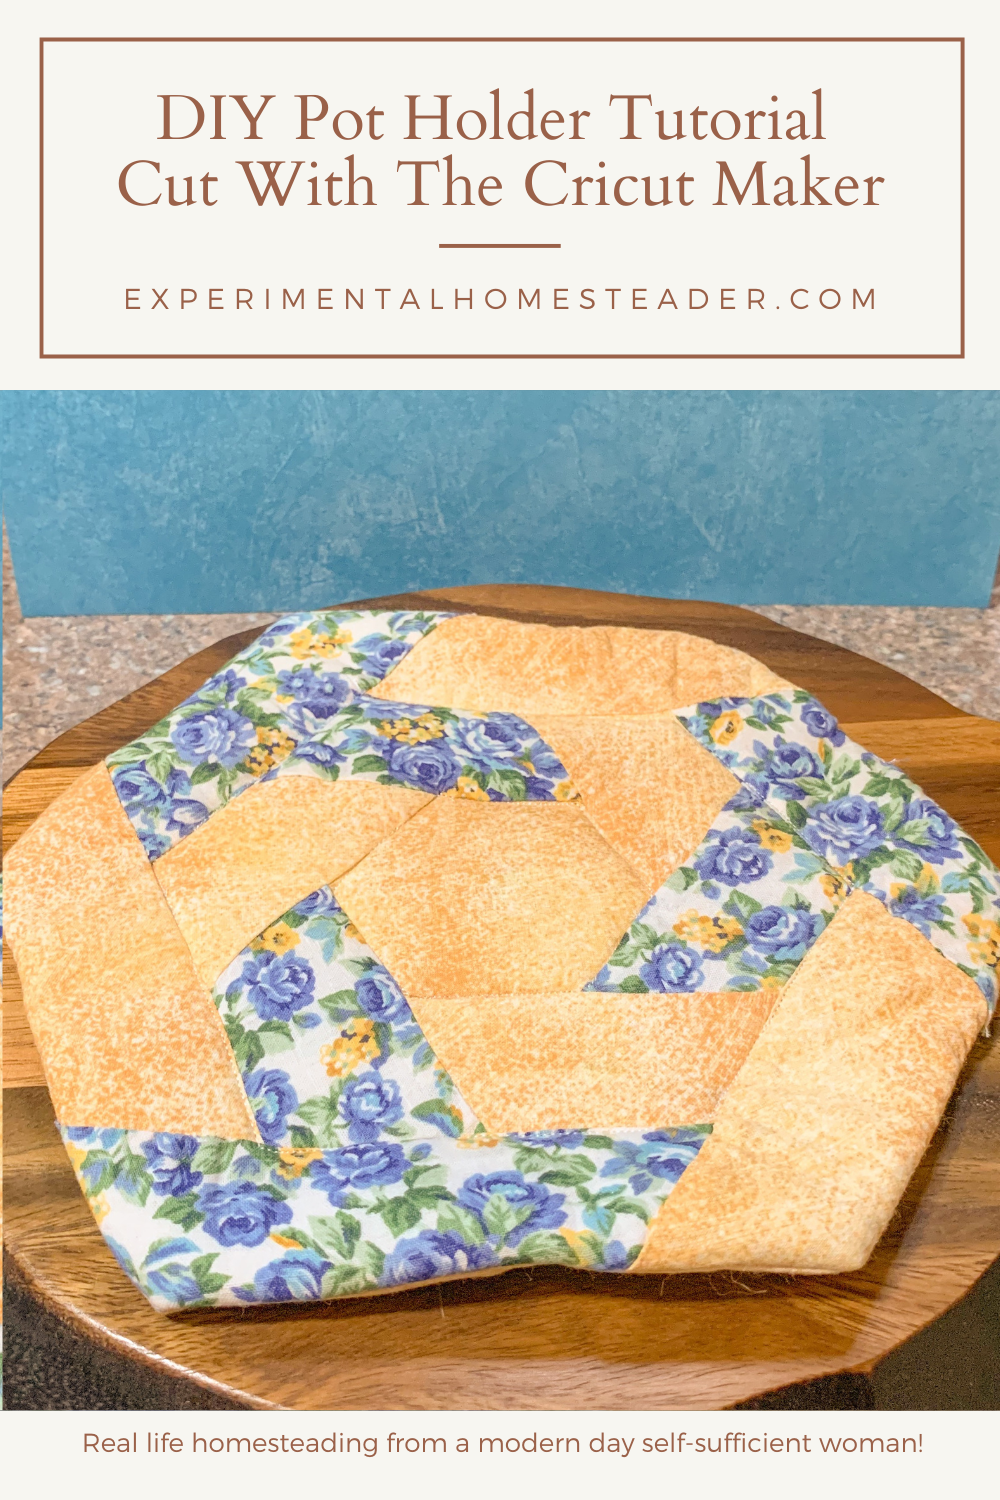
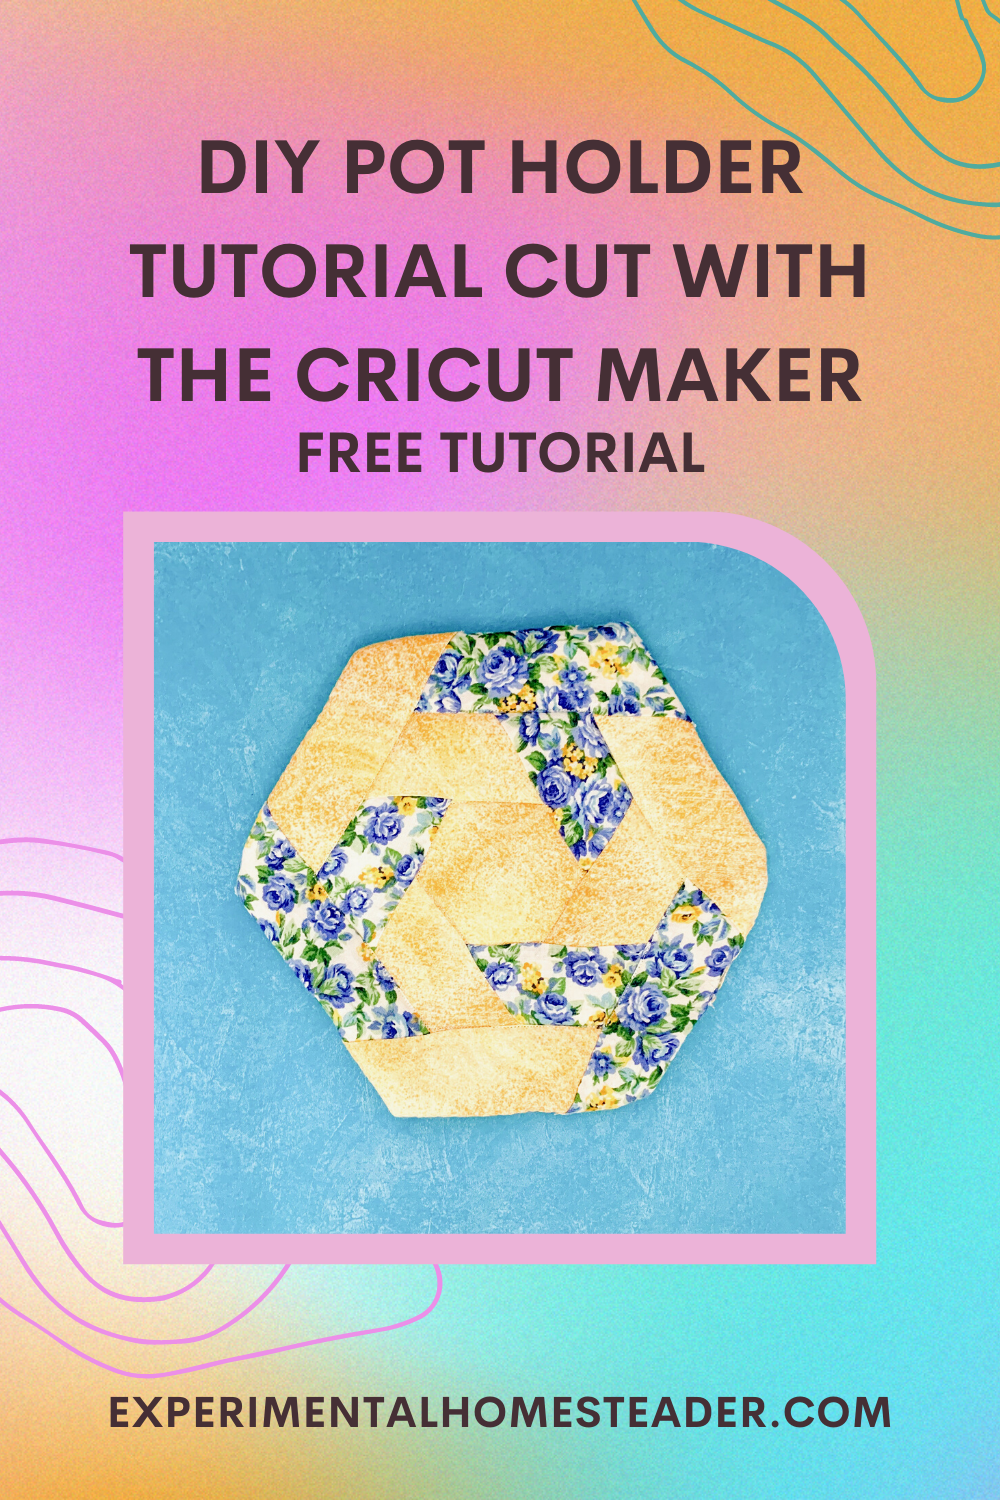
DIY Pot Holder Tutorial Cut With The Cricut Maker
To make this DIY pot holder, I started with a project that was designed for the Cricut Maker and came free as part of my Cricut Access membership.

To find this project, simply sign in to your Cricut account and go to the projects that are free for the Cricut Maker.
Once you are there, look for the Quilted Hexagon Pot Holder.
Why I Am Sharing This DIY Pot Holder Tutorial
Now you might wonder, if this is a project already on the Cricut site why I am sharing it.
The reason is because it was really easy to make and it is something useful.
It is a great project for someone who is new to using the Cricut Maker as well as for someone new to sewing.
Now to be honest with you, I made the first pot holder using my Cricut Explore Air 2.
The machine cut the fabric.
I was able to use the pattern for free, but then I traded up to the Cricut Maker and tried this project again.

Why This DIY Pot Holder Tutorial Cut Is Better Made With The Cricut Maker
As I said, the Cricut Explore Air 2 did cut the fabric, but I was using the fabric blade and fabric mat.
The edges of the fabric were a little frayed plus it took some trial and error.
When my Cricut Maker arrived, I decided to make another quilted hexagon pot holder.
Oh boy, was I amazed!
I used the rotary blade and the edges of my fabric were just as nice as they were if I had cut the material by hand using a rotary blade.
I also noticed, that while the Cricut Maker did take a little longer to cut, that the cuts were more precise.
The Cricut Maker is my fifth Cricut Machine and the one I love the best!
Here is how I made this DIY pot holder using the Cricut Maker.
Print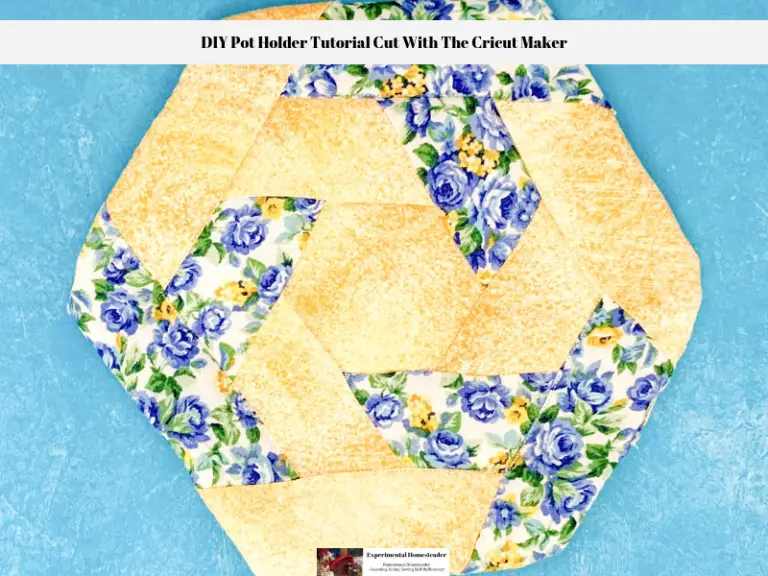
DIY Pot Holder Tutorial Cut With The Cricut Maker
Ingredients
- 5 pieces of fabric 10" x 3" in two to three different colors*
- 1 piece of fabric 10" x 6"
- ⅓ yard floral fabric
- ⅓ yard Insul-Bright Insulated Lining For Pot Holders
- Cricut FabricGrip 12 x 12 Mat
- Cricut Washable Fabric Pen
- Thread
- Needle or Sewing Machine
- Iron
Instructions
- Gather your materials before you begin.
- Once you are ready to begin, choose the quilted hexagon pot holder pattern and click the make it button.
- The design will open in Design Space.
- Cut a 12" x 12" piece of the Insul-Bright Insulated Lining and put it on the Cricut FabricGrip Mat.
- Follow the prompts on the screen to choose what machine you are using and complete the cut.
- This is the interior piece of your pot holder.
- Place the 10" x 3" pieces of fabric on the Cricut FabricGrip Mat, one at a time for the next five cuts. Be aware the Cricut Maker does draw letters on each section of the design before it cuts them out.
- Follow the prompts on the screen and set each piece of cut fabric to the side once you remove it from the Cricut FabricGrip Mat.
- Now you are ready for mat #7. This is the back of the pot holder. Place a 12" x 12" piece of fabric on the Cricut FabricGrip Mat and follow the prompts on the screen to cut the fabric out. Once the Cricut Maker is done cutting the fabric, remove the piece and set it aside.
- Now you are ready for the last mat. Place the 10" x 6" piece of fabric on it and follow the prompts on the screen. When the Cricut Maker is done cutting, remove the fabric from the Cricut FabricGrip Mat and set it aside.
- The next step is to design the pot holder by laying the center hexagon piece with the letter A marked on it on your table first.
- Now pick up the six trapezoid pieces with the letter B marked on them. Lay them around the hexagon piece to make your design. There are enough of these pieces to make two rows around the hexagon.
-
Once you are satisfied with the way your pot holder looks, lay the long edge of one of the pieces marked B along one side of the hexagon. Be sure the right sides of the fabric are facing one another.
- Line up the bottom of the B piece with one corner of the hexagon. The trapezoid piece is longer than the hexagon piece - and that is exactly the way the design is supposed to be.
- Once the first two pieces are lined up, begin sewing them together starting at the corner where the two pieces line up. Be sure to leave a ¼ inch seam allowance. Stop sewing when you are halfway down the first side of the hexagon. You will finish sewing this once the first row is complete.
- Once the first piece is sewn, open the fabric so both of the right sides are facing upward. Now press your finger along the seam and then turn it over and press it with an iron.
- Continue to attach the trapezoid pieces moving in a clockwise direction to the hexagon following the steps above until you run out of sides of the hexagon.
- When that happens, go ahead and stitch the first piece to the last piece.
- Now repeat the process for all of the pieces marked C. Be sure to attach the first piece with a partial seam, just like you did for the row below.
-
Once all the pieces are put together, it is time to sew the pot holder together and quilt it.
-
To do this, place the finished hexagon face up on top of the piece of Insul-Bright Insulated Lining.
-
Now place the piece you just finished sewing face down on top of the hexagon fabric piece.
-
Sew them together at the edges making sure to leave a ¼ inch seam allowance. Leave a small opening so you can turn the piece inside out.
-
Now turn the piece inside out, but take the time to make sure all of the corners are out. I used the Cricut Tweezer Tool to do this with.
- Now turn the edges that are not sewn inside the opening and topstitch to close the hole up.
- Use an iron to press the pot holder so it is flat.
- Now go along all of the seams and sew them to create the quilted look.
- This pot holder is reversible and machine washable.
Notes
*To recreate the exact design, cut out three small and three large trapezoids in the blue floral fabric. Then cut out three small and three large trapezoids in yellow. Finally cut out the the hexagon in yellow.


Final Thoughts On This DIY Pot Holder Tutorial Cut With The Cricut Maker
This pot holder really caught people's attention when I shared the first photo of my project on social media.
Many of my friends and family members requested one of their own.
This project was so easy to make, not to mention quick to make, that I obliged.
This is the kind of DIY gift idea that everyone loves and doesn't break the bank!
I hope you will give it a try for yourself.
Cricut Projects & Tips for the Homestead
Discover creative, practical ways to use your Cricut on the homestead. From handmade cards and custom labels to gift ideas and market-ready crafts, these projects help you save money, add a personal touch to everything you make, and even create new income streams. Whether you’re looking for step-by-step tutorials or time-saving tips, you’ll find plenty of inspiration to keep your Cricut working year-round.
Cricut Cutting Mat Tips
Don't throw your Cricut Cutting Mat away when it loses its stickiness! Learn how to care for it as well as get ideas on repurposing it.