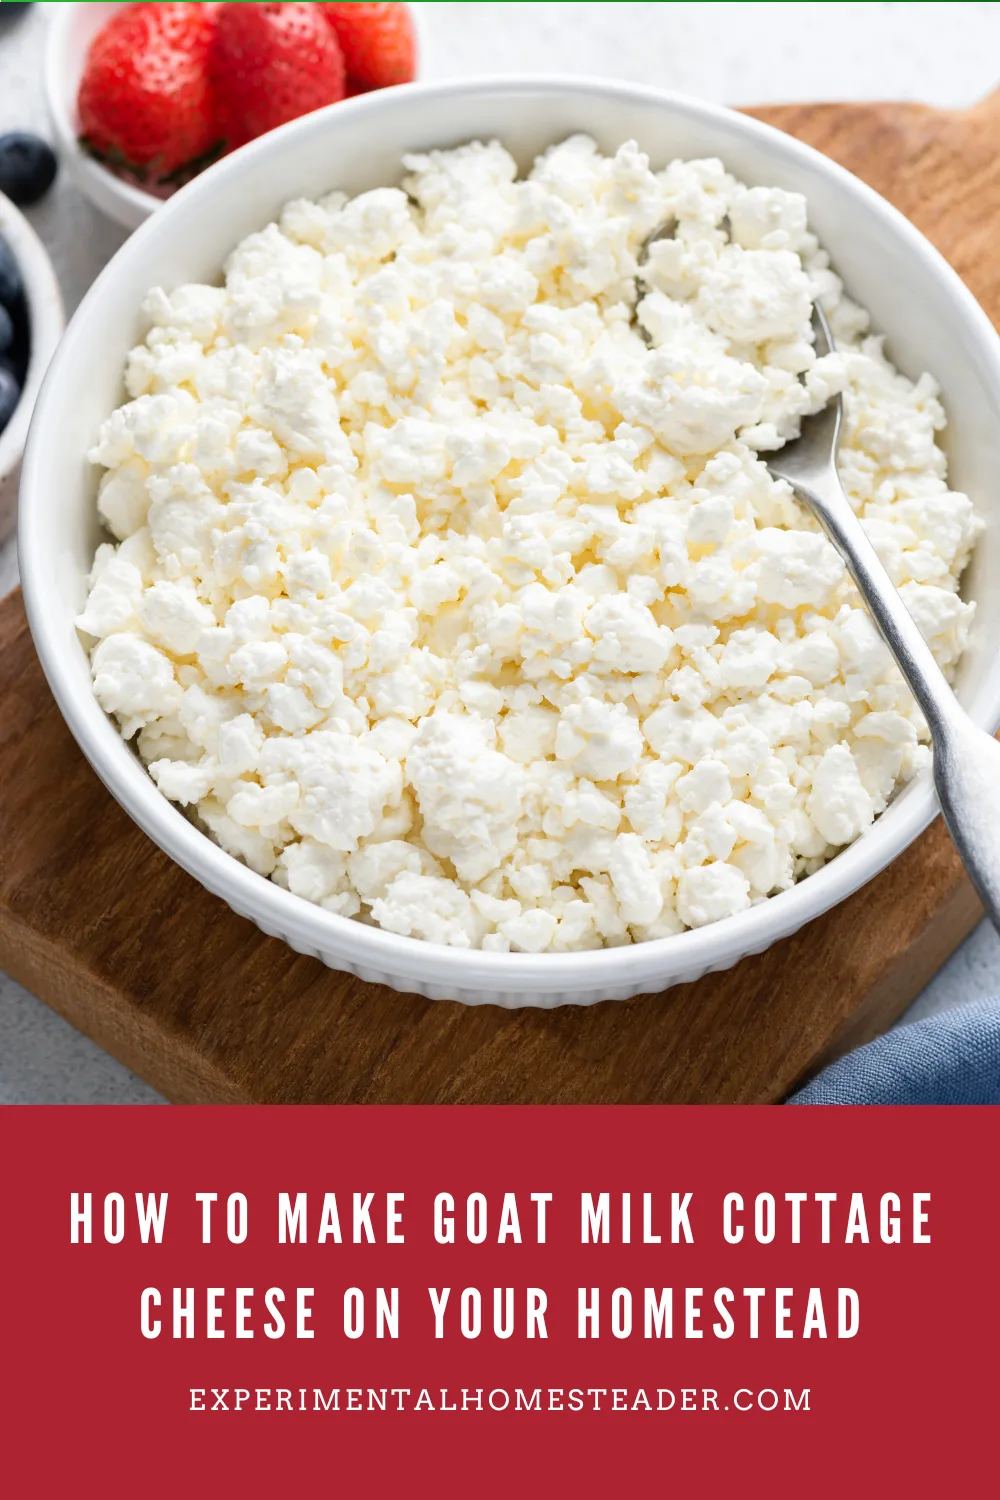
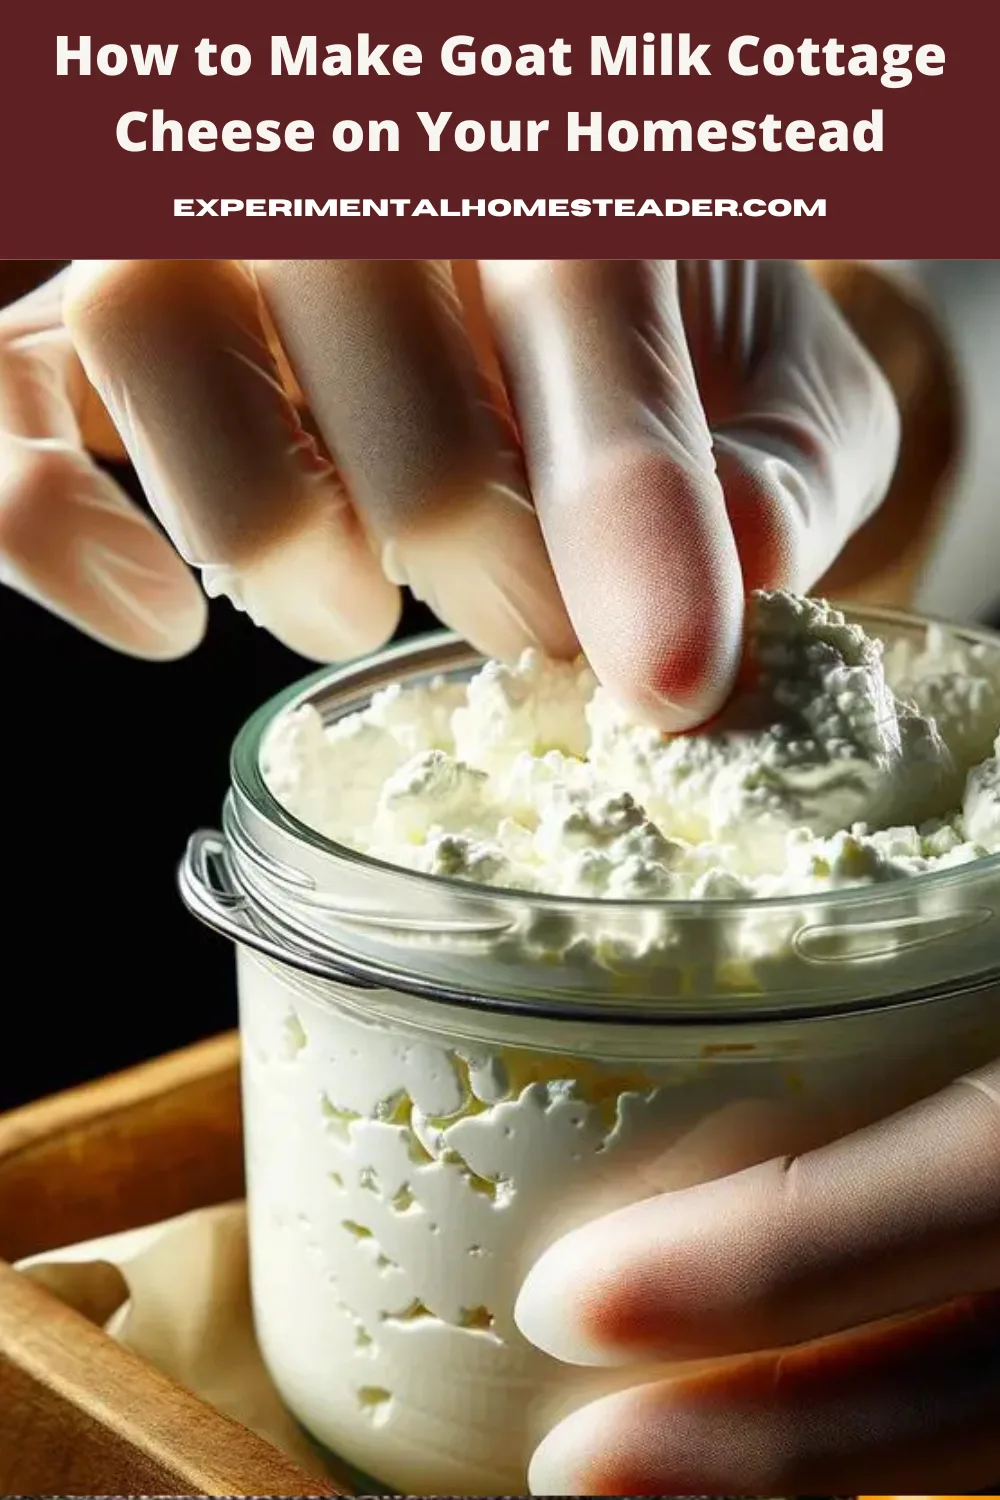
For homesteaders eager to delve into cheese-making, the journey begins with a beloved staple: goat milk cottage cheese.
From the artful curdling process to the final seasoning, crafting this delightful food embodies the heart of homesteading.
Starting with fresh goat milk, preferably from your own goats, sets the stage for a truly authentic and rewarding experience.'
Join us as we share our step-by-step recipe, carefully crafted with homesteaders in mind, guiding you to transform the wholesome milk from your goats into delectable cottage cheese.
With patience and dedication, you'll master the art of goat milk cottage cheese, creating flavors and textures that reflect the essence of your homestead.
Share the joy of homemade cheese with loved ones as you embrace the satisfaction of your efforts.
Your homestead kitchen awaits, filled with warmth and the promise of delicious homemade goat milk cottage cheese.
Sourcing Quality Goat Milk for Exceptional Cheese-Making
When delving into the intricate world of cheese-making, one cannot overlook the pivotal role of goat milk.
Much like a painter relies on a pristine canvas to create a masterpiece, cheese-makers depend on the finest quality milk to craft cheeses that stand out from the crowd.
Here's why the quality of goat milk isn't just important but essential:
- Flavor Finesse - Quality milk lays the foundation for exquisite cheese flavors. Just as our gardens thrive on diversity, goats grazing on varied pastures impart a complex flavor profile to their milk, resulting in cheeses that tantalize the taste buds. From earthy undertones to floral notes, the milk tells a story of the land it comes from, connecting us to our homesteads in a deliciously tangible way.
- Nutritional Excellence - High-quality goat milk is a nutritional powerhouse, packed with essential fats, proteins, and minerals. This nourishing goodness not only contributes to the cheese's creamy texture but also ensures its structural integrity. Like building a sturdy fence to protect our livestock, quality milk ensures our cheese ages gracefully, maintaining its wholesome goodness with each passing day.
- Safety Assurance - As homesteaders, the well-being of our herd and the safety of our products are top priorities. Healthy goats in a clean environment produce milk that's less likely to be contaminated, ensuring our cheese is safe for consumption. Whether we're sharing our cheese with loved ones or selling it at the local market, prioritizing quality milk is a non-negotiable aspect of our commitment to the well-being of our community.
- Sustainable Practices - Our homesteads are more than just places of production—they're ecosystems we nurture and protect. By supporting cheese made from responsibly sourced goat milk, we're not just indulging our taste buds but also contributing to a healthier planet. Sustainable farming practices ensure the health of our land and animals, leaving a legacy of stewardship for generations to come.
Here's to Quality Goat Milk
As we explore the intricate world of cheese-making, let's raise a glass to the unsung hero: goat milk.
It's the foundation of exceptional cheese, reflecting the care and dedication of homesteaders everywhere.
So here's to the goats, the pastures, and the delicious cheese they inspire.
The Art of Curdling Milk
Let's get to the heart of cheese-making: perfecting how to curdle milk for cottage cheese.
This step is key – it shapes the texture, moisture, and taste of the final product.
But don't worry, mastering it isn't rocket science.
With a bit of focus and the right approach, you can turn your homemade cottage cheese from good to great.
- Step 1: Select Your Milk - Though the focus has been on goat milk, remember, for cottage cheese, cow's milk is also a stellar candidate due to its mild flavor and wide availability. The non-negotiable here is quality; always opt for fresh, preferably organic milk. This ensures not only a safer product but one that’s richer in taste.
- Step 2: Acidification - The curdling process begins with acidification, which can be achieved through natural souring or the addition of an acidic substance such as vinegar or lemon juice. However, for that unparalleled curd integrity and subtle tang, opt for cultured buttermilk. It introduces beneficial bacteria, enhancing both the texture and depth of flavor in your cottage cheese. Aim for a ratio of one cup of buttermilk per gallon of milk for that perfect acidity.
- Step 3: Gentle Heat - Slowly heat your milk mixture. This gradual increase in temperature is critical. Why? It allows proteins in the milk to denature without clumping too aggressively, leading to a smoother, creamier cottage cheese. Use a heavy-bottomed pot for even heat distribution and stir gently to prevent scorching.
- Step 4: Cutting the Curd - Once you've achieved curd formation, it’s time to cut it. This is where precision plays a role. Use a long knife to slice the curd into uniform cubes (about ½ inch in size). Uniformity is key to ensure even cooking and moisture content in each curd. Handle them with care to avoid breaking the delicate structures.
- Step 5: Cooking the Curds - Continue heating the curds gently, aiming for a temperature of 102°Fahrenheit. Stir occasionally, but gently. Overstirring at this stage can lead to tough, rubbery curds. You're looking for them to become firm yet supple, a delicate balance that's the hallmark of high-quality cottage cheese.
- Step 6: Draining and Washing - Once your curds have reached the desired consistency, it's time to drain. Use a cheesecloth-lined colander for this task, allowing gravity to do the work. But we’re not looking for desert-dry curds here. Retaining some moisture is crucial for that signature cottage cheese creaminess. After draining, wash the curds with cold water. This not only cools them down rapidly, halting the cooking process but also washes away lingering acidity, ensuring a fresh, clean taste.
- Step 7: Dress and Season - The final step involves dressing your curds. A light incorporation of cream adds a luxurious mouthfeel and rounds out the flavors beautifully. Salt to taste, but remember, moderation is key. The goal is to enhance, not overpower the delicate flavors of your homemade cottage cheese.
In the world of cheese-making, patience, precision, and a gentle touch aren't just admirable traits – they're essential skills.
When you follow these steps, you're not just making food; you're creating a memorable experience.
It's proof that the most satisfying things in life are often the ones crafted with care and knowledge.
Let every spoonful of your homemade cottage cheese serve as a testament to the joy of patience and the fulfillment of craftsmanship.
Here is the recipe I use:
Print
Goat Milk Cottage Cheese
Discover how to transform fresh goat milk into creamy, flavorful cottage cheese with our easy-to-follow homesteader-friendly recipe.
- Total Time: 26 hours
- Yield: 6 cups 1x
Ingredients
Instructions
- Heat the milk to 72 degrees Fahrenheit.
- Add the calcium chloride mixture to the milk and stir well.
- Add the direct-set mesophilic starter and stir again to make sure it is well mixed into the milk.
- Add the diluted rennet and stir it using an up and down motion for one minute.
- Cover the pan and let the milk set at 72 degrees Fahrenheit for 12 to 18 hours until it is coagulated. The curd is going to be very soft.
- Cut the curd into ½ inch cubes* and then allow them to sit in the pan, undisturbed for 15 minutes.
- Return the pan to the heat and slowly increase the temperature three degrees at a time over a five minute period until the temperature of the pan contents reaches 90 degrees Fahrenheit.
- Then turn the heat up so the temperature ninth pan increases one degree per minute until the temperature reaches 102 degrees Fahrenheit.
- Cook the curds at the 102 degree Fahrenheit temperature for 30 minutes. Be sure to keep the temperature steady. The curds will be firm when they are done with a custard like interior.
- Let the curds sit for five minutes at 102 degrees Fahrenheit.
- Pour the contents of the pan through a colander lined with cheesecloth. A pan placed underneath the colander can be used to catch the whey.
- Allow the curds to drain for several minutes before dipping the cheesecloth containing the curds into cool water, and then allow the cheese to drain again.
- Submerge the bag of curds into ice water to cool them and then let them drain for another five minutes.
- Then place the drained curds into a bowl to break the pieces up because some will have matted.
- Add the heavy cream, salt and herbs to taste, if using.
- Store in a covered container in the refrigerator for up to two weeks.
- Prep Time: 24 hours
- Cook Time: 2 hours
Curds Washing and Flavoring
In the pursuit of the perfect cottage cheese, every step counts.
Let's explore the final touches and storage techniques that elevate this humble cheese to unparalleled heights:
- Tender Treatment for Curds: After washing and seasoning your curds, avoid hastily packing them into storage containers. Treat them like the artisan's treasures they are, ensuring they're delicately laid in the container in order to maintain their integrity.
- Choose Wisely: Opt for glass or high-quality plastic containers that seal tightly. This choice safeguards your cheese from unwanted flavors and odors, preserving its purity of taste and extending its shelf life.
- Strategic Storage: Place your cheese containers in the refrigerator's middle shelves for a consistent temperature. This positioning prevents the cheese from becoming too hard or drying out, ensuring each spoonful remains perfect.
- Exploring Aging: Cottage cheese is a fresh cheese and is not normally aged. For those eager to push boundaries, experimenting with short aging times of a week or two can reveal new dimensions of taste and texture. Start with short intervals beyond your usual preference, noting the subtle shifts in flavor and texture.
In the end, crafting the ideal cottage cheese is a journey of mindful dedication and patience, especially for homesteaders.
It's about cherishing the gradual transformation, the delicate balance of flavors and textures that only careful nurturing and time can deliver.
This embodies the heart of homesteading in cheese-making—a labor of love where every step reflects the values of self-sufficiency and care for the land.
Embracing the Art and Science of Cheese-Making on the Homestead
The mastery of cheese-making, from selecting the finest goat milk to the careful curdling and flavoring of cottage cheese, embodies the essence of the homestead kitchen.
Each step, grounded in expertise and attention to detail, contributes to the creation of cottage cheese that not only satisfies the palate but also celebrates the rich tapestry of flavors and textures achievable through skilled craftsmanship.
As we savor each bite, we honor the profound impact that quality ingredients and methodical processes have on elevating the humble act of cottage cheese-making into an exceptional culinary experience tailored for the homestead lifestyle.


