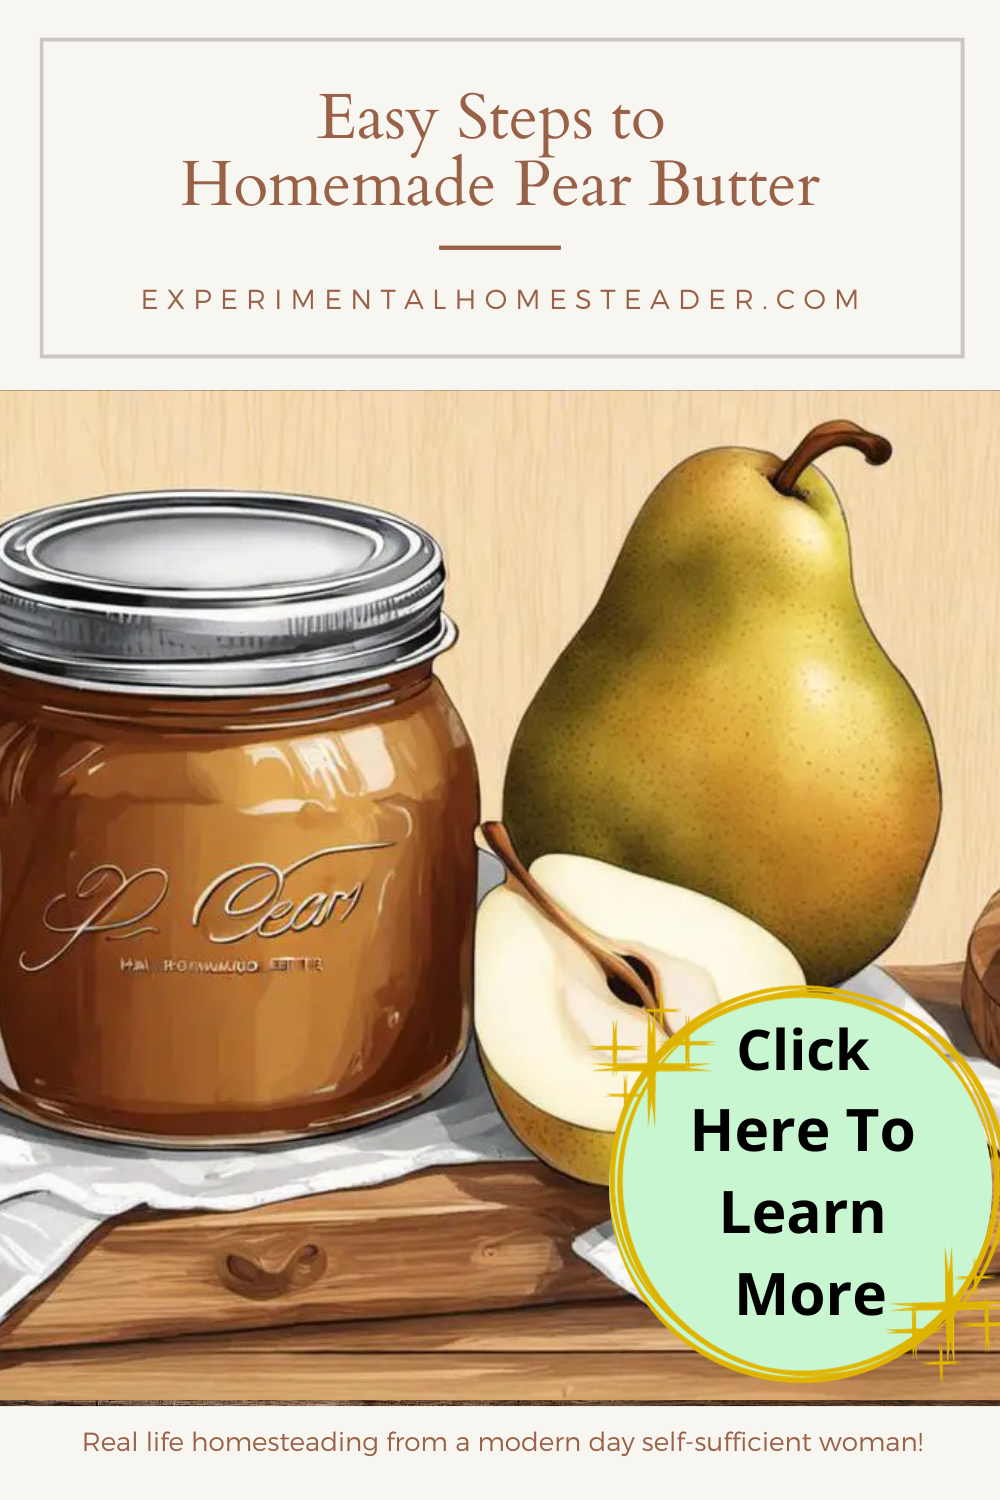
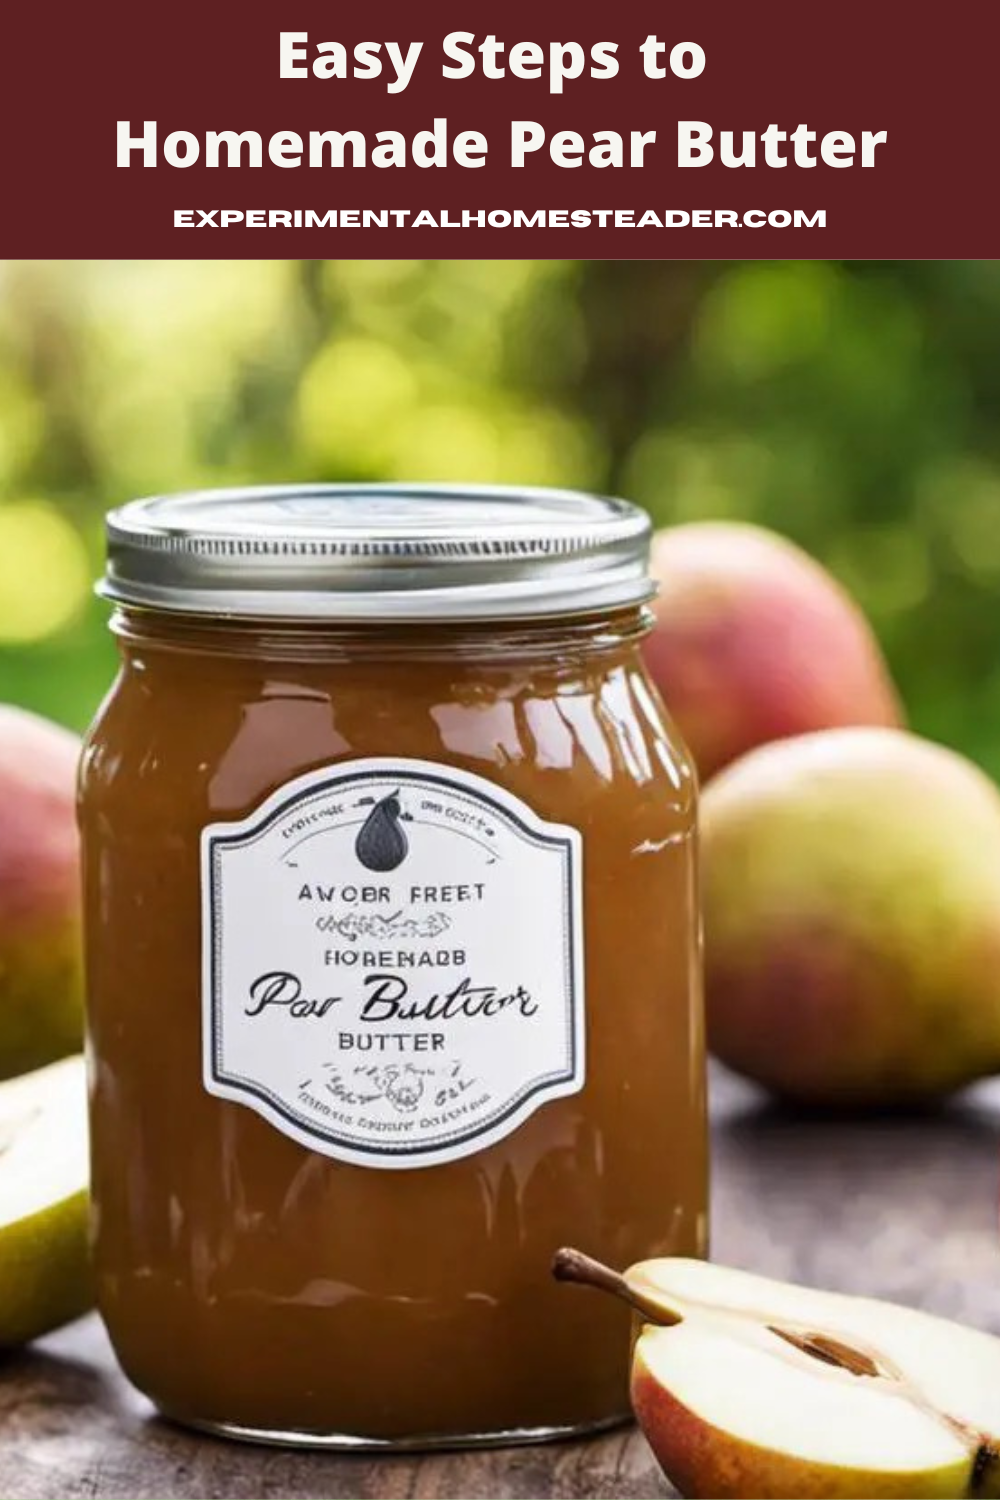
Homemade Pear Butter: A Guide to Crafting Delightful Spreads
Delving into the art of home cooking, one finds immense pleasure and satisfaction when crafting something beautiful from scratch, like the delectable homemade pear butter.

An underrated gem, pear butter is a delightful spread that adds a unique twist to anything from your morning toast to an evening snack.
In this guide, we will walk you through the crucial steps necessary to create your very own pear butter - right from selecting and preparing the fruit, to the process of cooking and blending it, and finally, dealing with its canning and preserving for long term use.
Here's your chance to transform simple pears into a luxuriously smooth, flavorful spread, honing your culinary skills in the process.
Selecting and Preparing Pears
When it comes to spreading joy through food, pear butter tops the chart like no other.
This deliciously sweet concoction encapsulates the taste of fall, and it's one of those versatile spreads that tantalize the taste buds whether it's spread on toasted bread, served alongside a warm camembert, or paired with roast pork.
However, mastering pear butter begins with selecting and preparing the perfect pears.
Let's explore that.
First, selection.
There's this wonderful sense of accomplishment when picking out the right kind of fruit for a dish.
As for the pear butter escapade, the decision is a crucial one.
Some will argue that any variety of pear will do, but for that intensively flavorful and aromatic spread, it's advisable to go with the Bartlett variety.
Known for their sweet and juicy flavor profile, Bartlett pears break down beautifully, surrendering to the heat into a smooth, creamy texture.
Another key aspect of pear selection is ripeness - find pears that are just ripe but not overripe.
Firm-to-touch Bartletts are ideal, as they hold up well when cooked down while imparting just the right amount of natural sweetness.
Now we dive into preparation.
- Start the process by washing the pears thoroughly. Remember, we consume this divine butter with the pear's skin. The skin plays a key role in giving the butter its velvety texture and robust flavor, so scrub gently under cool water.
- Second, coring the pears. Cut your pear in half and use a melon-baller or a sturdy teaspoon to remove the seeds and hard section from the center. Please don't fret over peeling or removing the stem and the base; they'll soften during cooking and blend seamlessly later.
- Next, cut the pear halves into chunks. The size doesn't matter significantly as they'll be cooked down into a mush anyway. Smaller pieces will cook faster, but one-inch chunks usually do the trick.
Once your pears are ready, you've got the green light to start the pear butter making process.
Get ready for some alchemy to turn this humble fruit into a golden pot of buttery goodness.
Armed with this guide, your journey through selecting and preparing pears for pear butter ought to be a comfortable ride.
A delightful voyage from farm to table, ensuring every spread of pear butter onto warm toast is an homage to the love, care, and thoughtfulness put into making it.
Let's embrace the joyous connections that form over shared meals, one prepared pear at a time.
Perfecting Pear Butter: The Ultimate Cooking and Blending Guide
Creating pear butter from scratch will not only unleash an explosion of flavors, but it's also a holistic culinary rewarding experience.
While we already know the significance of picking an ideally ripe Bartlett pear and how the skin subtly impacts the overall taste and texture, there's more to know to craft this delicious spread.
So, let's jump right in.
When it comes to cooking pear chunks, timing is the important part.
Once you've prepared your pear with a good coring and even chopping, the next critical step is to cook the fruit just right.
Not only should the heat be sufficient to soften them up, but it needs to unlock the pears' natural sweetness. A great way to do this is by slow cooking the pears.
Think about using a slow cooker on a low heat setting for about 10 hours.
This method is beneficial for two reasons - firstly, it allows the pears' natural sugars to caramelize, adding depth to your butter's flavor, and secondly, it reduces the need for additional sugars to sweeten up the mix.
While the slow cooker quietly works its magic on your pears, the aroma of cooking fruit will fill your kitchen, making your home smell like a cozy bakery.
It's worth noting though, that to enhance that fragrant scent even further and spice up the overall flavor, don't hesitate to add spices like cinnamon, nutmeg, or cloves.
Once the aroma signals that your pears are sufficiently cooked, it's time to blend them into the consistency that befits a perfect pear butter.
A high-powered immersion blender or food processor is ideal for this stage.
A quick pro tip here: let the cooked pear chunks cool off a bit before you blend them.
Not only will it be easier to handle, but it can prevent accidents in the kitchen as well.
Now, get your blender in action.
Start blending on a low speed, gradually increasing it, until you reach pear perfection.
You want to blend until you have a super smooth spread.
It's essential to have patience in this step - you want your pear butter to be velvety and luscious, putting commercial spreads to shame.
The joy in creating pear butter isn't limited to just the kitchen, of course.
This fruit spread can be enjoyed on a piece of toast, added to a cheese board, or even savored straight from the jar.
The ability to create something so divine from fruit is greatly satisfying, and food, after all, is meant to be relished and shared.
Right from picking the perfect pear to slow-cooking it, and finally blending it to a flawless spread, every step matters.
Cooking, in essence, is a love affair - a delightful dance of flavors and textures.
Embarking on the journey of making pear butter is not just about creating an incredible spread.
It's about enjoying the process, appreciating the sensory experiences, and ultimately, savoring the mesmerizing outcome.
So, go ahead - your pear butter awaits.
Canning and Preserving Pear Butter
Now that you've lovingly embarked on the pear butter journey, let's steer the course towards the important phase of cooking.
Slow-cooking the pear chunks is the crown jewel of this wonderful culinary adventure.
Embraced by heat, the pears transmute slowly into a softened state that provides the foundational texture for our pear butter.
The slow cooker, enamored by the passage of hours, nurtures the texture and taste, favoring the fruits' natural sugars to caramelize and deepen their flavors.
As the pears dance around in this bubble of time and warmth, embrace the joy of experimentation.
This comes in the guise of beautiful spices aimed at unlocking a symphony of flavors.
Cinnamon, nutmeg, and cloves work exceptionally, imparting a warm and earthy flavor that weaves seamlessly with the sweetness of the pears.
It's a freedom train for your palate to travel on, exploring the dimensions of taste and depth. Just a pinch or two works, remember - the magic lies in subtlety.
After hours of slow cooking, the pears should have transformed into a sweet and spiced mush.
Now, the real transformation begins.
A blender is your wand in this wizardry.
Pour the cooked pear chunks into it and blend until the texture is smooth and silky.
This is the birth of the pear butter- utterly satisfying and indulgently creamy.
The texture adds a lot to the final experience.
To get the optimal consistency, make sure to blend the pear chunks thoroughy.
This will ensure an even, spreadable pear butter without any unexpected chunks getting in the way of your culinary delight.
Now, the moment you've waited for-the time to relish this humble yet captivating delight.
Pear butter is more than just a spread; its versatility is a revelation.
It finds joy atop fresh, warm toast, gracing the fluffy pancakes, adding depth to your salad dressings, or being the secret ingredient in your cookies.
The presence of pear butter instantly elevates the essence of any dish.
The joy of cooking is often focused on the end result, but don't forget to appreciate the journey.
The procedure may be lengthy, but remember to savor each moment and each step.
There's an exquisite happiness lingering in the stirring, blending, adding the spices, and even in the wait.
Let it spread through your kitchen, your home, and revel in the satisfaction and serenity that the process provides.
This satisfaction, captured in a jar, is worth every effort and minute.
It's the sensation of holding time in one's hand-raw nature transformed into a spreadable delight-a testament to patience, love, and the magic that exists when we marry nature with time.
Journeying through this culinary adventure, you'll find that making pear butter impacts not only your tastebuds but your heart.
It stirs up conversations, making relationships buttery smooth, just like your pear butter.
So go ahead, roll up your sleeves, and lose yourself in the mesmerising art of making, sharing, and most importantly, enjoying pear butter.
Who knows where this beautiful journey might lead you next?
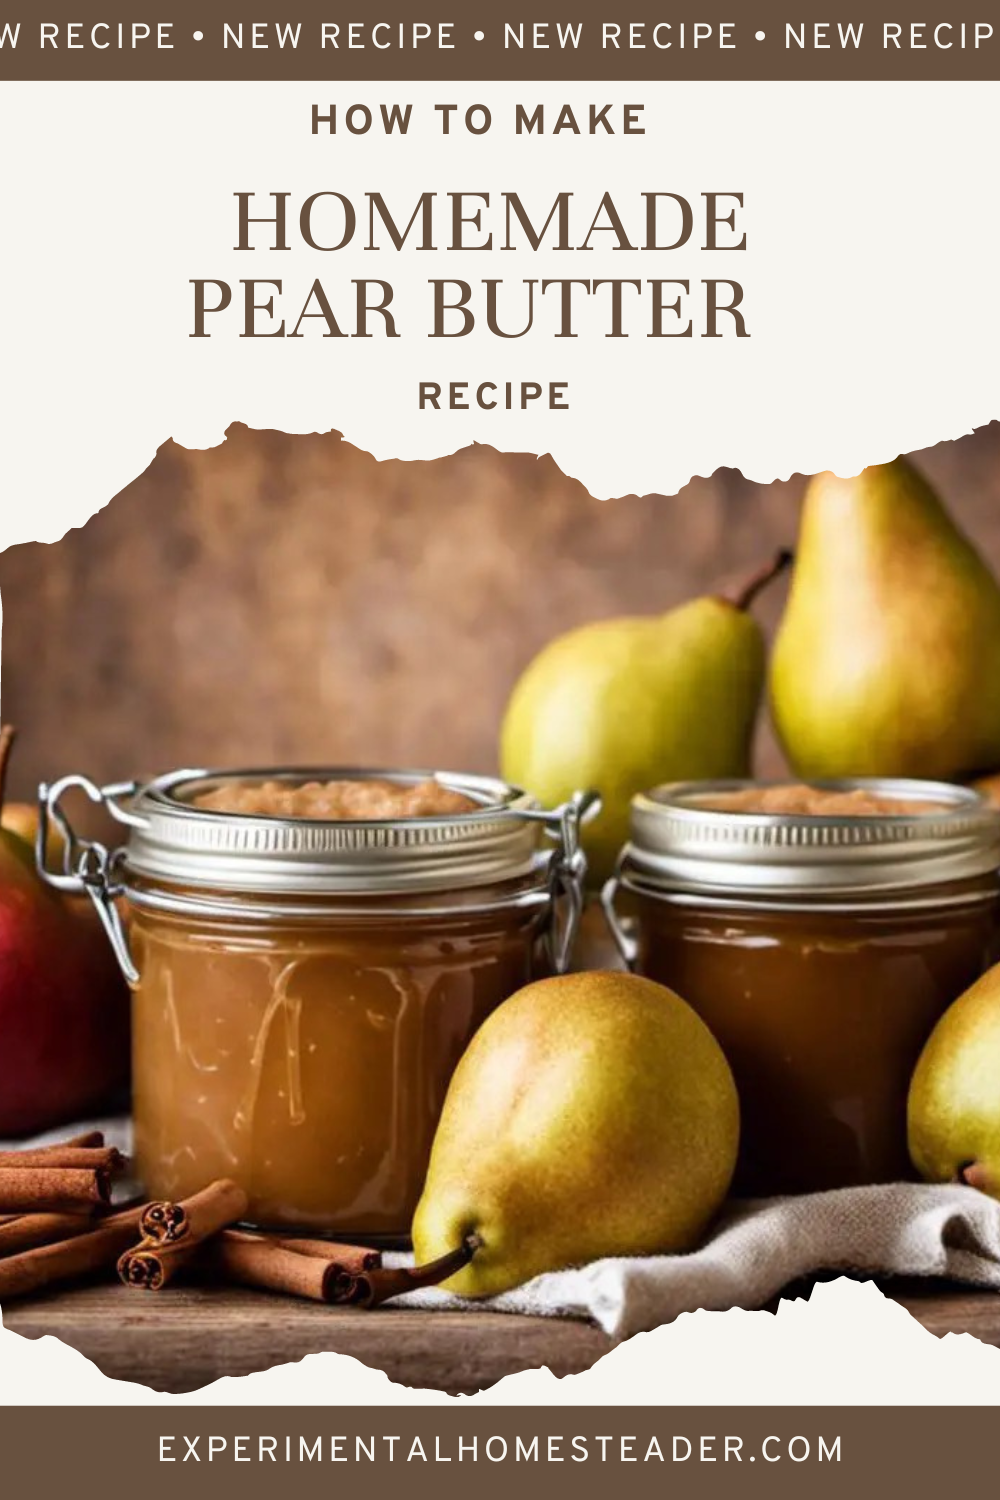
Homemade Pear Butter: A Guide to Crafting Delightful Spreads
Make homemade pear butter & master the art of cooking from scratch! Our guide offers step-by-step instructions for perfect results every time
- Total Time: 12 hours
- Yield: 4 pints 1x
Ingredients
Instructions
- Start the process by washing the pears thoroughly. Remember, we consume this divine butter with the pear's skin. The skin plays a key role in giving the butter its velvety texture and robust flavor, so scrub gently under cool water.
- Second, coring the pears. Cut your pear in half and use a melon-baller or a sturdy teaspoon to remove the seeds and hard section from the center. Please don't fret over peeling or removing the stem and the base; they'll soften during cooking and blend seamlessly later.
- Next, cut the pear halves into chunks. The size doesn't matter significantly as they'll be cooked down into a mush anyway. Smaller pieces will cook faster, but one-inch chunks usually do the trick.
- Place all of the ingredients into the slow cooker and place the lid back on it.
- Cook on low heat for 10 hours.
- Fill the cold pack canning pot with water, place the lid on it and bring the water to a rolling boil.
- Right before the pear butter is finished, prepare the canning jars, canning lids by sterilizing them in the hot boiling water in the canner. It is recommended to leave the jars in the boiling water for 8 minutes but just quickly dip the lids and bands into the hot water to sterilize them. I dip the newer lids that say you do not need to dip them as well for safety's sake.
- When the pear butter is done, use an immersion blender to puree the pear mixture until it is smooth and silky.
- Ladle the hot pear butter into hot canning jars leaving ¼ inch headspace.
- Remove air bubbles and add more hot pear butter if necessary.
- Wipe the rim of the jar to remove any food residue.
- Center the hot lid on the jar and screw the band down until resistance is met and then tighten it slightly more so it is fingertip tight.
- Place the jars in the canner making sure they are completely covered with water.
- Place the lid back on the canner and wait until you hear the water come back to a boil.
- Then process the jars for 10 minutes.
- Remove the canner lid, turn off the heat and wait 5 minutes.
- Then remove the jars and allow them to cool overnight.
- Remove the bands.
- Check the lids to make sure they are sealed.
- Gently wipe the jars.
- Label and date the jars so you know what is in them and when you canned them.
- Move the jars to a cool, dark place to store.
Equipment
- Prep Time: 2 hours
- Cook Time: 10 hours
- Category: canning recipe
- Method: slow cooker
Crafting Homemade Pear Butter Enriches Your Culinary Journey
Cumbersome as the process may seem, it's indeed a rewarding endeavour that brings forth luscious, homemade pear butter that's bound to woo your taste buds.
We've journeyed together through selecting and preparing the perfect pears, understanding the delicate cooking and diligent blending process, and finally the art of canning and caring for your homemade delight.
As you embark on this flavourful journey, remember - it's not just about the delicious outcome, but the joy of crafting something unique with your two hands.
So, even as the pear butter seasons your food with magic, may the process season your culinary journey with enjoyment and learning.
Your Ultimate Homemade Pear Butter Canning FAQs
Q. How do I prepare pears for making homemade pear butter?
A. Start by washing, peeling, and coring the pears. Then, chop them into small pieces for the best results.
Q. What's the key to successful pear butter canning?
A. Ensure proper sterilization of jars and lids, use lemon juice for flavor and acidity, and follow canning time and pressure guidelines.
Q. Can I adjust the sweetness of my pear butter?
A. Absolutely! You can control sweetness by adjusting the amount of sugar or using natural sweeteners like honey or maple syrup.
Q. How long does homemade pear butter last in storage?
A. When properly canned, it can last up to a year or more. Just check for signs of spoilage before consuming.
Q. What are some creative ways to use pear butter?
A. Enjoy it on toast, as a topping for pancakes, in unsweetened oatmeal or even as a glaze for roasted meats. Get creative in the kitchen!
Q. Any tips for beginners in pear butter canning?
A. Start small, follow trusted recipes, and don't be discouraged by mistakes. It's a rewarding journey.
Q. What equipment do I need for pear butter canning?
A. You'll need a canner or large pot, jars with lids, a funnel, and jar lifters for a safe and efficient canning process.
Q. Is it possible to can pear butter without a canner?
A. Yes, you can use a large stockpot if it's deep enough to cover the jars with water by at least an inch.
Q. Can I reuse canning lids and rings for future batches?
A. Lids are designed for single use, but you can reuse rings if they're in good condition.
Q. What's the best variety of pears for making pear butter?
A. Bartlett and Bosc pears are popular choices, known for their sweet and flavorful characteristics.
Q. Can I add spices like cinnamon and nutmeg to my pear butter?
A. Yes, spices can enhance the flavor. You can even add vanilla if you wish. Experiment with small batches to find your perfect blend.
Q. How do I know if my canned pear butter has sealed properly?
A. You'll hear a satisfying "pop" as the lids seal. Use your fingers to gently try to pry the lid up. If it doesn't come loose, it's sealed. Also, look at the center of the lid. If the center is depressed slightly and the bubble does not appear raised, the lid should be properly sealed.
Q. What's the difference between hot water bath canning and pressure canning for pear butter?
A. Hot water bath canning is suitable for high-acid foods like pear butter, while pressure canning is for low-acid foods.
Q. Can I adjust the thickness of my pear butter during canning?
A. Yes, you can cook it longer for a thicker consistency or add a bit more liquid for a thinner one.
Q. How can I fix pear butter that turned out too runny after canning?
A. Reheat it and cook it down further, or use it as a delicious sauce or topping.
Jams, Jellies, Fruit Butters & Marmalades

How To Make Rose Petal Jelly
Learn how to make rose petal jelly using fresh rose petals from your favorite organically grown roses. Try different roses for unique flavored jelly.

Queen Anne's Lace Jelly Recipe
This Queen Annes lace jelly recipe is one of the many Queen Anne's lace uses. Be sure you are using the right plant for edible recipes.
Small Batch Instant Pot Clementine Marmalade Recipe
Learn how to use your Instant Pot to make this delicious, tangy clementine marmalade recipe. It's prefect for those who do small batch preserving.
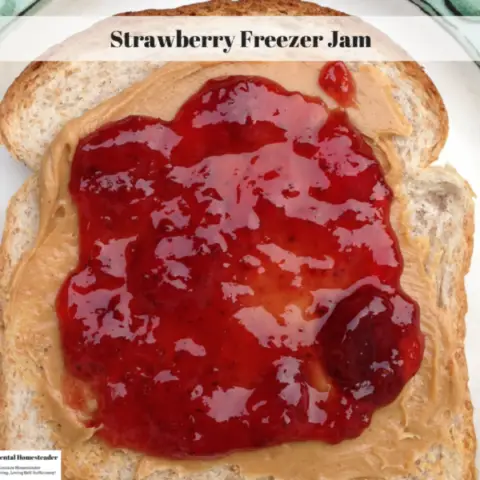
How To Make Strawberry Freezer Jam
This homemade strawberry jam recipe is one of the easiest strawberry freezer jams you will find. This is a great way to preserve strawberries for winter.
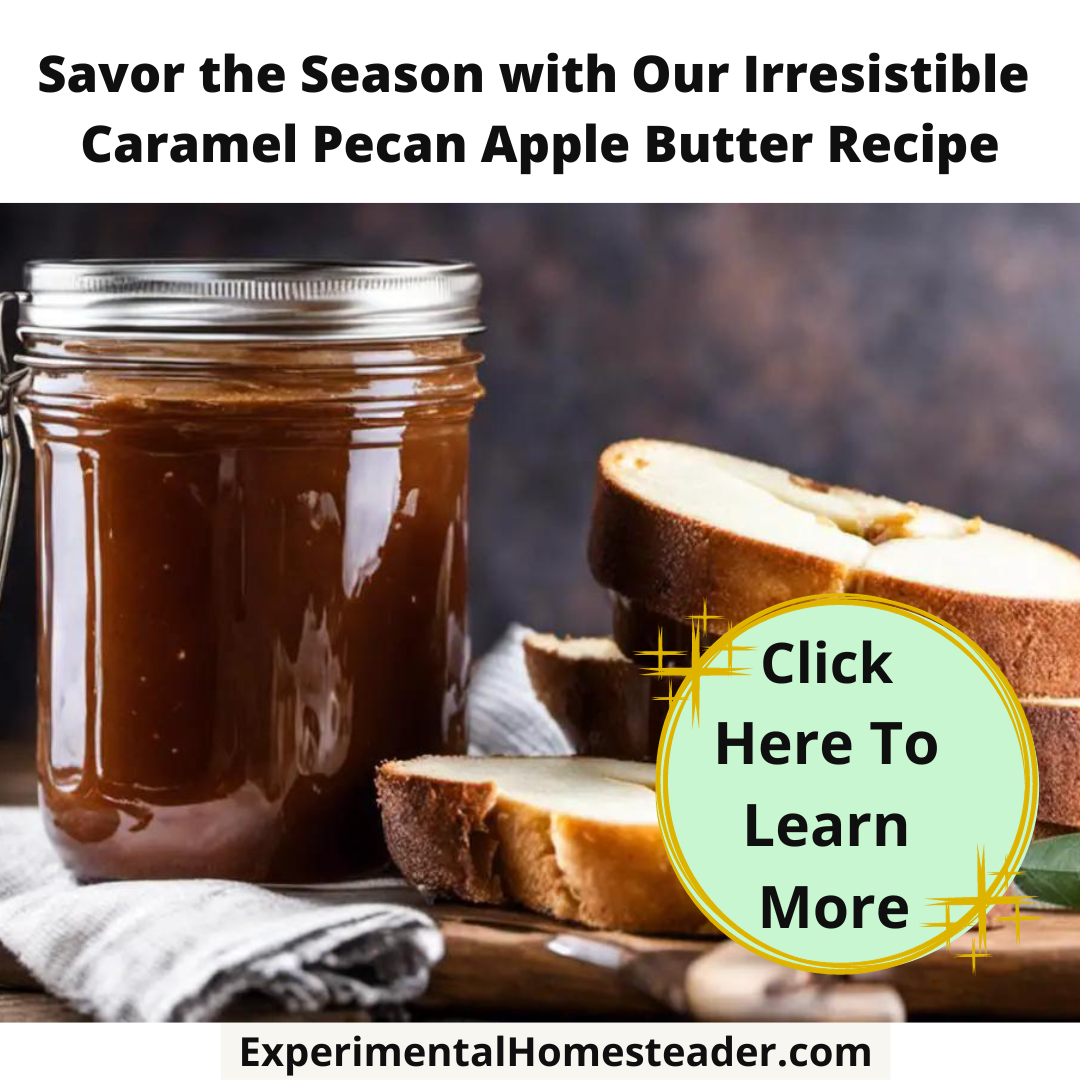
Savor the Season with Our Irresistible Caramel Pecan Apple Butter Recipe
Master the art of crafting a luscious caramel pecan apple butter recipe in your homestead kitchen. Delicious farm-to-table creation awaits!