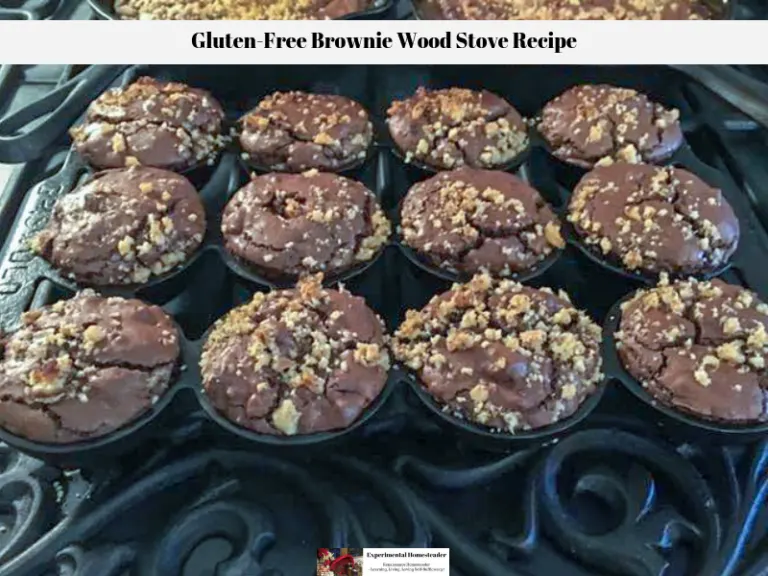
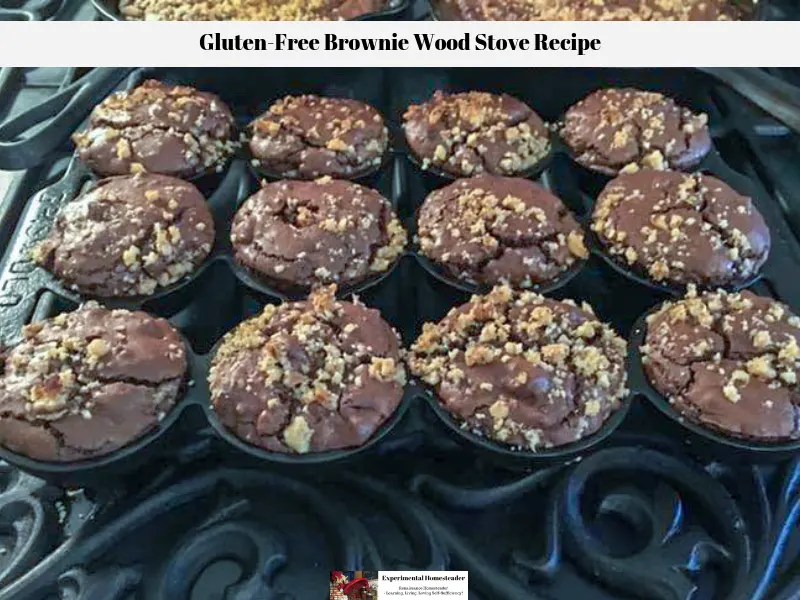
This Gluten-Free Brownie wood stove recipe is ideal for those times when the electricity goes down or when you want something sweet but don't want to fire up the electric or gas oven.
It is also great for people who live off-grid or cook with their wood burning cook stove all the time.
Here is the recipe for the Gluten-Free Brownie Wood Stove Recipe.
Print
Gluten-Free Brownie Wood Stove Recipe
- Total Time: 45 minutes
- Yield: 16 brownies
Ingredients
- 1 ½ cups sugar
- ¾ cup European Style cocoa powder
- 1 cup gluten-free dark chocolate chips
- 1 cup chopped walnuts
- ¾ cup gluten-free flour
- ½ cup butter
- ½ teaspoon salt
- 3 large eggs
- 1 teaspoon baking powder
Instructions
- Place the sugar, butter and salt in a cast iron saucepan.
- Heat the mixture over a medium heat, stirring constantly with a heatproof spatular until the butter melts and the mixture lightens in color.
- Add the vanilla and cocoa powder to the pan and stir until they are incorporated into the butter mixture.
- Add the eggs and mix until the batter looks shiny.
- Add the flour and baking powder. Stir until the dry ingredients are incorporated into the batter.
- Stir in the chips and nuts making sure to reserve a few of the walnuts to add to the top of the brownies right before you bake them.
- Pour the brownie mixture into the cast iron muffin pan making sure it spreads to the edges.
- Sprinkle the remaining walnuts on top of the brownie batter. Baking a few walnuts on top of the brownie batter gives them a nice toasted flavor and makes the brownies pretty.
- Bake the brownies in the wood fired oven for 30 minutes at 350 degrees Fahrenheit. Alternatively you can cover the pan with aluminum foil and bake them on top of a wood burning stove.
- When the timer goes off, remove the pan from the oven or off of the top of the wood burning stove. Insert a toothpick into the center of the brownies to make sure they are done. It should come out clean - or nearly clean. If you notice a lot of chocolate batter on it, return the brownies to the heat source and cook them slightly longer. Be sure to check them about every three minutes so you don't burn them.
- Once the brownies are done, allow them to cool for 15 minutes, then remove them from the pan.
- Serve immediately or allow them to completely cool and then cover them tightly with plastic wrap.
- Prep Time: 15 minutes
- Cook Time: 30 minutes
- Category: Desserts
- Method: Wood Burning Stove
Final Thoughts About This Gluten-Free Brownie Wood Stove Recipe
There are so many reasons to cook on a wood burning stove and I hope this Gluten-Free Brownie wood stove recipe will convince you to give it a try.
To me, it just seems practical to make use of the heat coming off the wood burning stove to cook with if you are heating your house with wood.
For those who do not have access to a wood burning cook stove or even a regular wood burning stove, this recipe is easy to adapt to other methods of cooking.
For those who want to make it over an open fire, be sure the fire has died down and that you don't get the bottom of the cast iron muffin pan too close to the heat.
Keeping the cast iron muffin pan a good distance above the fire will help make sure the bottom of the brownies does not scorch.
This recipe can also be made in a gas or an electric oven.
To do this, be sure to use the same temperature and cooking time, but keep an eye on the brownies because a conventional oven could cook them faster.
However you make this Gluten-Free Brownie wood stove recipe, I'd love to see photos of how yours turn out.
I'd also love it if you would leave a comment below letting me know what you personal experience with this recipe was like.
I highly recommend the following articles:
- Easy Wood Stove Recipe For A Grilled Cheese Sandwich
- Homemade Dinner Rolls Recipe Baked In A Wood Stove
- Tips For Co0king On A Wood Stove
- Apple Crisp Dutch Oven Recipe
- How To Make Homemade Tomato Soup In A Dutch Oven
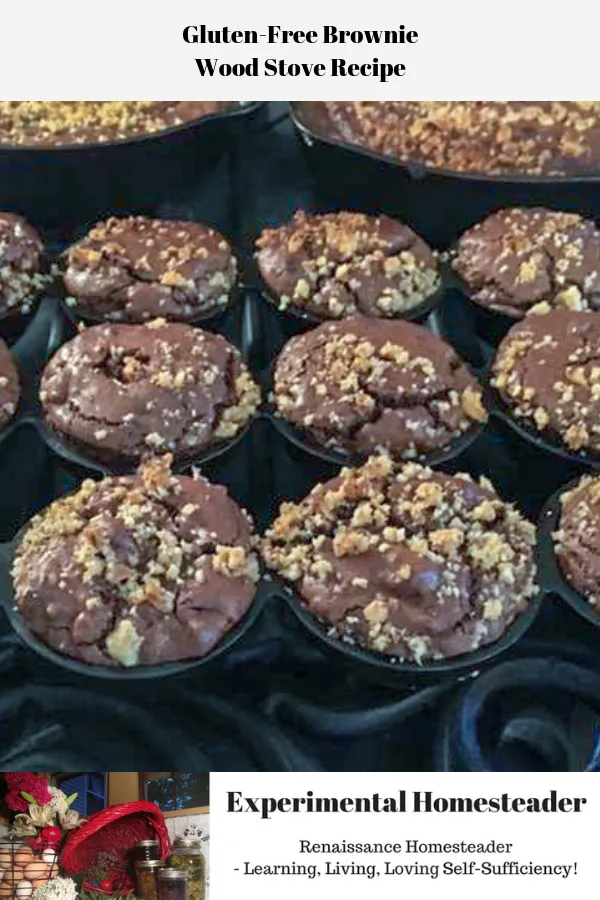
Use the buttons on the right hand side of the page to share this article with friends or family who might find it useful. Pin the picture below to your pinboard on Pinterest for future reference.


