White Mint Cake Recipe
This white mint cake recipe is ideal for serving during the holidays.

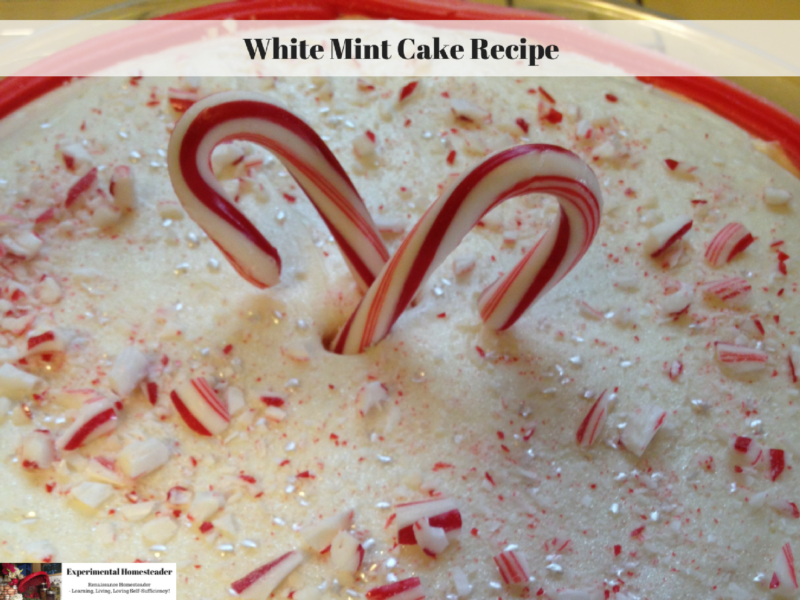
The candy canes, edible pearl dust and edible glitter stars add just the right amount of decoration to make it festive without being overpowering.
Best of all, because I used a box cake and pre-made icing it was quick and easy to make.
Below is the story behind the recipe plus how I decorated the cake.
The Story Behind The White Mint Cake Recipe
Peppermint is one of my favorite herbs - and of course, I love almost anything that is peppermint flavored.
In the past I have used my own peppermint (sometimes fresh, sometimes dried), peppermint essential oil or peppermint hydrosol (made by yours truly) to create peppermint confections - but lo and behold - this year they had pre-made peppermint icing in the stores!
What a relief that was given the lack of time I have this holiday season.
I had a white cake mix at home that a friend had given me - mainly because my step dad refused to eat anything homemade.
If it didn't come out of a box or can (or in the case of meat, come from the grocery store) it wasn't going in his mouth - and if it said organic anywhere on it, he was throwing it out.
So my eating habits changed drastically and now I have tons of store bought stuff that needs used up.
Hence, a box cake and pre-made icing.
Armed with the peppermint icing and the white cake mix, I knew I needed something more - what, I did not know, then it hit me - tiny candy canes and edible star glitter!
I picked up the miniature candy canes at the grocery store, but the edible glitter required a trip to Jo-Ann's Fabrics and Crafts.
Now, if you're anything like me, you know what happens when you visit a craft store.
Yip, you just have to wander around and look at everything.
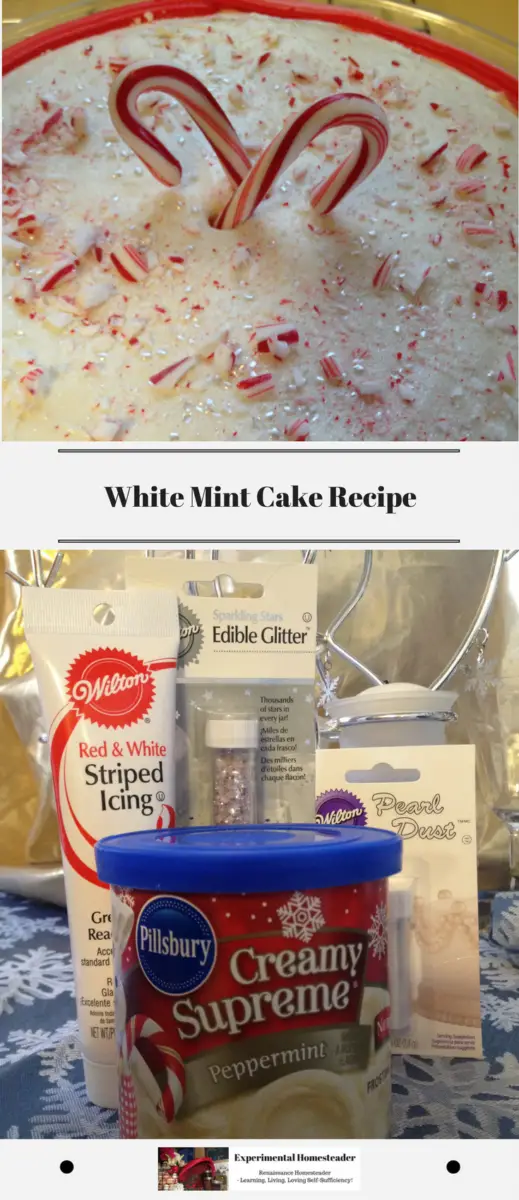
I went in to buy one jar of silver edible star glitter - and came out with the edible star glitter, a tube of red and white icing plus a jar of edible pearl dust.
This cake was going to look fabulous! There was no doubt about that!
Preparing The White Mint Cake Recipe
Now I'm sure you've all made a cake before, but I have to tell you, I love my KitchenAid mixer.
It's so nice to turn it on and be able to grease the pans or do other things during that couple of minutes while the cake batter is being mixed.
I also like the large stainless steel bowl.
It is easy to pour the batter out of, easy to scrap the excess batter out and easy to clean.
What more could one ask for?
Since I was using a box cake, I simply followed the instructions on the back of the box.
Once the batter was in the pans and the pans were in the oven, I began plotting my decorating strategy.
First, I laid out all the items I would need - the peppermint icing, the tiny candy canes, the red and white icing, the edible star glitter and the edible pearl dust.
I then went in search of my cake decorating tips.
By that time, the cake was done.
The tops were a little too round, but that was easy to fix (keep reading).
I removed the cakes from the pans and set each one on a wire cooling rack.
I then set the timer to 10 minutes.
I did wait a bit longer than that to begin working with the cakes because I wanted to make sure they were cool enough to handle and that the icing would not melt.
I did not - however - reset the timer.
I simply did the other things I needed to do, then went by the feel of the cake.
When it felt cold to the touch, I moved the first cake onto the cake plate.
Icing The White Mint Cake
The first thing I needed to do at this point was to cut the "mound" off the top of the cake.
Having a flat surface to work with is important if you intend to decorate the cake and make it look fancy.
I then spread some of the peppermint icing across the top of the cut area.
I had to be careful that I did not pick up bits of cake and mix them into the icing.
Once I was satisfied with the amount of icing on this layer, I sat the other piece of cake on top of the first piece and cut the top off again to make a smooth top.
If I had been thinking about what I was doing, I would have cut the "mound" off the top piece of cake, then flipped it so the cut area of the cake was laying against the other cake that I had just spread icing on.
This step would have made it easier to avoid picking up bits of cake when I was icing the top layer.
I then spread the remainder of the peppermint icing all over the cake.
When I was done, I repeatedly dipped my knife into a glass filled with hot water and used that knife to smooth the icing.
Final Touches For The White Mint Cake Recipe
Once I was satisfied with the way the peppermint icing looked, I began to edge the top of the cake with the red and white icing.
First, let me say, the red icing had bled into the white icing and thus I ended up with red icing.
Some areas were a lighter red, but the swirl effect I had hoped for was not there.
I also edged the bottom of the cake and the sides.
If I had to do over again, I would have bought two cans of peppermint icing and two tubes of the red and white icing.
I would not have needed quite that much, but I did run short.
Once the icing was in place, I covered the top of the cake (white icing) with the edible pearl dust (on a darker color icing this would really shine).
Once I was happy with the amount of pearl dust on the icing, I sprinkled the silver edible glitter stars all over the top.
Then I placed two mini candy canes in the center with the bottoms crossing one another.
I used a hammer to crush up two more mini candy canes and then sprinkled the small chunks and the powder residue over the top of the cake.
That's all there was to making this peppermint cake.
I can tell you this cake tastes great and is pretty enough to serve to guests during the holiday season.
One more plus to this cake is you can make it and decorate it in under an hour so it is ideal for those last minute carry-in holiday parties or unexpected guests (as long as you have a little notice they are coming).
I highly recommend the following articles:
- Reindeer Cupcakes To Make For Christmas
- Strawberry Shortcake Recipe
- Pineapple Upside Down Cake With A Twist
- Angel Food Cake Recipe With Poppyseed And Lemon Zest
Use the buttons on the right hand side of the screen to share this article with friends or family who might find it useful. Pin the picture below to your pinboard on Pinterest for future reference.