Disclaimer: I received this product/service at a reduced price or for free. All opinions are my own and are my honest opinions based on my own experience with the product.
With over two decades of tapping maple trees every February, my anticipation for the new Maple Tapping Tree Kit was undeniable.
As a seasoned homesteader, there's a special joy in crafting your own syrup straight from the trees you've nurtured organically.
This kit promised to enhance our tapping process with its thoughtful design and practical components, offering a seamless journey from tree to table right on our homestead.
The prospect of enhancing our pure, additive-free maple syrup straight from our land fueled my excitement, because of the addition of the line tubes to complement my grandfather's tried-and-true metal taps.
Join me on this homesteading adventure as we delve into the art of maple tapping and unlock the natural sweetness of our trees.
Taps That Make a Difference
One of the standout features of the Maple Tapping Tree Kit is the practical design of its taps.
Unlike the older taps I had inherited, which required cumbersome lifting of heavy buckets, these taps have revolutionized our tapping process.
Crafted with precision from durable, food-grade materials, they allow for the easy attachment of larger 5-gallon food-grade buckets with lids.
The introduction of this innovative tapping system, where the heavy buckets are set on the ground under the tree, has been instrumental in simplifying our tapping process.
This setup not only eliminates the need for lifting heavy buckets off of a hook attached to the metal tap, but also ensures a more stable and secure collection system.
Additionally, the use of sealed buckets and lines helps prevent bugs and other contaminants from compromising the purity of the sap collected from our trees.
Practicality Meets Convenience
The Maple Tapping Tree Kit offers ingenious solutions to common challenges faced by homesteaders during maple tapping season.
One such challenge is the threat of rainwater diluting the sap or bugs contaminating it.
With the introduction of sealed buckets and lines in the kit, these concerns are effectively addressed.
The use of sealed buckets ensures that rainwater cannot seep into the sap, making the boiling down process easier because there is no chance of collecting rainwater with the sap.
Additionally, the buckets are securely set on the ground under the trees, minimizing the risk of them tipping over during inclement weather, especially if you make sure to set them in a flat area and secure them to the tree itself with twine or ratchet straps.
This setup not only protects the sap from contamination but also allows for a more efficient collection process, even in adverse weather conditions.
In essence, the Maple Tapping Tree Kit provides practical solutions that enhance the efficiency and effectiveness of maple tapping on the homestead.
By addressing common challenges such as rainwater and bug infestation, the kit empowers homesteaders to produce high-quality syrup with ease and confidence, ensuring a successful and satisfying tapping season year after year.
Enhancing Efficiency with Tubing
The inclusion of tubing in the Maple Tapping Tree Kit is truly a game-changer for us homesteaders.
This innovative addition revolutionizes the way we collect sap, making the process smoother and more efficient than ever before.
Gone are the days of painstakingly emptying heavy buckets and worrying about contaminants sneaking into our precious sap.
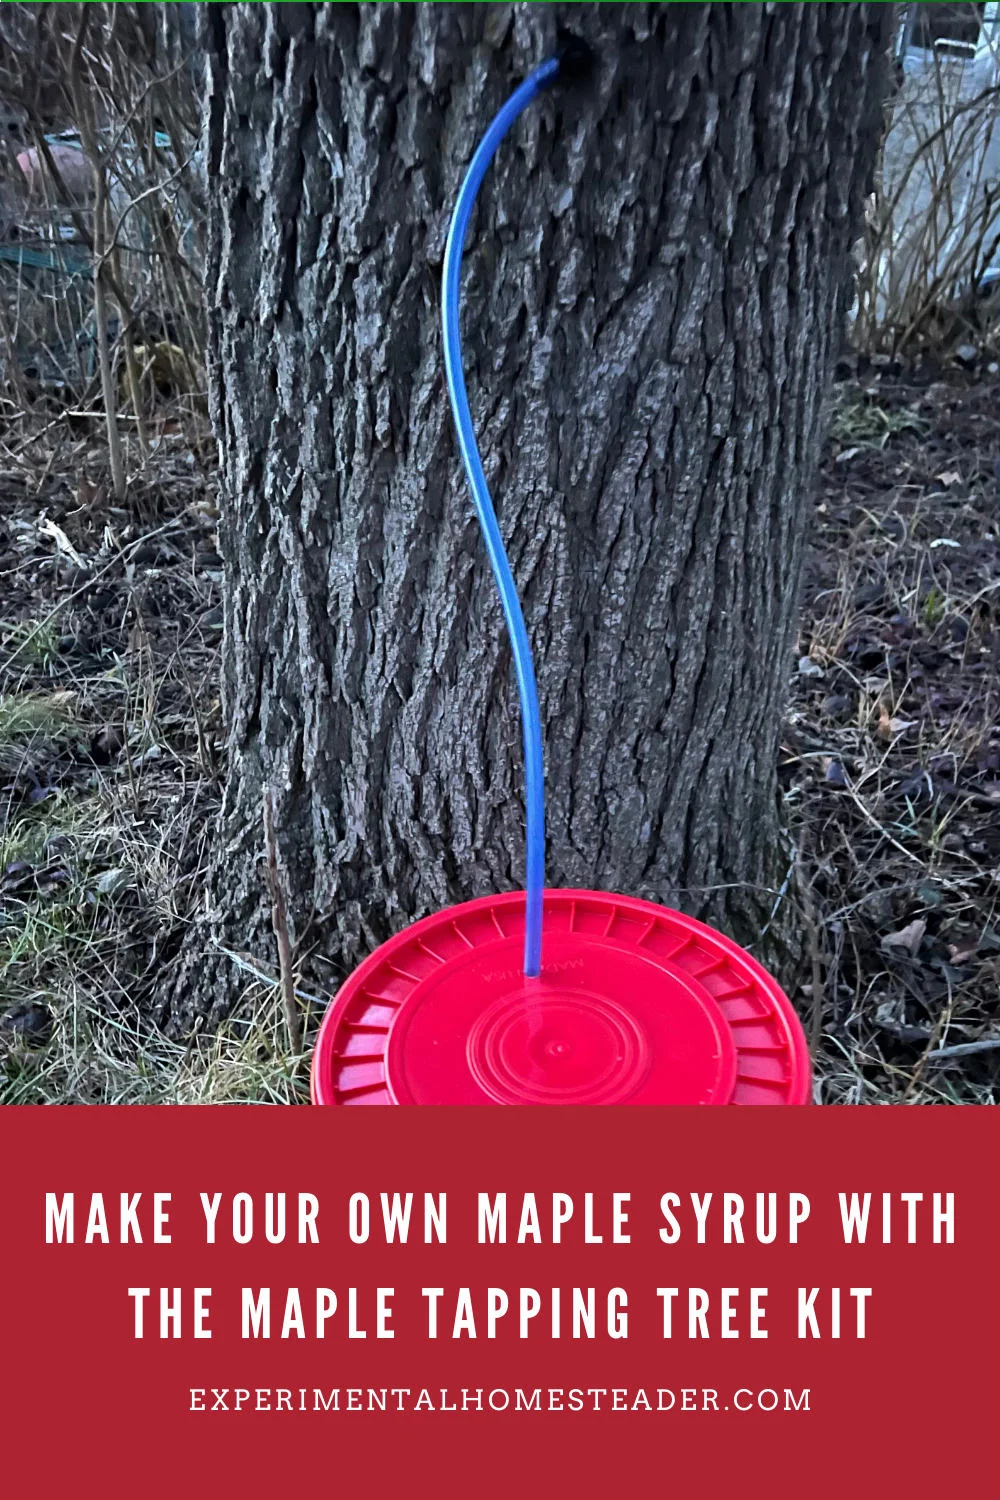
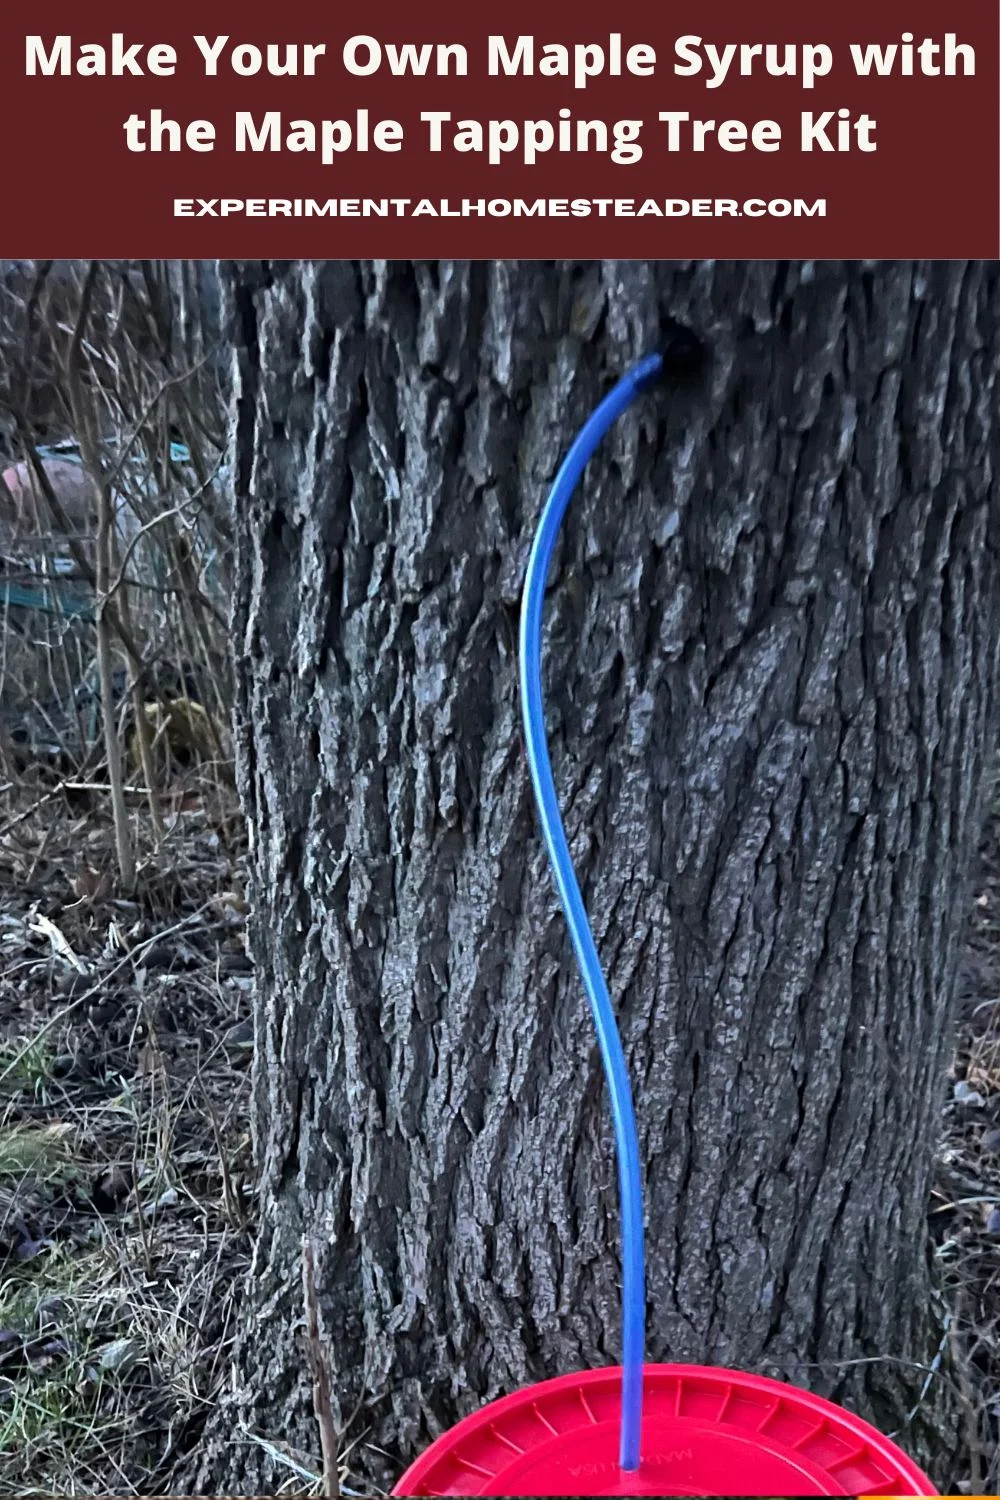
With the tubing seamlessly connecting the taps to the collection buckets, the sap flows directly from the tree to the container, eliminating the need for manual intervention.
This not only saves us time and effort but also ensures that the sap remains pure and untainted throughout the collection process.
Moreover, the tubing acts as a protective barrier, shielding the sap from unwanted debris, high winds that blow sap away and pests like ants.
By keeping the sap enclosed and secure, we can rest assured that only the finest quality sap makes its way into our buckets.
In essence, the tubing included in the kit not only enhances the efficiency of our sap collection but also safeguards the purity of our homemade syrup.
It's a simple yet ingenious addition that transforms the maple tapping experience for homesteaders like us, allowing us to enjoy the fruits of our labor with confidence and peace of mind.
Read on to see what all you get with this kit.
Comprehensive Kit Contents
This kit includes everything you need to get started, pre-connected and ready to use:
- (5) 5/16” Maple tree taps (spiles)
- (5) 5/16”x 3-foot blue drop line tubes
- (1) 80 Page Fully Illustrated Guide to Maple Tapping Book
- Quick-start instruction sheet by Maple Tapper, the maple tree tapping experts
The Guide to Maple Tapping
Accompanying the kit is the invaluable "Guide To Maple Tapping" by Julie Fryer.
Despite my years of experience, I was pleasantly surprised by the wealth of insights packed into its 80 pages.
From the basics of maple tapping to syrup-making techniques and delectable recipes, this guide is a must-have for any maple
tapper's arsenal.
Unique Features
The Blue Tubing is more bacteria resistant than traditional clear tubing; it draws less sunlight, yet still shows the flow of maple sap.
The 5/16” tap causes 30-35% less damage to the tree compared to traditional 7/16” spiles.
Of course, they stand behind the quality of the taps and tubes with a lifetime guarantee.
Unlocking the Maple and Walnut Tapping Potential
Whether you're a beginner or a seasoned pro, this kit is the perfect addition to your maple - or walnut - tree tapping arsenal.
In conclusion, the Maple Tapping Tree Kit, coupled with the expertise shared in Fryer's guide, has reinvigorated my passion for maple tapping.
If you're a fellow maple or walnut tree tapper, I highly recommend giving this kit a try and diving into Fryer's comprehensive guide—it's a journey you won't regret.
Want to know more about how our maple syrup season went?
Then be sure to listen to our podcast Reflections on a Challenging Maple Syrup Season.
Homestead Lifestyle
Discover the joys and challenges of homesteading with our Homestead Lifestyle collection of posts. From growing your own food and raising animals to crafting DIY solutions and embracing sustainable living, these articles provide practical tips, inspiration, and insights to help you build a more self-reliant life. Whether you're starting small in your backyard or managing a larger homestead, you'll find everything you need to simplify, thrive, and reconnect with nature. Explore topics like gardening, food preservation, animal husbandry, and more to create a homestead lifestyle that works for you.
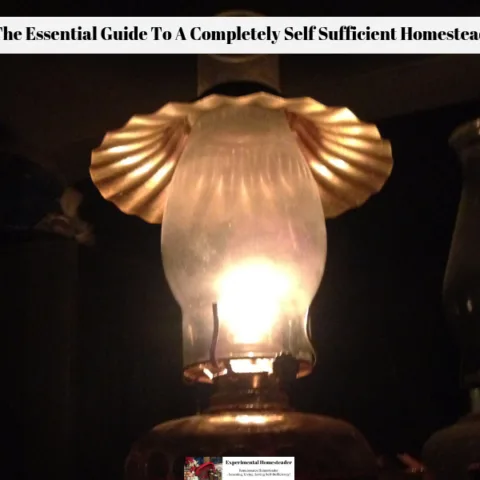
Cooking By Kerosene Lamp
There are many reasons you might find yourself cooking by kerosene lamp. Kerosene lamps have advantages over candles.
Homesteading Recipe Sharing: Connect, Preserve, and Inspire Through Your Favorite Recipes
Explore the significance of homesteading recipe sharing: from preserving traditions to connecting with others and sparking new ideas.
Diligence & Your First Homestead Property: An Essential Guide
Make your first homestead property a reality. Learn why diligence and a personal visit to the property are the foundations of success
Sow, Grow, and Glow: The Journey of a 1 Acre Self Sustaining Homestead
Create a thriving, 1 acre self sustaining homestead. Learn how to plan, design, grow food, and more with this guide!
Mastering the Art of Homesteading: Skills and Crafts
Explore the world of homesteading skills and crafts, from self-sufficiency to survival, and discover the art of self-reliant living.
DIY Guide: Building Your Goat Milk Stand
This guide will ensure you create a functional and comfortable milking platform for your goats.
Homestead Chicken Coop Tips
Check out these basic chicken coop ideas to help you get your homestead chicken coop set up right the first time and keep your chickens safe. #homesteadchickencoop #chickencoop #chickencoopideas #backyardchickens
From Dream to Reality: Start a Homestead with Zero Funds
Start a homestead with zero funds! Discover practical strategies for a budget-friendly, self-reliant lifestyle.
8 Things To Consider For A Survival Homesteading Property
If you're considering a survival homesteading property, here are the 8 factors to help you determine if it's right for your household.
Thriving Through Self-Sufficiency: A Journey to a Balanced Life
Learn how to thrive through self-sufficiency: slow down, live intentionally, and find balance for a healthier and more sustainable lifestyle.
Quick DIY Tips for Self-Sufficiency: Simple Steps To Start Today
Discover quick DIY tips for self-sufficiency, from gardening to food preservation, to build confidence and live sustainably today.
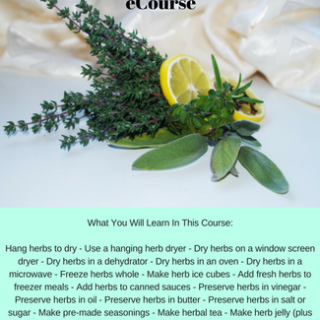
Preserving Herbs For Winter Use eCourse
Do you love fresh herbs but wonder if there is an easy way to preserve them for the winter?
Do you seek other ways to use herbs other than just as a seasoning on food?
There are so many ways to preserve herbs for winter use – from various methods of drying them to freezing them, but it doesn’t end there.
Some of the best ways to preserve herbs in right in the foods you would normally incorporate herbs into – pre-made seasonings, teas, butter or oil.
Then this is the course for you!
What You Will Learn In This Course:
Hang herbs to dry
Use a hanging herb dryer
Dry herbs on a window screen dryer
Dry herbs in a dehydrator
Dry herbs in an oven
Dry herbs in a microwave
Freeze herbs whole
Make herb ice cubes
Add fresh herbs to freezer meals
Add herbs to canned sauces
Preserve herbs in vinegar
Preserve herbs in oil
Preserve herbs in butter
Preserve herbs in salt or sugar
Make pre-made seasonings
Make herbal tea
Make herb jelly (plus tips on how to use these)
Harley-Davidson Motorcycle History How Legendary Harley Motorcycles Originated & Developed, Since 1903
The Harley-Davidson Company has a long history here in the United States. Learn how they originated and how they have been used.


