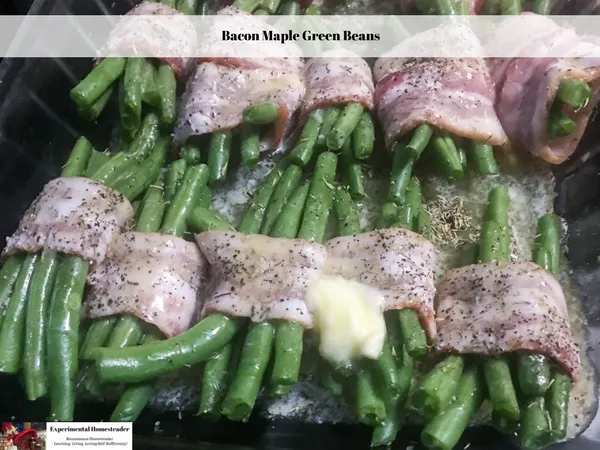
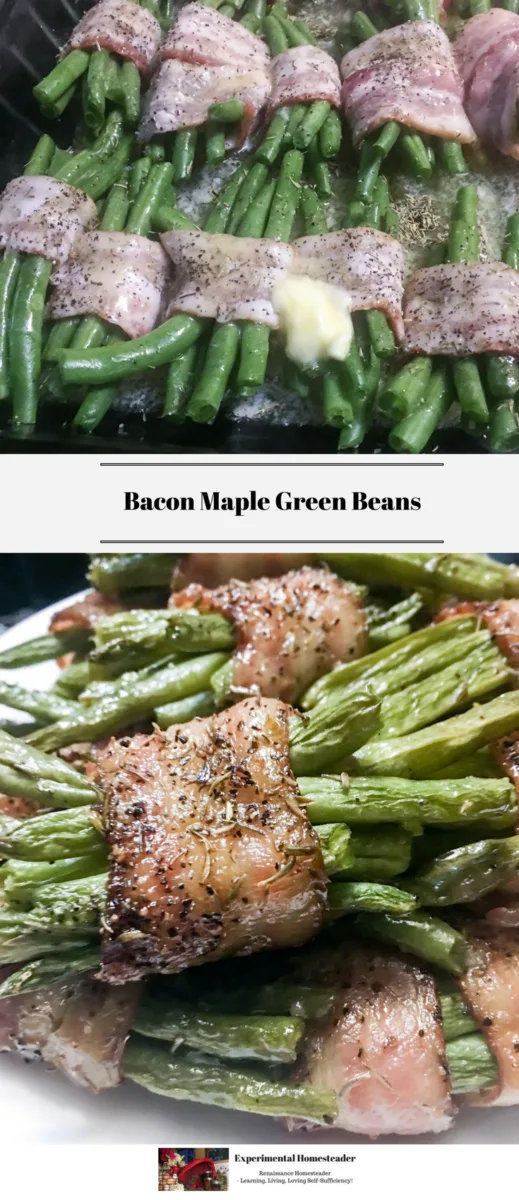
When I came across this bacon maple green beans recipe in the Where Women Cook Magazine I was reading, I knew I had to try it.
Behind The Scenes
I had never had baked green beans before and was kind of scared this recipe was going to ruin my fresh green beans - but I have to tell you I was tempted to try it.
I'm glad I did too because although this is not going to be the main way I cook green beans from the garden, it is certainly worth doing from time to time.
The green beans tasted good but were a bit on the sweet side for my taste.
They looked elegant wrapped in bacon and so for a special meal, this recipe is ideal.
A little prep work is all it takes, then they bake in the oven right along with your other food.
Here is my recipe.
PrintBacon Maple Green Beans
- Prep Time: 15 minutes
- Cook Time: 45 minutes
- Total Time: 1 hour
- Category: Vegetables
- Method: Bake
Ingredients
- 1 pound of fresh green beans
- 1 stick of butter
- 4 to 6 Tablespoons maple syrup
- 1 teaspoon Herbes de Providence
- Salt
- Pepper
- Bacon
Instructions
- Begin by rinsing the fresh green beans off under cold running water. This is necessary to do because sometimes faded green bean flowers, dirt or bugs are stuck to the outside of the bean.
- Once the green beans are clean, snap off both ends. Some people prefer not to do this, but I like to. The decision is yours. Just make sure no stems remain on the beans.
- Preheat the oven to 350 degrees F.
- The next step is to gather five to eight green beans into a bunch.
- Wrap the bacon around the green bean bundle one time making sure to slightly overlap the bacon ends.
- I used kitchen shears to cut the bacon at this point. I was able to wrap three bundles of green beans using one slice of bacon.
- Lay the bacon bundles in a baking pan that has edges with the bacon ends facing the bottom of the pan.
- If you wish, you can lay extra slices or chunks of bacon over the top of the green bean bundles at this point.
- Melt one stick of butter - or if you are using homemade butter, melt ½ cup of butter. Be sure to measure it unmelted.
- Pour the melted butter over the top of the green bean bundles.
- Drizzle maple syrup over the top of the green beans. The maple syrup does sweeten the green beans and next time I am going to try this recipe without using the maple syrup.
- Sprinkle salt, pepper or your other preferred seasonings on top of the green bean bundles.
- Place the green bean bundles into the pre-heated oven. Do not put a lid or foil over them.
- Cook for 30 minutes.
- Turn the oven up to 400 degrees F and cook for 10 to 15 minutes longer. This will crisp the bacon and make it edible.
I highly recommend the following articles:
- Roasted Veggie Dinner With Dijon Drizzle
- How To Eat Organic On A Budget
- 15 More Organic Cooking Tips
- 16 More Organic Cooking Tips
Use the buttons on the right hand side of the page to share this article with friends or family who might find it useful. Pin the picture below to your pinboard on Pinterest for future reference.


