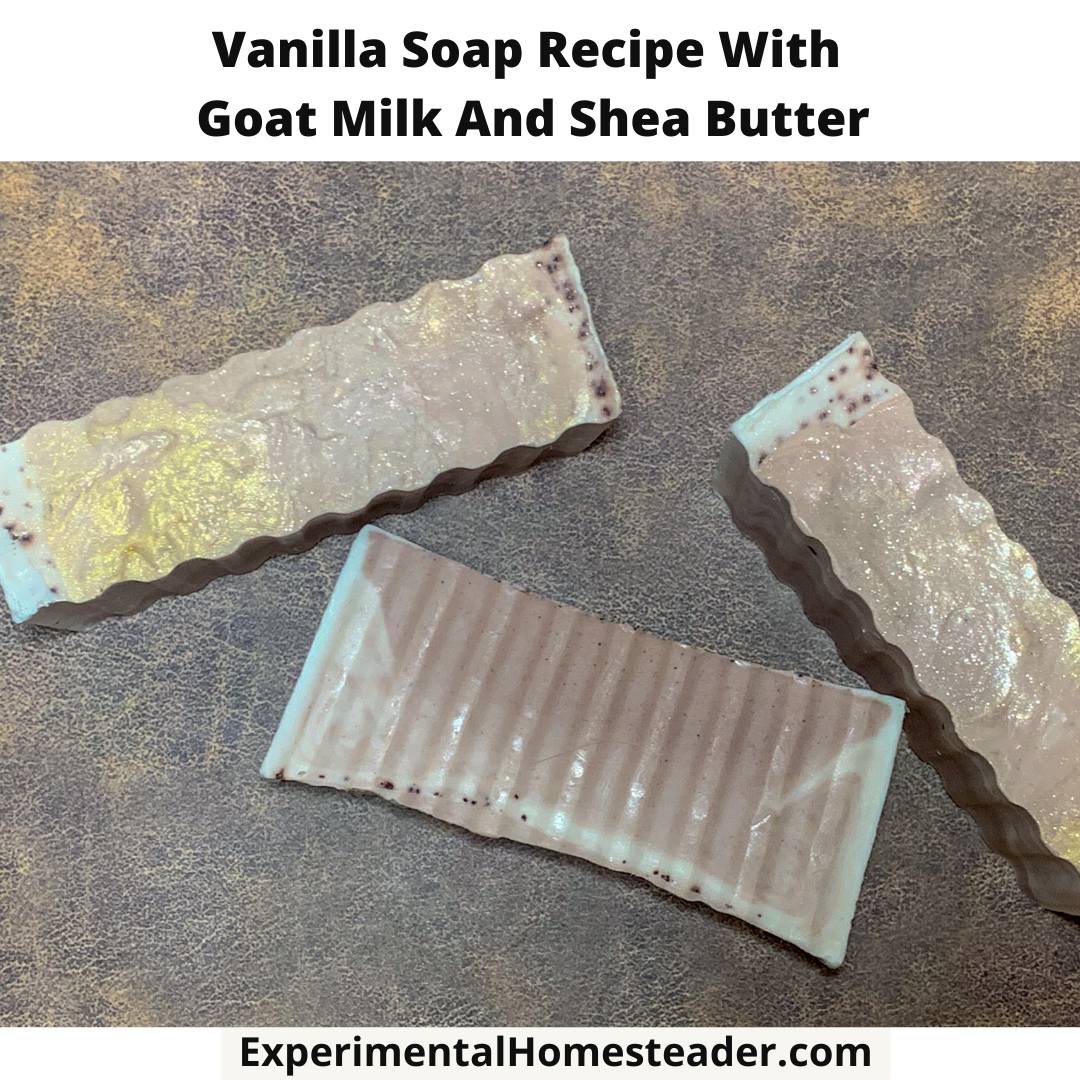
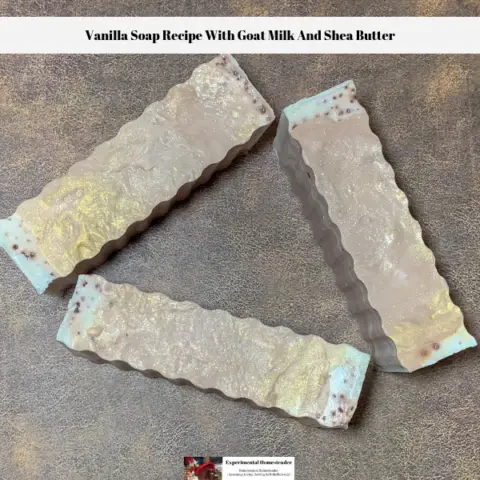
Vanilla Soap Recipe With Goat Milk And Shea Butter
This vanilla soap recipe smells divine plus it moisturizes, softens and soothes the skin.

This soap is ideal for people who have dry sensitive skin.
The base recipe below uses goat melt and pour soap making it ideal for people who want to make their own soap, but do not want to work with lye.
With that said, this soap does contain lye, however since the saponification process has already taken place, the lye and oil molecules have already combined change into soap and glycerin.
The truth is, although a lot of people look for a soap recipe without lye, such a recipe simply does not exist.
Melt and pour soap bases are perfectly safe to use and there is no need for you to handle lye yourself.

The Two Soap Bases In This Vanilla Soap Recipe
This particular vanilla soap recipe uses two different melt and pour soap bases.
For those familiar enough with making their own soap bases from scratch, you can do that.
The process would involve making plain batches of each of these soaps, then hand-milling them, melting them down and adding the other ingredients.
The two melt and pour soap bases are a shea butter base and a clear glycerin base.
Clear glycerin bases are made with vegetable oils and require remelting after making them from scratch to make them clear.
A shea butter base is also a glycerin soap, but it is made using shea butter.
The addition of the shea butter makes the soap creamy and highly moisturizing.
Shea butter soap bases also lather well.
When mixing melt and pour soap bases, it is best to stuck with the same brand.
With that said, you can also mix melt and pour soap bases with traditional hot process or cold process soap bases, just be aware that the melt and pour might melt completely, so it is best not to try to do soap embedding with it.
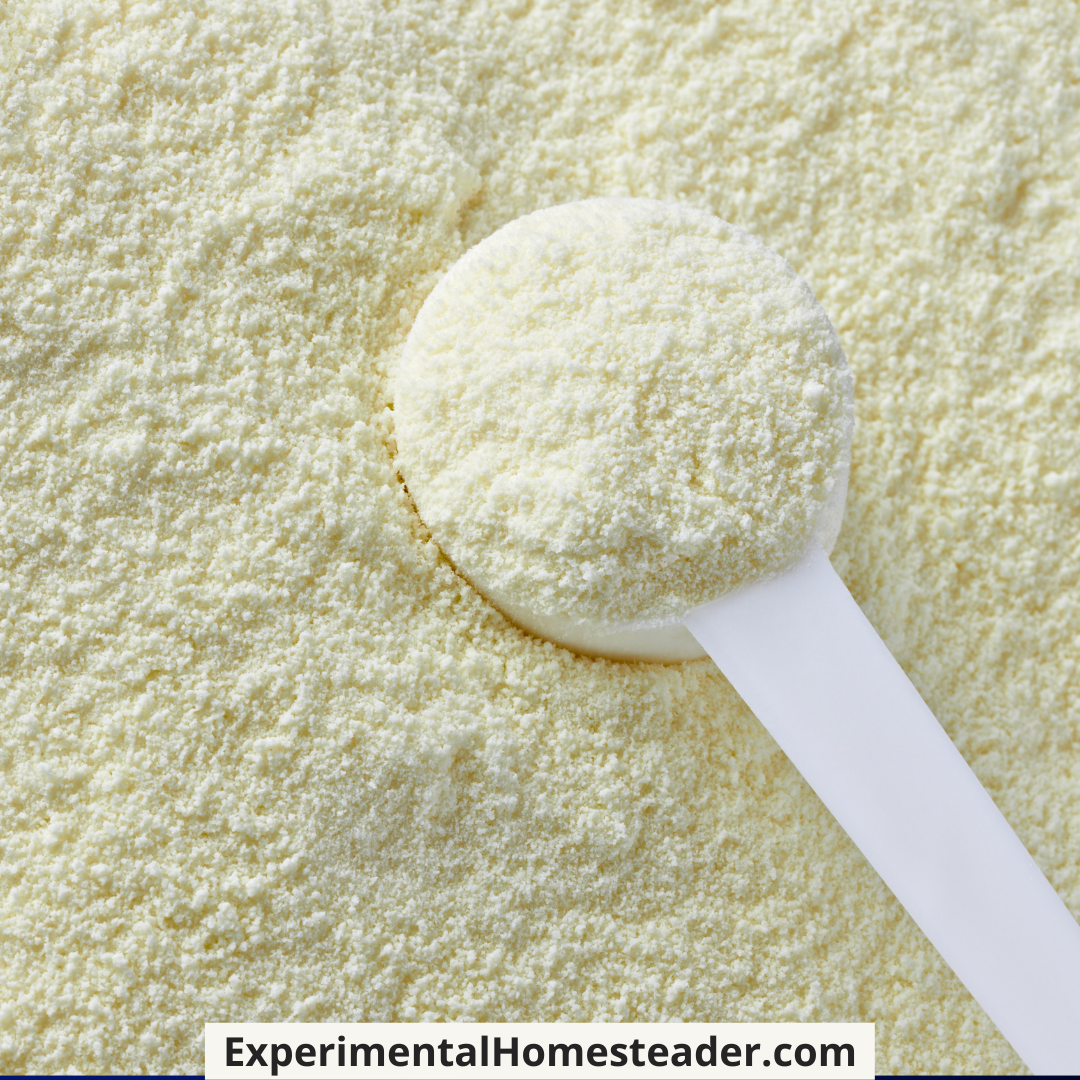
Using Goat Milk Powder In This Vanilla Soap Recipe
Sometimes when you add a perishable product to a melt and pour soap base, the soap goes rancid after a short period of time.
With this recipe, so far, I have not had an issue.
Of course, I did let my soap cure for six weeks, then wrapped it in Saran Wrap and placed it in a plastic shoe box with a lid for safe keeping until I was ready to use it.
I do have some bars of this vanilla soap recipe that are over a year old and they are still fine.
I make up larger batches when I make soap because I like to give it as gifts, sell a few bars here and there as well as always have a supply of various types of soap on hand for personal use.
If you are at all concerned with using goat milk powder, or simply do not want to purchase an ingredient you might not use up, substitute a goat milk melt and pour base for the glycerin soap base, then simply omit the goat milk powder.
Goat milk powder, just like real goat milk or even a goat milk melt and pour base is a natural emollient.
Soaps with goat milk in them are know to balance the skins pH, soothe and moisturize.
Goat milk based soaps are a mild soap with a pH level similar to our skin.
Easy Powdered Goat Milk Vanilla Soap Recipe
Here is the recipe for my easy powdered goat milk vanilla soap recipe.
The additives such as the goat milk, honey and cacao powder are optional, but to get the wonderful scent and all of the moisturizing, softening and soothing properties of the soap, I do encourage you to use them.
Vanilla Soap Recipe With Goat Milk And Shea Butter
Materials
- ½ pound melt and pour glycerin soap base (or substitute a goat milk melt and pour base)
- ½ pound shea butter melt and pour soap base
- 1 Tablespoon goat milk powder
- 1 Tablespoon hot water
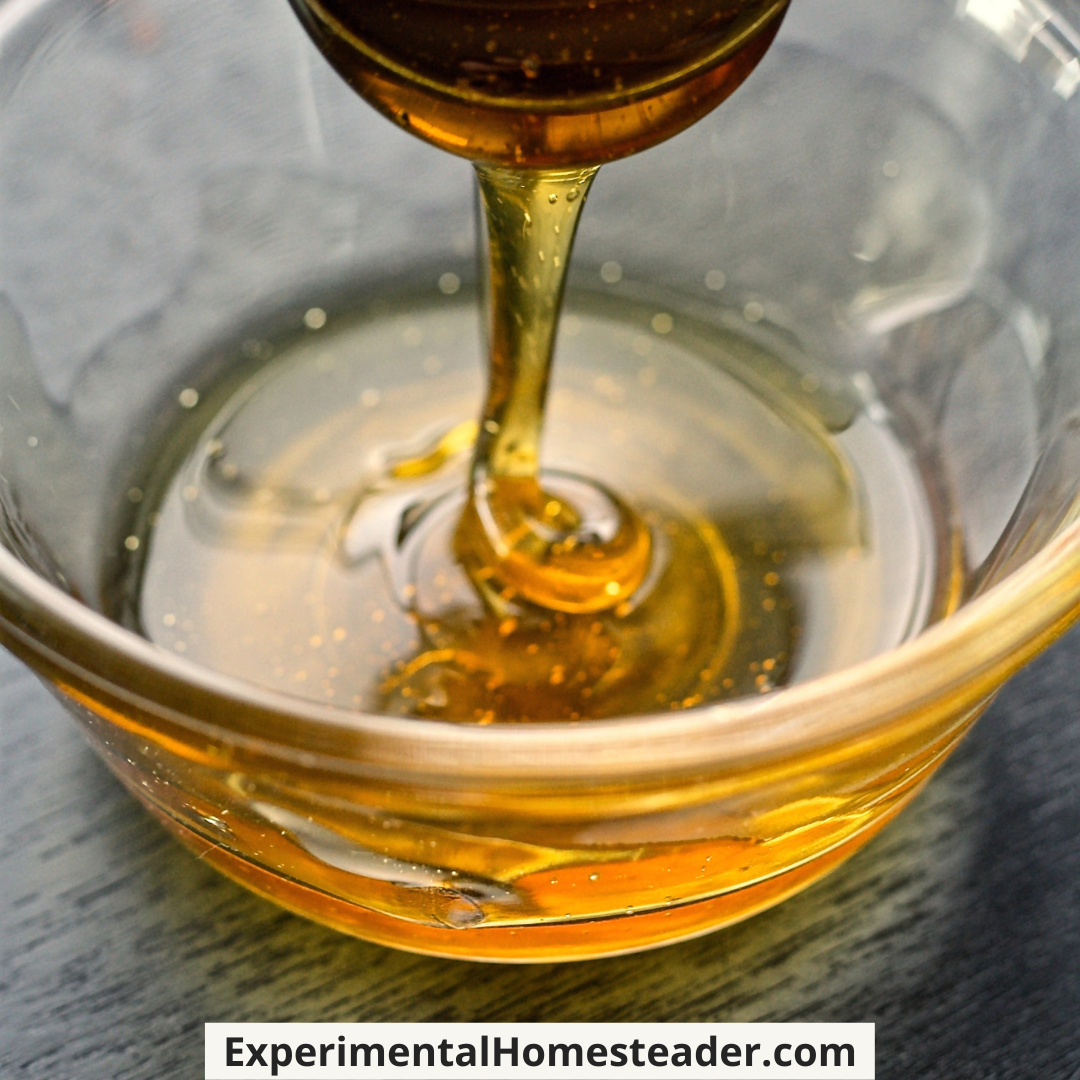
- 2 teaspoons honey
- 1 teaspoon vanilla essential oil
- 1 teaspoon cocoa powder
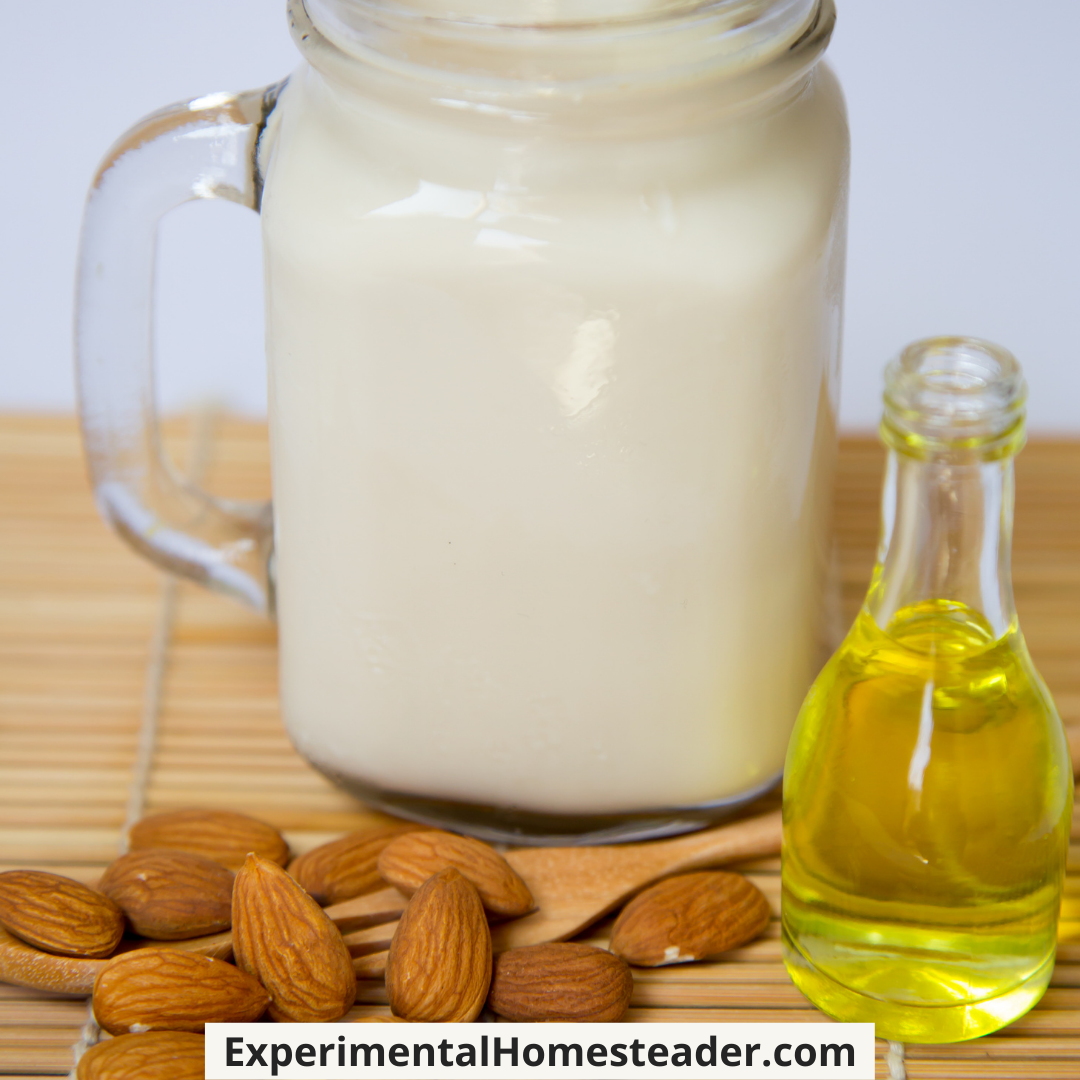
- 1 teaspoon sweet almond oil
- Rubbing alcohol
- Gold mica powder
Tools
Instructions
- Mix the powdered goat milk with the hot water making sure to stir it until there are no lumps.

- Add the almond oil to the goat milk.
- Stir briefly, cover the top of the container with plastic wrap and then set the container aside.
- Measure out the honey and put it in a separate container.
- Add the cocoa powder to the honey and use a whisk to combine the two making sure to get rid of all the cocoa powder lumps.
- Set this container aside.
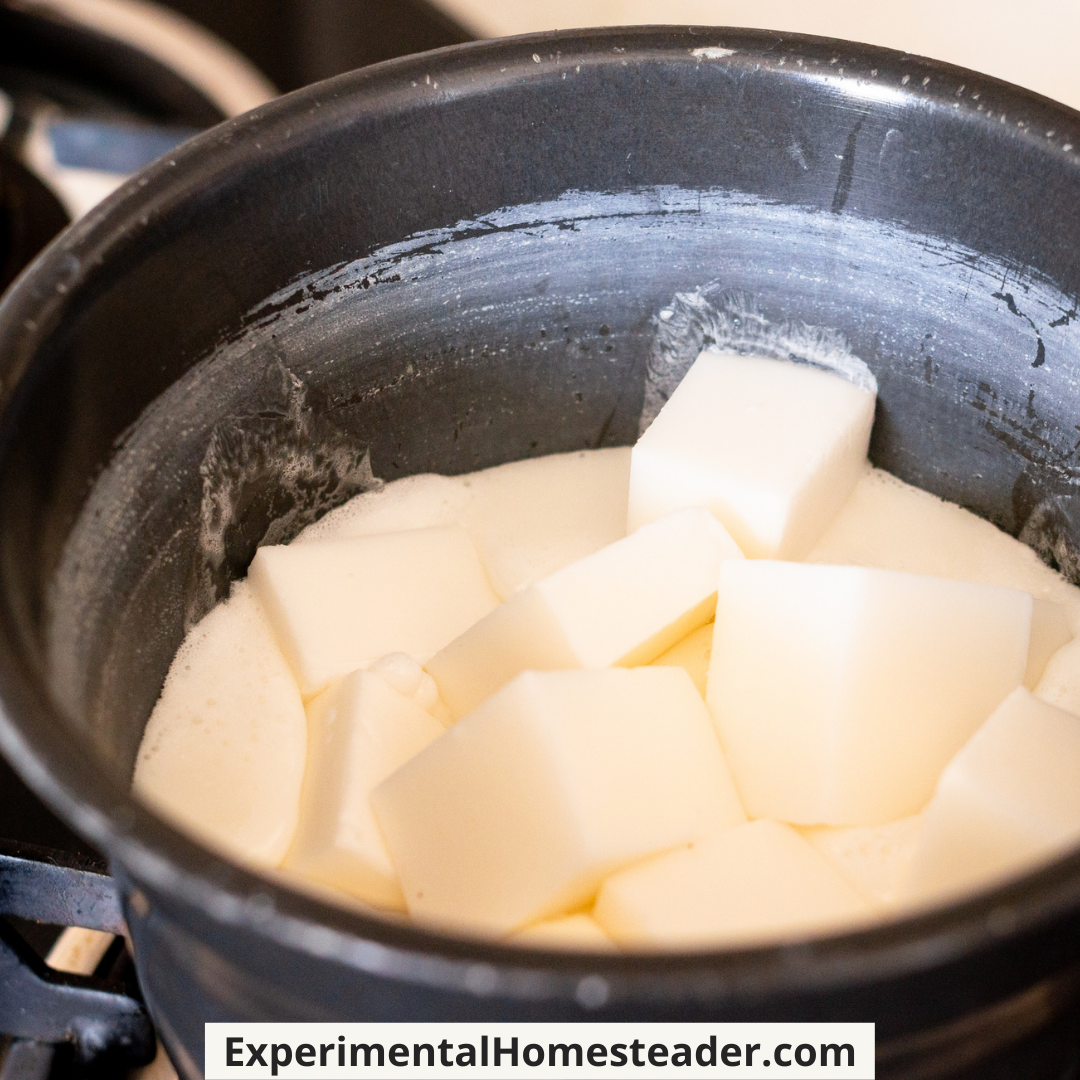
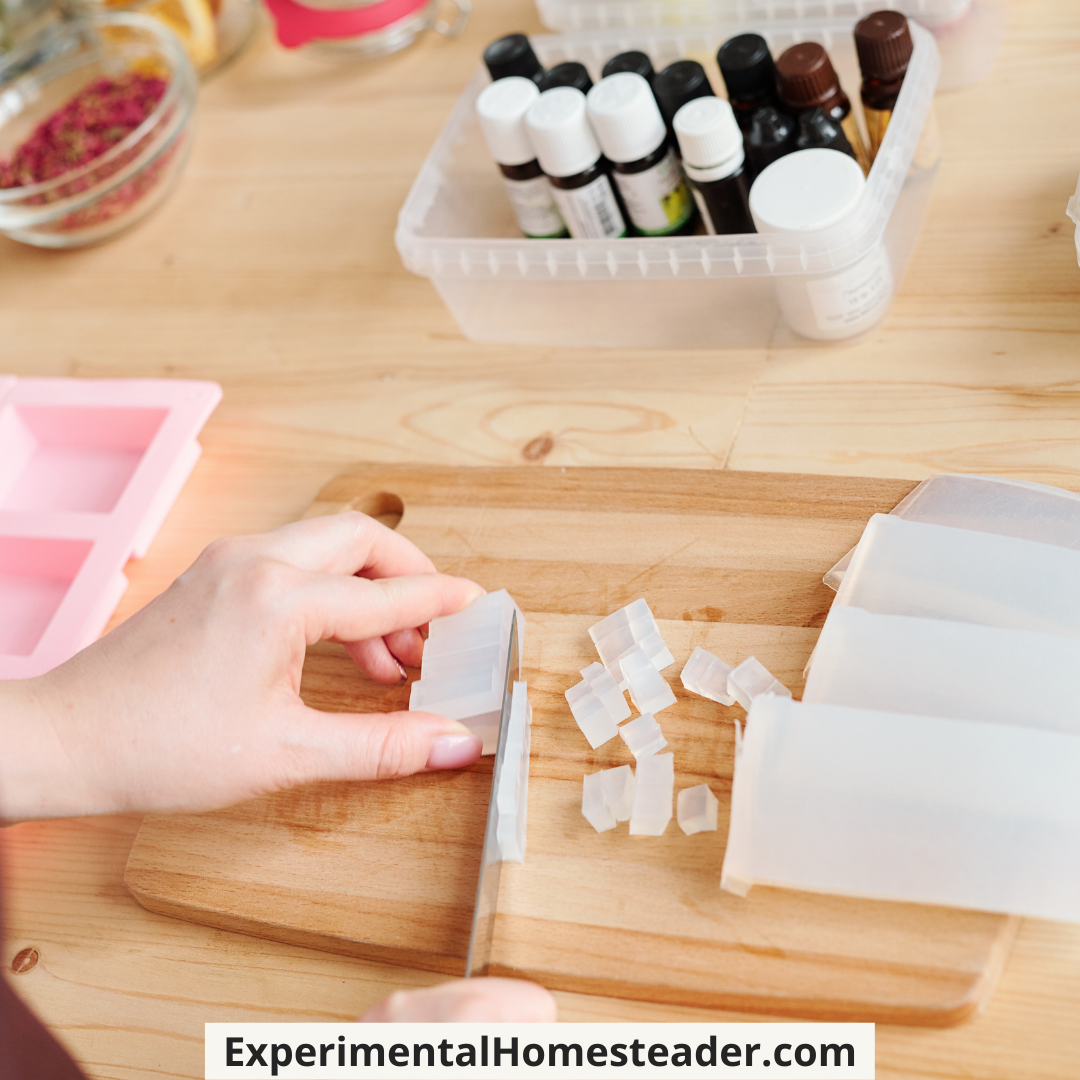
- Cut the shea butter melt and pour soap base into cubes and add them to either a double broiler or an electric soap melting pot if you have one.
- Melt the shea butter soap base.
- Once the shea butter soap base is melted, remove it from the heat source and pour it into a glass measuring cup.
- Now pour the goat milk and almond oil mixture into the container with the melted shea butter soap base and stir to combine.
- Cover the container with the soap base with plastic wrap and set it aside.
- Cut the glycerin soap into chunks and melt it in either a double boiler or an electric soap melting pot.
- Once the glycerin melt and pour soap base is melted, remove the soap from the heat and pour it into a large glass measuring cup.
- Stir the honey and cocoa powder mixture into the glycerin melt and pour soap base.
- Cover the top of the container with the glycerin melt and pour base with Saran Wrap and set it aside.
- Now uncover the container with the melted shea butter and give it a quick stir. The top may be a little gelled, but this will melt once you stir it. If the soap is too thick, reheat it in the microwave, ten seconds at a time making sure to stir it after each time the timer goes off. You want it pourable, but not steaming hot.
- Add the vanilla essential oil to the shea butter mixture and stir to incorporate it.
- Now pour the shea butter into the soap mold.
- If you are using a mold with shaped bars, make sure you only fill each mold halfway up. I suggest using a rectangle soap mold for this project.
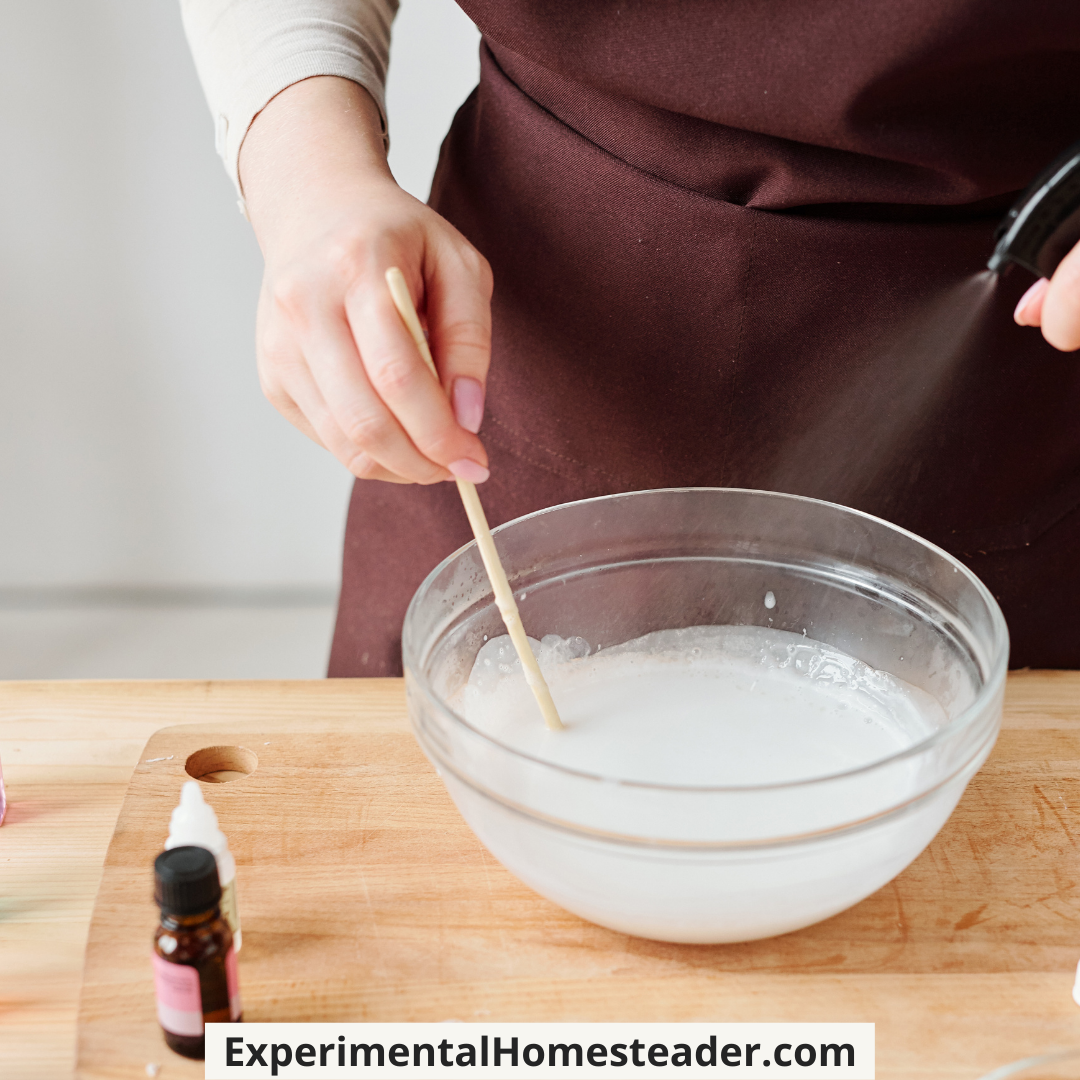
- Spray the top of the shea butter with rubbing alcohol to eliminate any bubbles.
- Now remove the plastic wrap from the top of the glycerin soap container and give it a quick stir. If it is too thick, reheat it in the microwave ten seconds at a time, stirring it after each time the timer goes off, just like you did with the shea butter. You do not want this too be steaming hot either.
- Now pour the glycerin soap in a wavy pattern over the top of the shea butter soap.
- Use a wooden skewer to swirl and combine the two soaps so they make a pretty pattern. Do not stir the soaps together, rather drag the skewer in a wavy pattern through the soap layers.
- When you are done, spray the top of the soap with rubbing alcohol to eliminate any bubbles.
- If you wish, you can create a wavy top on your soap by waiting until the soap begins to thicken then using the wooden skewer or a spoon to create "waves" in the soap.
- Allow the soap to dry a little bit more and then brush some gold mica powder on top if you wish to.
- Once you are done with the soap, set it aside in a draft-free place to dry overnight.
- The next day check to make sure the soap is dry and if so, release it from the mold. It should come out easily. If it does not, let it side and dry a little longer.
- Once the soap is out of the mold, cut it into bars and sit it on cooling racks covered with paper towels to dry.
- Turn the soap once a day and let it cure for up to six weeks.*

Notes
*Melt and pour soap bases are ready as soon as you remove them from the mold, however curing the soap makes it last longer.
Recommended Products
Sheri Ann Richerson is a participant in the Amazon Services LLC Associates Program, an affiliate advertising program designed to provide a means for sites to earn advertising fees by advertising and linking to Amazon.com.
-
 Organic Clear Glycerin - 2 Lbs Melt and Pour Soap Base - Our Earth's Secrets
 -
Shea Butter - 2 Lbs Melt and Pour Soap Base - Our Earth's Secrets
-
5 LB PREMIUM GOATS MILK GLYCERIN MELT & POUR SOAP BASE NATURAL PURE ORGANIC
-
GREEN GOAT Whole Goat Milk Powder, 12 OZ
-
Nature Nate’s 100% Pure Raw & Unfiltered Honey; 32-oz. Squeeze Bottle; Certified Gluten Free & OU Kosher Certified; Enjoy Honey’s Balanced Flavors, Wholesome Benefits & Sweet Natural Goodness
-
Now Solutions Natural Vanilla Essential Oil (in Jojoba Oil), 1-Ounce
-
Kiva Raw Organic Cacao Powder (Unsweetened Cocoa - Dark Chocolate Powder) - Made from the BEST tasting PREMIUM Criollo Cacao Beans - Large 1 LB. Bag
-
NOW Solutions Organic Almond Oil, 8-Ounce
-
Swan M314 Isopropyl Alcohol, 99%, 16 oz.
-
Mica powder – Soap Making Kit – Powdered Pigments Set – Soap making dye – 24 coloring - Hand Soap Making Supplies - Resin Dye - Mica Powder Organic for Soap Molds - Bath Bomb Dye Colorant – Makeup Dye
-
ESA Supplies Wooden Soap Loaf Cutter Mold and Soap Cutter Set + 1 pc Rectangle Silicone Mold with Wood Box + 1 pc Straight Cutter + 1 pc Wavy Cutter
-
Double Boiler & Steam Pots for Melting Chocolate, Candle Making and more - Stainless Steel Steamer with Tempered Glass Lid for Clear View while Cooking, Dishwasher & Oven Safe - 3 Qts & 4 Pieces
-
Anchor Hocking 4 Cup Measuring Cup w/ Blueberry Infusion,32 oz
-
Fox Run Bamboo Skewers, 10-Inch
-
1Easylife 18/8 Stainless Steel Measuring Spoons, Set of 6 for Measuring Dry and Liquid Ingredients
-
MOSISO Digital Kitchen Scale in Refined Stainless Steel Multifunction with Fingerprint Resistant Coating (11 lbs Edition)
-
Juvale 20-Pack Fine Mist Mini Plastic 2.7-Ounce Spray Bottles with Atomizer Pumps for Essential Oils, Aromatherapy, and Travel, Empty, Clear, Refillable and Reusable
-
Wilton Excelle Elite 3-Tier Cooling Rack for Cookies, Cakes and More
-
Seventh Generation Paper Towels Regular Roll, 140 Sheets, White, 1 Pack
-
YOUSHARES 10pcs Art Paint Brush Set for Watercolor, Oil, Acrylic Paint/Craft, Nail, Face Painting

The Importance Of Allowing This Vanilla Soap Recipe To Cure
While it is true that melt and pour soaps are ready to use as soon as they are removed from the mold, allowing them to cure longer is something I highly recommend.
In my personal experience I have found allowing them to cure makes them last longer once I start to use them.
Some of the glycerin might appear as bubbles on the soap as it is curing.
This is nothing to get concerned about.
You can either wipe it off or just let it evaporate naturally, which is what I usually do.
I also find the scent is not quite as strong once the bars of soap are cured and while I can still smell it, the smell is not as overpowering as it often is when soap is first made.
As a final reminder, even cured soap, especially those high in glycerin, can still seep, so always take the time to wrap homemade soap in plastic wrap and store it in a cool, dry place until you are ready to use it.
I also make labels for my soaps that include the name of the soap and the ingredients, in part because I do sell and gift soap, but also so if I ever have an allergic reaction to one of my homemade soaps I know what was in it.
To date, I have never had an allergic reaction to any homemade soap, however it is better to be safe then sorry by not knowing what was in the soap.
When it comes to store bought soap, I have had more than one allergic reaction.
I hope you enjoy this vanilla soap recipe with goat milk and shea butter.
If you need help or have questions, be sure to leave them in the comment section below.
Melt And Pour Soap Making Recipes
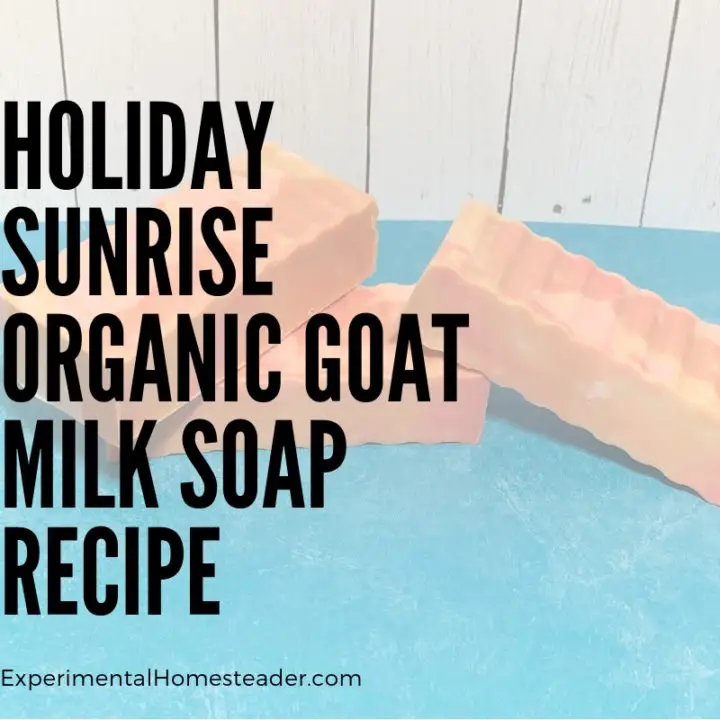
Holiday Sunrise Organic Goat Milk Soap Recipe
This organic goat milk soap recipe was easy to make using a combination of a melt and pour soap base, essential oils, honey and mica powders!
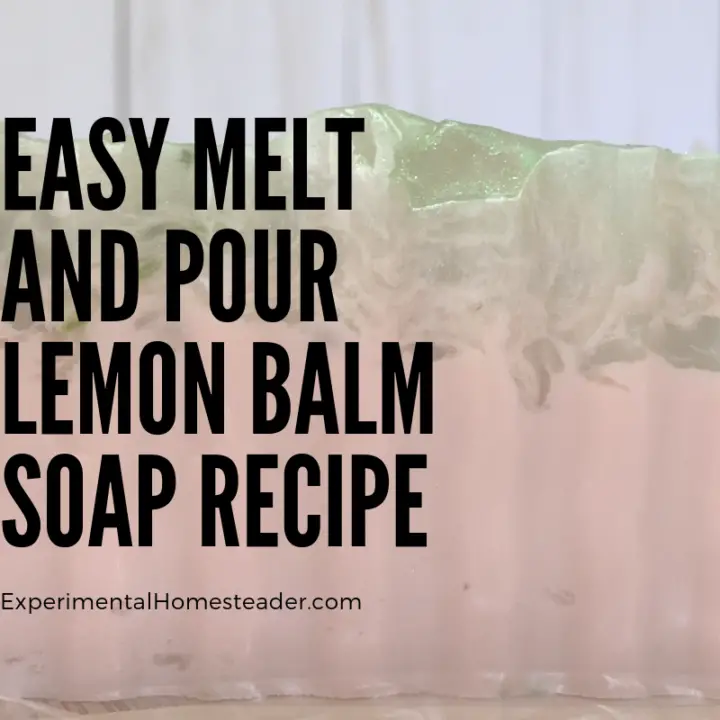
Easy Melt And Pour Lemon Balm Soap Recipe
This easy melt and pour lemon balm soap recipe is a great way to use up some of that lemon balm you are growing. It's also an easy recipe for beginners.
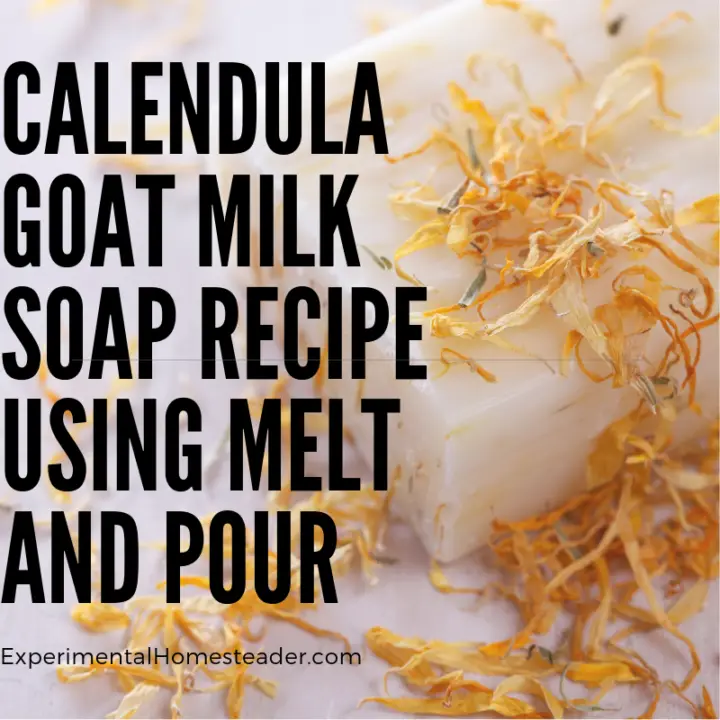
Calendula Goat Milk Soap Recipe Using Melt And Pour
Make your own soap for dry skin at home with this easy goat milk soap recipe using melt and pour soap base, dried calendula flowers and calendula oil.

Melt And Pour Goat Milk Soap Recipe
This melt and pour goat milk soap recipe is easy enough for a beginner to create, but can also be made using a homemade soap base if you prefer.