Knowing these freeze drying food storage tips can be a game-changer for us homesteaders, ensuring our harvests stay fresh and nutritious for the long haul.
Imagine being able to preserve your garden's bounty or bulk purchases for years without compromising on quality or taste.
Freeze drying, a process that removes moisture while preserving the food's structure and nutrients, is perfect for homesteaders looking to make the most of their efforts.
Whether you're preparing for emergencies, aiming to reduce food waste, or simply wanting to enjoy summer flavors throughout the year, mastering freeze drying is essential.
In this article, we'll explore essential tips and tricks for effective freeze drying, helping you navigate the process with confidence.
From choosing the right equipment for properly storing your freeze-dried goods to rehydrating it, these insights will set you on the path to successful food preservation.
Let's dive into these freeze drying food storage tips and take your homesteading to the next level!
Freeze-drying is an amazing way to preserve food by freezing it down to -40°F and then shifting the water content directly from ice to vapor in a vacuum.
This two-step process, called sublimation, removes moisture while keeping the food's shape, color, flavor, and nutritional value intact.
A freeze-drying machine does most of the heavy lifting for you.
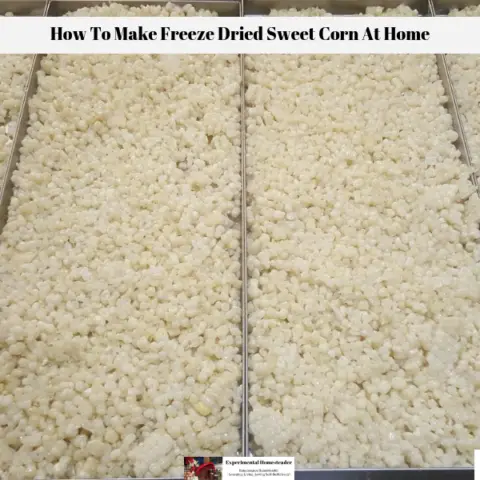
Keeping pieces small and uniform helps them dry quicker and more consistently.
Once the trays are loaded, they go into the chamber, and the machine freezes the food and creates a vacuum to turn the icy water directly into vapor.
After about 24 hours for less moist foods and up to a couple of days for juicy items like pineapple, you'll have your freeze-dried stash ready for packing.
Freeze drying is also a great way to preserve fresh goat milk or even cow's milk gathered on your homestead.
Keep in mind that fat-rich foods like butter and cheese might not freeze-dry well, and avoid honey, jams, and high-sugar items as they don't work well in the freeze-drying process.
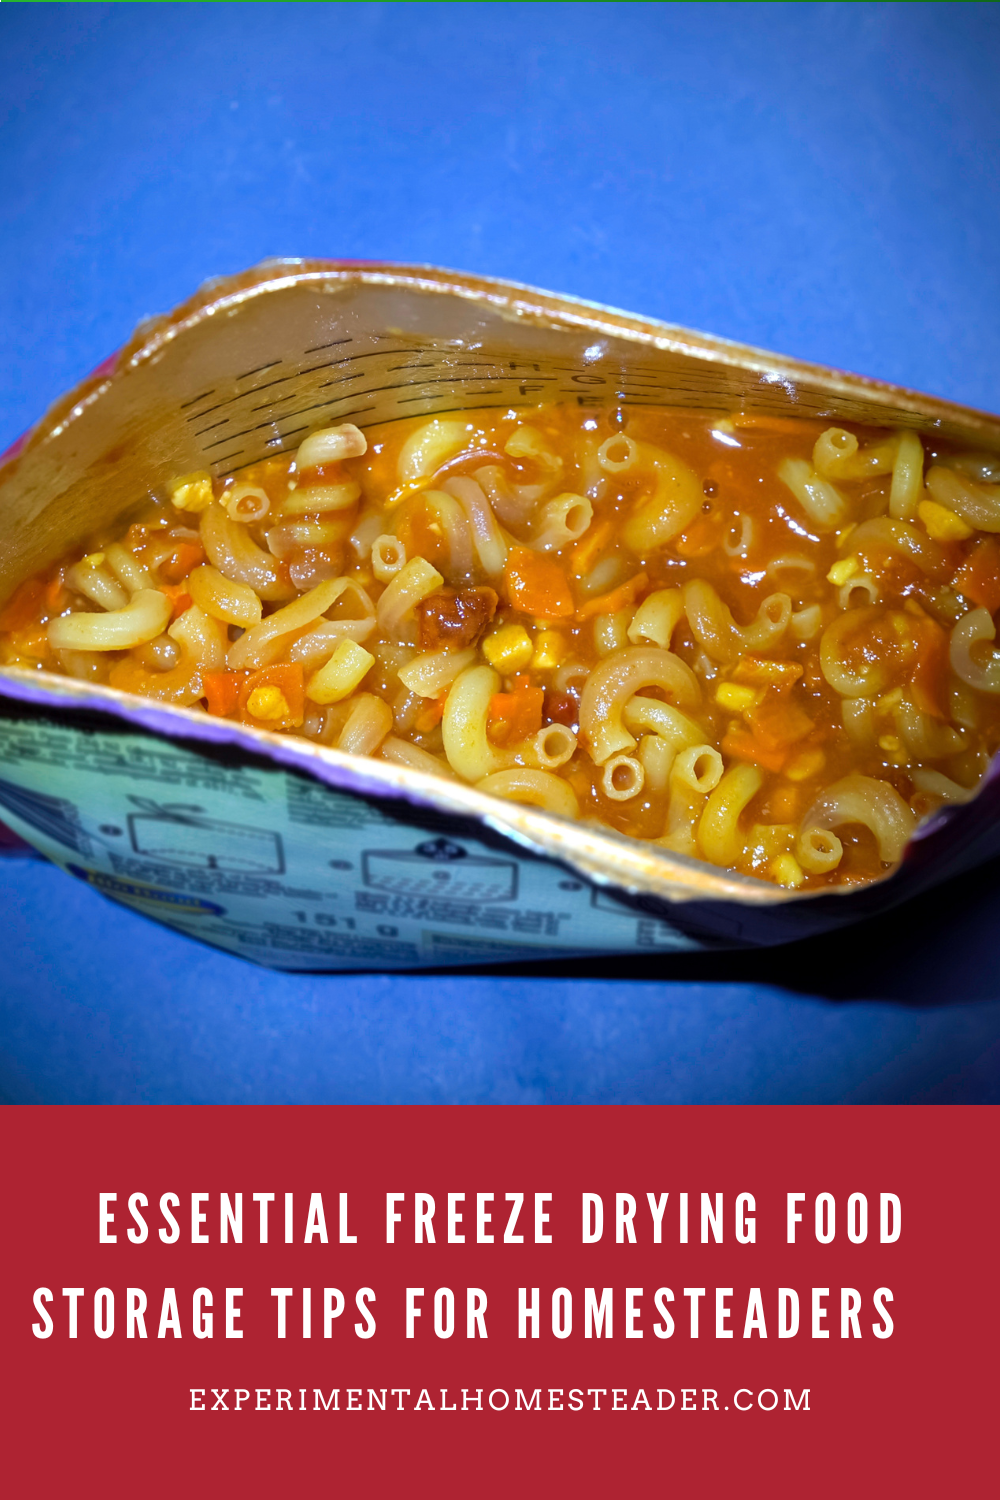
So, go ahead and stash those freeze-dried fruits, veggies, and even full meals-your future self will appreciate it.
Optimal Storage Conditions
Keeping your freeze-dried foods in good condition for the long term requires some mindful storage techniques.
As homesteaders, we know how important it is to protect our hard-earned stash from the elements that can cause spoilage: light, air, moisture, and heat.
The key is finding a cool, dark, and dry spot in your home-like a pantry or basement-that will keep your food safe and sound.
Here are some essential tips to help you store your freeze-dried foods properly:
Benefits: Highly effective at sealing out moisture and oxygen, lightweight, and space-efficient.
How to Use:
Fill the bag.
Add an oxygen absorber.
Squeeze out as much air as possible.
Seal the bag.
For extra protection, consider heat-sealing the top.
Glass Jars (e.g., Mason Jars)
Benefits: Airtight, impermeable to moisture and oxygen, available in various sizes.
How to Use:
Fill the jar.
Add an oxygen absorber.
Use a vacuum pump to remove residual oxygen.
Note: Glass jars are more fragile and take up more space compared to other options.
Metal Cans
Benefits: Impenetrable to light, moisture, and oxygen; ideal for large batches of freeze-dried food.
Considerations:
Drawback: Cannot be resealed once opened, so best for items you plan to use all at once or transfer to smaller containers after opening.
General Tips
Oxygen Absorbers: Always include oxygen absorbers in your containers to prevent spoilage and extend shelf life. Ensure you use the right size for maximum effectiveness.
Regardless of the container you choose, these methods will help keep your freeze-dried foods fresh and flavorful for years to come.
Remember, proper storage is key to making the most of your homesteading efforts!
Let's dive into the best methods to restore your freeze-dried goodies to their original texture and flavor.
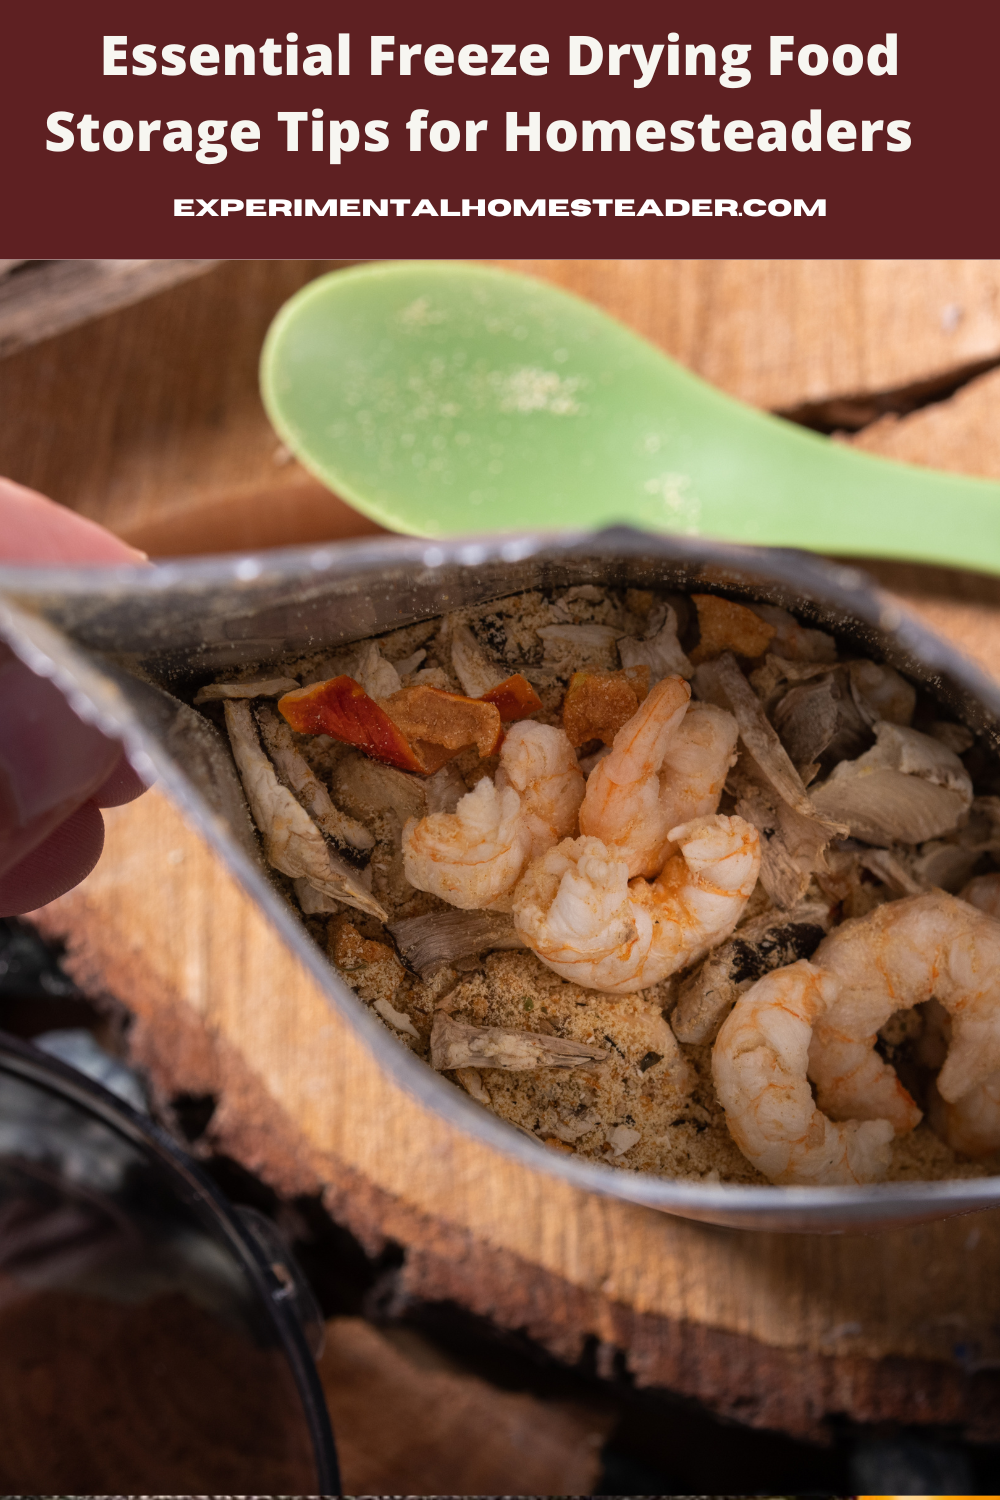
Meats:
Soaking: Soak freeze-dried meats in warm (not boiling) water for about 10-15 minutes. Just place your meat in a bowl, cover it with warm water, and let it sit. This method gently rehydrates each piece, reviving its texture.
Cooking: If you're adding the meat to a soup or stew, toss it directly into the simmering pot, skipping the separate soaking process. The liquid from the dish will do the job for you.
Vegetables:
Sprinkling: For veggies, a light sprinkle of water often does the trick. Place your freeze-dried veggies in a bowl, spray or sprinkle them with enough water to moisten them, and wait a few minutes for them to reabsorb the moisture.
Cooking: If you're in a hurry or making a stir-fry, add them straight into the pan with other ingredients. They'll soak up the liquid as they cook.
Fruits and Leafy Greens:
Quick Rehydration: Lighter, more porous items like sliced strawberries or leafy greens only need a brief mist or quick dunk in water. These foods rehydrate rapidly, often within a few minutes, and maintain their structure well.
Tips for Successful Rehydration:
Texture and Flavor: Proper rehydration ensures your food's texture and flavor are as close to fresh as possible. It's like waking up your food from a long, restful sleep-they'll still have that vibrant taste and appealing texture you remember.
To sum it up, rehydrating your freeze-dried foods is a straightforward process that just needs a little bit of water and patience.
By following these simple steps-soaking meats, sprinkling veggies, or adding them directly to your cooking-you'll be ready to enjoy healthy, delicious, and easily reconstituted meals whenever you like.
Protecting Your Freeze-Dried Foods
By protecting your freeze-dried foods in the right containers, you're ensuring that they'll be just as tasty and nutrient-rich when you finally decide to enjoy them, whether that's tomorrow or 25 years from now.
Stock up wisely and savor your perfectly preserved treats whenever you desire.
Freeze-drying is an invaluable method for homesteaders looking to preserve their harvests and enjoy their bounty year-round.
With the right storage techniques, rehydration methods, and a bit of patience, you can ensure that your food retains its quality and nutritional value for decades.
So, don't hesitate to give freeze-drying a try.
It's a fantastic way to make the most of your hard work and enjoy delicious, homegrown food whenever you want.
References
Mermelstein, N. H. (2022). Freeze-drying fundamentals. Food Technology, 76(6), 56-58.
Ratti, C. (2001). Hot air and freeze-drying of high-value foods: a review. Journal of Food Engineering, 49(4), 311-319.
Frequently Asked Questions About Freeze Drying Food
Q: What is freeze-drying?
A: Freeze-drying is a food preservation process that involves freezing food to -40°F and then using a vacuum to shift the water content directly from ice to vapor through a process called sublimation. This removes moisture while preserving the food's shape, color, flavor, and nutritional value.
Q: What types of food can be freeze-dried?
A: Most foods can be freeze-dried, including fruits, vegetables, meats, dairy, and even complete meals. However, high-fat foods like butter and cheese, and sugary items like honey and jam, don't freeze-dry well.
Q: How do I start the freeze-drying process?
A: Arrange small, evenly cut pieces of food on the trays of your freeze-drying machine. Place the trays in the chamber, and the machine will freeze the food and create a vacuum to turn the icy water directly into vapor.
Q: How long does the freeze-drying process take?
A: The process can take about 24 hours for less moist foods and up to a couple of days for juicier items like pineapple.
Q: What containers are best for storing freeze-dried foods?
A:Mylar bags, glass jars, and metal cans are excellent choices. Mylar bags are lightweight and space-efficient, glass jars are airtight, and metal cans are impenetrable to light, moisture, and oxygen.
Q: How do I use Mylar bags for storing freeze-dried foods?
A: Fill the bag with your freeze-dried food, add an oxygen absorber, squeeze out as much air as possible, and seal the bag. For extra protection, consider heat-sealing the top.
A: It's not recommended. Regular plastic containers don't provide the same level of protection against light, air, and moisture as Mylar bags, glass jars, or metal cans.
Q: What is the best way to store freeze-dried foods long-term?
A: Store them in a cool, dark, and dry place, such as a pantry or basement. Ensure containers are airtight and use oxygen absorbers to remove any remaining air inside the containers.
Q: How long can freeze-dried foods last?
A: When properly stored, freeze-dried foods can maintain their flavor, texture, and nutritional value for 20-30 years.
Q: How do I rehydrate freeze-dried meats?
A: Soak freeze-dried meats in warm (not boiling) water for about 10-15 minutes. Alternatively, you can add them directly into a simmering pot of soup or stew.
Q: How do I rehydrate freeze-dried vegetables?
A: Sprinkle water over the vegetables in a bowl and wait a few minutes for them to reabsorb the moisture. If you're in a hurry, add them directly to a pan with other ingredients while cooking.
Q: How do I rehydrate freeze-dried fruits?
A: Lightly mist or quickly dunk freeze-dried fruits in water. They rehydrate rapidly, often within a few minutes, maintaining their structure and flavor.
Q: Can I rehydrate freeze-dried foods with cold water?
A: Yes, you can, but it will take longer. Warm water speeds up the rehydration process, bringing your food back to life more quickly.
Q: Do freeze-dried foods lose their nutritional value?
A: No, freeze-dried foods retain most of their nutritional value, making them a great option for long-term food storage.
Q: Why should I try freeze-drying?
A: Freeze-drying is an excellent way to preserve your harvest, ensure you have a supply of nutritious food, and enjoy the convenience of having long-lasting, easy-to-rehydrate meals. It's a valuable addition to any homesteader's food preservation toolkit.


Great article!
Thank you so much! Sheri Ann