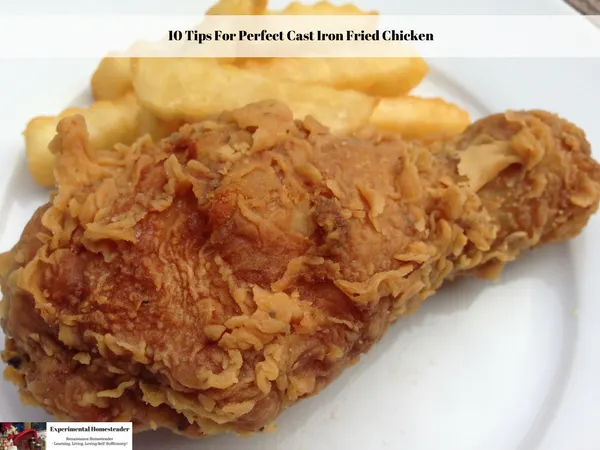
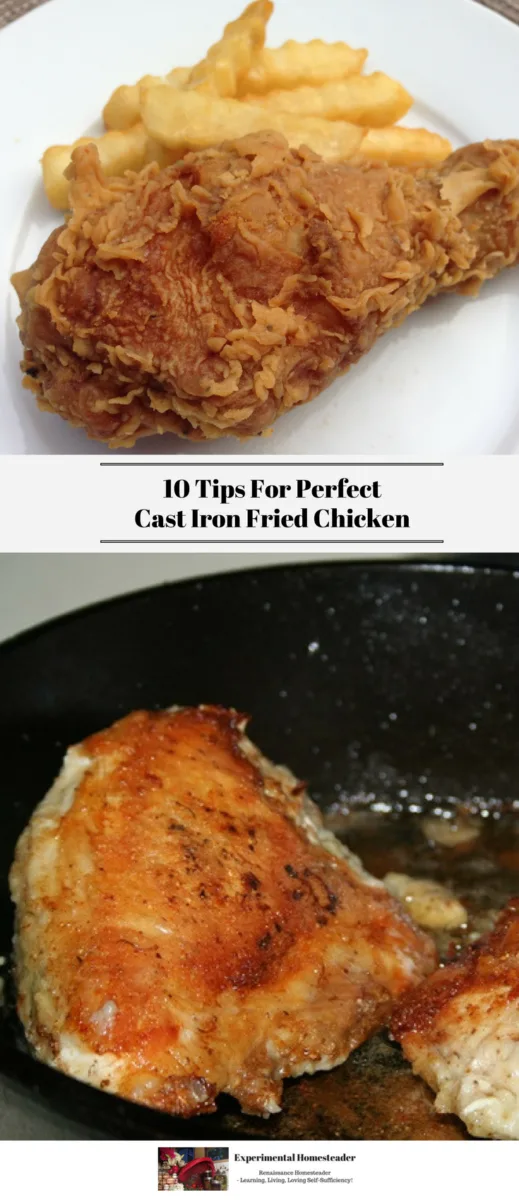
It is possible to create the perfect crust on cast iron fried chicken at home by following these ten simple tips!

The key is to plan ahead, allow the chicken 48 hours to marinade and dry, then on the day you prepare it, allow enough time to double fry the chicken in a cast iron skillet.
Here are my tips for perfect cast iron fried chicken!
There are also links below to products I recommend from companies I have a referral relationship with. I will be compensated if you make a purchase after clicking on my links.
Tip #1
Cut up your chicken unless you are starting with pre-cut chicken.
It is best to cut the chicken breasts in half - or if they are really large into thirds - so all the chicken pieces are approximately the same size.
This makes sure the chicken is evenly done and that none of the pieces are overcooked.
Tip #2
Be sure the chicken is thawed at least three days before you intend to cook it, this way you can marinade it for 24 hours and then allow the marinade to dry on the chicken for 24 hours before you fry the chicken.
Here is a buttermilk brine recipe perfect for cast iron fried chicken.
Print
Fried Chicken Buttermilk Brine
- Total Time: 24 hours
Ingredients
- 1 quart buttermilk
- 6 Tablespoons kosher salt
- 4 cloves crushed garlic
- 2 Tablespoons smoked paprika
- 2 teaspoons cumin
- 2 teaspoons turmeric
- 2 teaspoons celery seed
- 1 teaspoon black pepper
Instructions
- Combine all of the ingredients.
- Add the chicken making sure it is completely covered.
- Seal and refrigerate for 24 hours.
- Prep Time: 24 hours
- Category: Condiments
- Method: No Cook
Once the 24 hours are up, remove the chicken from the buttermilk marinade.
Place the chicken on a wire rack with a pan underneath or on a broiler pan.
Measure out 2 Tablespoons of the marinade, cover and refrigerate.
Place the chicken - on the rack - back in the refrigerator and allow it to drip dry for 24 hours.
Tip #3
After the 24 hours is up and the marinade on the chicken is dry, remove the chicken from the refrigerator and bring it to room temperature.
This takes approximately 30 minutes, but go ahead and move on to tip #4 because the flour coating process takes 30 minutes total.
Tip #4
Cover the chicken with seasoned flour and set it aside to rest for 10 minutes.
Once the ten minutes is up, coat the chicken with the seasoned flour a second time.
Let the chicken rest 20 minutes at room temperature to form a crust.
Print
Seasoned Flour Recipe For Extra Crispy Fried Chicken
- Total Time: 40 minutes
Ingredients
- 2 cups flour
- ½ cup cornmeal
- 2 Tablespoons Bourbon or Vodka
- 2 Tablespoons buttermilk marinade
- 1 Tablespoon dried mustard
- 1 Tablespoon garlic powder
- 1 Tablespoon celery seed
- 1 Tablespoon paprika
- 1 teaspoon dried thyme
- 1 teaspoon dried oregano
- 1 teaspoon pepper
- 1 teaspoon sage
- 1 teaspoon paste ginger
- 2 teaspoons salt (optional)
Instructions
- Combine all of the ingredients in a large bowl and mix well.
- Add the buttermilk marinade and the alcohol to the flour - a little at a time - and mix until the flour is moistened but not runny.
- Place chicken pieces in the flour and roll to coat.
- Allow the chicken pieces to sit for 10 minutes at room temperature.
- Give the chicken pieces a second coating.
- Allow the chicken pieces to sit at room temperature for 20 minutes, then fry them according to your recipe.
- Prep Time: 30 minutes
- Category: Condiments
- Method: No Cook
Tip #5
Add some additional spices such as oregano, celery leaf, thyme and sage to the chicken as it is frying.
Remember good fried chicken is generously seasoned.
Tip #6
Use canola oil, vegetable oil or peanut oil to fry chicken in.
Add enough oil so there is approximately 1 ½ inches of oil in the bottom of the cast iron skillet.
The alcohol in the flour mixture helps to keep the crust from becoming too greasy.
Tip #7
Pre-heat the oil in the skillet, but keep an eye on it so it does not catch on fire!
Once the oil has reached somewhere between 350 degrees Fahrenheit and 375 degrees Fahrenheit, add the chicken to the pan.
Keep in mind adding the chicken lowers the temperature of the oil about 25 degrees initially.
Tip #8
Fry the chicken 10 minutes per side, making sure to only turn it once during cooking.
Tip #9
Remove the chicken from the skillet, place it on a wire cooling rack or broiling pan and cool for 15 to 30 minutes then refry it!
Tip #10
Remove the chicken from the cast iron skillet a second time and cool on a wire rack.
Do not put the chicken on paper towels because paper towels can cause the chicken crust to soften.
Let the chicken rest for 10 minutes and serve.
I highly recommend the following articles:
- Best Oven Chicken Breast Recipe Using Cast Iron Skillet
- Fried Chicken Cast Iron Skillet Recipe
- Easy Dutch Oven Potatoes Recipe
- The Ultimate Collection Of Best Ever Chicken Recipes
- Parmesan Fennel Chicken Tender Recipe
Use the buttons on the right-hand side of the page to share this article with friends or family who might find it useful. Pin the picture below to your pinboard on Pinterest for future reference.


Marie Czarnecki
Tuesday 7th of August 2018
When you fry the chicken the second time it wasn't mentioned , for how long????
Sheri Ann Richerson
Saturday 18th of August 2018
That is a great question! Thank you for asking! The reason you refry chicken, French fries and a variety of other fried foods is because there is still moisture in the center of the food which finds its way to the surface of the food as it cools and makes it soggy. when you fry the foods a second time, it boils that moisture off. Since most of the moisture has already made it to the surface the first time around, there is a lot less moisture that comes out the second time around thus you get a drier, crisper food. Be sure to mop up any excess oil after the second frying so it does not absorb back into the food making it greasier. You only need to refry the chicken for a couple of minutes - just long enough to boil that water off. I would say no longer than five minutes. If you are worried about overcooking the chicken, remove it from the heat five minutes before you normally would, let it cool, then finish cooking it.