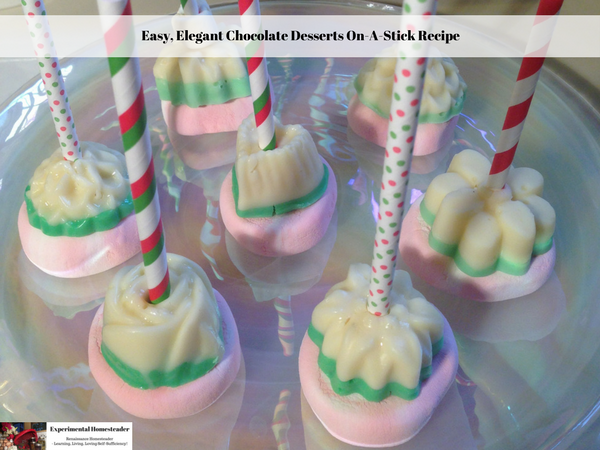
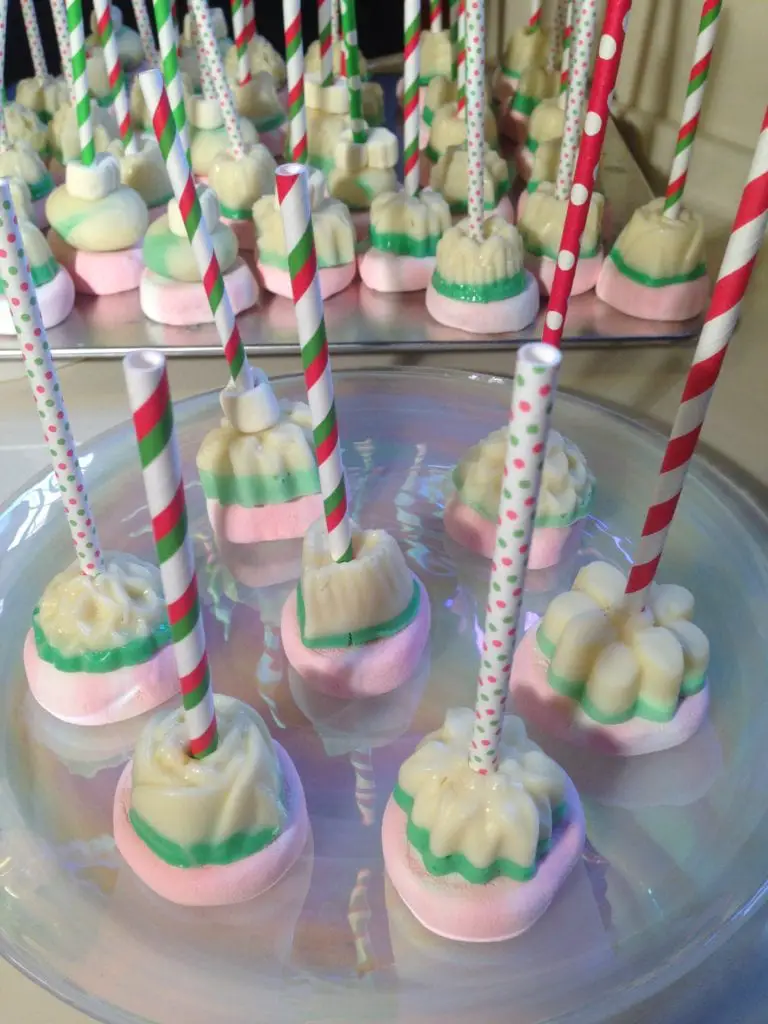
Easy, Elegant Chocolate Desserts On-A-Stick Recipe
Disclaimer: The reviewer has received the product/service at a reduced price or for free. This post for the McCormick® Blogger Program. You can view the original recipe Peppermint White Chocolate On A Stick Recipe on the McCormick® website. All opinions are my own and are my honest opinions based on my own experience with the product.

Everybody loves easy, elegant chocolate desserts and this particular dessert idea is not only great for eating but it also makes a delicious hot chocolate!
These Elegant Chocolate Desserts Are A Great Homemade Gift Idea
With the holiday season upon us, easy homemade elegant chocolate desserts are a great gift idea, especially ones that are easy to package.
This dessert is so easy to assemble once the chocolate is unmolded.
As for the marshmallows, you can try your hand at making your own or simply buy some at the grocery store.
Choose The Molding Pan For These Elegant Chocolate Desserts
I chose to use Nordic Ware Tea Cake And Candy Mold Mini Bundt Pan, but that isn't necessary.
A simple 9-inch square baking pan works just as well and is easier to remove the chocolate from unless you have chocolate molding and tempering experience.
Here is the recipe:
Print Easy, Elegant Chocolate Desserts On-A-Stick Recipe
- Total Time: 4 hours 30 minutes
Ingredients
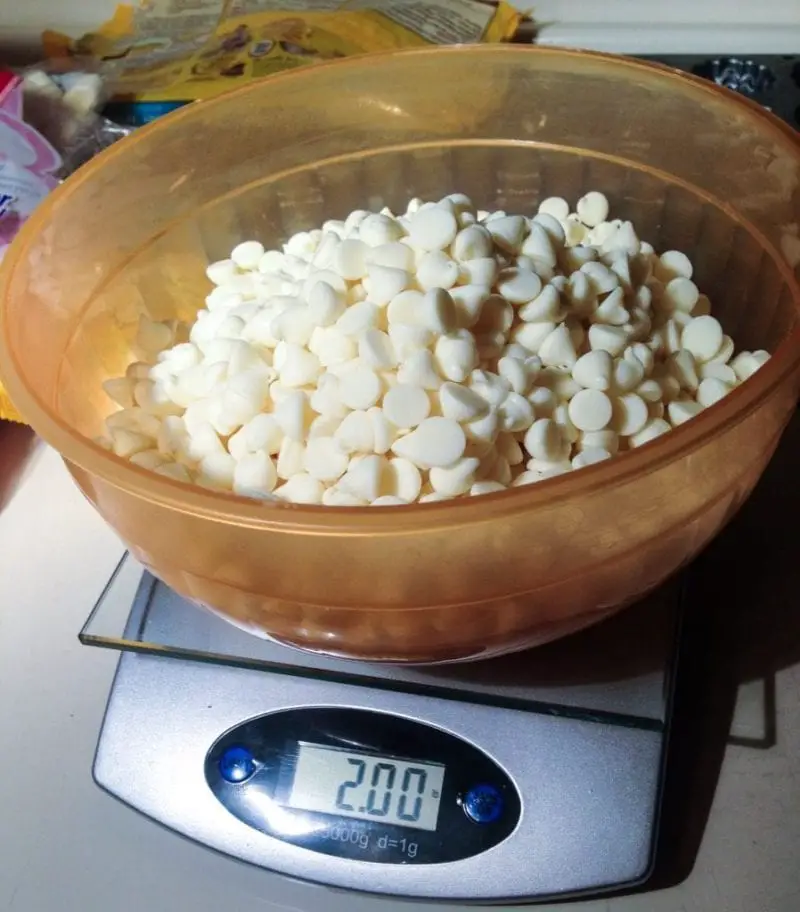
- 2 pounds white baking chocolate, chopped or white chocolate chips
- 14 ounces sweetened condensed milk - typically one can, but do look as I have seen smaller cans
- ½ cup heavy whipping cream
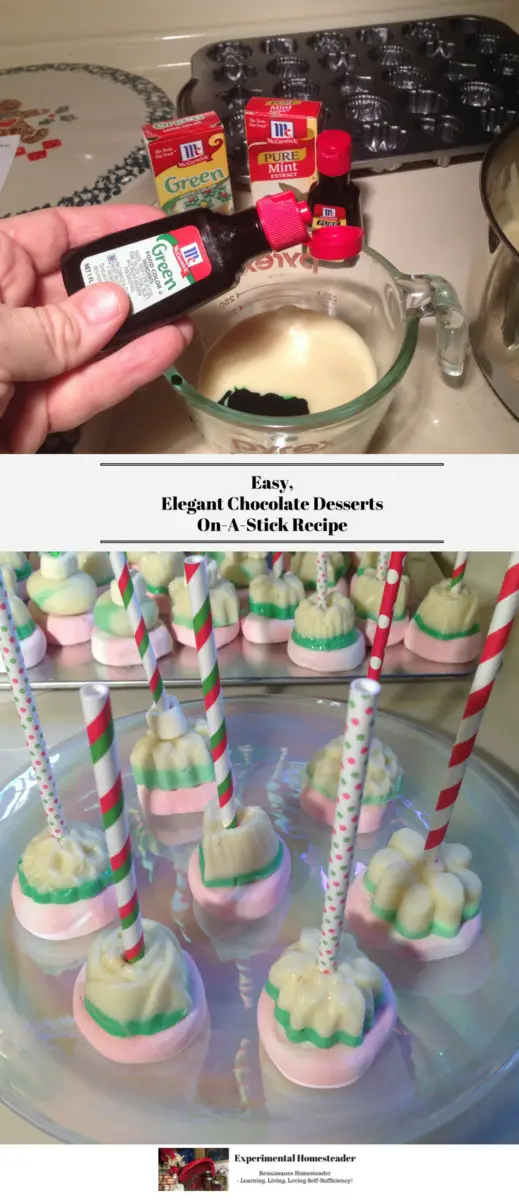
- ¼ teaspoon McCormick® Pure Peppermint Extract
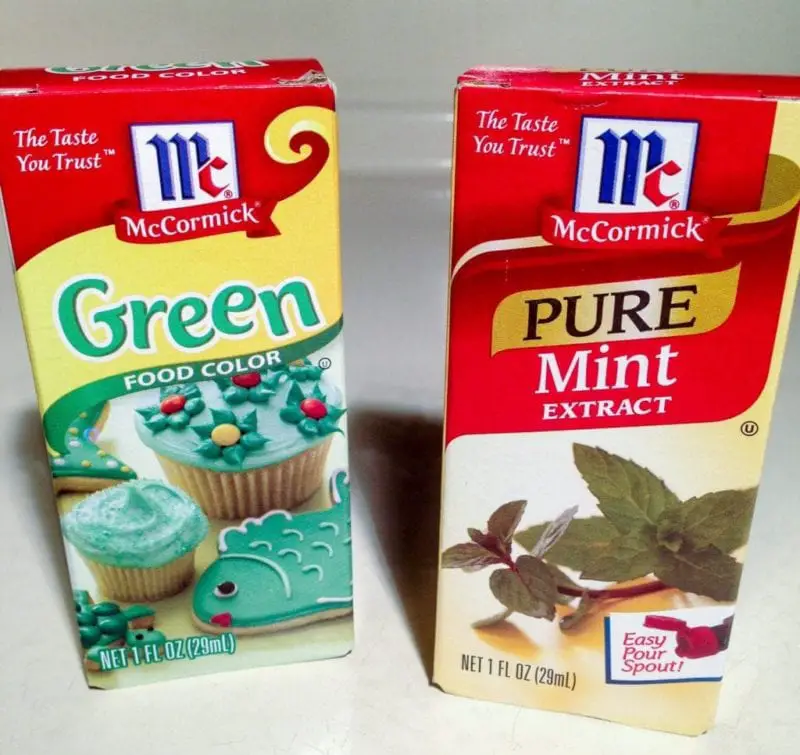
- 4 drops McCormick® Green Food Color
- Large marshmallows
- 36 lollipop sticks
Instructions
- Line a 9-inch baking pan with foil. Spray the foil with no stick cooking spray. If you are using a mold, you can line it with Saran Wrap or simply spray it well with no stick cooking spray.

- Measure out the two pounds of chocolate in a separate bowl. Set aside.
- Pour the sweetened condensed cream and the heavy whipping cream into a medium saucepan. Whisk to combine.
- Set the saucepan on medium heat and continue to whisk occasionally until the mixture begins to simmer.

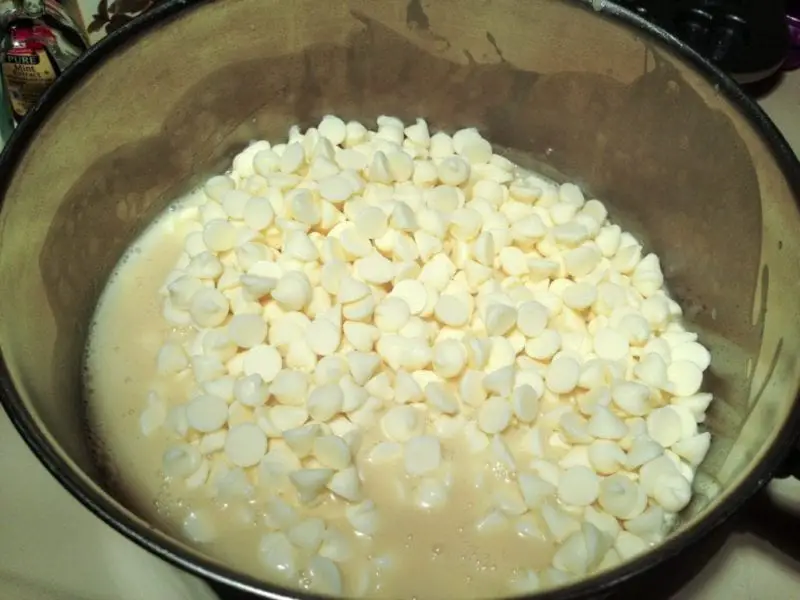
- Pour the chopped chocolate into the pan and allow it to sit for one minute. This helps the chocolate melt.

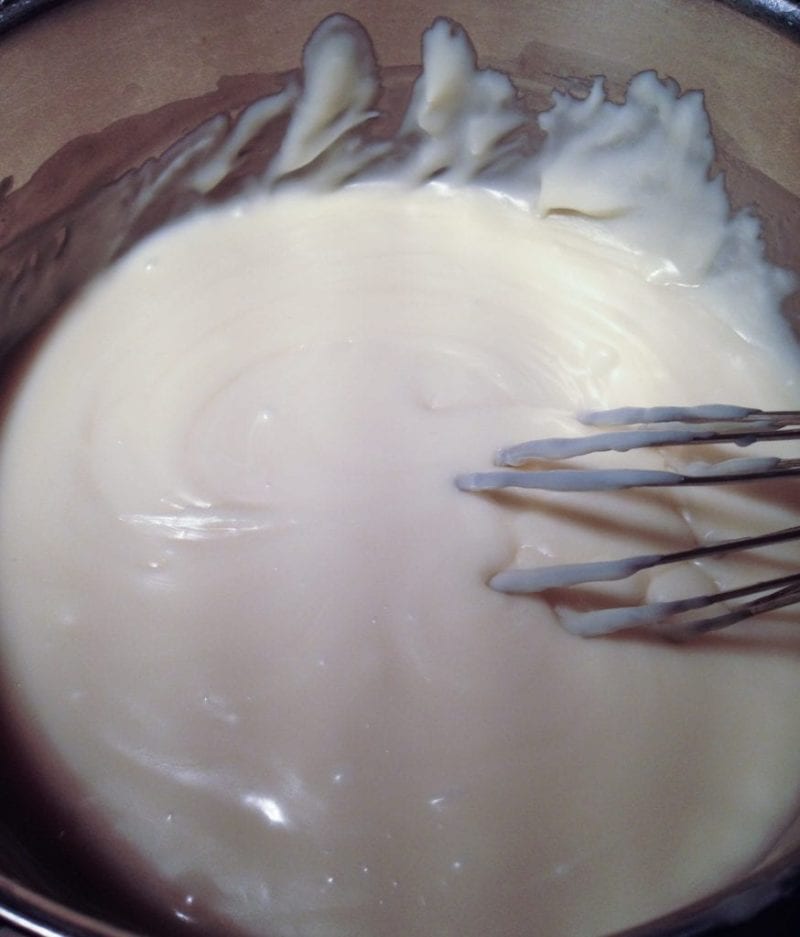
- Whisk the melted chocolate mixture until it is smooth.
- Stir in the McCormick® Pure Peppermint Extract.
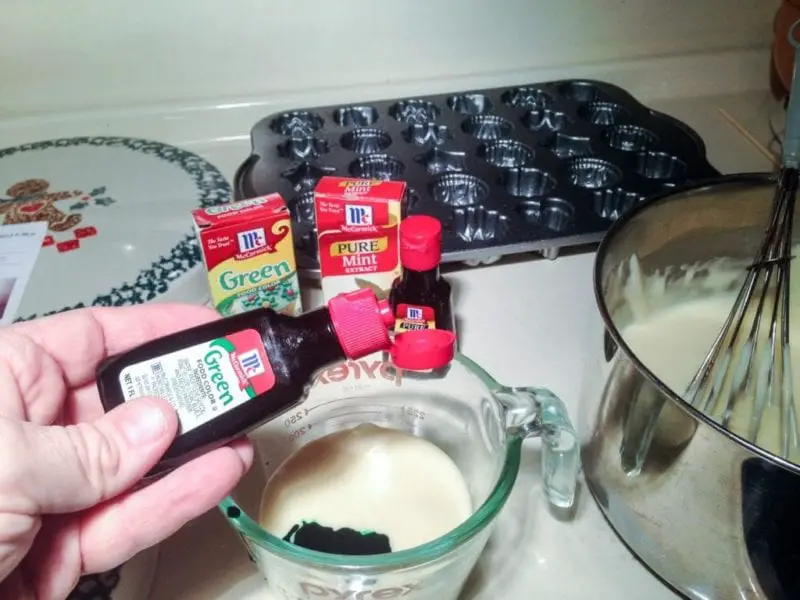
- Remove ¾ cup of the chocolate mixture.
- Tint the chocolate mixture you removed with 3 to 4 drops of the McCormick® Green Food Color.
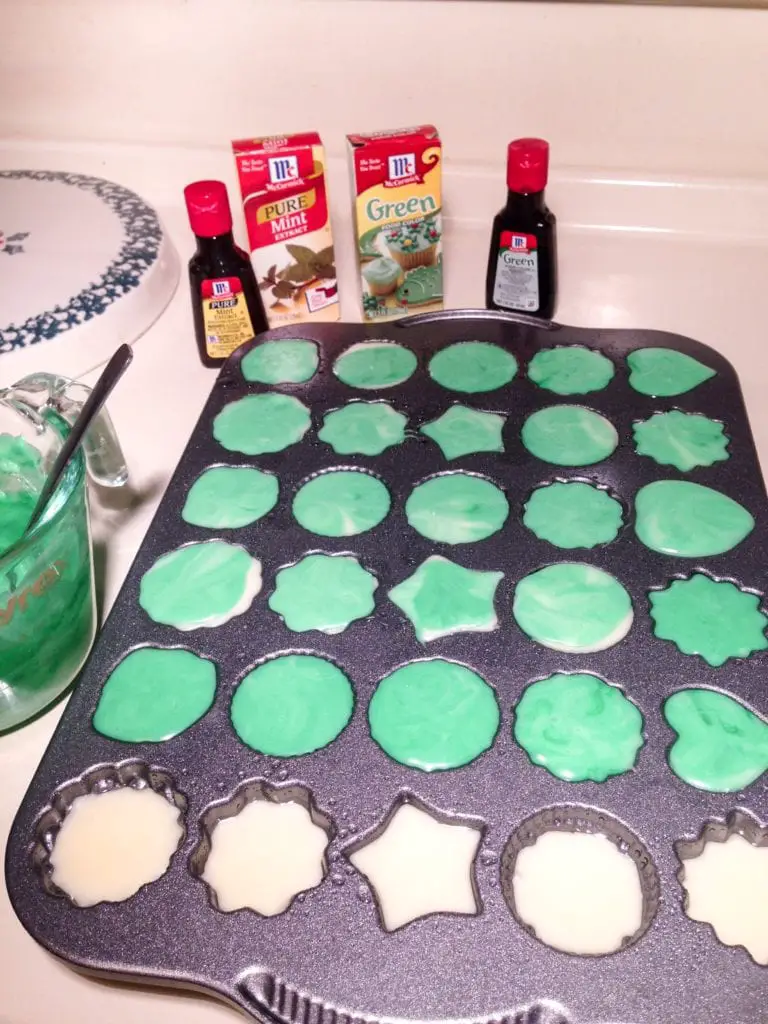
- Pour the remaining chocolate mixture into the prepared pan. If you are using a mold, spoon the mixture into the mold filling it about ¾ full.

- When the white chocolate is completely in the pan or the molds are filled, spoon the green chocolate over the top - and yes, you may need to make more green chocolate to complete the project. I did. Use a skewer or knife to mix the two chocolate colors which creates a marbled effect. This is a little harder to do if you are using fancy molds.
- Refrigerate the chocolate for at least 4 hours - but overnight is ok.
- Bring the chocolate to room temperature before cutting or attempting to remove it from the mold. At this point you can refrigerate the chocolate for up to 2 weeks before you assemble it or assemble it right away.
- Once the chocolate is cut or unmolded and you are ready to assemble the peppermint white chocolate on-a-stick, get the kids involved and let them put the chocolate and marshmallows together. To do this this, you can either cut the marshmallows in half or use them whole. I left mine whole because I like a lot of marshmallow in my hot chocolate.
- The proper assembly depends on whether you molded your chocolate or just cut it into squares. If you cut your chocolate into squares, put the chocolate on the bottom, the marshmallow on top and run a lollipop stick through the center. If you molded your chocolate, like I did, put the marshmallow on the bottom and the chocolate on top.
- I did have a few pieces that did not come out of the mold perfectly. Some were repairable and others were not. I repaired the ones I could using soft chocolate and the other ones I rolled in my hands into balls. These are ok to go ahead and use, they just don't look as pretty as the molded ones.
- Once the peppermint white chocolate and marshmallows are assembled, wrap each one in a small cellophane bag and refrigerate. Make sure to use them up within 2 days.
- To serve, eat them as they are or heat 8 ounces of milk, pour it into a cup and put the peppermint white chocolate on-a-stick in the cup. Stir it around until the chocolate and marshmallow melt.
Why I Like McCormick® Spices
Even before being selected to participate in the McCormick® Blogger Program, I used a lot of McCormick® spices in my kitchen.
They always smell and taste so good.
My Thoughts On McCormick® Pure Peppermint Extract
I was especially impressed with the McCormick® Pure Peppermint Extract.
I had not tried their extracts before since I usually make my own.
The McCormick® Pure Peppermint Extract smelled so fresh and minty.
The taste came through as pure mint in the chocolate.
Delicious - and now I will be trying some of the other McCormick® Extracts I noticed such as the root beer extract.
My Thoughts On McCormick® Food Color
The McCormick® Green Food Color came out easily - very easily.
I did make a slight mess. I'm used to those small bottles of food coloring that come out a drop at a time and require you to squeeze them to get that.
The McCormick® Green Food Color rapidly stirred into the chocolate and quickly turned it green.
It was very easy to color the chocolate.
There was no dark green, light green, white issue like there has been in the past with some of the food coloring products I used.
I really liked the McCormick® Green Food Color and because it comes in a larger container, I was not afraid of running out of coloring before my project was done.
I highly recommend the following articles:
- How To Make Marshmallows From Scratch
- Santa Claus Shaped Marshmallow Candy Recipe
- Angel Food Cake Recipe With Poppyseed And Lemon Zest
- Christmas Recipes And DIY Ideas
- Try This Lemon Mousse For An Elegant Brunch Dessert
Use the buttons on the right hand side of the screen to share this article with friends or family who might find it useful. Pin the picture below to your pinboard on Pinterest for future reference.