Dark Chocolate Covered Coconut Creme Filled Easter Egg Candy Recipe

- Prep Time: 25 hours 25 minutes
- Total Time: 25 hours 25 minutes
- Category: Desserts
- Method: No Cook
Ingredients
Scale
- 4 bags Wilton Candy Melts – Dark Cocoa
- 1 bag Wilton Candy Melts in pink
- 1 bag Wilton Candy Melts in blue
- 1 bag Wilton Candy Melts in green
- ½ cup butter
- 1 teaspoon vanilla extract
- 2/3 cup sweetened condensed milk
- 6 cups confectioners sugar
- ¾ cup coconut
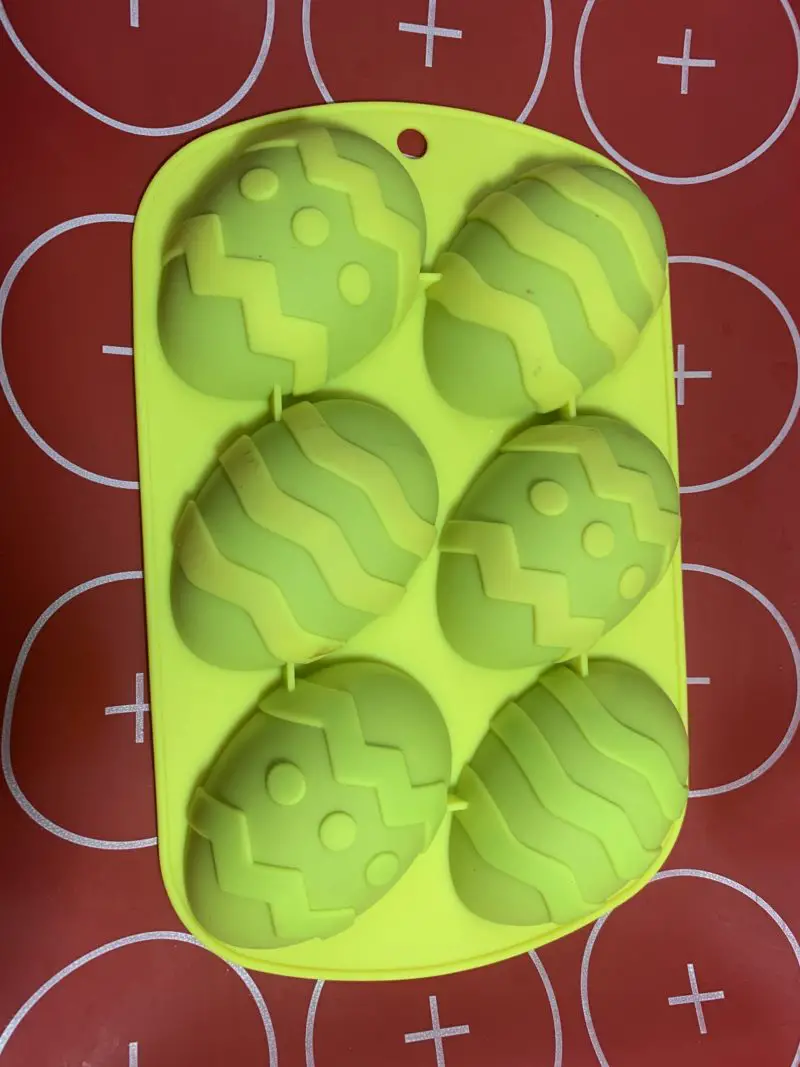
- Silicone shaped egg mold
- Food grade paint brushes
Instructions
Directions for the coconut creme filling: 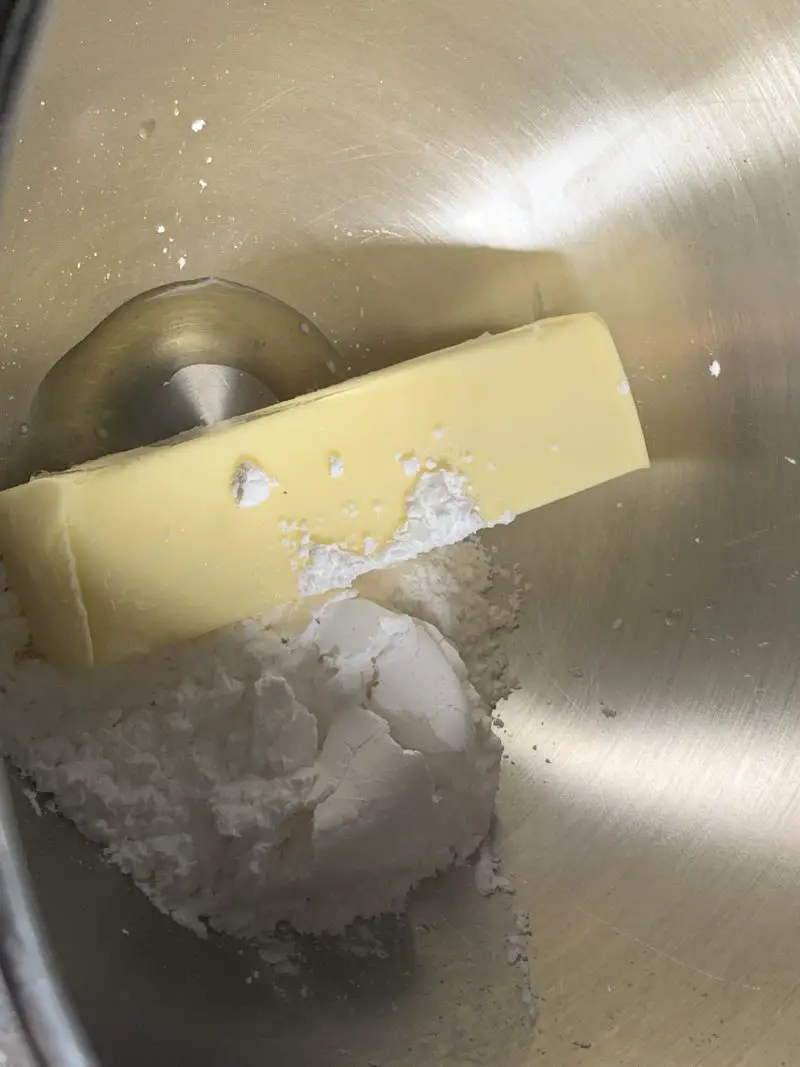
- Place the butter, vanilla, salt and ½ cup of the confectioners’ sugar in a large bowl.
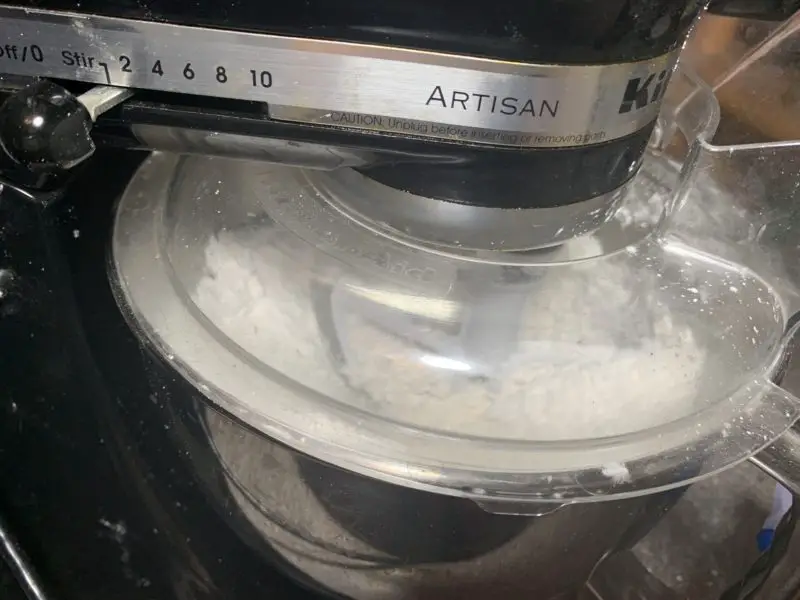
- Turn the mixer on to a medium setting and cream the ingredients.
- Alternate the milk and the rest of the confectioners’ sugar and beat after each addition.
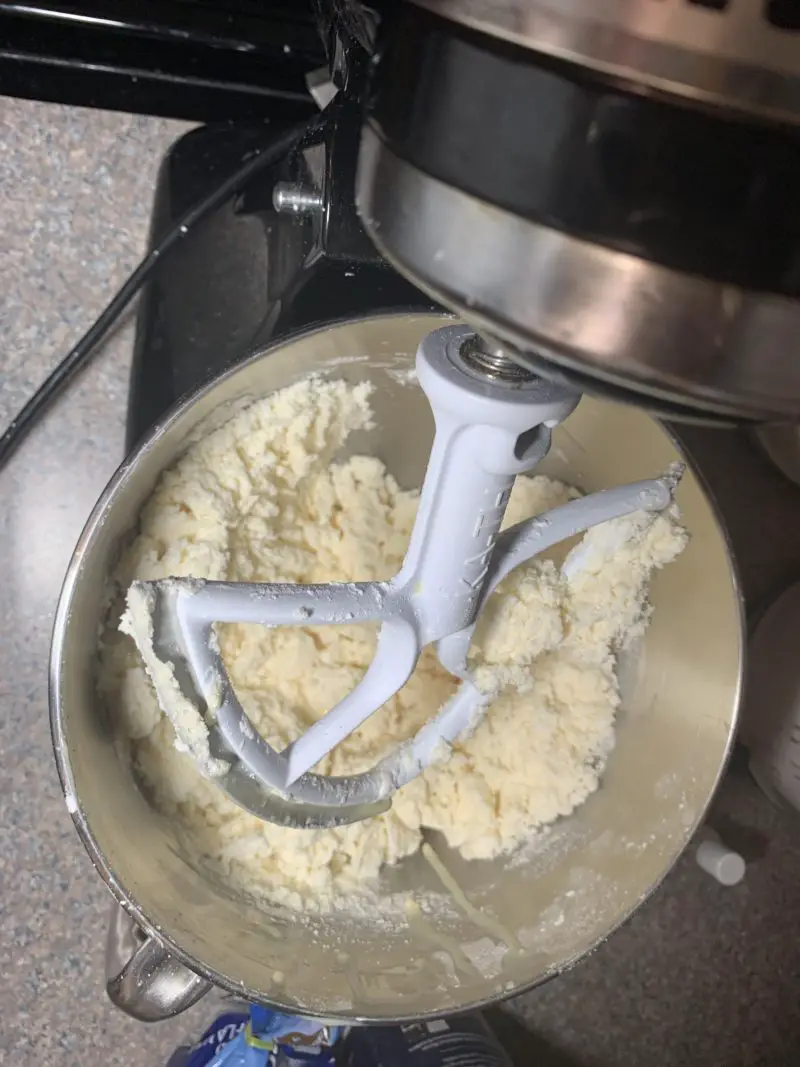
- Continue beating the mixture until it is smooth.
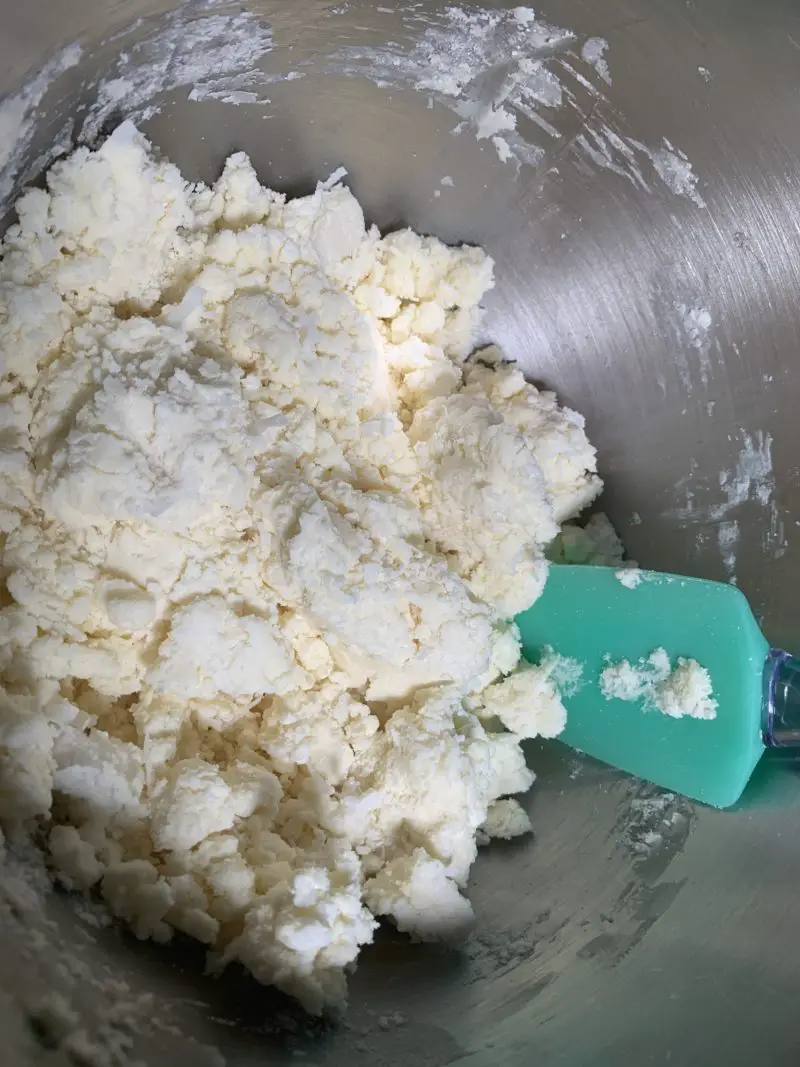
- Add the coconut to the mix and blend it in.
Directions for plain chocolate covered coconut Easter eggs: 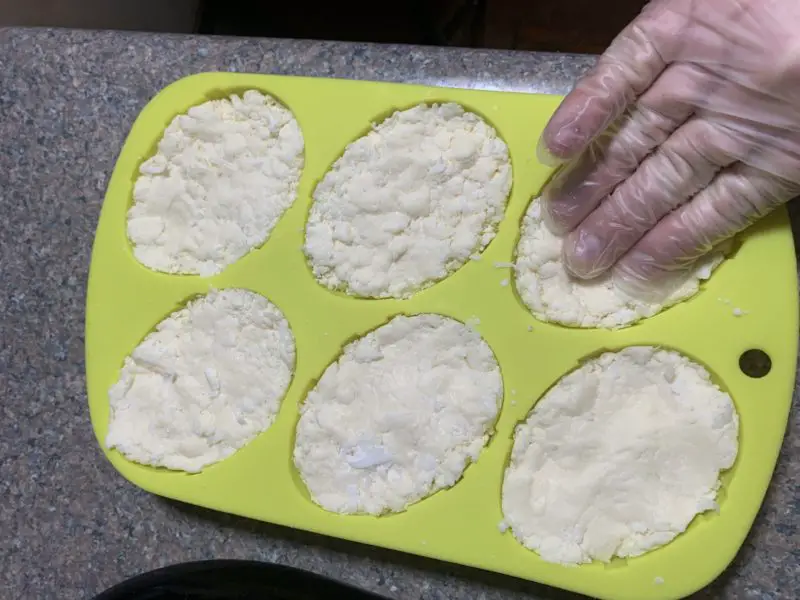
- If you plan to spoon the chocolate over the coconut filling, then press the mixture into the silicone shaped egg mold. If you do not have a mold, you can shape the eggs by hand.
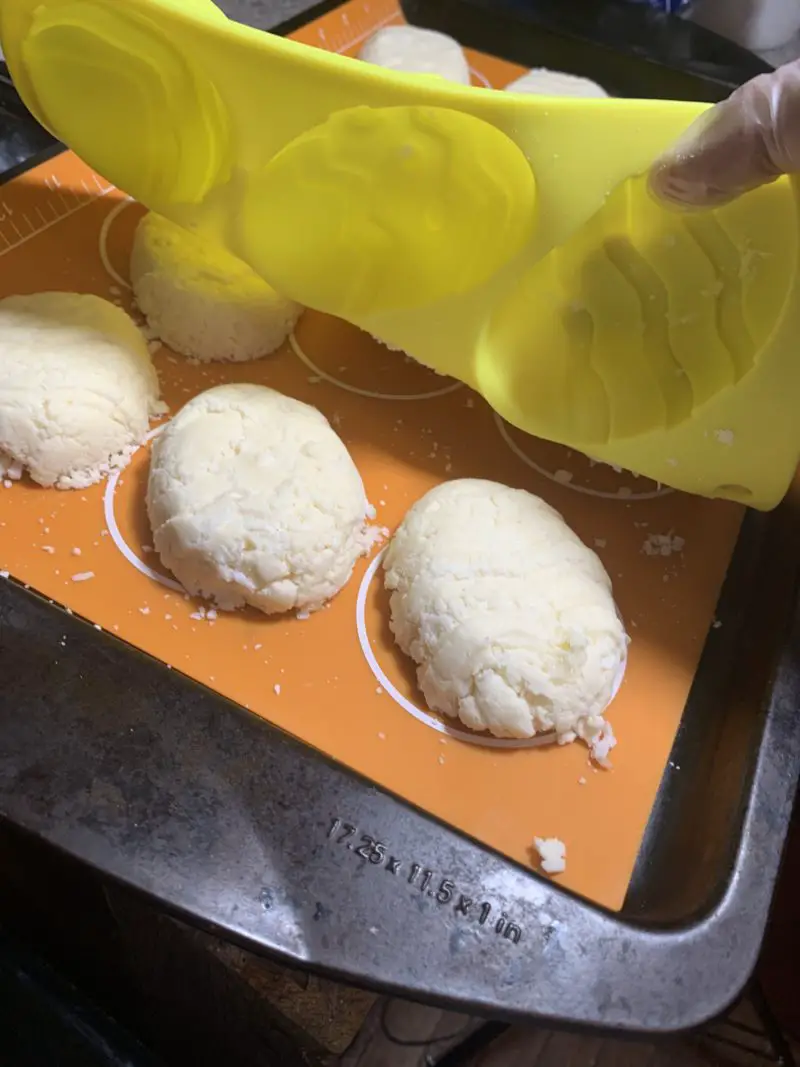
- Once the eggs are shaped, refrigerate for 20 minutes and then remove the eggs from the mold.

- Place the shaped eggs on a wax paper covered cookie sheet, cover with Saran Wrap and refrigerate overnight.
- The next day remove the coconut eggs from the refrigerator, remove the Saran Wrap and set the eggs on wax paper.
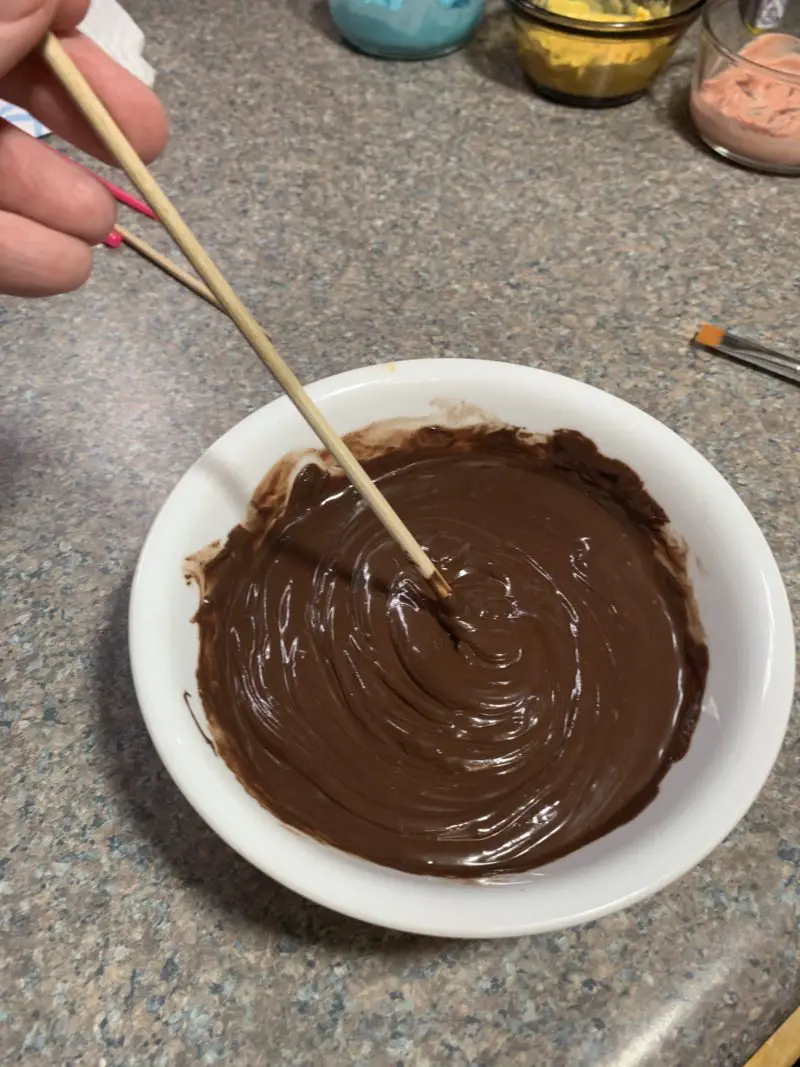
- Melt the dark cocoa candy melts in the microwave according to the package directions.
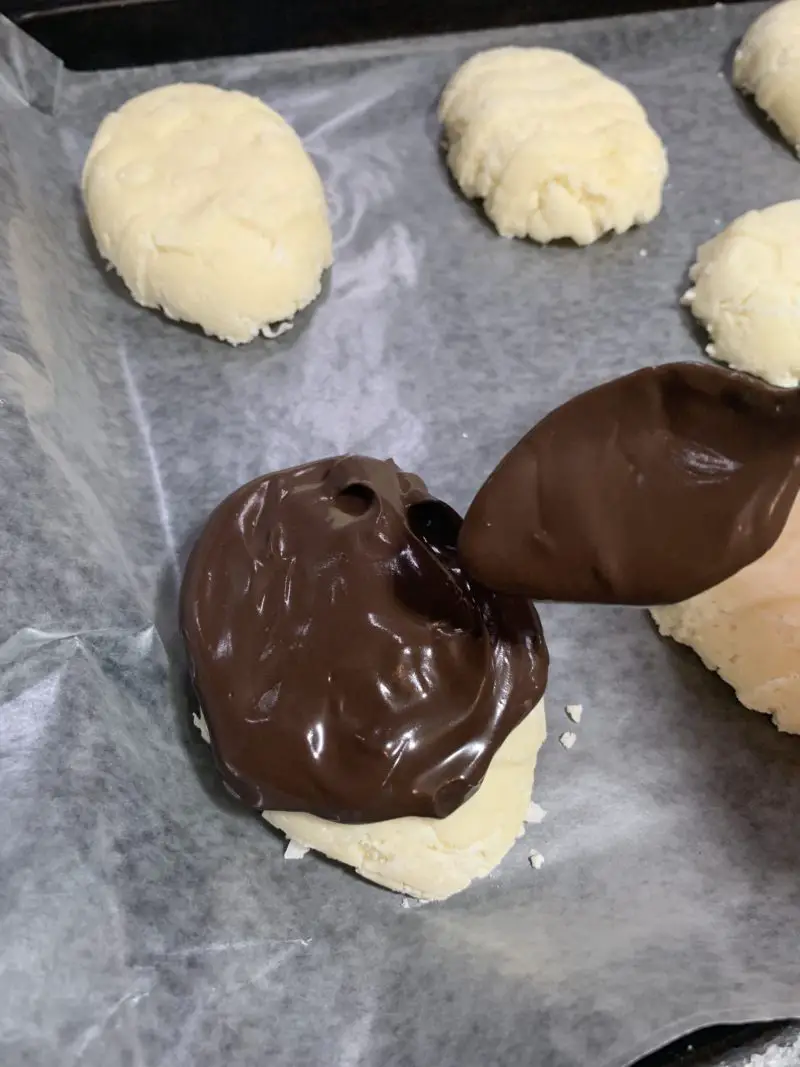
- Spoon some chocolate on top of the coconut creme egg.
- Spread it around with a spoon so it falls over the edges of the coconut creme egg.
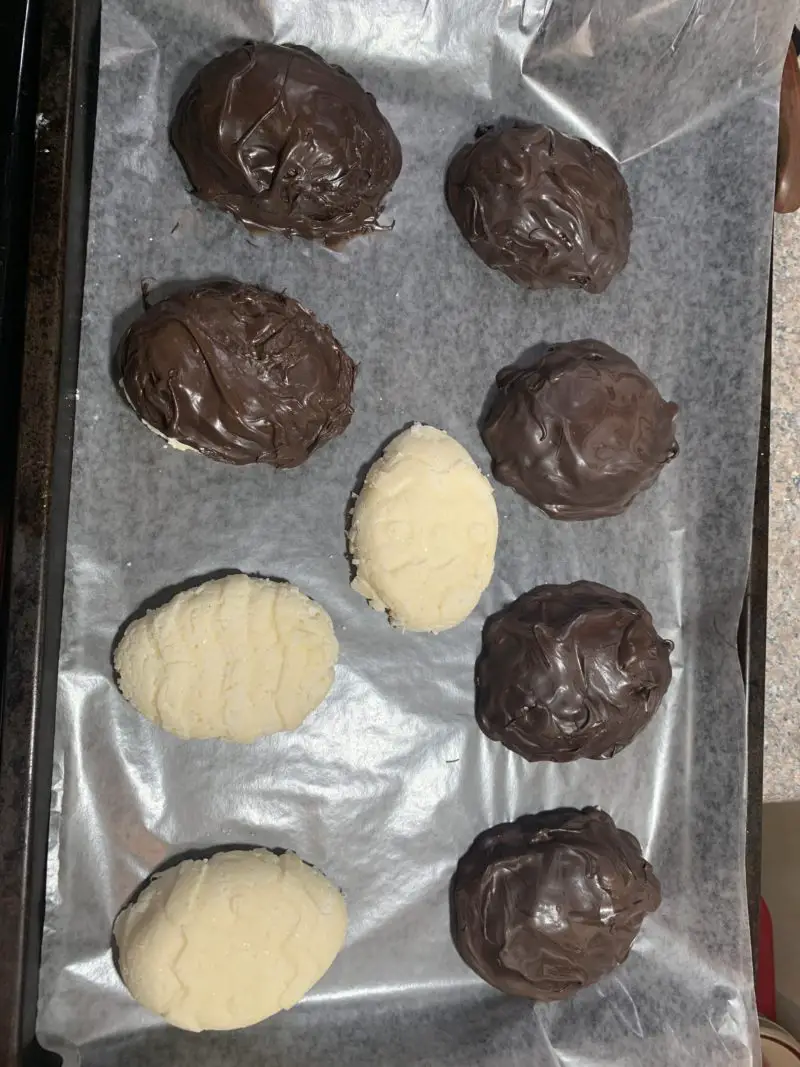
- Once the first egg is completely covered minus the bottom, move on to the next egg.
- Once all the eggs are covered on top and on the sides with chocolate, place the cookie sheet back in the refrigerator for 20 minutes.
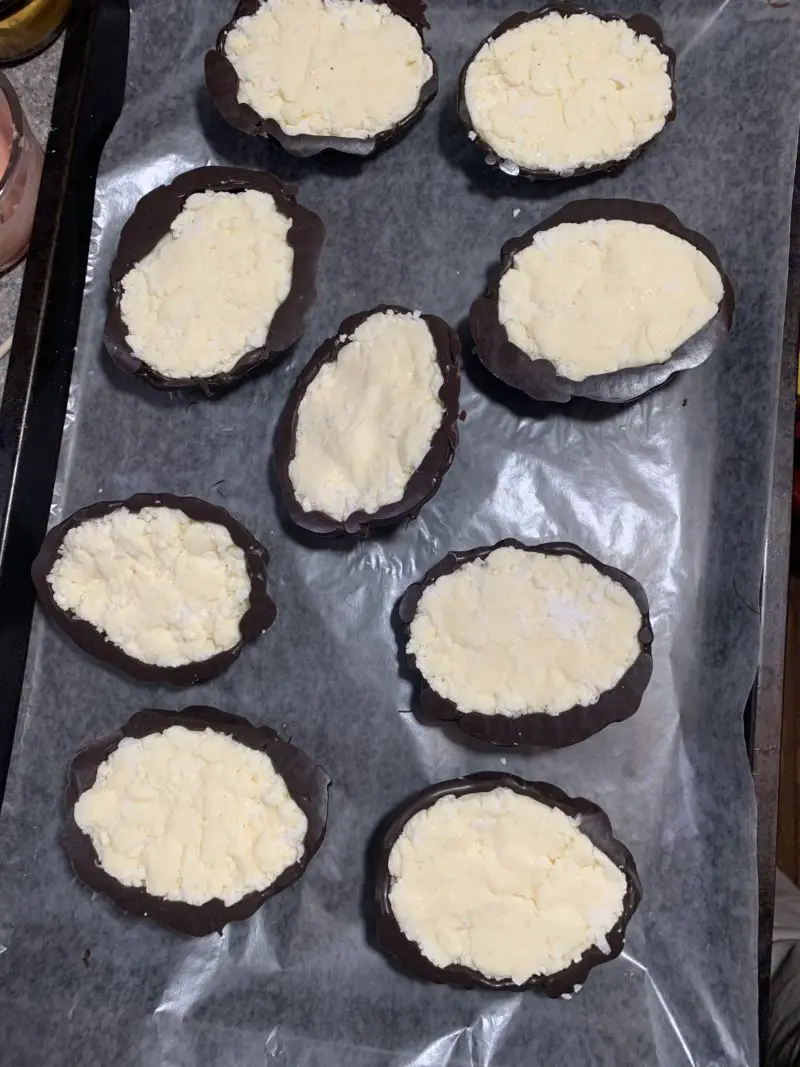
- When the timer goes off, remove the eggs from the refrigerator and turn them upside down on the cookie sheet so the coconut bottoms are facing up.
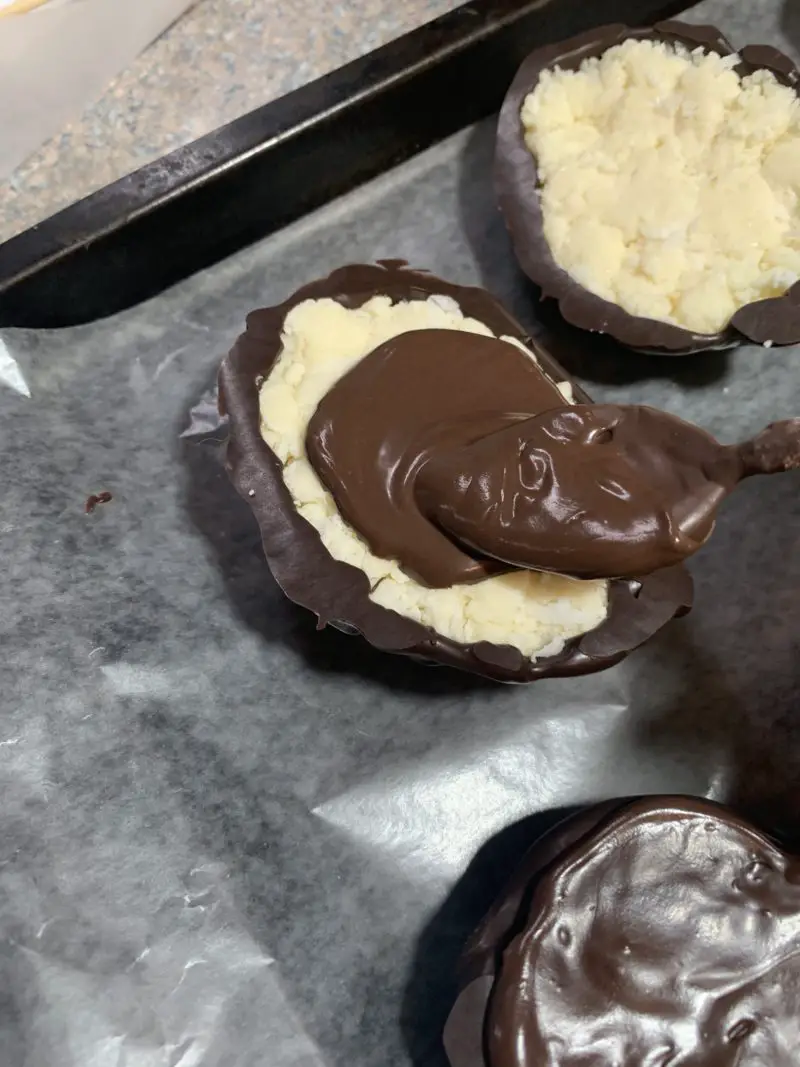
- Spoon some of the dark cocoa candy melts on the top of the coconut filling and use the spoon or an icing spatula to smooth the candy melts out. You might need more than one spoonful to completely cover the backs.
- Place the eggs back in the refrigerator for 20 more minutes to allow the chocolate to harden.
- Inspect the eggs to see if there are any areas on them you need to touch up with some freshly melted candy melts. If there is, use the paint brush to do that.
- You can now eat them or decorate them, whatever you choose.
Directions for decorated chocolate covered coconut Easter eggs: 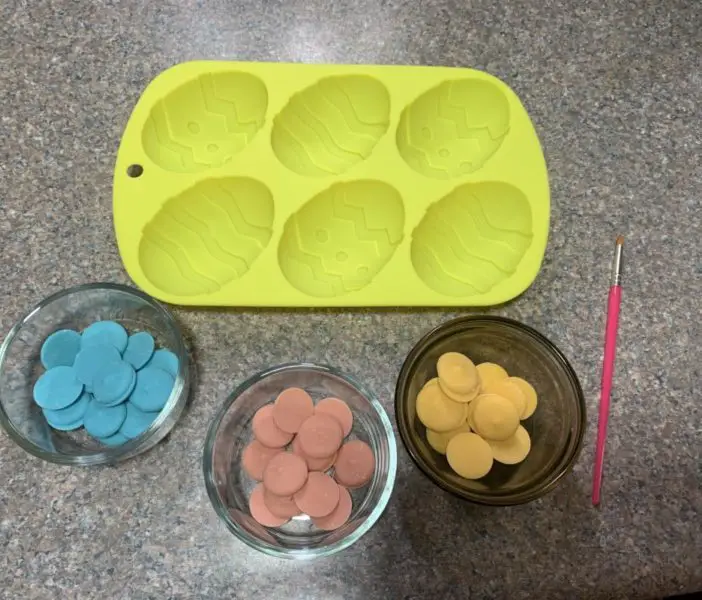
- If you plan to make the chocolate covered eggs with the pretty designs, then separate the pink, blue and green candy melts into separate dishes.
- Microwave one color of candy melts according to the package directions until they are melted. Do not melt them all at once.
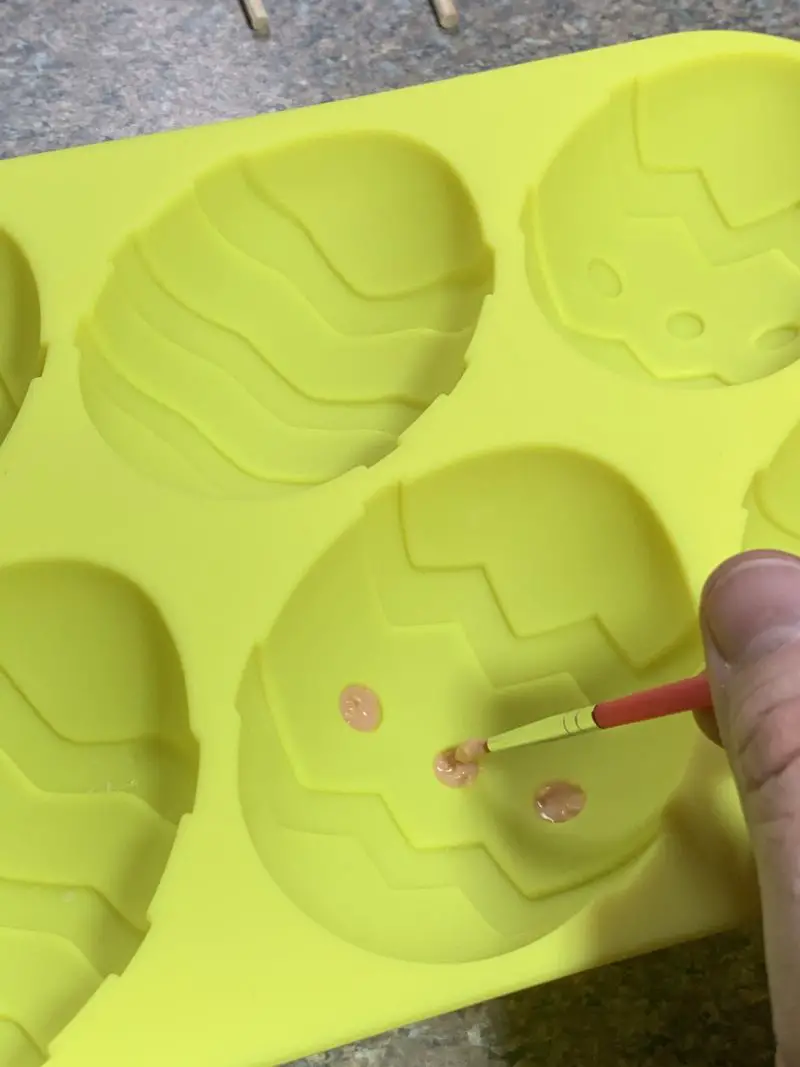
- Pick up the silicone mold and carefully paint the outlines with one color of candy melts. The paint needs to be fairly thick or it will potentially crack before you are ready to finish the chocolate egg covering.
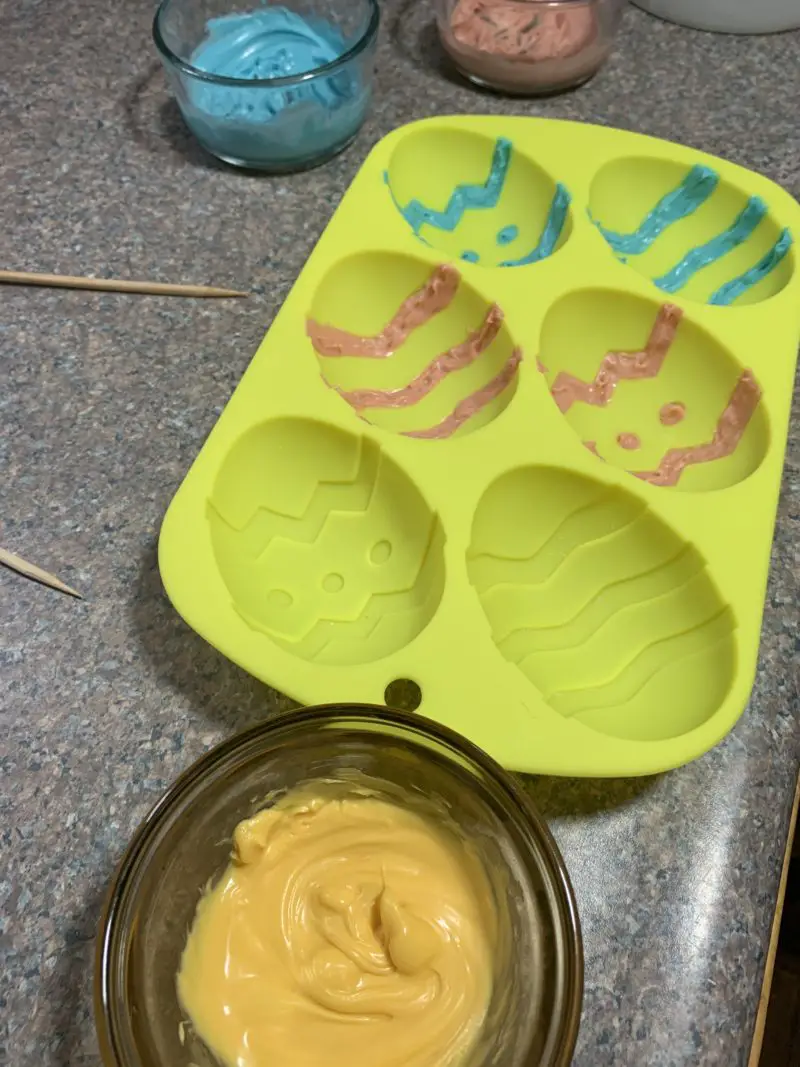
- Repeat step 9 with the next color of candy melts.
- Now repeat step 10.
- Repeat steps 9 and 10 with the last color of candy melts.
- Now place the mold on a cookie sheet and refrigerate the mold for five minutes.
- Before you remove the mold from the refrigerator, go ahead and melt the dark cocoa candy melts.

- Now remove the mold from the refrigerator and place a spoonful of the melted dark cocoa candy melts in the bottom of one of the eggs.
- Use the paintbrush to spread the candy melts all over the bottom and sides of the eggs making sure to cover the colored chocolate as well.
- Now place the mold back on the cookie sheet and refrigerate for 20 minutes.
- When the timer goes off, remove the mold from the refrigerator and fill it with the coconut filling and refrigerate the filled eggs overnight.
- The next day, remove the filled eggs from the refrigerator.
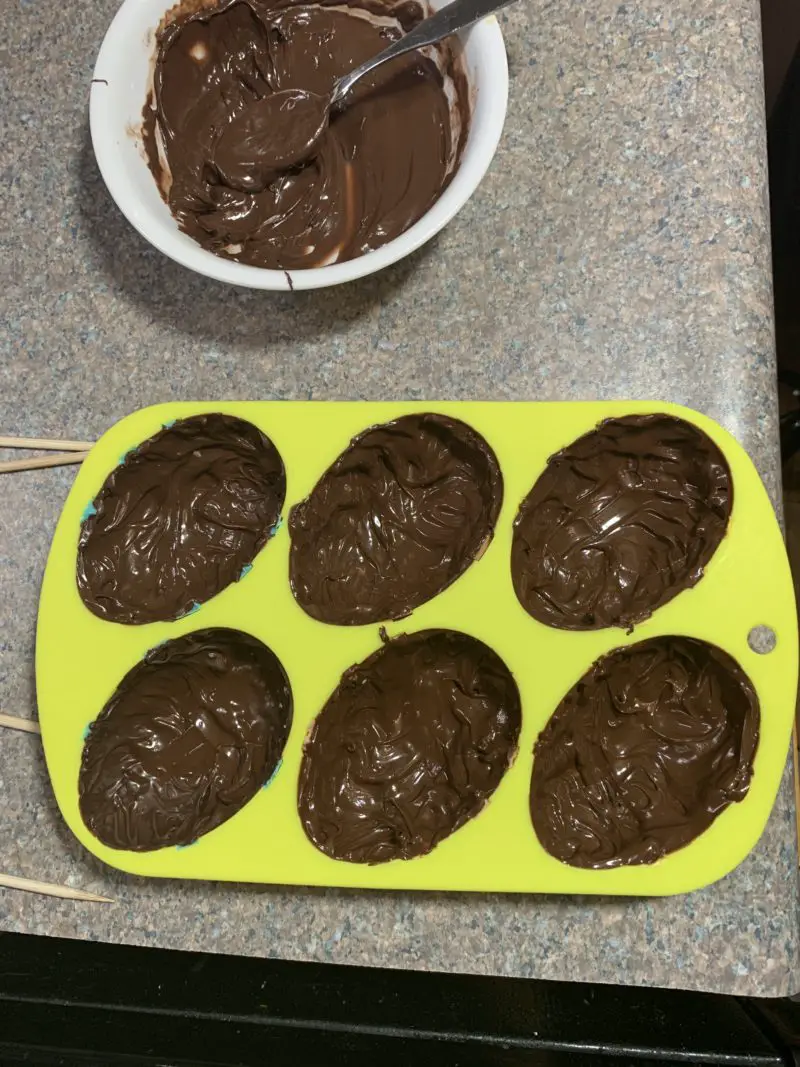
- Now melt more of the dark cocoa candy melts in the microwave.
- Spoon some of the dark cocoa candy melts on the top of the coconut filling and use the spoon or an icing spatula to smooth the candy melts out. You might need more than one spoonful to completely cover the backs.
- Repeat step 15 until all the backs of the eggs are covered with chocolate.
- Place the eggs in the refrigerator for 20 minutes to allow the chocolate to fully harden.
- Place a wax paper or silicone mat covered cookie sheet on top of the mold.
- Now flip the mold over making sure the cookie sheet remains on top of the mold.

- Gently lift the edges of the silicone mold back to the chocolate egg shell is released without breaking.
- Look each egg over and if you see any bare spots, melt the dark cocoa again and touch the egg up using the paint brush.
- Finally look over the colored chocolate and use the paint brush and some freshly melted candy melts to touch those areas up or create a texture effect if you wish to.
- Then refrigerate the eggs for another 20 minutes to make sure all the chocolate is hard.
- Now they are ready to eat.
Find it online: https://experimentalhomesteader.com/easter-egg-candy-recipe/
