Food Dehydration Tutorial: How to Dry and Store Food
There is something satisfying about opening a pantry jar in the middle of winter and finding food you preserved during the summer when the garden was overflowing. I have spent plenty of summer days with dehydrator trays spread across the kitchen, slicing tomatoes, arranging fruit and finding one more empty place to dry the herbs I just harvested. And I have learned that dehydrating is not simply a matter of putting food on a tray and walking away.
The way you prepare it, how you tell when it is truly dry and what you do before putting it into storage all make a difference. If you are looking at your first dehydrator and wondering where to begin, or you have tried drying food only to end up with disappointing results, this food dehydration tutorial is for you. I will walk you through the process, share lessons from my own homestead and help you put away food you will actually enjoy using.
Dehydration removes moisture from food so properly dried and stored ingredients take up less room and do not depend on continuous freezer power. It does not make every food automatically shelf stable. Meat jerky requires special storage, and even dried produce needs protection from moisture and contamination.
In This Article
How to Dehydrate Food Step by Step
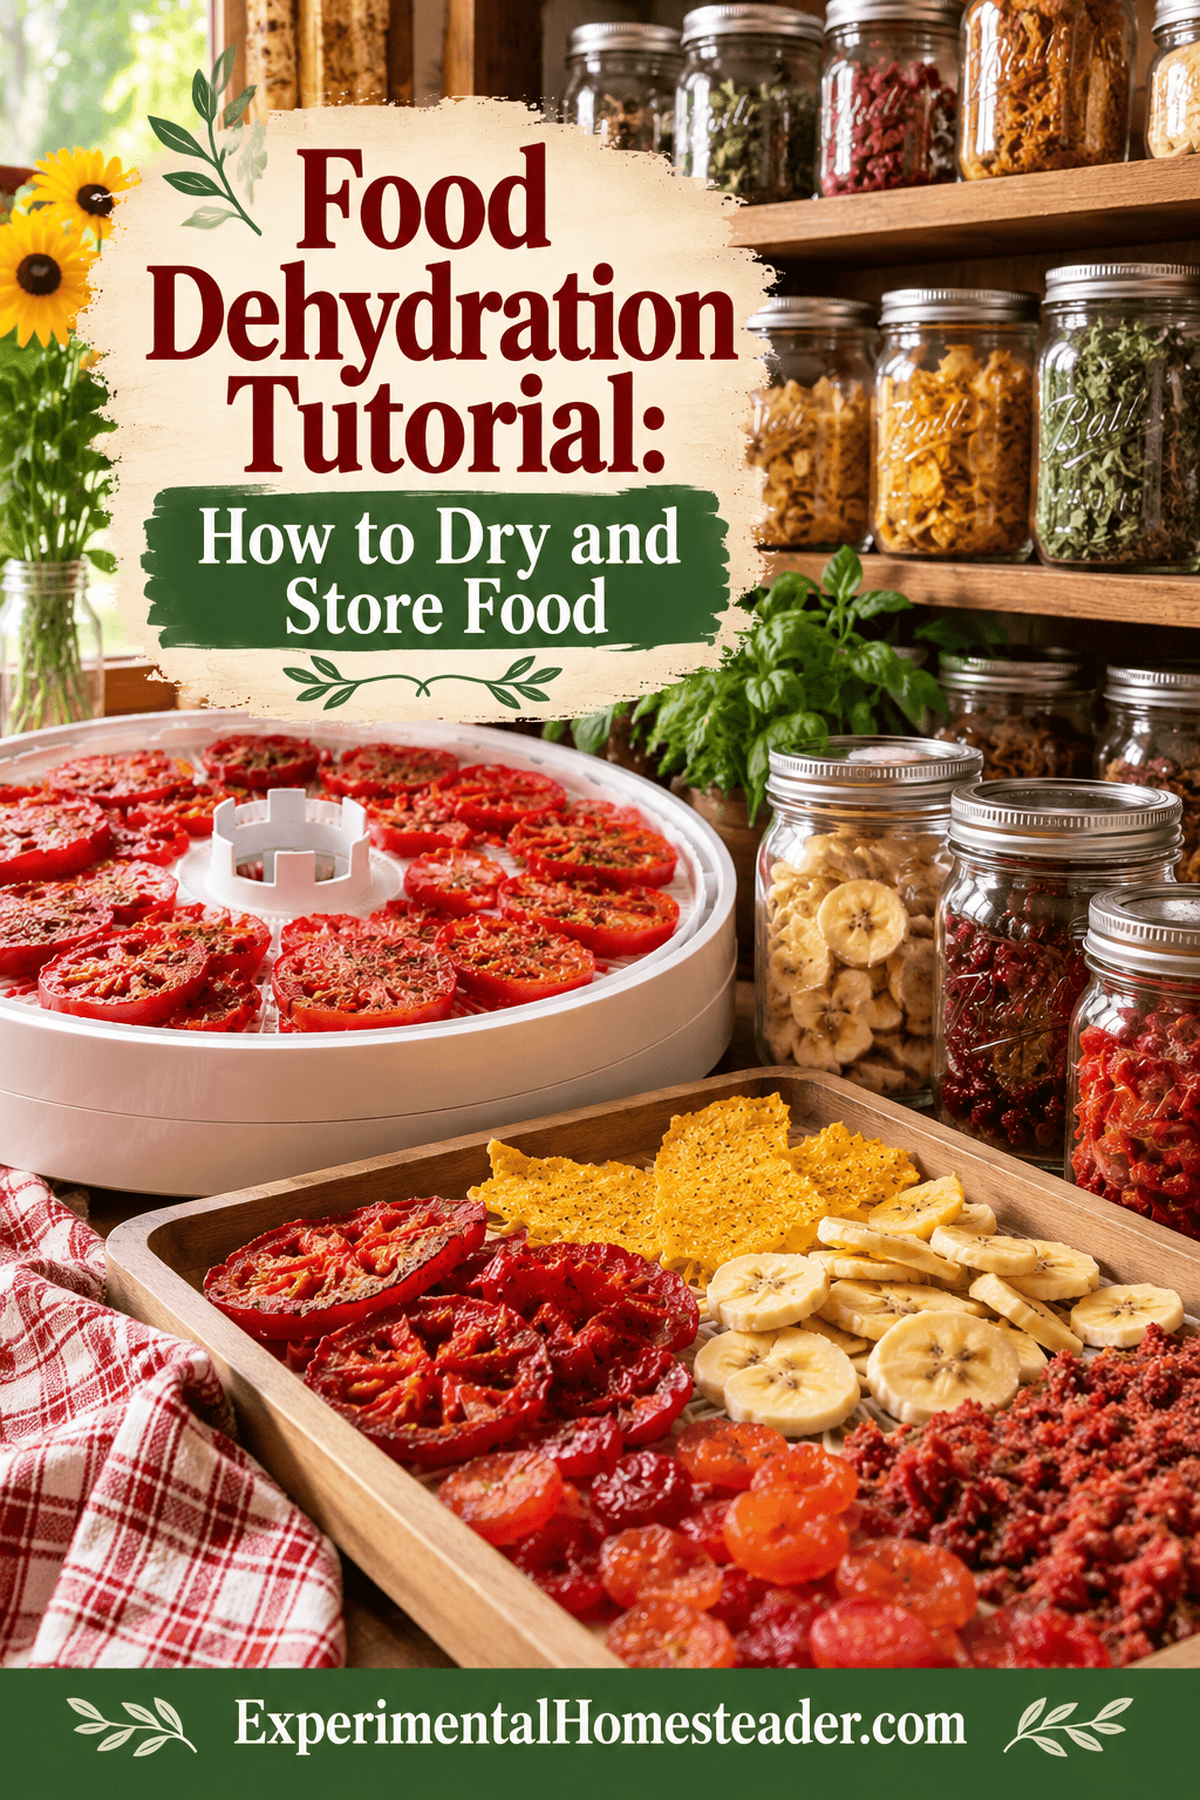
Begin with sound, fresh ingredients and clean equipment. Wash produce, trim damaged spots and cut pieces evenly. Some vegetables need blanching before drying; fruit may need pretreatment to reduce browning. Arrange food in a single layer with room for airflow, use the recommended temperature for that particular ingredient and check progress regularly. Drying times vary with humidity, thickness and the equipment. Cool a sample before judging doneness: dried vegetables are often brittle, dried fruit usually pliable without moist pockets, and herbs should crumble readily. Always follow food-specific instructions rather than assuming one temperature or texture works for everything.
The process is approachable once you understand why each step matters. Preparation determines whether pieces dry evenly, and testing for doneness is what helps prevent moisture from being trapped in storage. The basic sequence is to prepare the food, spread it evenly, dry at the appropriate temperature, check doneness, cool and package. Each of those steps matters, particularly the food-specific preparation and the final moisture check. It is straightforward, but it is not a set-it-and-forget-it process. Different foods need different temperatures and preparation, and the finished texture matters more than the number of hours on the timer.
While the dehydrator runs, I can work on other chores, but I still check the trays periodically. I especially enjoy drying herbs because I can harvest them at their best, preserve their flavor and use them in cooking long after the garden season ends.
I've also dried vegetables, edible flowers and jerky. Each calls for its own preparation and temperature guidance; jerky requires special attention to safe heating and handling. Every ingredient has its own recommended preparation, temperature and drying characteristics. For detailed examples, see my garlic scape tutorial and cherry dehydration guide. This article explains the technique so you know what to look for regardless of what is on your trays.
Choosing Produce Worth Dehydrating
Whether I am drying food from my own garden or buying a box of seasonal fruit, I begin with good-quality produce. Drying concentrates flavors, but it does not make moldy or spoiled food safe. When buying in quantity, I ask about harvest dates and plan my drying sessions before the produce deteriorates.
For the best results, sort produce before washing and slicing it. Set aside anything moldy or spoiled, and trim away minor bruises when the remaining flesh is sound. Group similar-sized pieces together so you can check them for dryness at roughly the same time.
You do not have to grow everything yourself. Seasonal produce from a farmers market or local grower can be an excellent option, and I ask about ripeness and harvest dates when buying in quantity. Buying a box or bushel at peak season can make sense when I have the time and tray space to process it promptly. I calculate how many batches I can actually finish before bringing home more produce than I can handle.

Equipment and Supplies for Dehydrating Food
A purpose-built dehydrator with adjustable temperature and reliable airflow makes repeated batches easier. Some ovens can dry suitable foods if they maintain the low temperatures required, but many ovens run too hot or circulate air unevenly. I do not recommend a microwave as a general substitute for a food dehydrator.
My basic supplies are a sharp knife, cutting board, food-safe dehydrator trays or liners, clean containers with moisture-resistant seals and labels. A thermometer and a reliable food-specific drying guide help me use the right conditions rather than guessing. For ingredients I use frequently, I like clean glass jars with well-fitting, moisture-resistant lids. I let the food cool first, then label the jar and watch for condensation or any change in texture.
There have been harvests when I had more produce waiting than trays available. I prioritize the most perishable ingredients, refrigerate suitable produce while it waits and avoid piling food too deeply on the trays just to squeeze in another batch. One year I ran seven dehydrators around the clock for two solid months because the harvest kept coming. That experience taught me how important it is to match batch size to equipment capacity, leave room for airflow and keep track of which trays need checking. I wore out those machines, but I also stocked up a tremendous amount of food. These days I pay closer attention to the equipment's operating instructions, ventilation and workload rather than treating nonstop use as the goal.
Traditional air and solar drying can work for certain foods under suitable conditions, but humidity, insects, contamination and temperature make them less predictable. I would not recommend ordinary household window screens as food-contact drying surfaces. Use clean food-safe equipment and a tested method designed for the ingredient.
Food-grade mesh sheets or fruit-leather inserts help support small pieces and purees without letting them fall through the trays. I use accessories designed for the dehydrator rather than household screens. Check the manufacturer's instructions before cutting any liner or using it at a particular temperature. It should be food safe, easy to clean and sized so air can circulate. I clean reusable sheets thoroughly according to their instructions and let them dry before putting them away.
My Review of Simple Royal Dehydrator Sheets
Disclosure: I originally received the Simple Royal dehydrator sheets for free to review. I still own and use them. My opinions are my own.
When you start dehydrating food regularly, you quickly discover that not everything stays neatly on a standard open-grid tray. Small pieces shrink as they dry, and sticky foods can be difficult to lift off without leaving part of the batch behind. That is why I appreciate having reusable dehydrator sheets on hand. I first tried the Simple Royal sheets as a review product, and I still have and use them today.
The sheets I reviewed are 14 inches by 14 inches, flexible and made with a nonstick Teflon surface. I own and use both rectangular and round dehydrators, so I appreciate having sheets that can be trimmed to fit different tray shapes. Rather than assuming one size works for every machine, I measure the usable drying area before cutting a sheet to fit. I also make sure the liner does not cover vents or interfere with airflow.
When I Reach for These Sheets
I especially like having a liner available for smaller ingredients and foods that tend to stick. Keeping pieces in an even layer makes it easier to check their progress and remove them once they are dry. I do not use a liner for every batch, because open trays can provide better airflow for foods that do not need extra support. I also check and rotate trays as needed, since a liner does not guarantee that everything will dry at exactly the same rate.
Cleaning and Long-Term Use
After a batch, I clean the sheets with warm, soapy water and let them dry flat before storing them. Reusability matters to me, especially during a busy preserving season when I may be washing trays and preparing the next batch on the same day. I inspect the sheets for wear before reusing them and follow the manufacturer's temperature and care guidance.
Would I still recommend keeping sheets like these with a dehydrator? Yes, when you dry foods that benefit from a liner. The fact that I continue to use my original Simple Royal sheets says more about their usefulness to me than a quick first impression could. Beginners should check tray measurements, food-contact suitability and temperature limits before buying. They are a helpful accessory, not something you must purchase before learning to dehydrate food.
Why Dehydrating Earns Its Place in My Kitchen
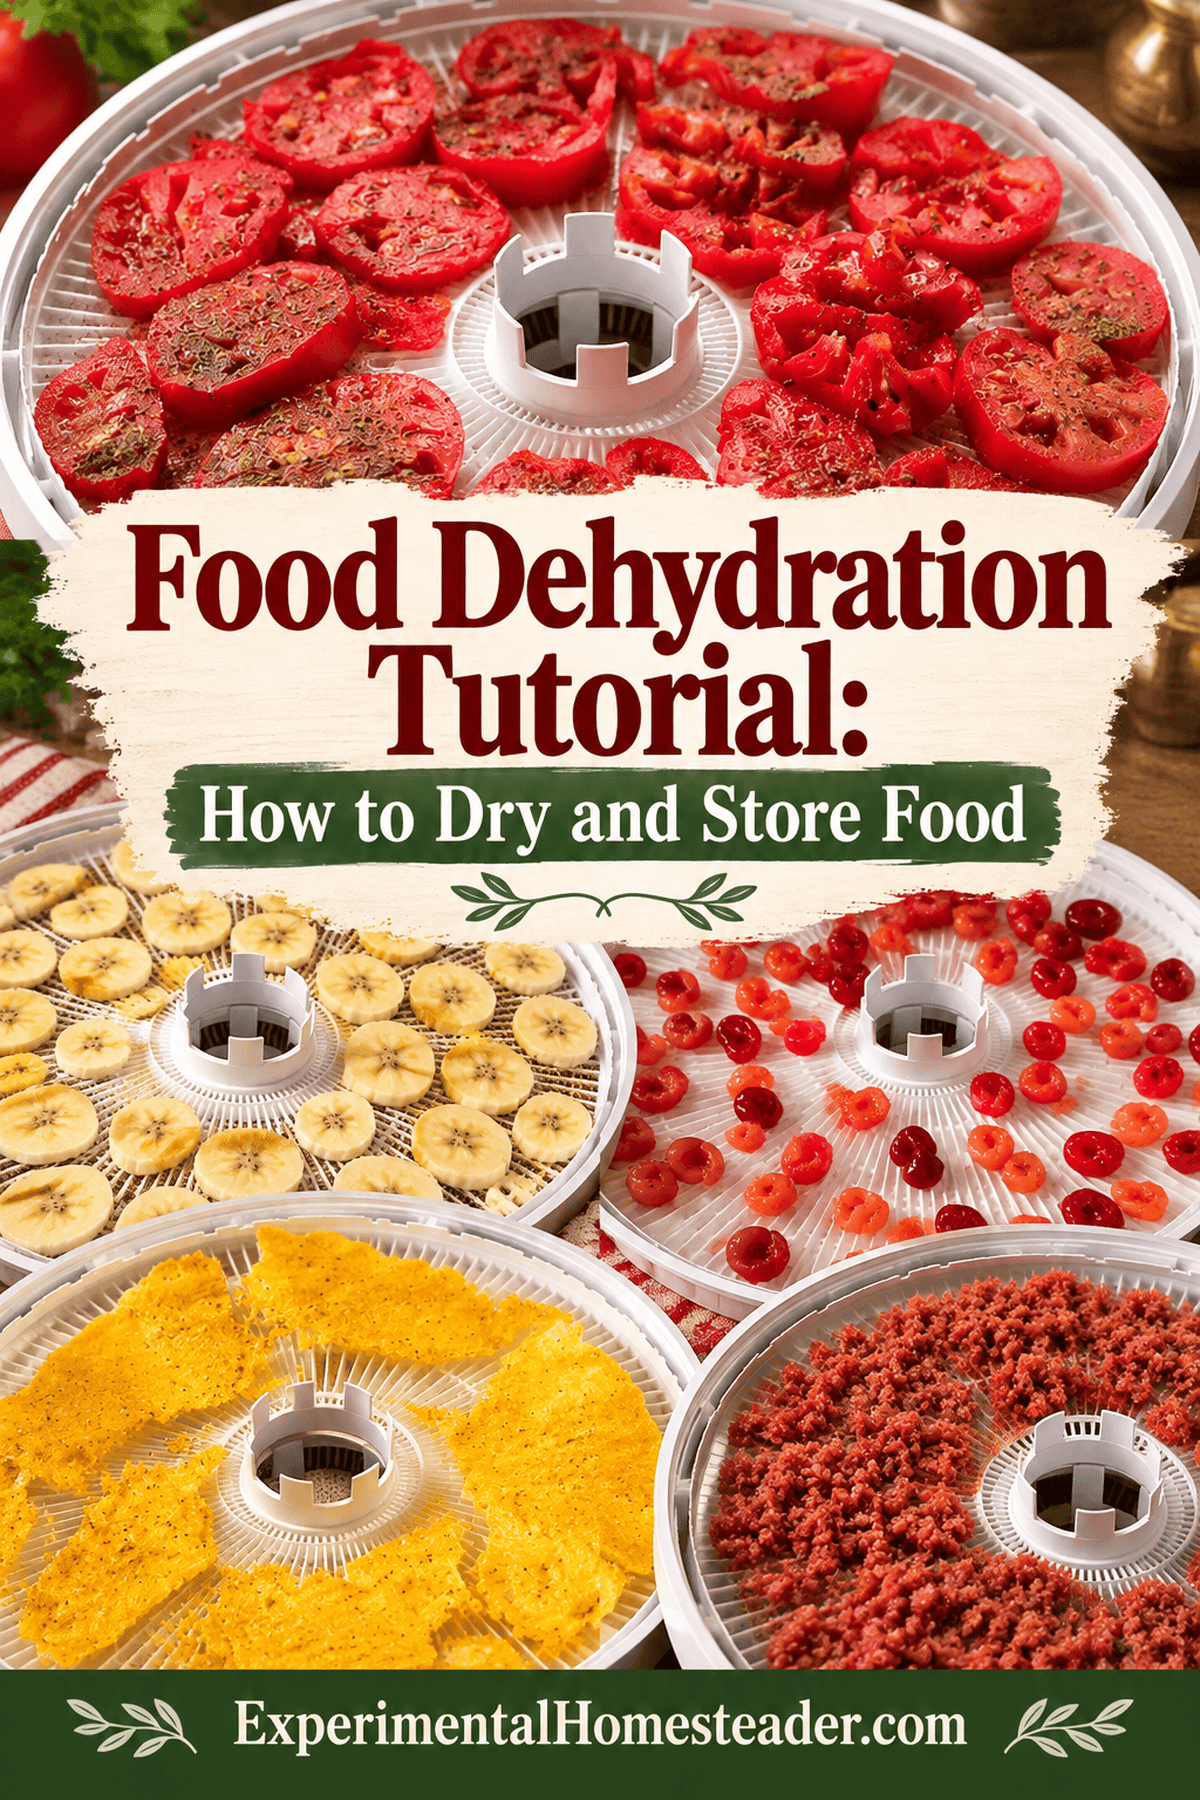
Drying turns bulky harvests into compact ingredients. Apples and bananas make snacks, herbs and peppers become seasonings, and vegetables can go into winter soups. It is also a useful alternative when the freezer is full, although safe preparation and moisture-proof storage are essential. Besides saving storage space, there are several other advantages to dehydrating.
I appreciate being able to use sound, edible trimmings that would otherwise go unused, but I do not assume every peel, rind or leaf is edible. Edible flowers, celery leaves and suitable citrus zest can be useful in dried seasoning blends when properly identified and prepared. Dried herbs and vegetables also make convenient seasoning blends. I label the ingredients clearly and keep mixtures dry so I can add them to soups, beans and sauces when cooking.
A thoughtfully labeled jar of dried herbs or fruit can also be a useful homemade gift, provided the food was safely prepared and packaged.
How I Cook With Dried Ingredients
Dried fruit is often ready to eat as a snack, while vegetables can soften in soup or be soaked before use. I add dried ingredients early enough for them to absorb liquid, and I adjust the broth or water in a recipe accordingly. Completely dry peppers and tomatoes can be ground into powders in small batches for seasoning.
I use dried vegetables in soups and stews, allowing time and extra liquid for them to soften. Thoroughly dried vegetables can be ground into seasoning powders. I work in small quantities because powders absorb humidity readily and need particularly careful storage.
Dried fruit can be eaten as a snack or rehydrated for baking, depending on the recipe. Not every dried food needs soaking first. Fruit leather is another way to use ripe fruit. I prepare a smooth puree, follow food-specific drying guidance and package the finished leather only after it has cooled.
For specialty powders and sweetened mixtures, I use recipes developed specifically for drying rather than assuming sticky ingredients will dry safely on ordinary trays. Dried ingredients work best when their texture and flavor suit the recipe. I experiment in small batches before making enough for long-term storage.
Conditioning, Packaging and Storing Dried Food
After drying, cool food completely before packing it so moisture does not condense inside the container. Many dried fruits benefit from conditioning in loosely packed jars for about a week, shaking daily and checking for moisture. If condensation develops, dry the fruit further; discard it if mold appears. Pack fully dried food in clean, moisture-resistant containers, label the contents and date, and keep it cool, dark and dry. Storage life varies by ingredient and conditions, so I check containers regularly instead of promising every batch will last a particular number of years.
When food is dried thoroughly and packaged correctly, it can keep well, but quality and storage time depend on the ingredient, residual moisture, packaging and conditions. I inspect jars regularly rather than assuming every batch will last a full year.
I have occasionally kept dried food longer, but I rely on food-specific storage guidance and regular inspection rather than that anecdote. I have used food-safe desiccant packets in appropriate containers, but they are not a substitute for fully drying the food. If moisture appears in a jar, I investigate the batch rather than assuming a packet will make it safe.
Keep dried ingredients in a cool, dark and dry location. Heat, light and humidity shorten their useful quality life, even when a jar looks tightly sealed. For foods suitable for frozen storage, freezing thoroughly dried ingredients in appropriate sealed packaging is another option when pantry conditions are too warm or humid.
Troubleshooting Common Dehydrating Problems
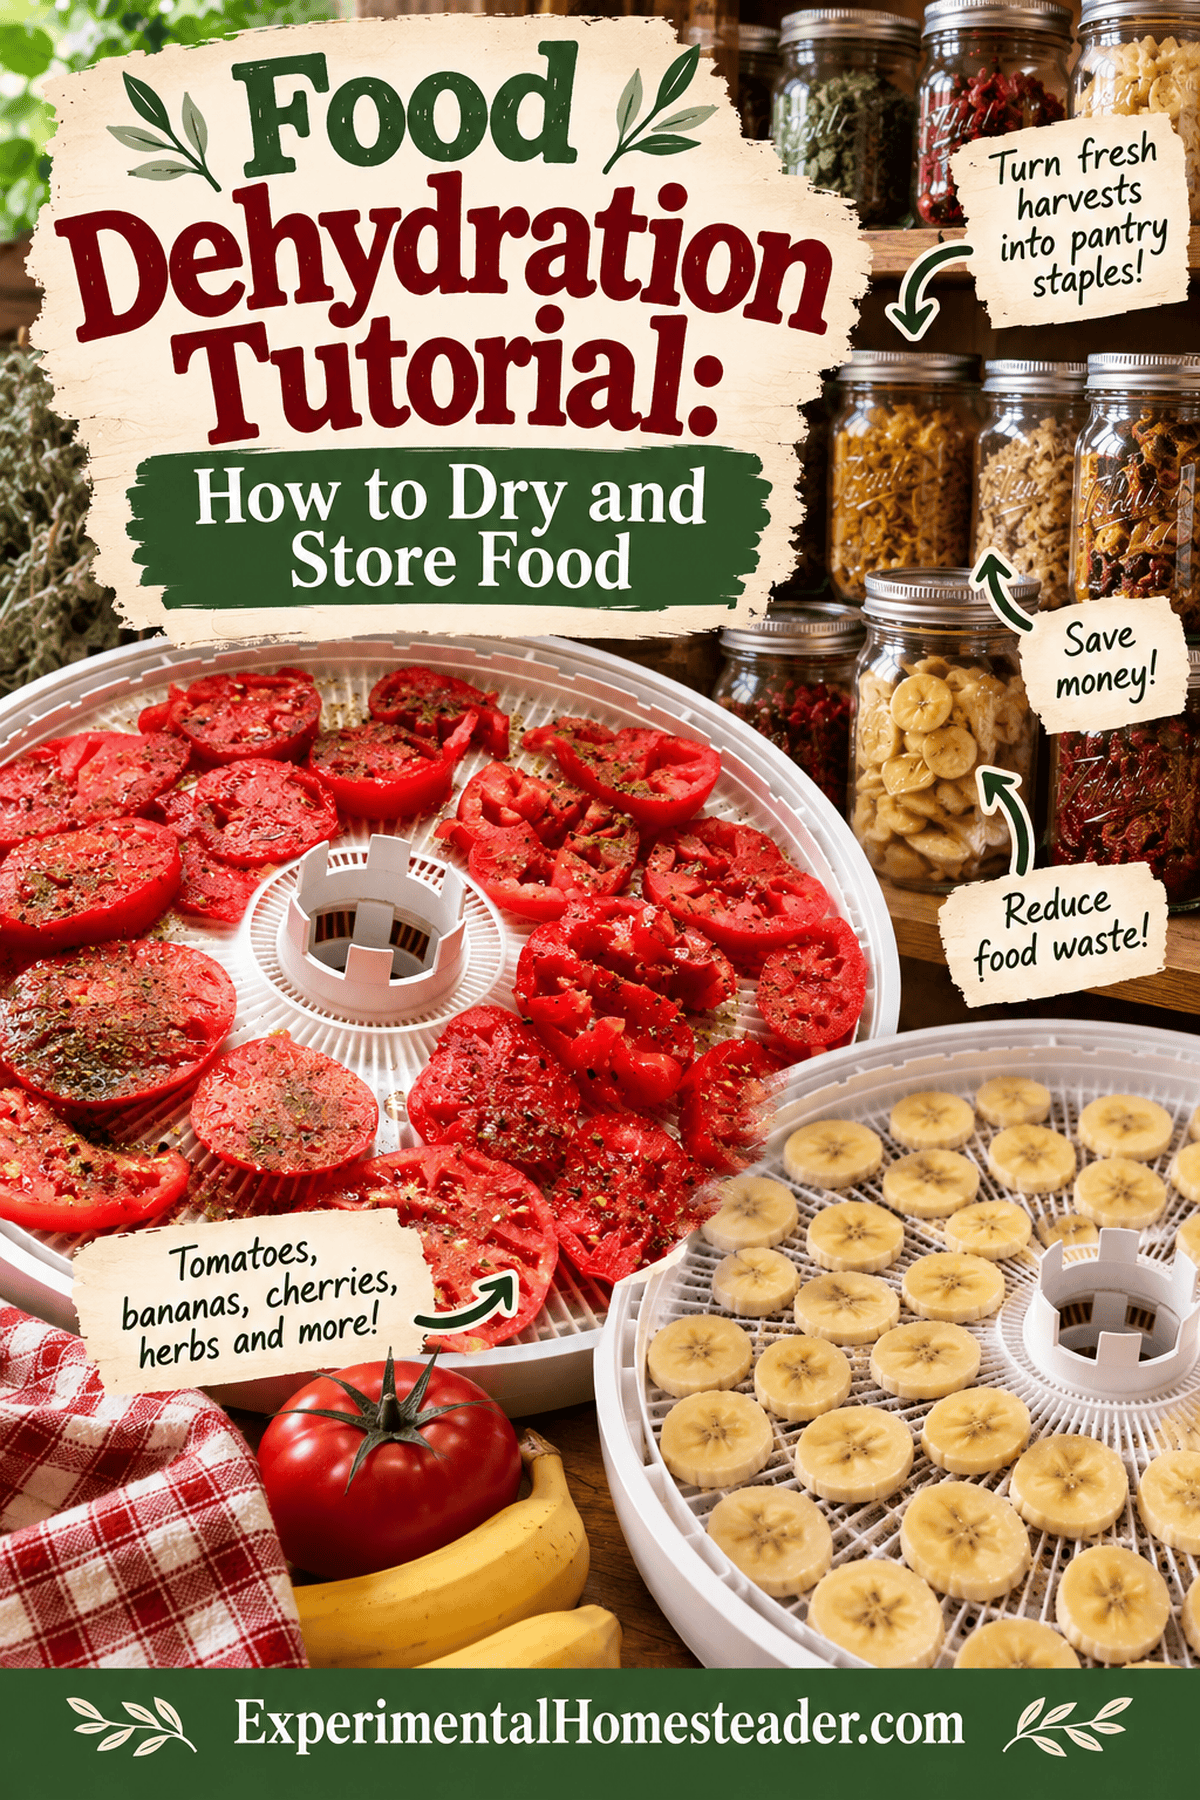
Some pieces are dry while others still feel damp
Uneven thickness, overcrowding and airflow differences are common causes. Remove pieces that are fully dry, continue drying the rest and adjust tray positions if the manufacturer's directions recommend it. The goal is not to force everything to finish at the same minute, but to avoid packing damp pieces with finished ones.
Fruit turns brown before it finishes
Cut fruit can darken through oxidation. Some fruits benefit from a pretreatment such as an ascorbic-acid solution according to tested directions. Browning does not always mean the food is unsafe, but it can affect appearance and flavor. I prepare only as much as I can load promptly.
Food sticks to the trays
Soft fruit and purees can cling to ordinary mesh. A food-safe nonstick liner or fruit-leather sheet designed for the dehydrator helps, provided it does not obstruct airflow. Let the finished food cool before peeling it away, and follow the manufacturer's cleaning instructions.
A jar develops condensation
Moisture in a sealed container is a warning that food may not have dried completely or was packed before cooling. Inspect the contents promptly. Food without spoilage may be suitable for further drying, but anything moldy must be discarded. Never assume that adding a moisture absorber makes an inadequately dried batch safe.
My Favorite Ways to Put Dried Food to Work
When I am planning a batch, I think about the finished ingredient before I start cutting. Apple slices and bananas make handy snacks, herbs become seasonings, and dried vegetables help me put together a soup on a busy evening. This is also why I keep notes about how thick I sliced a particular food, how it behaved in my dehydrator and how we liked it after storage. Those notes are more useful the next season than guessing from memory.
For ingredient-specific instructions, I have separate tutorials on dehydrating garlic scapes, dehydrating cherries and dehydrating shiitake mushrooms. My home food preservation options guide explains when I choose drying instead of freezing or canning.
Food Dehydration Questions Beginners Ask
Can I use my oven instead of a dehydrator?
Some ovens can dry suitable foods if they maintain the low, controlled temperature and airflow needed. Many ovens run too hot or have uneven circulation. A purpose-built dehydrator is easier to manage for frequent batches; use tested directions for the equipment and food.
Do vegetables need blanching first?
Many vegetables benefit from blanching to slow enzymes and protect color and quality. The correct treatment varies, so check food-specific guidance rather than blanching everything for the same amount of time.
How do I know fruit is dry enough?
Cool a sample and test its texture. Many fruits should be pliable without obvious moisture pockets. Conditioning the dried fruit afterward can reveal moisture differences before long-term packaging.
Why did my dried food become soft in the jar?
It may have been packaged while warm, dried unevenly or exposed to humidity. Condensation is a warning sign. Re-dry promptly when appropriate, and discard any food with mold or signs of spoilage.
Can I dehydrate meat the same way as fruit?
No. Jerky needs tested food-safety procedures, including the appropriate heating step and temperature controls. Follow current USDA or extension guidance rather than treating meat as another fruit tray.
Should I rehydrate everything before cooking?
No. Dried fruit may be eaten directly, while vegetables can often be added to soups with enough liquid and cooking time. Other recipes benefit from soaking ingredients first.